Unlock incredible durability and superior abrasion resistance for your concrete surface with a concrete surface hardener. Proper application is key to these benefits. This guide demystifies the process, helping you achieve optimal durability and exceptional abrasion resistance while avoiding common mistakes for long-lasting abrasion resistance.
Key Takeaways
Prepare your concrete surface well. Clean it and fix any damage. This helps the hardener work best.
Apply the hardener carefully. Follow all instructions. Use the right tools for the job.
Let the hardener cure properly. Protect the surface as it dries. This makes your concrete strong and last longer.
Understanding Concrete Surface Hardeners and Preparation
What is a Concrete Surface Hardener?
A concrete surface hardener is a specialized chemical solution. You apply it to your concrete surface to enhance its strength and durability. Some hardeners are sprayable compounds. These are designed to harden, cure, seal, and dustproof concrete. For newly poured concrete, allow it to cure for at least 48 hours before applying a concrete surface hardener. This ensures proper bonding.
Benefits and Types of Hardeners
You gain significant benefits from using hardeners. They boost the durability and wear resistance of your concrete. You’ll see improved abrasion resistance, meaning your floor stands up better to daily traffic. Many hardeners also offer concrete densification, making the surface less porous. Common types include liquid chemical hardeners and dry shake hardeners. Dry shake hardeners are often used for new concrete to achieve superior abrasion resistance. These dry shake hardeners provide excellent abrasion resistance. You can also find dry shake hardeners that offer enhanced durability. Remember, dry shake hardeners are great for high-traffic areas. For maximum abrasion resistance, consider dry shake hardeners.
Surface Assessment for Hardener Application
Before applying any hardener, assess your concrete surface. Look for existing damage or weak spots. This step is crucial for achieving maximum abrasion resistance. Ensure the surface is ready to accept the hardener.
Thorough Cleaning for Optimal Adhesion
Cleanliness is vital for hardener application. You must thoroughly clean your concrete surface for optimal adhesion. Remove all dirt, grime, oil, and grease. For tough stains, consider products like E700DG Emerge Degreaser Super-Concentrate or E915HD Heavy Duty Cleaner Degreaser Concentrate. WB0090 World’s Best Paver & Hard Surface Detergent Cleaning Concentrate also works well for oil-stained concrete. These cleaners ensure your concrete surface is pristine.
Repairing Surface Imperfections
Don’t skip repairing cracks or spalls. You need a smooth, uniform surface for the best results. Patch any imperfections before applying the hardener. This step ensures consistent abrasion resistance across the entire area.
Ensuring Correct Surface Profile
Finally, check your surface profile. It should be clean and slightly porous. This allows the hardener to penetrate deeply. A proper profile ensures the hardener, whether liquid or dry shake hardeners, bonds effectively, maximizing durability. Dry shake hardeners are particularly effective with a good profile.
Effective Application Methods for Concrete Hardener
Now that your concrete surface is perfectly prepped, you are ready for the exciting part: applying the hardener! These application methods will guide you step-by-step. Following these instructions carefully ensures you get the best possible results. Remember, precise application is key to a durable, long-lasting finish.
Tools and Materials Needed
Before you begin, gather everything you need. Having your tools ready makes the process smooth and efficient. Here is a list of common items:
For Liquid Hardeners:
Low-pressure sprayer (garden sprayer works well) 💧
Soft-bristle broom or squeegee
Clean buckets for mixing
Personal Protective Equipment (PPE): safety glasses, chemical-resistant gloves, and a respirator.
For Dry Shake Hardeners:
Spreader or shovel for even distribution
Power trowel or hand trowel for working it in
PPE: safety glasses, gloves, and a dust mask.
Important Safety Tip: When you use certain hardeners, like isocyanate hardeners, you must ensure proper ventilation. Always use appropriate personal protective equipment (PPE) to minimize health risks during application. Your safety comes first!
Mixing and Diluting the Hardener
Always read the manufacturer’s instructions on your specific concrete surface hardener first. This is the most crucial step! Some liquid hardeners come ready to use, while others require dilution with water.
If dilution is needed: Measure carefully. Use clean water and mix thoroughly in a clean bucket. Stir until the solution is uniform.
For dry shake hardeners: These typically come pre-mixed and do not require dilution. You apply them directly from the bag.
Never guess the ratios; accuracy ensures the product works as intended.
First Coat Application
You are ready to apply the first coat. This initial layer is vital for penetration.
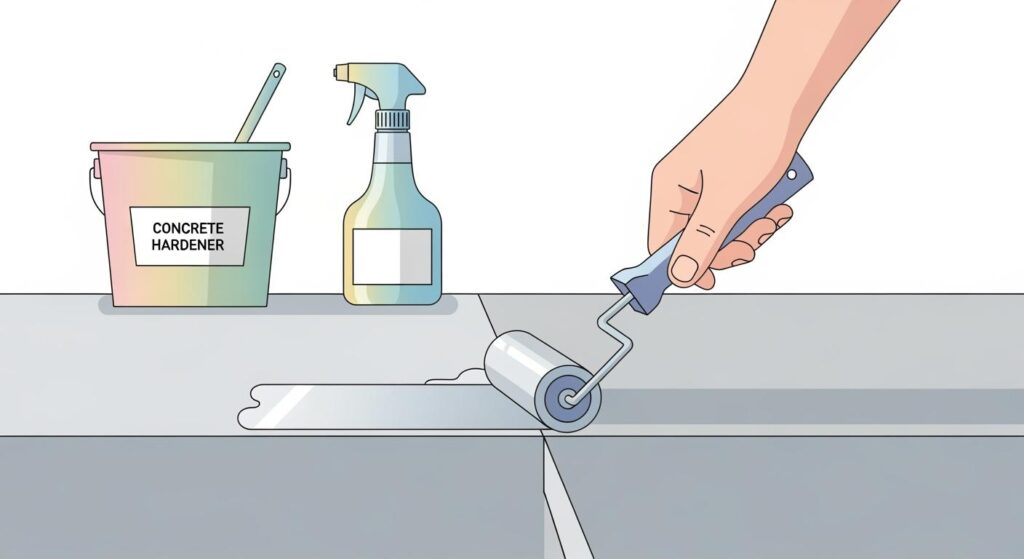
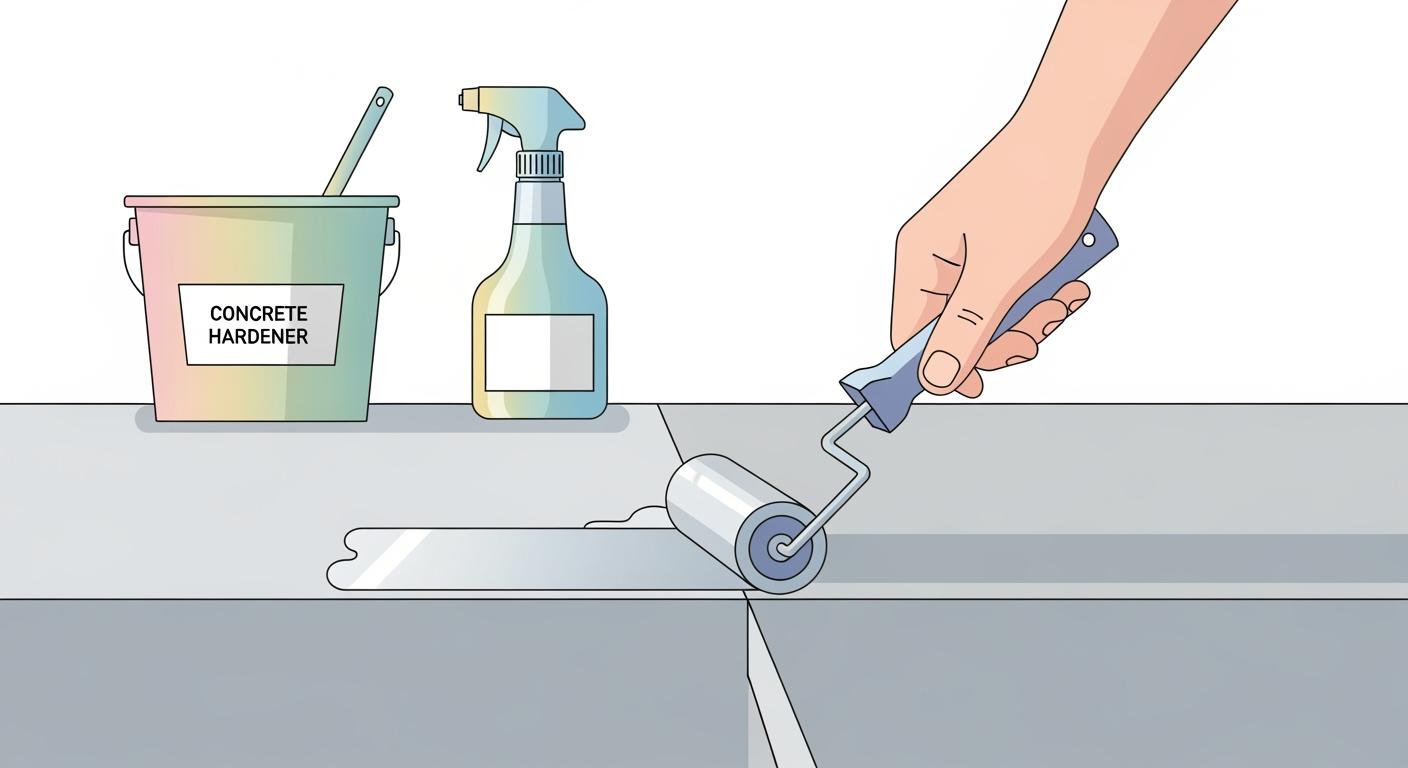
For Liquid Hardeners:
Pour the mixed hardener into your low-pressure sprayer.
Apply it evenly across the concrete surface. Work in small, manageable sections.
You want to saturate the surface without creating puddles. A fine mist is usually best.
For Dry Shake Hardeners:
You apply dry shake hardeners to freshly placed concrete.
Broadcast the material evenly over the surface. You can use a spreader or shovel.
Aim for uniform coverage.
Working Hardener into Surface
Once you apply the hardener, you need to help it penetrate. This step is critical for effective concrete densification.
For Liquid Hardeners:
Use a soft-bristle broom or a squeegee.
Gently work the liquid into the concrete. Keep the surface wet for the recommended dwell time.
Move any pooling liquid to drier areas. This ensures even absorption.
For Dry Shake Hardeners:
After broadcasting, allow the material to absorb moisture from the concrete. It will darken.
Then, use a power trowel or hand trowel to work the dry shake hardeners into the surface. This creates a very dense, durable finish.
Dwell Times and Re-application
Dwell time is how long the hardener stays wet on the surface. This allows it to react with the concrete.
Follow Manufacturer Guidelines: Each product has specific dwell times. This could range from 20 minutes to several hours.
Keep it Wet: If the surface starts to dry out during the dwell time, re-mist it with more hardener or water (check product instructions). You want to keep the surface active.
Re-application: Some products recommend a second application after a certain period. Always check your product’s instructions for these specific application methods.
Subsequent Coat Application
Some concrete densifiers require more than one coat. If your product calls for a second or third coat, here is what you do:
Wait for Drying: Allow the previous coat to dry or become tacky, as specified by the manufacturer.
Repeat the Process: Apply subsequent coats just like the first. Ensure even coverage and proper working into the surface.
Dry shake hardeners are typically a single-application process during the concrete finishing stage.
Removing Excess Hardener
After the final dwell time, you must remove any excess hardener. If you leave it on, it can dry as a white residue or create slippery spots.
Rinse Thoroughly: Use clean water to rinse the surface.
Squeegee or Wet Vacuum: Use a squeegee to push the excess liquid off the surface. Alternatively, use a wet vacuum to pick it up.
Final Rinse: Give the surface a final rinse with clean water. This ensures all unreacted material is gone. You want a clean, residue-free finish.
Curing, Post-Application Care, and Common Mistakes
You have successfully applied your concrete hardener. Now, you enter a crucial phase: curing and post-application care. This stage ensures your hardener performs its best. It also helps you avoid common pitfalls.
Critical Curing Practices
Curing is not just waiting; it is an active process. It allows the hardener to fully react with your concrete. This reaction creates a denser, stronger surface. You need to maintain proper conditions during this time. Keep the surface moist if your product requires it. Some hardeners need a specific temperature range to cure correctly. Always check your product’s instructions for these details. Proper curing maximizes the hardener’s effectiveness. It boosts the concrete’s overall durability.
Protecting the Curing Surface
Your newly treated surface is vulnerable during curing. You must protect it from damage. Keep heavy traffic off the area. Avoid spills of chemicals or other liquids. You should also prevent extreme temperature changes. Consider covering the area with plastic sheeting if the manufacturer recommends it. This helps maintain moisture and temperature. Protecting the surface now prevents problems later.
Traffic Readiness Times
You might wonder when you can use your concrete again. Good news! Some hardeners allow concrete to be open to traffic in as fast as 2-3 hours after application. This quick turnaround minimizes downtime for your space. However, always confirm the specific traffic readiness times with your product’s instructions. Light foot traffic usually comes first. Heavy vehicle traffic might require a longer wait. Patience here ensures the hardener fully sets. This gives you maximum abrasion resistance.
Long-Term Maintenance
Your hardener provides excellent initial protection. However, long-term maintenance keeps your concrete looking great and performing well. Regular cleaning is essential. You should sweep and mop the surface regularly. Use pH-neutral cleaners. This prevents dirt and grime buildup. Occasional resealing might also be necessary, depending on your hardener type and traffic levels. Properly maintained polished concrete floors can last for decades without needing replacement. Regular cleaning and occasional resealing are sufficient to maintain the appearance of polished concrete. The long lifespan and minimal maintenance of polished concrete make it cost-effective in the long term. This proactive care extends the life of your concrete. It also maintains its superior abrasion resistance.
Avoiding Poor Surface Prep
You learned about surface preparation earlier. Skipping or rushing this step is a common mistake. Poor surface preparation leads to poor adhesion. The hardener cannot penetrate correctly. This means you will not get the full benefits. You might see uneven hardening or premature wear. Always clean thoroughly and repair imperfections. This ensures your hardener works as intended. It gives you the best possible abrasion resistance.
Avoiding Product Misapplication
Applying the hardener incorrectly also causes problems. You might use too much or too little. You might not work it into the surface properly. These errors reduce the hardener’s effectiveness. They can lead to patchy results or a sticky residue. Always follow the application instructions precisely. This prevents wasted product and effort. It ensures consistent abrasion resistance across your entire floor.
Following Manufacturer Instructions
This point cannot be stressed enough. Every hardener product is unique. It has specific requirements for mixing, application, dwell times, and curing. Ignoring these instructions is a recipe for failure. You might void your warranty. You might also get subpar results. Always read the label carefully. Follow every step. This guarantees you achieve the best possible outcome.
Addressing Improper Curing
Improper curing can severely impact your results. If the hardener dries too quickly, it might not react fully. If it gets too cold, the reaction might slow down or stop. This leads to a weaker surface. You might not get the expected abrasion resistance. If you suspect improper curing, consult the manufacturer. They can offer guidance on how to fix the issue or reapply the product. Learning from these mistakes helps you achieve a perfect finish next time.
Successful concrete surface hardening results from meticulous preparation, precise application, and diligent curing. Following these essential steps ensures a durable, dust-free, and significantly enhanced concrete surface. You can confidently apply these techniques to achieve professional, long-lasting results. Expect extended lifespan and reduced maintenance for your treated concrete surface hardener, boosting its durability.
FAQ
❓ How long does a concrete hardener last?
A properly applied hardener can last for many years, often the lifetime of the concrete itself. Regular maintenance helps extend its durability. You get lasting protection!
🛠️ Can I apply a hardener to existing, old concrete?
Yes, you can! Thoroughly clean and repair your old concrete first. This ensures the hardener penetrates and performs effectively. You will see great results.
🧼 What if I see white residue after application?
You likely left excess hardener on the surface. Rinse it thoroughly with water and scrub. This removes the residue and prevents slipperiness. Don’t worry, it’s fixable!
See Also
Maximize Concrete Longevity: A 2025 Guide to Floor Hardener Application
Understanding Concrete Surface Hardeners: Exploring Their Functional Mechanisms
Choosing the Ideal Concrete Floor Hardener: Your 2025 Selection Guide
Liquid Solutions: Concrete Floor Hardener, Sealer, and Densifier Explained
Selecting the Best Concrete Densifier, Hardener, and Sealer: A 2025 Guide