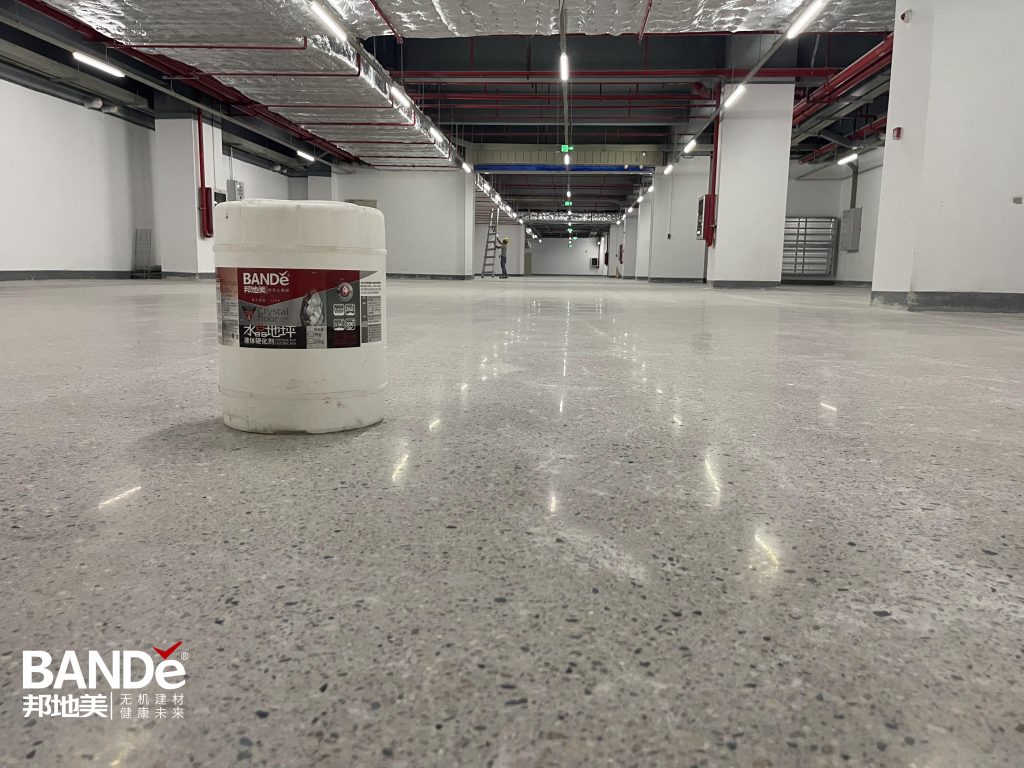
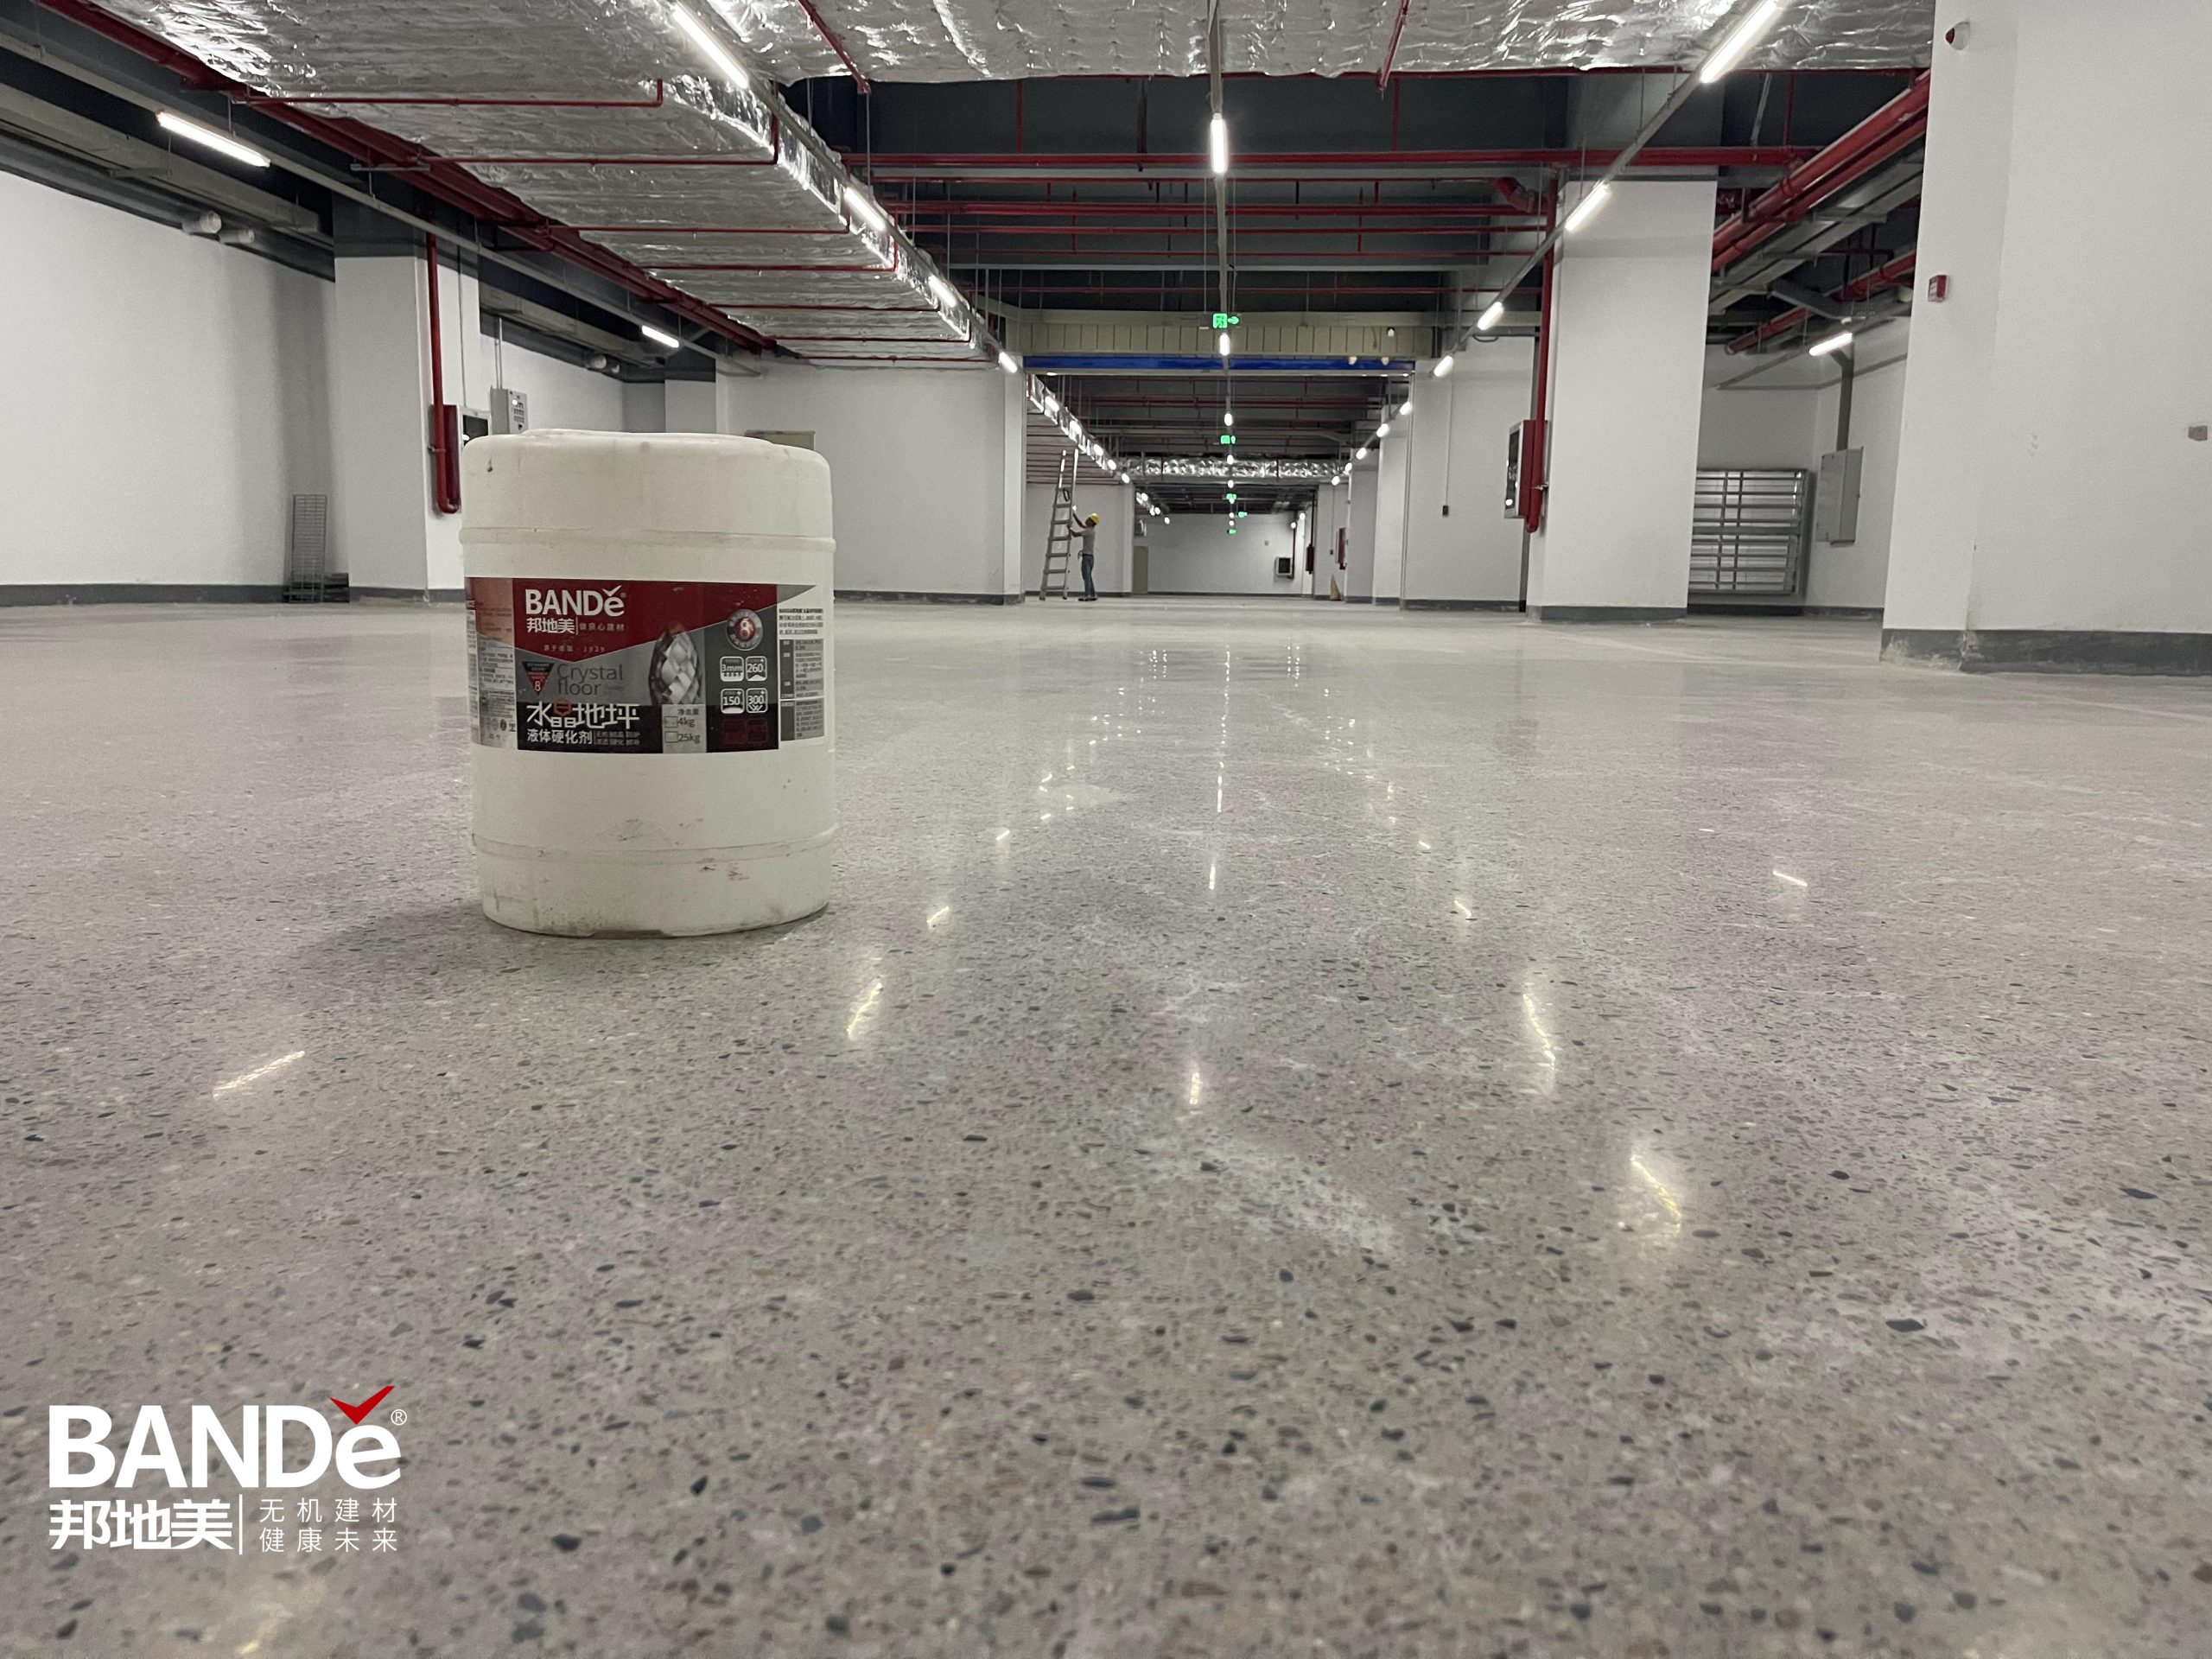
Waterproofing concrete surfaces is very important, and using a Waterproof Concrete Sealer can significantly enhance their longevity. A good Waterproof Concrete Sealer protects against water, which stops damage and wear. When you apply a Waterproof Concrete Sealer the right way, you create a barrier that keeps water out and strengthens the surface. To achieve the best results, start with a clean surface. Then, follow a few easy steps: picking the right Waterproof Concrete Sealer, preparing the surface, and applying the waterproofer correctly.
Key Takeaways
Pick the right waterproof concrete sealer for your needs. Think about where it will go, how it looks, and if it is slippery.
Get your concrete surface ready by cleaning it well. Fix any cracks so the sealer sticks properly.
Put on the sealer in thin, even layers. Use a sprayer or roller to avoid bubbles. This helps make a strong waterproof barrier.
Let the sealer dry completely. Check the temperature and humidity for the best results.
Take care of your sealed surfaces by cleaning them often. Look for cracks and put on more sealer when needed. This helps them last longer.
Choosing a Waterproof Concrete Sealer
Picking the right waterproof concrete sealer is very important for good protection. There are different types of sealers for different needs. Here are some common types of concrete sealers:
Sealer Type | Description | Pros | Cons |
|---|---|---|---|
Siloxane Sealers | Made from silicone, these are popular water-based sealers. | Let the surface breathe, cheap, great at repelling water. | Can be slippery when wet, cannot be painted. |
Polyester/Polyurethane Sealers | Newest water-repellent sealers that harden like plastic. | Flexible, goes deeper, lasts longer, can be painted. | Reduces but does not stop vapor and gases. |
Silicate Concrete Sealers | React with lime in concrete to fill holes and make the surface stronger. | Lasts forever, no need to reapply. | Only for concrete and cement materials. |
When you choose a sealer, think about these factors:
Location and Exposure: If you live where the weather is tough, choose penetrating or polyurethane sealers. They resist weather better.
Appearance Goals: Decide if you want a shiny or natural look. This choice changes how your concrete looks.
Slip Resistance: If the surface is near water or has a lot of foot traffic, find slip-resistant options for safety.
Ease of Application: Acrylics are easier for DIY projects, while epoxy and polyurethane need more skill to apply correctly.
Longevity and Maintenance: Penetrating sealers last longer and need less care than acrylics. This can save you time and money later.
By knowing the types of concrete sealer available and thinking about these factors, you can make a smart choice. This will help you protect your concrete surfaces well and make them last for many years.
How to Seal Concrete: Gathering Materials
Before sealing your concrete, collect the needed materials. Having the right tools and safety gear makes the job easier.
Tools Required
Here’s a list of important tools you will need:
Broom or vacuum: Clean the surface well with this.
Pressure washer or hose: This removes dirt and debris easily.
Concrete cleaner: This is optional but helps with tough stains.
Paint roller or sprayer: These tools spread the sealer evenly.
Paintbrush: Use this for edges and corners that rollers can’t reach.
Drop cloths or plastic sheeting: Protect nearby areas from spills.
Multi-purpose primer: This helps the waterproof coating stick better.
Having these tools ready will make your sealing project simpler and faster.
Safety Equipment
Safety is very important when using chemicals. Here’s a table of suggested safety gear:
Safety Equipment |
|---|
Protective gloves |
Safety glasses |
Dust mask or respirator |
Wearing protective gear is very important. Many solvent-based sealers release harmful fumes called volatile organic compounds (VOCs). These fumes can be dangerous, especially in places with little air flow. Always make sure there is good ventilation when applying sealers.
By collecting the right tools and focusing on safety, you prepare yourself for a successful sealing project. Remember, taking these steps protects you and helps your concrete surfaces look their best.
Preparing the Surface for Sealing
Cleaning the Surface
Before you put on a waterproof concrete sealer, you need to clean the surface well. This step is very important. A clean surface helps the sealer stick better. If you skip this, the sealant might not attach right. This can cause peeling or bubbling later. Here’s how to clean your concrete surface:
Sweep the Surface: Start by sweeping to get rid of dirt and debris.
Deep-Clean: For tough stains, use a degreaser to remove grease or oil. A putty knife and stiff brush can help with mastic. Then, use a citrus-based cleaner for any leftover residue.
Use a Cleaner: You can use a deck and patio cleaner to take away dirt, grease, and grime. This makes sure the area is clean, which helps the waterproofing materials stick better.
Make sure the surface is completely dry before you continue. If you apply sealers on wet surfaces, it can trap moisture. This can cause clouding or whitening of the sealer. High moisture can weaken the bond between the concrete and the sealer. This can lead to peeling and blistering. Aim for a moisture level of less than 5% for the best adhesion.
Repairing Cracks
Next, check the concrete for any cracks or problems. If you don’t fix cracks, water can get in. This can ruin the waterproof sealer’s effectiveness. Follow these steps to fix any damage before sealing:
Inspect the Slab: Look for cracks, chips, or spalling. Check how wide and deep each crack is.
Clean the Cracks: Get rid of debris, plants, and moisture using a pressure washer or compressed air.
Fill the Damage: Use a concrete patching compound to fill any cracks. Smooth it out so it’s level with the surrounding surface.
Allow to Cure: Follow the product instructions for how long to let it cure. Make sure repairs are fully cured before you apply the sealer.
By cleaning and fixing your concrete surface, you prepare for a successful sealing process. Good preparation not only makes your concrete look better but also helps it last longer.
Apply Concrete Sealer: Application Techniques
Using a Sprayer
Using a sprayer is one of the best ways to put on concrete sealer. This method helps you make a smooth waterproof barrier, especially on bumpy surfaces. Here are some good and bad points about using a sprayer:
Advantages | Disadvantages |
|---|---|
Makes a smooth waterproof barrier on uneven surfaces | Spray equipment can be tricky, especially for two-part systems |
Fast application | Needs good weather for the sealer to dry |
Uses low-VOC, water-based products that are easy to clean |
When you use a sprayer, keep a steady distance from the surface. This helps you cover evenly. Spray in a sweeping motion to avoid soaking any spot too much. Remember, you want to soak the surface well without making puddles.
Applying in Thin Coats
Putting on the sealer in thin layers is very important for the best results. Here are some key things to remember:
Thin Layers: Always put on the sealer in thin, even layers. This stops problems like bubbles and uneven spots.
Multiple Coats: It’s better to use several thin coats instead of one thick coat. Think of it like stacking cards; the first few cards give support, but too many at once can make it fall.
Avoid Common Mistakes: Many people put on too much sealer at once. Remember “thin to win.” Thin layers stick better and last longer.
To get even coverage and stop pooling, follow these tips:
Make sure to cover everything without putting on too much to avoid puddles.
Use a roller or brush to spread the primer in a thin, even layer across the whole concrete floor. Start at the far end of the room and move toward the exit to avoid stepping on the wet primer.
For even coverage, apply two thin coats at different angles.
By using a sprayer and applying in thin layers, you make the waterproof concrete sealer work better. This method not only makes your concrete look good but also helps it last longer.
Allowing the Sealer to Dry
Recommended Drying Times
After you put on your waterproof concrete sealer, let it dry well. Different sealers take different times to dry. Here’s a quick table to help you:
Sealer Type | Drying Time (Walkable) | Full Curing Time |
|---|---|---|
Acrylic Sealers | 4 to 12 hours | 36 to 48 hours |
Epoxy Sealers | 6 to 12 hours | 24 to 48 hours |
Polyurethane Sealers | 2 to 4 hours | Up to 3 days |
Penetrating Sealers | Less than 24 hours | N/A |
Conditions for Optimal Drying
The drying conditions are very important for how well the sealer works. Here are some key things to think about:
Temperature: Keep it between 50°F to 80°F (10°C – 27°C). Don’t let it go over 90°F (32°C) to avoid problems.
Humidity: Low humidity is better. High humidity can slow down drying and cause sticking issues.
Weather: Pick dry days for sealing. Don’t apply sealer if it might rain in 24 hours. Windy weather can also slow drying.
Tip: Check the temperature and humidity before you apply sealers. If the weather isn’t good, wait for a better day to make sure it sticks well.
Waiting between coats is very important for the best results. After the first coat, let it dry completely, which usually takes about 1-2 hours. If the first coat doesn’t soak in fast, you can add a second coat about 10 minutes after the first. Always read the manufacturer’s instructions for exact drying times.
By letting your sealer dry in good conditions and waiting between coats, you make sure there is a strong, long-lasting waterproof barrier for your concrete surfaces.
Putting on a waterproof concrete sealer has a few important steps. First, pick the right sealer for what you need. Then, get the surface ready by cleaning it and fixing any cracks. After that, put on the sealer using the right methods and let it dry completely.
To keep your sealed surface lasting a long time, do these maintenance tasks:
Clean the surface often to stop dirt and scratches.
Check for cracks and fill them quickly to stop water from getting in.
Put on sealers again as needed to keep it waterproof.
Watch the moisture levels to avoid mold and mildew.
Use waterproofing agents to protect against harsh weather.
How often you need to reapply depends on the type of sealer. For instance, acrylic sealers need to be reapplied every 1 to 3 years, while penetrating sealers can last 5 to 10 years. By following these steps and taking care of your sealed surfaces, you can have strong protection that lasts a long time.
FAQ
When is the best time to put on waterproof concrete sealer?
You should put on waterproof concrete sealer when the weather is dry. The best temperatures are between 50°F and 80°F. Stay away from rainy days to help it stick and dry well.
How long does waterproof concrete sealer last?
The time a waterproof concrete sealer lasts can be different. Acrylic sealers last about 1 to 3 years, while penetrating sealers can last 5 to 10 years. Taking care of them helps them work better for longer.
Can I put sealer on top of old sealer?
Yes, you can put new sealer on old sealer. Just make sure the old sealer is clean and not damaged. Take off any peeling or broken parts before you add the new coat.
How can I tell if my concrete needs sealing?
If your concrete soaks up water or has stains, it probably needs sealing. You can do a water test by pouring water on it. If the water sinks in, it’s time to apply a sealer.
Is it safe to seal concrete inside?
Yes, sealing concrete inside is safe. Make sure there is good airflow to reduce fume exposure. Use low-VOC sealers to keep the air quality better while you work.
See Also
A Comprehensive Overview of Selecting Top Concrete Sealers
The Definitive Handbook for Effective Concrete Waterproofing Techniques
The 2025 Handbook for Selecting Ideal Concrete Sealers
The 2025 Manual for Picking Optimal Concrete Densifiers and Sealers
BANDě’s Essential Recommendations for Top Concrete Dustproof Sealers