


Sealing your concrete driveway is essential for both protection and aesthetics. A good seal enhances freeze-thaw resistance and boosts long-term durability. With the right care, sealed driveways can last significantly longer. You’ll want to clean the surface, apply a quality concrete driveway sealer, and maintain it over time for the best results.
Key Takeaways
Thoroughly clean your driveway before sealing. This ensures the sealer adheres properly and prevents peeling.
Choose a high-quality sealer suitable for your climate. This protects your driveway from moisture and enhances its durability.
Regularly maintain your sealed driveway. Clean it often and reseal every 2-3 years to keep it looking great and prolong its life.
Tools & Materials
Essential Tools
Before you start sealing your concrete driveway, gather the right tools. Here’s a list of essential items you’ll need:
Pressure Washer
Garden Hose
Pressure Washer Surface Cleaners
Scrub Brush
Bucket
Tank Sprayer
Paint Brush
Paint Roller & Frame
Roller Pan
Cleaning Gloves
Splash-Resistant Safety Goggles
These tools will help you clean the surface effectively and apply the sealer evenly. Remember, safety first! Always wear protective clothing, gloves, and eyewear when handling cleaning agents and sealers.
Recommended Sealers
Choosing the right sealer is crucial, especially if you live in an area with harsh winters. Here are some recommended options:
Penetrating concrete sealers: These block moisture and chemicals, making them perfect for high-traffic areas like driveways.
Silane or silane/siloxane blends: These sealers excel in cold climates. They resist the damaging effects of scraping and plowing during freeze-thaw cycles.
When selecting a sealer, consider using water-based options. They emit fewer volatile organic compounds (VOCs), making them safer for you and the environment.
By using high-performance products, you’ll ensure your driveway stays protected and looking great for years to come!
Cleaning Your Driveway
Cleaning your driveway is a crucial step before sealing. A clean surface ensures that the sealer adheres properly, providing long-lasting protection. If you skip this step or rush through it, you might face issues like peeling or ineffective sealing. Here’s how to prepare and clean your driveway effectively.
Preparation Steps
Before diving into the cleaning process, follow these preparation steps:
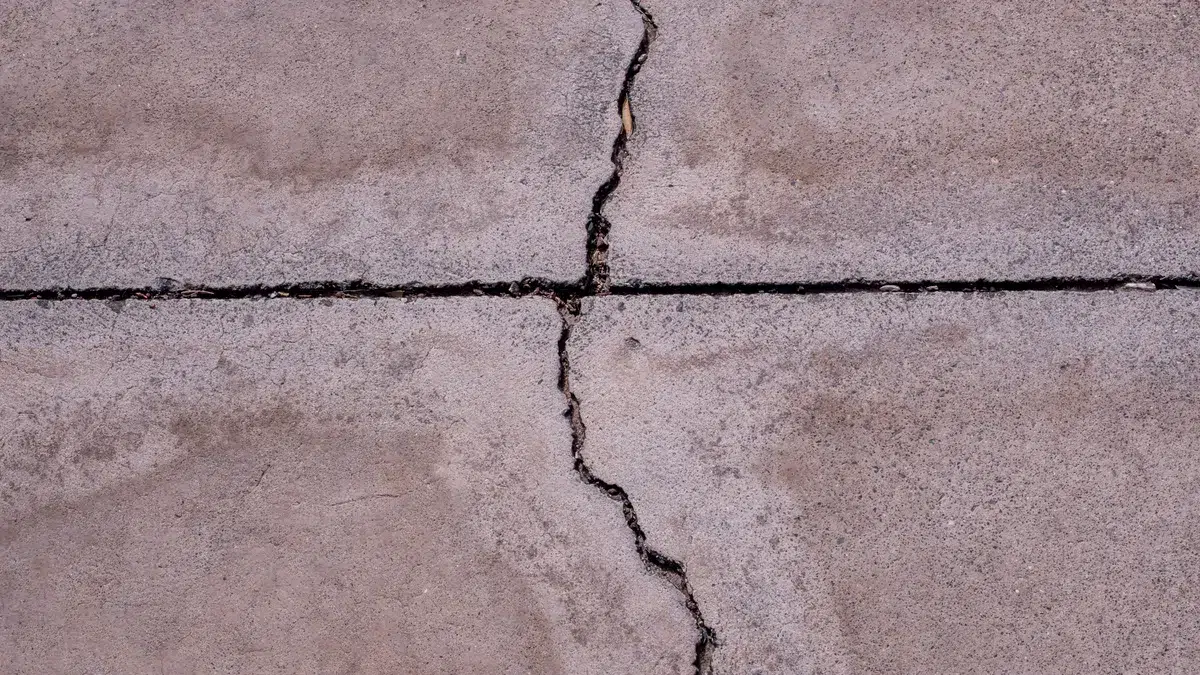
Inspect the Surface: Look for cracks, stains, or any damage that needs attention.
Gather Supplies: Make sure you have all your cleaning tools and materials ready.
Clear the Area: Remove any vehicles, furniture, or debris from the driveway.
Tip: Inadequate surface preparation is a major cause of sealing failures. Dirt and grime can create a barrier that prevents proper bonding of the sealer to the surface.
Cleaning Techniques
Now that you’re prepared, let’s get into the cleaning techniques. Here are some effective methods to ensure your driveway is spotless:
Pressure Washing: Use a pressure washer to blast away dirt and grime. This method is fast and efficient.
Removing Oil Stains:
Blot up excess oil with paper towels or old rags.
Use household products like cat litter or baking soda to absorb the stain.
For tougher stains, apply a degreaser or concrete soap, following the instructions carefully.
Scrub the area with a stiff brush and rinse thoroughly with water.
Addressing Other Stains: For rust or other stubborn stains, consider using Trisodium Phosphate (TSP) or a specialized concrete cleaner.
Drying Time: After cleaning, allow the concrete to dry for at least 24 hours. If the weather is humid or rainy, wait 48-72 hours before applying the sealer.
Note: Proper cleaning is essential. Contaminants like oil or grease can prevent the sealer from adhering effectively. In fact, inadequate surface preparation can lead to peeling of acrylic sealers.
By following these steps, you’ll set the stage for a successful sealing process. A clean driveway not only looks better but also ensures that your sealer performs at its best!
How to Seal a Concrete Driveway
Sealing your driveway is a straightforward process, but it requires attention to detail. Follow these steps to ensure you apply the concrete driveway sealer effectively.
Application Methods
Inspect and Repair: After your driveway has dried for at least 24 hours, check for any cracks or damage. Repair these areas before sealing to prevent water infiltration.
Apply the Sealer: Use a garden or tank sprayer, or a roller and brush to apply the sealer evenly. Make sure to avoid any buildup, as this can lead to peeling later on. Allow the first coat to dry completely.
Apply a Second Coat: Once the first coat is dry, apply a second coat in a perpendicular direction. This ensures even coverage and enhances protection.
Tip: Avoid common mistakes during the sealing process. Skipping cleaning and degreasing can lead to poor adhesion. Always clean the surface thoroughly and allow it to dry completely before sealing.
Curing & Maintenance
Curing is crucial for the longevity of your sealed driveway. Here are some tips to ensure proper curing and maintenance:
Ideal Temperature: The best temperature for applying concrete sealers is between 10°C and 30°C (50°F to 86°F). Applying sealers outside this range can negatively impact their performance.
Winter Weather Considerations: Most concrete sealers require temperatures above 10°C (50°F) for effective curing. If you must seal your driveway in colder weather, be aware that moisture can get trapped beneath a poorly cured film. This can lead to a cloudy finish or peeling, compromising the protective qualities against freeze-thaw cycles.
Maintenance Practices: To extend the life of your sealed driveway, follow these maintenance tips:
Regularly clean and remove debris to prevent mold and stains.
Reseal your driveway every 2-3 years to protect against moisture and UV rays.
Repair cracks and potholes early to prevent them from worsening.
Ensure proper drainage to avoid erosion and cracks.
Note: Avoid using deicing salts that can damage concrete. Instead, use safer alternatives to protect your driveway during winter.
By following these steps, you can effectively seal a concrete driveway and maintain its appearance and durability for years to come!
Sealing your concrete driveway is a simple yet effective way to protect your investment. Here’s a quick recap of the key steps:
Clean the surface thoroughly to ensure proper adhesion.
Apply a high-quality sealer for long-lasting protection.
Maintain your driveway regularly to keep it looking great.
Regular maintenance offers numerous benefits, such as:
Benefit | Description |
|---|---|
Sealing creates a barrier that prevents water from penetrating, reducing the risk of cracks and prolonging the driveway’s life. | |
Enhanced appearance and curb appeal | Sealers improve the color and finish of concrete, making it more attractive and increasing property value. |
Preventing stains and chemical damage | A sealer acts as a shield against stains and harsh chemicals, making maintenance easier and protecting the surface. |
Increasing longevity and reducing maintenance | Sealed driveways last longer with less upkeep, as they are less susceptible to damage from environmental factors. |
So, don’t wait! Start sealing your driveway today to enjoy these benefits for years to come! 🏡✨
FAQ
What is the best time to seal my concrete driveway?
You should seal your driveway in dry weather, ideally between late spring and early fall when temperatures are mild.
How often should I reseal my driveway?
Reseal your driveway every 2-3 years to maintain protection and appearance.
Can I seal my driveway in winter?
Yes, but ensure temperatures stay above 10°C (50°F) for proper curing and adhesion.
See Also
Top Five Concrete Driveway Sealers You Should Consider
Essential Concrete Dustproofer Sealers Recommended by BANDě
Key Tips for Selecting the Right Concrete Protective Sealer
2025 Recommendations for Ideal Concrete Densifiers and Sealers
