


Concrete coatings in the UK significantly enhance the durability and aesthetics of your surfaces. They provide strong resistance against stains, limit liquid penetration, and reduce the need for costly repairs. With thorough preparation and application, you can achieve professional-looking results in your projects. Trust that with the right guidance, you can transform your concrete surfaces successfully.
Key Takeaways
Proper surface preparation is crucial. Clean, repair, and etch the concrete to ensure the coating adheres well and lasts longer.
Follow a systematic approach when applying coatings. Use primer first, then epoxy, and finish with a protective topcoat for the best results.
Always prioritise safety. Use protective gear and ensure good ventilation during the application process to avoid health risks.
Surface Preparation for Concrete Coating
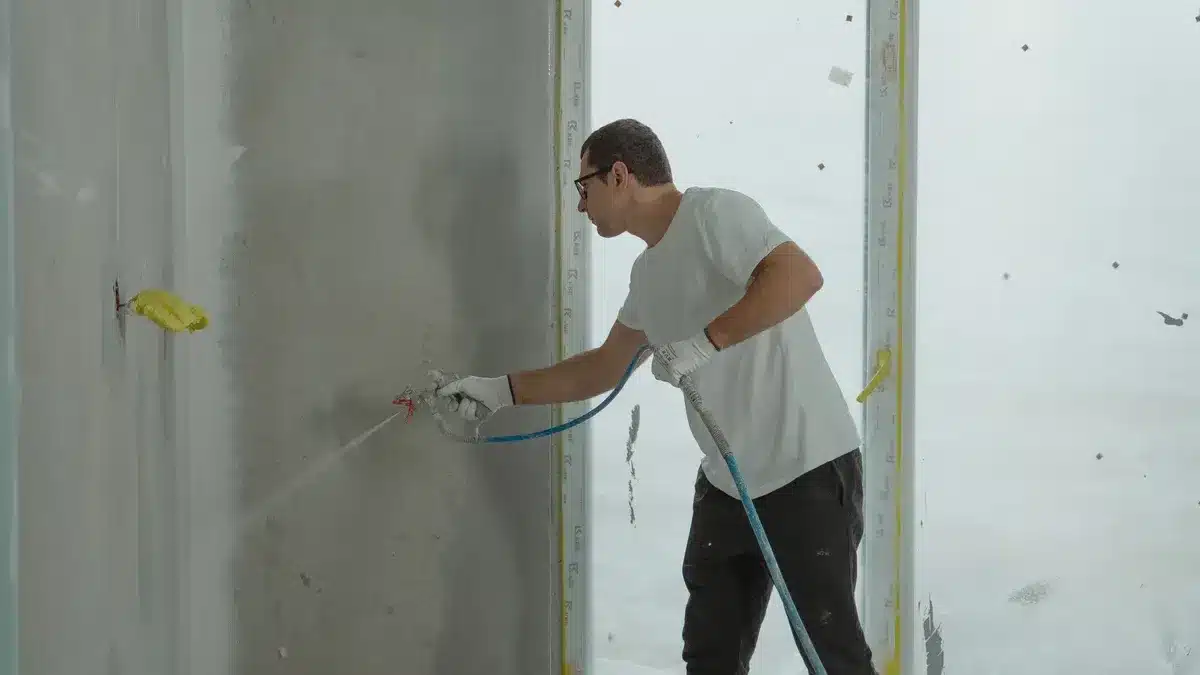
Proper surface preparation is the foundation of a successful concrete coating project. It ensures that the coating adheres effectively, providing a durable and long-lasting finish. Skipping or rushing this step can lead to issues such as peeling, bubbling, or cracking, which may result in costly repairs or reapplications. By dedicating time to cleaning, repairing, and etching the concrete, you can achieve a professional result that enhances both the appearance and durability of your surface.
Cleaning and Repairing the Surface
Before applying any concrete coatings, you must ensure the surface is clean and free from contaminants. Dust, oil, grease, and moisture are common culprits that can hinder adhesion and compromise the coating’s performance. Start by removing loose debris using an industrial vacuum cleaner equipped with a HEPA filter. This step not only improves adhesion but also creates a safer working environment by reducing airborne particles.
For oil stains, apply an alkaline degreaser diluted at a 1:10 ratio. Scrub the area with a stiff-bristled brush in circular motions for about 10–15 minutes. Follow this by rinsing the surface with a pressure washer fitted with a 25-degree fan tip. Allow the concrete to dry for at least 48 hours before proceeding to the next step.
If you notice cracks or holes in the concrete, address these imperfections during the repair and preparation phase. Use repair mortars for larger damages or pore fillers for minor defects. For active leaks, hydraulic cement mixed at a 4:1 powder-to-water ratio works effectively. For structural cracks, opt for two-part epoxy compounds with a 2:1 resin-to-hardener ratio. These materials not only restore the surface but also ensure a smooth and even base for the coating.
Etching the Concrete
Etching the concrete is a crucial step that prepares the surface for optimal adhesion. This process removes laitance, dust, and other residues that may prevent the coating from bonding effectively. It also creates a textured surface, similar to fine sandpaper, which enhances the mechanical and chemical bonding of the coating.
To begin, test a small area of the concrete (approximately 1 m²) to determine the best etching method. If the surface does not react significantly to an acidic etch, you may need to use mechanical preparation techniques like diamond grinding or shot blasting. When using acid for etching, always add acid to water, never the other way around, to ensure safety.
After etching, thoroughly rinse the surface to remove any residue and allow it to dry completely. This step is essential because trapped moisture can lead to coating failures, such as blistering or delamination. Proper etching not only improves adhesion but also extends the life of your concrete coatings, making it a worthwhile investment in the success of your project.
By following these steps for cleaning, repairing, and etching the concrete surface, you set the stage for a flawless application. A well-prepared surface ensures that your concrete coating adheres effectively, providing a durable and visually appealing finish.
How to Apply Concrete Coating
Applying concrete coatings involves a systematic approach to ensure a durable and aesthetically pleasing finish. This section will guide you through the essential steps of applying primer and epoxy coatings, along with the necessary tools and safety precautions.
Applying Primer
Before you apply the epoxy coating, you must first apply the primer. This step enhances adhesion and prepares the surface for the epoxy. Follow these steps for effective application:
Assess the condition of your concrete surface to determine the level of preparation needed.
Gather essential tools and materials such as a broom, pressure washer, concrete cleaner, and repair materials.
Sweep the surface to remove loose dirt and debris, then use a pressure washer to eliminate stubborn stains.
Inspect for cracks or imperfections and repair them with a concrete patching compound.
Ensure the concrete is completely dry before applying primer.
Prepare your tools, including a roller or brush, paint tray, and drop cloth.
Pour primer into the paint tray and apply it in small sections using a “W” pattern for even coverage.
Allow adequate drying time as per the manufacturer’s instructions.
By following these steps, you can avoid common mistakes to avoid, such as not cleaning the surface properly or applying sealer to wet concrete. Always choose a primer suitable for your specific concrete type to ensure optimal results.
Apply the Epoxy Coating
Once the primer has cured, you can proceed to apply the epoxy coating. This step is crucial for achieving a robust and long-lasting finish. Here’s how to do it:
Preparation: Remove everything from the room, sweep and vacuum the area, and repair any cracks or damage. Ensure the concrete is free from grease and oil.
Mixing: Mix the base and hardener components thoroughly before application. Ensure a streak-free mixture for the best results.
Applying the Coating: Follow the manufacturer’s instructions closely. Apply the epoxy in sections, ensuring even coverage. Remember, epoxy floor coatings are not self-levelling. You will need to apply a self-levelling compound before the epoxy application.
It is recommended to allow the primer to cure for 24 to 48 hours at room temperature before applying the epoxy coating. Rushing the drying time can lead to poor adhesion and surface flaws.
Necessary Tools and Safety Precautions
Using the right tools is essential for a successful application. Here’s a list of essential tools and their impact on the final result:
Tool | Description | Impact on Surface |
|---|---|---|
Abrasive Blasting | Shoots abrasive particles to dislodge contaminants and profile the surface. | Effective for adhesion. |
Shotblasting | Uses steel shot to clean and roughen surfaces, ideal for horizontal areas. | Improves coating durability. |
Water Jetting | High-pressure water jets remove contaminants and roughen surfaces. | Low impact on surface. |
Scarifying | Fractures concrete with toothed washers, creating a striated pattern. | Moderate to high impact. |
Safety is paramount when applying concrete coatings. Here are some precautions to take:
Ensure proper ventilation during installation to reduce VOC exposure.
Use personal protective equipment such as gloves, masks, and protective clothing.
Place warning signs in areas with epoxy flooring to indicate potential slipperiness.
Follow product labels and safety data sheets for hazardous ingredients and safety measures.
By adhering to these guidelines, you can ensure a safe and effective application process.
Topcoat Application and Finishing Touches
Choosing the Right Topcoat
Selecting the appropriate topcoat is essential for ensuring the durability and longevity of your concrete coating. A high-quality topcoat not only protects the surface from wear and tear but also enhances its resistance to chemicals, moisture, and UV damage. This is particularly important for high-traffic areas where the surface is exposed to constant use and potential abrasions.
Urethane is a popular choice for topcoats due to its exceptional toughness and resistance to chemicals and moisture, making it ideal for areas with heavy foot or vehicle traffic.
When choosing a topcoat, consider the following factors:
The type and frequency of traffic the surface will endure.
The level of UV exposure, as some coatings may degrade under sunlight.
The thickness of the coating system, which can influence its durability.
The potential for chemical exposure, especially in industrial or commercial settings.
For maximum durability, you might opt for polyurethane or polyaspartic coatings. These materials offer excellent abrasion resistance and UV stability, with polyaspartic coatings lasting up to 25 years or more.
Application Process
Applying the topcoat evenly is crucial to achieving a smooth, professional finish. Follow these steps to ensure success:
Divide the surface into manageable sections and work panel by panel.
Use a high-quality roller or brush to apply the topcoat in thin, even layers.
Roll the paint in a consistent “W” pattern to avoid streaks or uneven coverage.
Overlap each section slightly to maintain a seamless finish.
Gently stroke the surface with a brush to remove air bubbles or blemishes.
For best results, ensure the environment meets the recommended temperature and humidity levels specified by the manufacturer. If needed, lightly sand between coats to improve adhesion and smoothness.
Durability Features | Lifespan | |
|---|---|---|
Polyurethane | Excellent abrasion resistance, flexible, better UV stability than epoxy | 5 to 10 years |
Polyaspartic | Superior abrasion and chemical resistance, exceptional UV stability | 15 to 25+ years |
Epoxy | Excellent resistance to chemicals, abrasion, and impacts | Varies by use |
By carefully selecting the right topcoat and applying it with precision, you can achieve a durable and visually appealing finish that will stand the test of time.
Applying concrete coatings involves several key steps that you can master with practice. Follow these essential actions:
Surface Preparation: Clean and repair the concrete thoroughly.
Mixing and Applying Epoxy: Mix the epoxy as directed and apply it in sections.
Sprinkling Decorative Flakes (Optional): Add flakes while the epoxy is tacky.
Applying the Topcoat: Protect your work with a clear topcoat.
With patience and attention to detail, you can achieve impressive results. Start your project today, and remember, practice makes perfect! 🎨
FAQ
What is the best time to apply concrete coatings?
You should apply concrete coatings when temperatures are between 10°C and 30°C for optimal adhesion.
How long does it take for the coating to cure?
Curing time varies, but most coatings require 24 to 48 hours before light foot traffic.
Can I apply concrete coatings indoors?
Yes, you can apply coatings indoors. Ensure proper ventilation to reduce fumes during application.
See Also
Achieving Expertise In Applying Waterproof Coatings On Surfaces
A Comprehensive 2025 Manual For Choosing Concrete Floor Hardeners
The Ultimate 2025 Handbook For Concrete Densifiers, Hardeners, And Sealers
An Indispensable Guide To Selecting The Ideal Concrete Sealer
Understanding BANDě Concrete Floor Hardener: Key Insights You Need
