

Your basement might be wet. Over 60% of homes with basements face moisture problems. This leaky basement harms health and home value. Proactive waterproofing is crucial. This guide shows you how to waterproof basement walls, applying waterproof coating for basements. You keep water away from your basement, preventing mold and improving air quality.
Key Takeaways
Clean and dry basement walls completely to help the waterproof coating stick and last.
Fix all wall cracks with hydraulic cement before applying your final waterproof seal.
Apply at least two thick coats of waterproof sealant to block all moisture.
Preparing Basement Walls for Waterproofing Coating
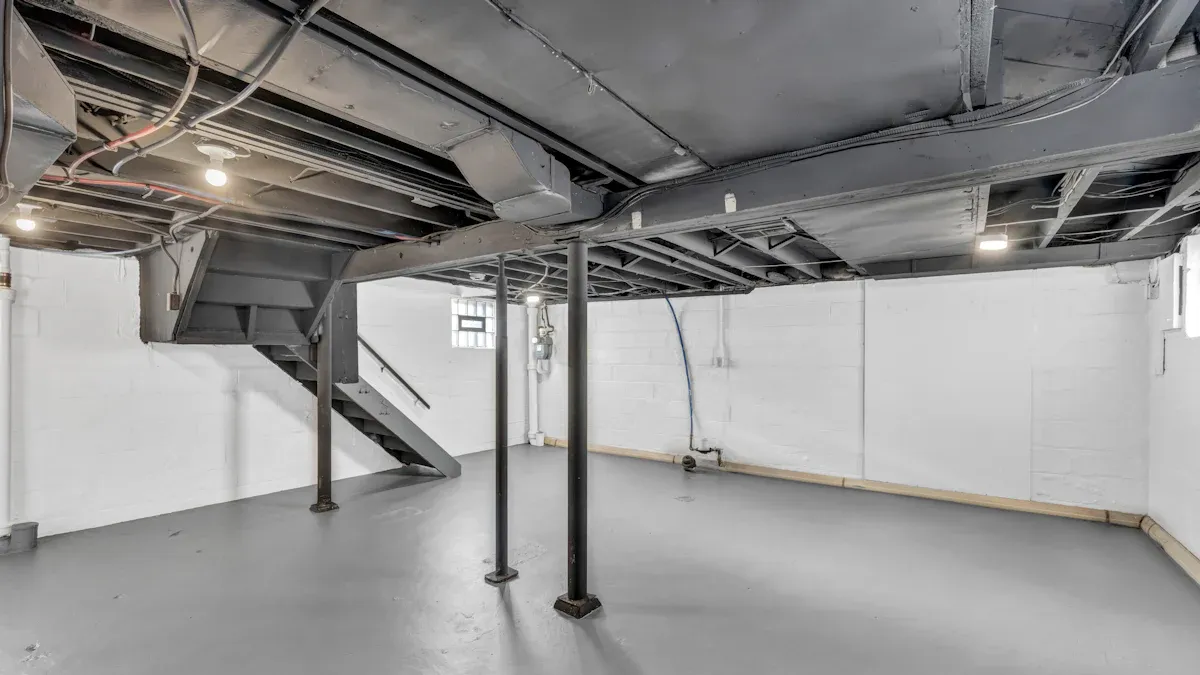
Before you apply any waterproof coating, you must prepare your basement walls. This crucial step ensures the coating adheres properly and provides lasting protection. You need to make sure the area is completely dry, thoroughly cleaned, and free of debris. Skipping this preparation can lead to coating failure and continued moisture problems in your basement.
Cleaning and Repairing Basement Walls
First, you need to clean your basement walls. Remove all standing water and ensure the area is completely dry to avoid hidden leaks. Use a wire brush to scrub away dirt, grime, mold, mildew, and any efflorescence. Efflorescence is that white, powdery substance you sometimes see on concrete. For effective removal of efflorescence from concrete basement walls, you can use RadonSeal Efflorescence Cleaner. It is safe for indoor use, works quickly, and has no odor. This cleaner works on poured concrete, concrete blocks, bricks, stucco, and other masonry surfaces. If you find old paint or coatings, use a paint scraper to remove them. You might also need a hammer and chisel to remove loose or damaged concrete.
After cleaning, inspect your walls for problem areas. Look for cracks, damp spots, and water entry points. Mark these with chalk. You must repair these before applying any waterproofing. For larger cracks or active leaks, use hydraulic cement. This material expands as it dries, creating a strong, waterproof seal. For small hairline cracks, use a flexible crack filler. Proper crack preparation is vital; filling cracks without cleaning or widening them first leads to poor bonding.
The surface profile of your concrete also matters for proper adhesion. For example, polyurea waterproofing coatings need a concrete surface profile (CSP) within the range of 2–6. Thin film coatings require a CSP of 3–4, while thicker overlays need a CSP of 6 or higher. This profile provides mechanical keying for the coating. You can test the moisture content in your concrete walls using methods like the Plastic Sheet (Method 1), Impedance (Method 2), Radio Frequency (Method 3), Conductivity (Method 4), or RH Probe (Method 5). The Anhydrous Calcium Chloride test is not suitable for walls.
Sealing Openings Before Waterproofing Basement Walls
Once your walls are clean and repaired, you need to seal any openings. This includes resealing around basement windows, doors, and window wells. Use silicone-based waterproof caulk or silicone-latex caulk for lasting protection around window frames and foundation joints. Apply the caulk at a 45-degree angle using a caulking gun. You must plug holes and cracks effectively to prevent future leaks.
A common mistake is sealing a wet wall. Applying waterproofing to a damp or wet wall prevents proper bonding, causing bubbling, peeling, or washing away. Always wait for the wall to be completely dry. Another mistake is using the wrong repair materials. General-purpose silicone or acrylic caulk often fails under moisture and hydrostatic pressure. Use hydraulic cement for active leaks or masonry/polyurethane caulk for hairline cracks.
You might think about sealing the joint where the basement wall meets the floor (the cove joint). However, sealing this joint is not recommended. Hydrostatic pressure will cause the sealant to fail or force water to find another entry point. Instead, consider interior drainage solutions like interior drain tile systems or exterior waterproofing membranes. These solutions reduce hydrostatic pressure and direct water away. You can also chase the joint 1/2 inch deep with a grinder and fill it with an ElastiPoxy Joint & Crack Filler Kit for a flexible repair. Alternatively, you can inject the joint with expanding polyurethane using an Easy-Peel DIY Foundation Crack Repair Kit. Remember, interior sealants cannot withstand hydrostatic pressure from saturated soil. You should extend downspouts and regrade soil to prevent water accumulation. Ignoring deeper structural problems, like poor drainage, means you are only treating symptoms.
Applying Waterproof Coating for Basements Like a Pro
Now that your basement walls are clean and repaired, you are ready to apply the waterproof coating. This step is where you create a strong barrier against moisture. Choosing the right product and applying it correctly makes all the difference in achieving a dry, healthy basement.
Selecting the Right Waterproof Coating Product
Choosing the right waterproof coating for basements is crucial. You have several options, each with different features. For example, cement-based coatings are rigid and budget-friendly, but they have low flexibility. They allow moisture vapor to escape, which means they are breathable. Acrylic coatings, on the other hand, are highly flexible, stretching over 300%, and adapt well to structural movement. They form a continuous, typically non-breathable barrier. Acrylics are often a moderate to higher cost option. Consider the extent of water intrusion and your basement’s condition. If you have minor dampness, a basic coating might work. For severe water challenges or new construction, a more robust, flexible option is better.
Many excellent products are available for DIY basement waterproofing. SANI-TRED is a top choice, known for its permanent waterproofing system that adheres to concrete. If you have light seepage and want a painted look, Drylok Extreme or KILZ are good options. For damp walls or radon concerns, RadonSeal offers an invisible fix. If you have cracks or movement, Liquid Rubber or Sani-Tred Permaflex provide flexibility. For high water pressure on block walls, MasterSeal 583 is a strong contender.
Consider the hydrostatic pressure your walls might face. Typical maximum hydrostatic pressure on basement walls is about 2.73 psi. Products like Sani-Tred, at 1/16 inch thick, can resist up to 10 psi in lab tests, and even up to 40 psi in field measurements. This gives you a safety margin about 60 times stronger than typically needed. BASEMENT SEALER PRO™ resists up to 15 psi negative hydrostatic pressure, which is like a 33-foot high wall of water. These high ratings ensure strong suitability for your basement walls.
Expert Techniques for Applying Waterproof Coating
Applying the waterproof coating correctly ensures a lasting waterproof seal. You should use a brush or roller to apply masonry or brush-on waterproofing paint. Apply it thickly enough to fill all fine surface pores and holes. For standard concrete walls, apply two to three coats. If you have concrete block and masonry basement walls, you will need three to four coats. Semco Fl recommends two coats, covering 200–250 sq ft per gallon per coat. DRYLOK® Extreme also requires a minimum of two coats for warranted waterproofing. ProBuilder suggests two coats of waterproofing membrane for recessed windows in concrete block walls. Sakrete Canada also recommends a two-coat application for normal waterproofing of concrete block, brick, and masonry surfaces.
Wait approximately 10 to 20 minutes between applications. This allows each coat to set slightly before you apply the next. For optimal moisture protection, apply the liquid sealant evenly across the interior walls after priming. Priming with Permaflex primer is crucial. It handles microscopic sealing and adhesive bonding, ensuring the sealant effectively seals tiny leaks. The primer works with reinforcement materials for large cracks, letting the liquid sealant focus on microscopic leaks. This combined approach enhances adhesion and overall sealing performance, creating a negative hydrostatic seal.
To ensure even coverage, apply the first coat at a rate of 1 gallon per 100 sq. ft., working it into the concrete surface for full penetration. After the first coat cures, check for thin or missed spots and touch them up. Apply the second coat at the same rate, but in a direction perpendicular to the first. This eliminates pinholes and creates a continuous membrane. Avoid common application errors like poor surface preparation, incorrect thickness, or rushing the installation. These mistakes can lead to waterproofing failure.
A properly waterproofed basement offers immense value and peace of mind. You safeguard your home, reduce energy costs, and increase home value. Thorough preparation and correct application of waterproof coating for basements ensure lasting results. You can waterproof basement walls and keep water away from your basement, preventing costly repairs. Maintain dryness. Mastering this skill empowers you.
FAQ
How often should you reapply basement waterproofing?
You should inspect your basement annually. Reapply waterproofing every 5-10 years, or sooner if you notice new dampness or damage.
Can you waterproof a basement from the inside if it has active leaks?
Yes, you can address active leaks from the inside. Use hydraulic cement for immediate repairs before applying a full waterproof coating.
What happens if you don’t prepare the walls properly?
Poor preparation leads to coating failure. The waterproof coating will not adhere correctly, causing peeling, bubbling, and continued moisture problems.
See Also
How To Apply Durable Waterproof Coating On Every Surface
The Complete Do It Yourself Guide To Basement Waterproofing
Comprehensive Guide To The Best Concrete Waterproofing Solutions Today
How To Use Cement Crack Sealer For Permanent Repairs
Choosing The Ideal Flexible Waterproof Sealer For Your Project
