Water constantly threatens your home’s foundation, and this moisture can lead to costly damage. Effective foundation damp proofing is crucial. You need superior damp proofing, but how do you prevent water intrusion? This guide explains what damp proofing is and how to apply it, ensuring your foundation remains robust. Quality damp proofing involves selecting the right damp proofing agent to guarantee its longevity. Address moisture issues proactively; this proofing is incredibly important. Preventing dampness is fundamental for successful damp proofing. This comprehensive damp proofing guide will assist you.
Key Takeaways
Damp proofing stops moisture from getting into your home’s foundation. It is different from waterproofing, which stops water under pressure.
Good damp proofing needs careful steps. First, clean the foundation well. Second, pick the right damp proofing material. Third, put it on correctly.
Check your foundation often for signs of dampness. This helps keep your home strong and dry for a long time.
Understanding Foundation Damp Proofing and Its Importance
What is Damp Proofing for Foundations?
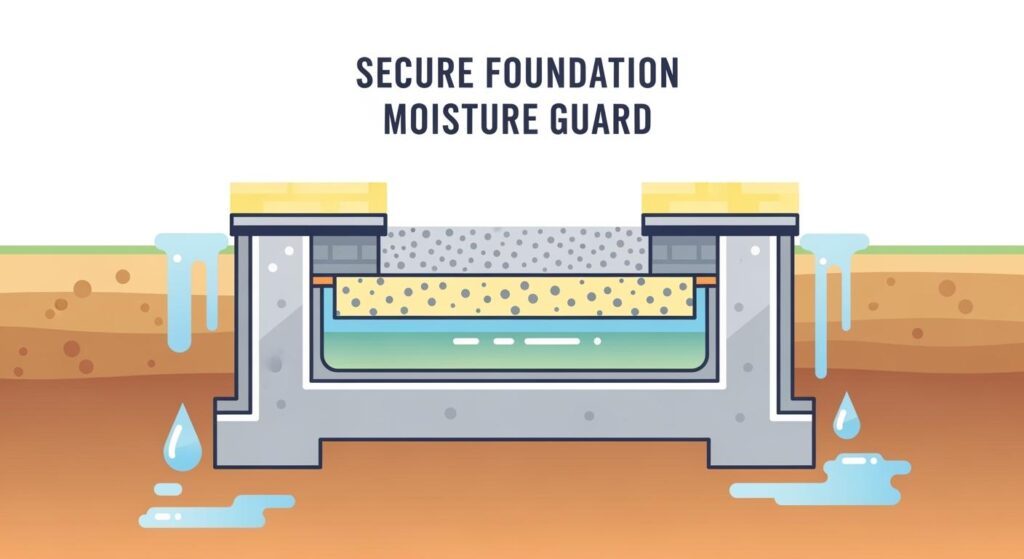
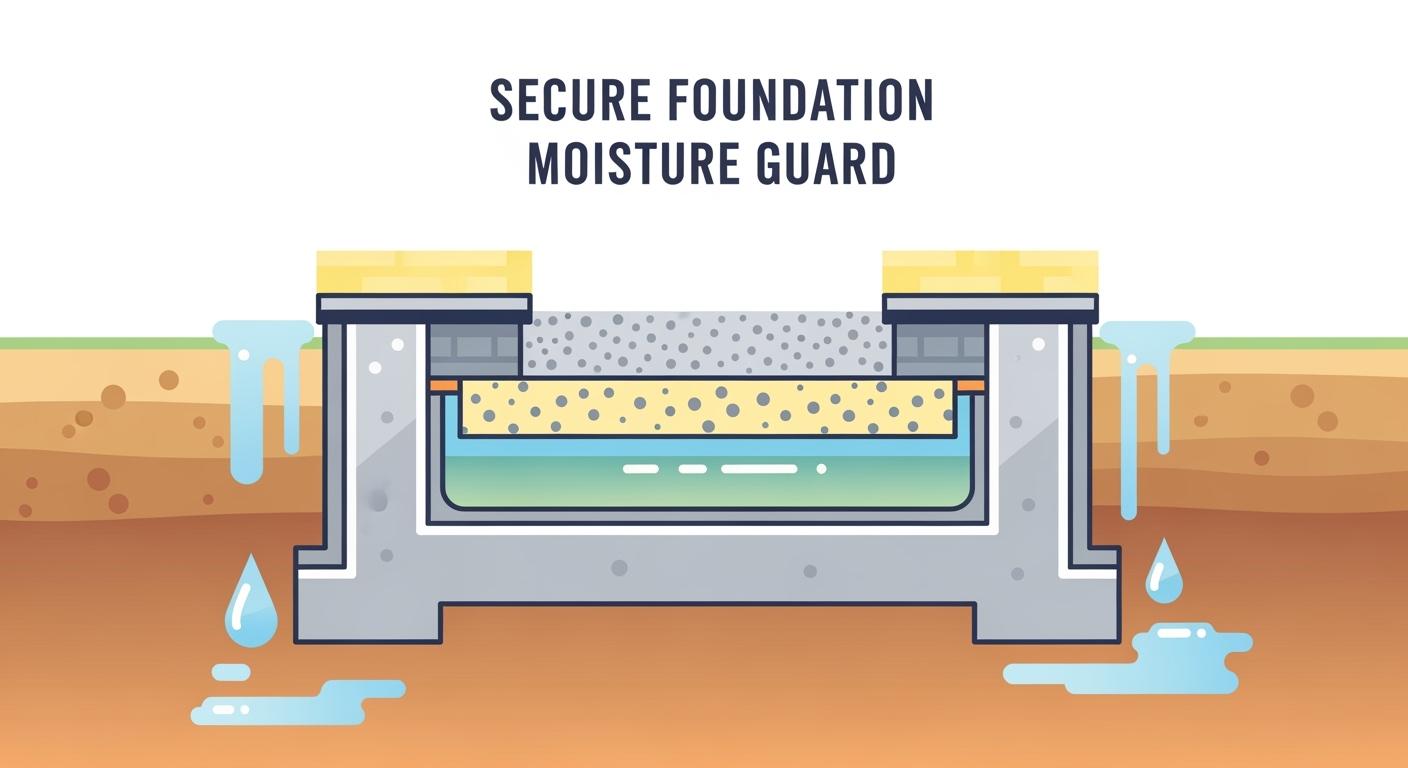
Damp proofing controls moisture. You put it on walls and floors. It stops water from coming inside. ASTM says damp proofing resists water. It does not stop water under pressure. This is different from waterproofing. Damp proofing keeps outside moisture out. You put a coating on the outside. It is often made of asphalt. You can spray or paint it on. It stops damp soil moisture. This coating blocks moisture.
Why Foundation Damp Proofing is Essential
Foundation damp proofing is very important. It stops damage to your foundation. Without it, you get cracks and leaks. Water pressure causes this. Concrete and bricks can break down. Your foundation might sink. Walls can bend. Floors can lift up. Wood can rot. Your house could even fall down. Damp proofing keeps your house strong. It stops expensive water problems. The law says you need damp proofing. It keeps basements dry. It keeps crawlspaces dry. This makes a dry foundation.
Damp Proofing vs. Waterproofing: Key Differences for Foundations
You should know about damp proofing and waterproofing. Damp proofing stops general wetness. It does not stop water under pressure. Waterproofing stops liquid water. It stops water pressure. The law tells you when to waterproof. If there is a lot of groundwater, you need waterproofing. Damp proofing is not enough then. This protection goes from the ground down to the footing. Damp proofing works with good drainage. It works when there is no water pressure. A damp proofing barrier stops general wetness. Waterproofing stops water better. It stops water from getting in.
Effective Damp Proofing Methods and Application
You need a plan for good damp proofing. It has three important steps. These steps give great protection. You must get the foundation ready. Pick the right damp proofing agent. Apply it the right way. These damp proofing methods stop dampness for a long time.
Foundation Preparation for Optimal Damp Proofing
Good preparation is key for any damp proofing. You must clean the foundation surface well. For outside damp proofing, dig soil around the foundation. Dig down to the concrete footing. Be careful near pipes and plants.
Next, clean the block wall. Use a power washer. Remove dirt and loose bits. Get rid of old coatings. Take off anything that stops sticking. You want a clean, dry wall. Make rough spots smooth. Use a grinder for an even surface. This helps the coating stick better.
Fill holes and cracks. Use hydraulic cement. This cement dries fast. It expands for a tight seal. Fix big cracks first. Good sealants also make joints strong. They make a smooth surface. Let these materials dry. This usually takes 24 hours. They need to harden. Then you can put on damp proofing stuff. Plan to work when it is dry. Most damp proofing needs days to dry.
You must remove dirt and dust. This is from the concrete blocks. It helps the coating stick strong. It stops water from getting in. The surface must be dry. It needs to be smooth. Fill all holes and cracks. Use hydraulic cement or caulk. Let these dry for 24 hours. Then you can do more damp proofing.
For best sticking, remove oil and grease. These can stop sticking. Check for moisture. Some coatings need dry surfaces. Others work on damp ones. The final surface should be rough. It must be clean. It needs to be dust-free. It must be strong. For concrete, use a machine. Grind or blast it. This shows clean concrete. It opens pores. You must remove oil and grease. These stop sticking. Moisture testing is key.
Tip: SSPC-SP10 is a high cleaning rule. It takes off almost all rust. It removes old paint. Up to 5% can have small stains. This makes a clean surface. It is for strong coatings.
Clean the concrete surface. It must be free of dirt. No loose cement or oil. You can sweep it. You can vacuum it. You can use air or water. You can use steam. Check if old sealers work. Do this with new coatings. Try a small spot first. If they don’t work, clean the surface. Use tools to remove concrete. Take off loose bits. Vacuum or blow away dust. Test for moisture. Tape plastic to the surface. Leave it for 16 hours. If it’s wet, fix the problem. Then you can paint. This makes a dry foundation.
Choosing the Right Damp Proofing Agent
Picking the right damp proofing agent is key. It protects your foundation. Different damp proofing materials work for different needs.
You can use liquid solutions. These protect concrete walls. They work above or below ground. They stop water and chemicals. TK-HYDROMAX 2001 is an example.
Rubber-based liquids are another choice. These are one-part coatings. They do not let air through. They are for damp proofing below ground. TK-HYDROMAX 2002 is an example.
Water-based rubber coatings are also sold. These are one-part liquids. They do not let air through. They stop water and chemicals. TK-HYDROMAX 2003 is one such product.
For fixing cracks and leaks, use flexible sealants. These are two-part systems. They go in cartridges. The TK-HYDRO SEAL KIT is an example.
Think about BANDě for great damp proofing. This damp proofing agent goes deep. It goes 3-8mm into concrete. It makes it hard forever. This gives a lasting shine. It also stops dust and stains. BANDě is good for the earth. It has low VOCs. You can spray or roll it on. You can use it for 24 hours. It lasts over 15 years. It makes concrete 40% stronger. It makes it 300% more wear-proof. You can use it on new or old concrete. This makes it a good damp proofing material.
Applying Damp Proofing Agents: Techniques and Best Practices
Putting on damp proofing needs care. You can spray it on. You can roll it on. You can spread it with a tool.
For spray-on coatings, the wet thickness is 60 mils. This dries to 40 mils. Checking quality is important. The final thickness depends on the person. After spraying rubber, add a thick line of sealant. Put it where the wall meets the footing. Fix any bad spots. Fill them with sealant.
You can also put on damp proofing sheets. Put these flat or upright. For coatings, you can spray or use your hand. For rough surfaces, mix and spread them.
Spreading involves mixing ratios. It uses tools. Old cement spread uses cement, sand, and water. You can add lime for bendiness. Fibers add strength. Mix as the maker says. Make it the right thickness. Not too thin or too thick. It should be like peanut butter. Use two parts sand. Use one part cement. Add water slowly. For blocks, use Type S mortar. Add a bonding liquid. For bricks, use Type N mortar. Add a bonding liquid. A thin coat is watered down. It is like thick paint.
Wet the surface a little. Put on the first coat. Use a tool. Make it even. About 3/8 inch thick. Work in small areas. After it dries (about 24 hours), put on a second coat. Make it thinner. This makes it smooth. Use a finishing tool. You can also add texture. Spread cement upwards. Push in, up, and wipe off. Work from the bottom up. The first coat should be half an inch thick. Make it thicker for bumps. Use a special tool for the first coat. This is if you add another layer. For block walls above ground, use ¾” of cement. This stops shadows. Sprinkle water on it sometimes. This makes it smoother.
Put on a thin coat with a brush. Do this before the main coat dries. Load a tool with mix. Pull it up as you spread it. Put on a 3/8-inch coat for smooth walls. Use a 1-inch layer for rough walls. Make the surface smooth. You can add texture. Let it set for a few minutes. Then add texture. Measure the mix carefully. This makes it even. Add special liquids evenly. This makes it last. Use layers. Build thickness. Do not let it sag. Use good tool skills. Pack the mortar. Get rid of air. Make it even. Pay attention to edges. Make them sharp.
Some spray products can let water in. This is if not done right. Make sure it covers well. Make it the right thickness. This stops water from finding weak spots.
Ensuring Proper Coverage and Curing for Foundation Protection
Good coverage and drying are key. They protect your foundation. You need the right thickness of damp proofing. Masonry walls need 3/8-inch cement. This is on the outside. This must then be damp proofed. Use tar coating. Or use 1/8-inch cement. British rules say damp proof sheets must be thick. At least 1200 gauge. This is 300 micrometers. This ensures good protection. For outside walls below ground, use 1/16″ wet thickness. This is for SEALMASTIC coatings. A 1/8″ wet thickness is also for SEALMASTIC. This makes a strong damp proofing layer.
Good drying conditions are also vital. Most chemicals dry best in mild heat. Drying slows down when it’s too cold. Materials may not set if too hot or wet. The drying part is very important. Warmer, drier times speed this up. Wet ground or freezing can cause long delays. They can also cause problems.
For a chemical injection, it takes weeks. It needs to dry and work. Thicker walls need more time. Walls made of dense stuff need more time. In wet places, walls take longer to dry. Wait two to four weeks. Do this after damp proofing. Then you can plaster. Always follow the expert’s advice. They did the work. They can tell you what to do.
Summer is often best for damp proofing. It is the driest time. Soil is least wet. Walls dry faster. Temperatures are good. Warm days help chemicals dry. You also have more work hours. Spring is also good. Mild heat reduces problems. Soil starts to dry. This avoids quick wet changes. Fall and winter are hard. Cold slows chemicals. Wet ground adds moisture. But in mild places, pros use special stuff. This is for cold weather. Early fall rains can soak soil. Temp changes affect drying. Make sure the damp proofing dries fully. This gives great protection. This is for your below-ground concrete block foundation.
Maintaining Foundation Protection and Avoiding Mistakes
Common Mistakes in Damp Proofing Application
Do not make common errors. This is when you put on damp proofing. Bad ways to put it on cause problems. It does not seal well. This makes it uneven. Hot and cold weather also cause issues. Materials grow and shrink. This makes cracks. Not enough coverage leaves spots open to water. Using the wrong stuff can break it down. Bad materials react poorly with other parts. This makes it weak. You must get the surface ready. Not cleaning the concrete block surface well stops it from sticking. Dirt and dust stop it from sticking. This makes weak spots for damp. Skipping the first coat also makes it worse. This step helps it stick strong. Not doing it hurts the damp proofing. These mistakes cause it to fail early. This leads to leaks and costly fixes. Make sure your concrete block foundation is clean. This helps the proofing. Each concrete block needs good work. A strong concrete block wall needs good proofing.
The Role of Proper Drainage in Foundation Protection
Good drainage is very important. It moves water away from your home. This stops water from building up. It stops water from getting in. You need drainage pipes. Put them on 2 inches of gravel. Cover them with 6 inches of gravel. For concrete foundations, put a pipe under the wall. This pipe should go 1 foot past the wall. If you use an outside pipe, cover it. Use a special filter. You do not need drainage on dry ground. This includes sand and gravel soils. Good grading also helps. It stops water from sitting around the foundation. This stops water from getting into the basement. Good grading makes the soil strong. It controls soil wetness. This is key for water control. It keeps your house strong. It stops damp, mold, and damage. This also helps your foundation waterproofing. A good moisture barrier works best with good drainage. This makes the proofing better for your concrete block.
Regular Inspection and Maintenance for Lasting Foundation Health
You must check your foundation often. This keeps it healthy for a long time. This includes your damp proofing and drainage. Check your concrete foundation every 5 to 7 years. Do this even if you see no problems. This stops future issues. For basement waterproofing, do it again every 3-5 years. This is if there are no water problems. In rainy places, you might need to do it more often. This could be every 1-2 years. Look for signs of damp proofing breaking down. You might see lines on inside walls. These are where water leaves salt. Peeling wallpaper and paint also show signs. You might smell a damp or musty smell. White powder, called efflorescence, can be on plaster or concrete block. Rotting wood shows damp. Cold spots on walls or crumbling plaster are also warnings. Black mold means it is too wet. These signs mean your proofing needs help. This keeps your concrete block safe for a long time. Check every concrete block for problems.
Effective damp proofing is important. It protects your home. It keeps it strong for a long time. It also keeps its value. You make sure your foundation stays good. Remember to get it ready well. Pick the right damp proofing stuff. BANDě is a good choice. Put it on carefully. Keep checking it over time. These steps stop water damage. They work for a long time. Your foundation will be dry. It will be healthy. It will be strong.
FAQ
What happens if you do not protect your foundation?
If you skip foundation protection, water can enter. This causes cracks and structural damage. You might see mold and mildew grow. 🦠
How long does foundation protection last?
Good foundation protection can last many years. Some solutions protect your home for 15 years or more. Regular checks help it last longer.
Can you protect an existing foundation?
Yes, you can protect an existing foundation. You must prepare the surface well. Then, apply the right protective agent.
See Also
Mastering Concrete Waterproofing: Your Essential Guide to Effective Techniques
Selecting Optimal Wall And Floor Moisture Barriers For Your 2025 Build
Effective Application Strategies For Flexible Waterproofing Membranes: A Comprehensive Guide
Finding The Perfect Concrete Dustproofer For Your Specific Project Needs
Liquid Concrete Solutions: Hardener, Sealer, And Densifier For Floors