
You often overlook primer, but it’s crucial for your concrete masonry projects. A good Concrete Masonry Primer stops peeling paint, efflorescence, and moisture damage. BANDě is your expert in concrete masonry solutions. This guide helps you choose the right primer and apply it for great results in 2025.
Key Takeaways
Primer is very important for concrete projects. It makes paint stick better and last longer. It also stops water damage and white spots.
Choose the right primer for your project. Different primers work for different needs, like general use, strong protection, or wet areas. Always check what your concrete needs.
Prepare your concrete surface well before priming. Clean it and follow the primer’s instructions. This helps the primer work best and makes your paint job look good and last.
Why Primer is Essential for Masonry
You might think of primer as just another step, but it’s truly the backbone of any successful concrete masonry project. It sets the stage for a beautiful, long-lasting finish.
Enhanced Adhesion and Durability
A good primer creates a powerful connection between your concrete masonry and the final paint coatings. Think of it as a super-strong glue. This primer acts as a bonding agent, establishing a firm link that stops your paint from peeling, chipping, or delaminating. It seals porous surfaces, which is vital for concrete. This sealing prevents contaminants from getting into the substrate. You get improved paint adhesion, which makes your finish much more durable. It resists cracking and blistering, giving you a tough, resilient surface.
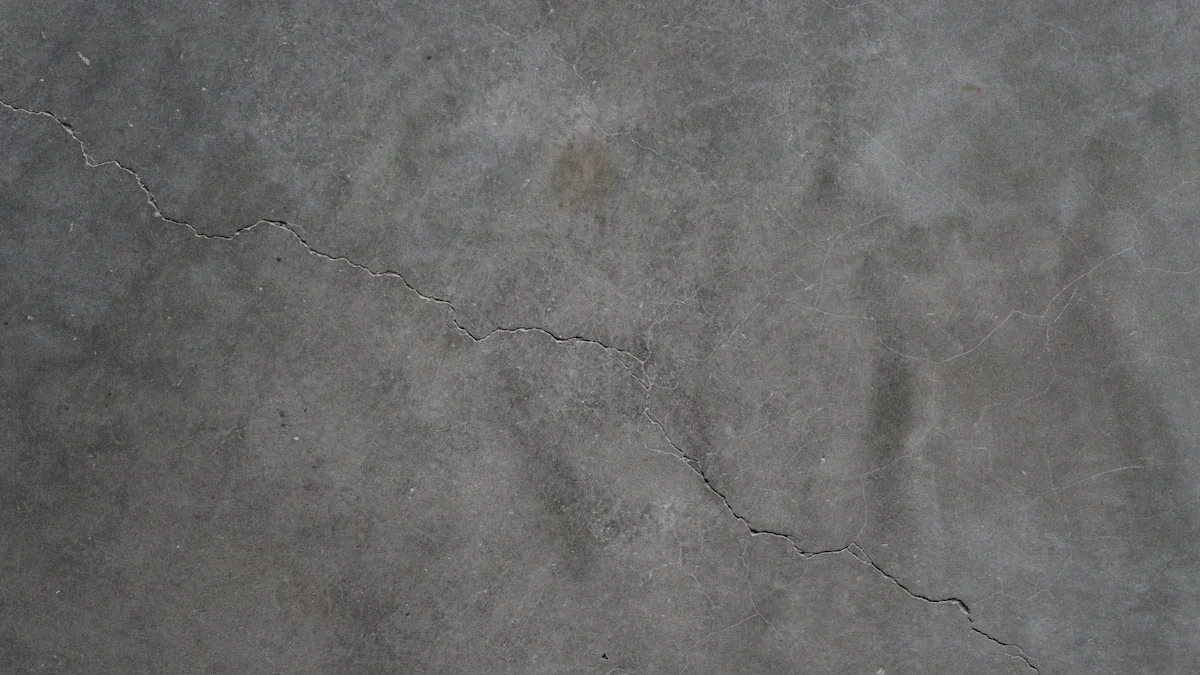
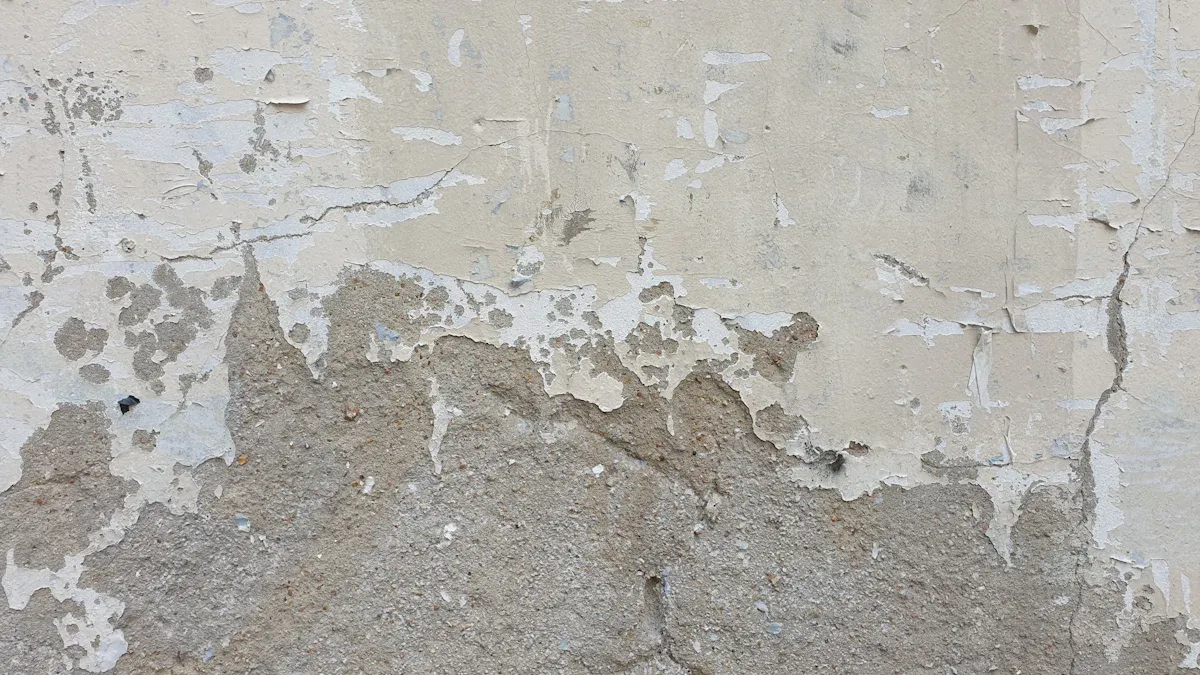
Preventing Moisture and Efflorescence
Concrete is naturally porous, meaning it can absorb water. This is where a primer for masonry becomes your best friend. It forms a protective barrier against moisture infiltration. This barrier is crucial for preventing damage like mold growth, efflorescence (those white, powdery salt deposits), and even structural weakening. Especially in high-moisture areas, this protective layer keeps your concrete healthy. It stops water from getting in, protecting your investment.
Improving Topcoat Finish and Longevity
Applying a primer gives you a smooth, uniform base for your topcoat. It seals those porous surfaces, ensuring your final paint coatings look consistent in color and finish. Without it, your concrete might absorb paint unevenly, leading to a splotchy appearance. This smooth foundation means your paint coatings will apply better and last much longer. The enhanced adhesion and moisture resistance from the primer work together. They extend the life of your paint and the overall integrity of your surfaces. You get a professional-looking finish that stands the test of time.
Understanding Types of Primers
Choosing the right primer is like picking the perfect foundation for a building. You have several excellent options, each designed for specific needs. Let’s explore the different types of primers available for your concrete masonry projects. Knowing these will help you make the best decision.
Acrylic Primers for General Use
Acrylic primers are your go-to choice for many projects. They are versatile and easy to work with. These primers are typically 100% acrylic latex, offering great flexibility and breathability. You will find them useful for general applications because they dry quickly and provide excellent surface adhesion.
Here’s a closer look at what makes a typical acrylic primer effective:
Property | Value |
|---|---|
Type | 100% Acrylic Latex |
Viscosity | Mastic |
Solids by Weight | 62-64% |
Solids by Volume | 58-60% |
Diluent | Water |
Flash Point | >200°F |
VOC | <50 grams per liter |
Acrylic primers do more than just stick. They function as both a primer and a texture, helping you match surrounding textured surfaces for repairs. They offer superior adhesion to various surfaces and penetrate deeply to seal porous areas. This premium quality, high-build elastomeric primer sealer is a fantastic choice for many general uses. For challenging environments or high-traffic areas, you might also consider alkyd (oil-based) primers. They offer high durability and excellent bonding properties, making them a strong alternative to acrylics in some situations.
Epoxy Primers for High Performance
When your project demands extreme durability and resistance, you need an epoxy primer. These primers are champions in high-performance settings. They enhance adhesion, protect against moisture, and create a tough foundation for various flooring systems. You will find them ideal for concrete floors and interior concrete block walls.
Epoxy primers deliver superior adhesion, water resistance, and scratch resistance. They remain VOC-compliant, which is great for the environment. These are the preferred primer for metallic floors, solid color coatings, and full flake epoxy systems. They improve adhesion to concrete, ensuring a durable, long-lasting flooring system. An epoxy primer also acts as a moisture-mitigating barrier, reducing the risk of coating failure. It provides a tough, protective base that withstands heavy foot and vehicle traffic.
You can use epoxy primers in many demanding environments:
Manufacturing plants and warehouses.
Retail and commercial flooring.
Garage and showroom floors.
Industrial and high-traffic spaces.
Restaurants, bars, automotive service areas, and aircraft hangars.
Schools, universities, and commercial kitchens.
These primers are compatible with multiple coatings, including solvent-based urethane, water-based urethane, and 100% solids self-leveling epoxy. They are even approved for concrete, wood, laminate countertops, and interior concrete walls. Some epoxy primers can even enhance the application of resurfacers and coatings on “green” concrete, eliminating the traditional 28-day curing period. This accelerates project timelines and reduces costs. This type of primer prevents rapid dehydration of new concrete, eliminating dusting and promoting a superior cure. It offers fast curing, superior adhesion to damp concrete/masonry, and versatile compatibility with toppings. It also prevents shrinkage cracks, enhances structural integrity, and offers good chemical resistance. This primer ensures proper adhesion of epoxy coating to the substrate, preventing peeling and cracks. It penetrates deeply into concrete, sealing porous areas and creating a stronger bond, which reduces bubbles. It acts as a sealer against moisture, which is crucial for preventing epoxy delamination.
Penetrating Primers for Challenging Surfaces
Sometimes, you need a primer that goes beyond just coating the surface. Penetrating primers are designed to chemically interact with the concrete’s chemistry. They are perfect for challenging surfaces where you need deep sealing and improved adhesion. These primers promote adhesion by chemically converting the surface.
Porosity-sealing primers are crucial for concrete. They prevent blistering, bubbling, or pinholes in your final coat. These primers can be of the penetrating type or surface-coating/chemically-bonding type. The best concrete priming systems often combine both: a porosity-sealing primer to plug pores, followed by a surface-bonded primer for larger porosity areas. Concrete primers are often formulated to tolerate application on damp surfaces, interacting with the concrete’s inherent moisture.
For example, products like INTRAGUARD™ are water-based, penetrating silane/siloxane sealing compounds. They enter the pores of concrete and masonry to form an integral barrier against moisture and chlorides. PENTREAT™ 244-20 W/B is another water-based, 20% active content silane penetrating sealer. It chemically bonds to the substrate, preventing liquid absorption while allowing vapor transmission. PENTREAT™ 244-100 is a reactive, 100% active silane sealer. It deeply penetrates and seals the pores and capillaries of the substrate, inhibiting water and chloride ion penetration.
Specialty Primers: Alkali-Resistant and Stain-Blocking Primers
Beyond the general-purpose and high-performance options, you have specialty primers for specific problems.
Alkali-resistant primers are essential for new concrete or masonry. New concrete contains high levels of alkalinity, which can cause paint to fail prematurely. An alkali-resistant concrete masonry primer creates a barrier, protecting your topcoat from this chemical attack.
Stain-blocking primers are your secret weapon against unsightly marks. If you have water stains, smoke damage, or even crayon marks, a stain-blocking primer will seal them in. This prevents them from bleeding through your fresh coat of paint. You can find these as dedicated stain-blocking primers or as part of a high-hide primers formula. Some products even offer paint and primer in one, combining the benefits of a primer with the color of a topcoat, often with good stain-blocking capabilities. These bonding primers ensure that even the toughest stains stay hidden.
Choosing the Right Primer: Key Factors
You need to carefully assess your concrete’s condition and porosity. This step is crucial for choosing the right primer. The age and quality of your concrete significantly impact what type of primer you need. Older or weaker concrete often has more tiny holes. This means it requires a primer with better sealing properties.
Concrete Condition and Porosity
Consider the level of fill you want for your concrete masonry. This directly relates to its porosity and how much primer you will need.
Level 1 – Economy Fill: This level reduces paint quantity and some irregularities. You can expect voids to remain, depending on the block’s porosity and profile depth. People typically use this in non-public spaces.
Level 2 – Standard Fill: This level minimizes voids. A maximum of ten voids per square foot is acceptable. It involves back-rolling to address deep irregularities. You use this in public-occupied finished areas.
Level 3 – Premium Fill: This level uses two or more coats of high-performance filler. You back-roll it to eliminate voids and significantly reduce masonry profile depth. This creates a smoother, easier-to-clean surface. It also helps reduce water intrusion for exterior applications.
A highly porous surface will absorb more primer. You need a primer that can effectively seal these porous surfaces. This ensures a uniform base for your paint coatings.
Project Environment and Exposure
Your project’s environment and exposure are also key factors. Think about the application temperature and the wall’s condition. What kind of weather will your concrete face? If you are working in high-moisture areas, you need a primer that offers superior moisture resistance. This protects your concrete from water damage and efflorescence. Consider UV exposure too. Some primers offer better protection against the sun’s harsh rays. Your project timeline also matters. Some primers dry faster than others, which can speed up your work. Address any specific issues like existing stains or chalking. These problems might require a specialized primer.
Topcoat Compatibility
Choosing a primer compatible with your chosen masonry paint is non-negotiable. This ensures better adhesion and longevity for your entire system. You want a strong molecular connection between the primer and topcoat. This prevents delamination.
Here are some guidelines for ensuring compatibility:
Surface Condition: Evaluate your concrete’s age, quality, cleanliness, and moisture content. Older or weaker concrete may need primers with better sealing properties. All surfaces must be clean and dry.
Type of Acrylic Coating: The specific acrylic topcoat influences your primer choice. Always consult the original manufacturer’s recommendations. This ensures compatibility between the primer and topcoat for optimal adhesion.
Environmental Conditions: Consider temperature, humidity, and UV exposure at the project site. Select a primer designed to perform well under those conditions.
Drying and Curing Time: Choose a primer whose drying and curing times align with your project schedule. Allow sufficient time for proper adhesion before applying subsequent layers.
You must avoid mixing solvent-based primers with waterborne topcoats. This leads to issues like bubbling and flaking. For concrete masonry, use a breathable masonry sealer as a primer. Follow this with an elastomeric waterproof wall paint as a topcoat. This combination helps manage moisture and bridges hairline cracks. On new concrete, perform an alkali burn test. Wait until the pH drops below 9 (or 30 days) before priming. This ensures the primer and paint coatings perform their best.
BANDě’s Primer Recommendations
BANDě understands these complexities. We offer a range of primers designed to meet diverse project needs. Our experts can guide you to the right concrete masonry primer for your specific project. We consider your concrete condition, environment, and topcoat choice. We ensure optimal bonding and lasting results for your paint coatings. Trust BANDě to provide the foundation for your successful concrete masonry project.
BANDě’s Concrete Masonry Primer Application Guide
You have chosen the right primer. Now, let’s talk about getting it onto your concrete masonry. Proper application is just as important as selecting the correct product. Follow these steps for the best results.
Essential Surface Preparation
Great results start with excellent surface preparation. You must ensure your concrete surfaces are clean. Remove old paint, oil stains, or excess moisture. You can achieve this through pressure washing or wire brushing. Sometimes, chemical cleaners work best. For a rougher profile, consider acid etching. This removes a thin layer of concrete for better adhesion. For concrete floors, shot blasting creates a uniform surface profile. If your concrete is very porous, apply an additional coat of primer. This ensures comprehensive coverage. For floors with excess moisture, use a primer specifically for moisture vapor emission (MVE) levels. This crucial preparation step sets you up for success.
Mixing and Handling BANDě Primers
Always read the instructions on your BANDě primer container. Proper mixing is key for consistent application. Stir the primer thoroughly before and during use. This ensures all components are well-blended. Handle the primer carefully. Wear appropriate safety gear like gloves and eye protection. Good ventilation is also important during application.
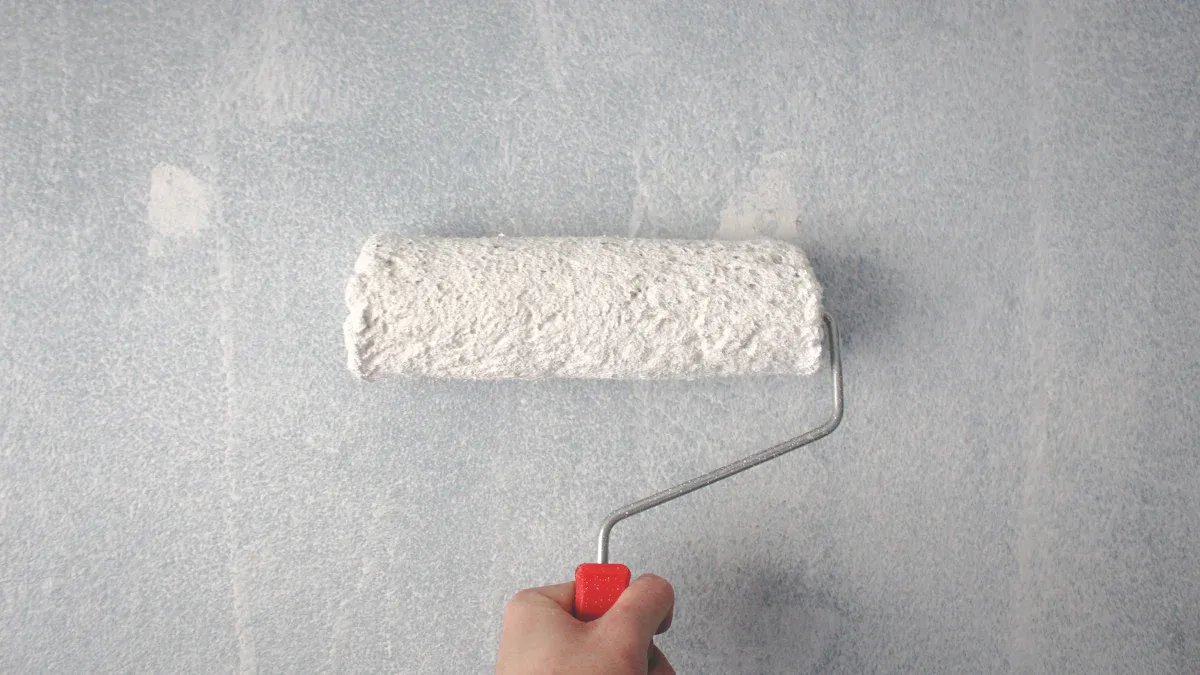
Application Methods
You have several options for primer application. Each method has its benefits. Spraying is fast for large, uninterrupted surfaces. It gives you a smooth, professional finish. Sprayers easily reach into textured surfaces and nooks. This makes application efficient for new construction. However, spraying needs extensive preparation, like masking. There is also a risk of overspray. Rolling allows for artistic expression. You can use various rollers for decorative effects. Rollers are good for adding texture. But, rolling can be slower on large surfaces. It also requires more physical effort. You might see roller marks if you are not careful. For some textured paints, a combination of brushing and rolling works best.
Drying and Recoat Times
Drying and recoat times vary. For example, Sika Concrete Primer Lo-VOC needs about 30–45 minutes to recoat. It is tack-free in about 45 minutes. The maximum primer exposure time is 72 hours. Remember, lower temperatures will extend the cure time. You should apply membrane resin within 24 hours of primer application. If the primer is exposed longer than 72 hours, or gets wet and looks chalky, you must re-prime. If you miss the 72-hour overcoat window, abrade and solvent wipe the surface. Then, apply an additional coat of primer before proceeding.
Troubleshooting and Best Practices
Even with the best products, issues can pop up. Knowing how to fix them and prevent them helps your project succeed.
Common Application Mistakes
You might make a few common mistakes during primer application. Skipping surface preparation is a big one. Always ensure your concrete is clean and dry. Applying the primer too thickly can also cause problems. This leads to uneven drying or poor adhesion. Make sure you mix your primer correctly, especially if it needs a hardener. Improper mixing can compromise the primer’s performance and the final paint coatings.
Addressing Challenging Masonry Issues
Sometimes, you face tough problems like efflorescence or chalking. For these, you need specific solutions. First, remove all loose material and contaminants. For efflorescence, use a product like Restore-N-Prep or a mild muriatic acid solution. BANDě’s E6470 Textured Primer works great on masonry, stucco, and concrete. It acts as both a primer and texture. If you have persistent stains, a good stain-blocking primer is your best friend. Loxon® Concrete & Masonry Primer/Sealer is also excellent for efflorescence, especially after you fix any moisture sources. Remember, a strong stain-blocking primer ensures your paint coatings look flawless.
Maximizing Primer Performance
You want your primer to work its best. Start with excellent surface preparation. Make sure the concrete surfaces are clean, dry, and slightly roughened. Choose the right primer for your concrete’s porosity and moisture levels. Always follow the manufacturer’s instructions for mixing. Apply the primer evenly with a roller or brush. Give it enough drying time before applying your final paint coatings. Inspect the primed porous surfaces for any missed spots. A second coat of primer might be necessary for complete coverage. This ensures your paint coatings last a long time.
Maintenance for Primed Surfaces
After you apply your primer, protect it. Keep the primed surface clean and dry until you apply the topcoat. Avoid letting it get wet or dirty. If the primer gets damaged or exposed for too long, you might need to re-prime that area. This ensures the best bond for your final paint coatings.
Choosing the right primer truly transforms your concrete masonry project. It lays the foundation for a durable, beautiful finish. You now understand different primer types, how to select the right primer for your needs, and best application practices. Trust BANDě’s high-quality solutions for your next concrete masonry primer endeavor. Let this guide be your valuable resource.
FAQ
❓ Can I skip primer on my concrete masonry?
No, you should not skip primer. It ensures your paint sticks better and lasts longer. Primer also protects against moisture and efflorescence.
⏰ How long can I wait to paint after priming?
You should check the product label. Most primers need a topcoat within 24 to 72 hours. If you wait too long, you might need to re-prime.
💧 What if my concrete surface is damp?
You need to use a primer specifically designed for damp surfaces. Most primers require a dry surface for proper adhesion. Always check the product’s instructions.
See Also
Selecting The Best BANDě Concrete Sealer: An Ultimate 2025 Guide
Essential Guide To Choosing The Best Concrete Protective Sealer
Comprehensive Buying Guide: Concrete Densifiers, Hardeners, And Sealers
Picking The Perfect BANDě Concrete Patching Compound For Your Project
Mastering Cement Crack Sealer: Ultimate Guide For Lasting Repairs