Do you worry about slipping on your porcelain tiles, especially in wet spots like your bathroom or kitchen? Many people face this common problem! An Anti-Slip Tile Treatment is a simple, effective DIY solution to boost safety. This guide will walk you through the entire process. You will learn what you need and how to apply it correctly. The immediate benefit is a much safer home environment for everyone.
Key Takeaways
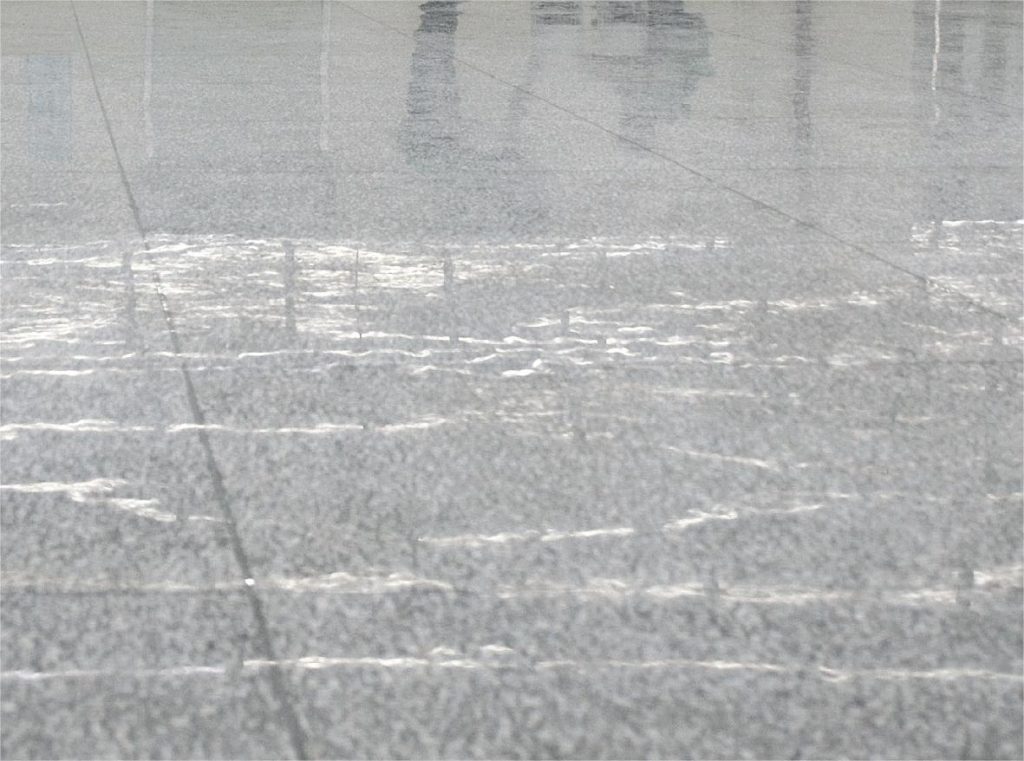
Anti-slip tile treatment makes slippery porcelain floors safer. It creates an invisible texture on the tile surface. This texture increases grip, especially when floors are wet.
Choose the right anti-slip product for your tiles. Look for certifications like R-ratings or COF values. These show how well the product prevents slips.
Clean your tiles very well before applying the treatment. Dirt or grease stops the treatment from working. Follow all product instructions for the best results.
Maintain your treated floors with regular, gentle cleaning. Avoid harsh chemicals. Reapply the treatment every one to two years, or when floors feel less grippy.
Why Treat Porcelain Tiles for Slip Resistance:
Understanding Slippery Porcelain Risks
You love the sleek, clean look of porcelain tiles, don’t you? They add a touch of elegance to any room. But their smooth, non-porous surface turns into a real hazard when it gets wet. Water, grease, or even just a little dust can make these beautiful floors incredibly slippery. This creates a dangerous situation, especially in busy areas like your kitchen or bathroom. Think about it: a quick slip can lead to more than just a bruise. Accidents on slippery surfaces often cause serious injuries, like brain injuries or other life-altering problems. You want to protect yourself and your family from these risks.
Benefits of Anti-Slip Treatment
Applying an Anti-Slip Tile Treatment offers many great benefits. First, you immediately boost the safety of your home. You can walk across your floors with confidence, even when they are wet. This treatment creates an invisible tread on the tile surface. It increases friction without changing the tile’s appearance. You get peace of mind knowing your floors are safer for everyone, from young children to older adults. Plus, it’s a cost-effective solution compared to replacing your entire floor. You make your home a much more secure place with this simple step.
Essential Tools and Materials for Anti-Slip Tile Treatment:
You need the right tools and materials to successfully apply an Anti-Slip Tile Treatment. Gathering everything beforehand makes the process smooth and efficient.
Selecting Your Anti-Slip Product
Choosing the correct anti-slip product is your first crucial step. You will find two main types: etching solutions and coatings. Etching solutions create microscopic pores on your tile surface. These tiny pores act like an invisible tread, increasing friction when wet. Coatings, on the other hand, apply a new layer to the tile. This layer has built-in slip-resistant properties. For example, some tiles, like Herontile, achieve slip resistance through an embossed surface with circular patterns. They also feature an open grid design for better drainage. This design helps prevent slips in wet areas.
You should also check the product’s VOC (Volatile Organic Compound) levels. Many modern treatments offer low or zero VOCs. For instance, AQUA TUFF Anti-Slip Epoxy Floor Coating boasts 0 g/t VOCs. This means it is a zero VOC product. Super low VOC products generally have less than 50 g/L. Standard “low” VOC levels are less than 250 g/L for coatings. Traditional oil-based coatings can have 350-400+ g/L. Choosing a low VOC product is better for your indoor air quality.
Applying Anti-Slip Tile Treatment: A Step-by-Step Guide:
Ready to make your floors safer? Applying an Anti-Slip Tile Treatment is a straightforward process. Just follow these steps carefully, and you will have slip-resistant floors in no time.
Step 1: Prepare Your Area
First, clear the room. Move all furniture, rugs, and anything else off the tiles you plan to treat. You want a completely empty space. Use painter’s tape to protect any baseboards, walls, or adjacent flooring you do not want the treatment to touch. Good ventilation is also key, so open windows and doors if possible.
Step 2: Thoroughly Clean and Dry Tiles
This step is super important! The treatment needs a perfectly clean surface to work its magic. You must remove all dirt, grease, and residues.
For Cement Grout: If your tiles have cement grout, clean them 4-10 days after grouting. Use acid-based detergents like Keranet (Mapei) or Deterdek (Fila). Always dampen the surfaces with water before you start cleaning. After cleaning, dry any remaining liquid and rinse thoroughly multiple times with water. Soak up the rinsing water with a wet vacuum cleaner or a cloth. If the first cleaning was not enough, repeat the process, maybe with a stronger solution.
For Epoxy Grouting: Epoxy grout hardens fast, so remove it immediately and carefully. Always follow the grout manufacturer’s cleaning instructions. It is a good idea to do a small cleaning test before you grout the whole area.
Here is a quick guide for common residues:
Residue Type | Recommended Cleaner |
|---|---|
Remains of building work | Acid Net |
Cement | Acid Net |
Gypsum | Acid Net |
Remains of silicone | Vitroceramic scraper + Acetone |
Efflorescence | Acid Net |
Moss | Bleach |
Coffee, juices, sodas | Basic Gel |
Lemon, vinegar | Basic Gel |
Rust stains | Acid Net |
Urine and vomit | Acid Net |
Merbromin | Hydrogen peroxide |
Iodine dye | Hydrogen peroxide |
Blood stains | Hydrogen peroxide |
Oil, fat | Basic Gel |
Motor oil | Basic Gel |
Tar | Acetone |
Paint, varnish, markers | Acetone |
Adhesive and glue | Acetone |
Rubber tyres | Acetone |
Avoid cleaning tiles that are too hot, like those in direct sunlight. Aggressive chemicals can react more harshly on hot surfaces. Clean during cooler times of the day. Non-slip surfaces need extra attention because of their texture. You might want to clean them earlier and use motorized brushes with white and beige discs. After cleaning, make sure the floor is completely dry before moving to the next step.
Step 3: Read Product Instructions Carefully
Every anti-slip product is a little different. Before you do anything else, read the manufacturer’s instructions from start to finish. Pay close attention to application methods, dwell times, and safety precautions. This ensures you get the best results and stay safe.
Step 4: Apply the Treatment Evenly
Now it is time to apply the anti-slip solution. The goal is an even, consistent layer. Anti-slip treatments work by creating an invisible tread on the tile surface. This increases friction without changing how your tile looks.
You have a few options for application:
Spraying: Use a sprayer to apply the anti-slip solution evenly across the porcelain tile surface.
Microfiber T-mop: A microfiber T-mop works well for spreading the product smoothly.
Dedicated Applicator: Some products, like Stone Grip, come with a specialized applicator.
Bucket/Applicator: For larger areas, you can use a bucket and applicator. Consider dividing the area into smaller sections to prevent the product from drying too quickly.
No matter which method you choose, make sure the solution stays wet for the entire activation time. If any areas start to dry, reapply the product. For larger rooms, work in sections, no more than 50 square feet at a time. This helps you manage the activation time and prevents premature drying. Continuously monitor the treated area and add more product as needed to maintain even, wet coverage. Many manufacturers also provide instructional videos online. These can be very helpful!
Step 5: Allow Proper Dwell Time
The “dwell time” is how long the treatment needs to sit on the tile. This time allows the product to react with the tile surface and create that invisible tread. Your product instructions will tell you the exact dwell time. Use a timer to keep track. Do not let the product dry out during this period. If it starts to dry, add a little more.
Step 6: Neutralize and Rinse Thoroughly
Once the dwell time is up, you need to neutralize the treatment (if your product requires it) and then rinse the floor thoroughly. Use plenty of clean water. You want to remove all excess product and residue. A wet/dry vacuum can be very useful here to suck up all the rinse water. Rinse several times to ensure no residue remains.
Step 7: Test for Slip Resistance
How do you know if it worked? You can test the slip resistance!
The Ramp Test: This is a standardized way to check slip resistance. It involves an inclined plane where the flooring material is tested. A person walks on the tile surface, and the ramp’s angle gradually increases until the person slips. The angle where slipping happens is recorded. This gives you an ‘R rating,’ with higher R values meaning better slip resistance. DIN Standard Ramp Testing (DIN 51130) is a common method.
Dynamic Coefficient of Friction (DCOF) Test: The North American tile industry uses this test. It measures slip resistance in real-life situations, like when someone is already moving and slips on wet ceramic tile. DCOF tests use a slightly soapy liquid (water with 0.05% Sodium Lauryl Sulfate, or SLS) on the tile’s surface. The ANSI A326.3 standard says tile flooring products should have a DCOF of 0.42 or greater for level, interior floors meant for walking when wet.
For a simple home test, carefully walk on a small, wet treated area (wearing appropriate footwear) to feel the difference. You should notice a significant increase in grip.
Step 8: Allow to Dry Completely
After rinsing and testing, let your floors dry completely. This might take a few hours, or even overnight, depending on the product and humidity. Avoid walking on the treated area until it is fully dry. Once dry, your floors are ready for use, and you can enjoy a much safer home!
Maintaining Your Treated Porcelain Tiles:
You have made your floors safer with an Anti-Slip Tile Treatment. Now, you want to keep them that way! Proper maintenance helps your treatment last longer and keeps your floors performing their best.
Regular Cleaning for Longevity
Keeping your treated porcelain tiles clean is simple. It helps maintain their slip-resistant properties. Start by sweeping. Use a soft-bristled broom. Sweep in two directions: first, follow the tile’s texture, then sweep diagonally. This removes all trapped dirt and debris. You can also use a vacuum with a smooth brush attachment.
Next, mop your floors. Use warm water and a mild, pH-neutral cleaning solution. A microfiber mop works best. Remember to replace your mop water often for effective cleaning. After mopping, dry your tiles thoroughly. Use a clean, dry cloth or microfiber pad. This prevents water spots and streaks. It also reduces slip hazards.
Tip: Avoid excess cleaner residue. Textured tiles can hold onto residues. These residues attract more dirt. Use minimal cleaning solution and rinse very well. You can even consider a steam cleaner for tough dirt in crevices. Always test it in a hidden spot first. Use a low-pressure setting to prevent damage.
When dealing with stains, act fast! Absorb spills with a cloth. Then, clean with a mild agent. For stubborn stains, try natural cleansers like a baking soda paste.
You must avoid certain products. Never use harsh chemicals like chlorine, ammonia, or bleach. These can damage tile color. Do not use abrasive tools like steel wool or scouring pads. They can scratch the surface. Skip oil-based cleaners. They leave residue that attracts dirt and dulls your tiles. Also, avoid vinegar, as its acidity can etch the surface. Ammonia-based cleaners harm the finish. Waxing can create a slippery surface and trap dirt. Always check your treatment manufacturer’s cleaning recommendations.
When to Reapply Treatment
Anti-slip treatments are not permanent. Over time, daily wear and tear will reduce their effectiveness. How often you need to reapply depends on several things. High-traffic areas might need treatment sooner. Your cleaning routine also plays a role.
You should test your floors periodically. If you notice they feel less grippy when wet, it is probably time to reapply. Many treatments last one to two years. However, always follow the specific guidelines from your product’s manufacturer. Reapplying ensures your home stays safe and secure.
Applying an Anti-Slip Tile Treatment is both easy and incredibly effective. You now know how simple it is to transform your potentially slippery floors. This straightforward process brings you increased safety, genuine peace of mind, and a much more secure home environment for everyone. Why wait? Take action today and turn those risky surfaces into safe ones. You will love enjoying your safer, more functional spaces with confidence.
FAQ
How long does anti-slip treatment last?
Most treatments last one to two years. High-traffic areas might need reapplication sooner. You should test your floors periodically. If they feel less grippy when wet, it is time to reapply. Always check your product’s specific guidelines.
Will the treatment change my tile’s look?
No, most anti-slip treatments create an invisible tread. They do not change your tile’s appearance. You get increased friction without altering the tile’s color or shine. Always test a small, hidden area first to be sure. 👍
Can I apply this treatment to outdoor tiles?
Yes, many anti-slip products work well for outdoor tiles. Look for products specifically designed for exterior use. They often offer better durability against weather elements. This helps prevent slips on patios or walkways.
Is the anti-slip treatment safe for my family and pets?
Absolutely! Many modern treatments are low or zero VOC. This means they are safe for indoor air quality. Once dry, the treated surface is safe for everyone. Always follow product instructions for application and ventilation. 👨👩👧👦🐾
See Also
Achieving Dust-Free Floors: Your Guide to Applying Concrete Dust Sealer
The Ultimate Buying Guide: Concrete Densifiers, Hardeners, and Sealers Explained
Selecting the Optimal Concrete Densifier for Your Warehouse Flooring Needs
Discovering Lasting Finishes: Benefits of Inorganic Anti-Alkali Primer
Choosing the Ideal Flexible Waterproof Sealer for Diverse Project Applications