
Are dusty, worn concrete floors frustrating you? You need a durable, attractive solution. A penetrating floor hardener sealer is the effective answer. This guide promises flawless floors. Correct application is vital for optimal, lasting results. We cover everything for effective floor transformation, including penetrating concrete sealer and other penetrating sealers.
Key Takeaways
Penetrating hardener and sealer makes concrete floors strong and shiny. It soaks into the floor, making it last longer and easier to clean.
Prepare your floor well before you apply the sealer. Clean it thoroughly and make sure the temperature is right for the best results.
Apply the hardener and sealer in thin, even coats. This helps your floor look great and stay protected for many years.
Understanding Penetrating Floor Hardener Sealer Benefits
What Are Penetrating Hardeners and Sealers
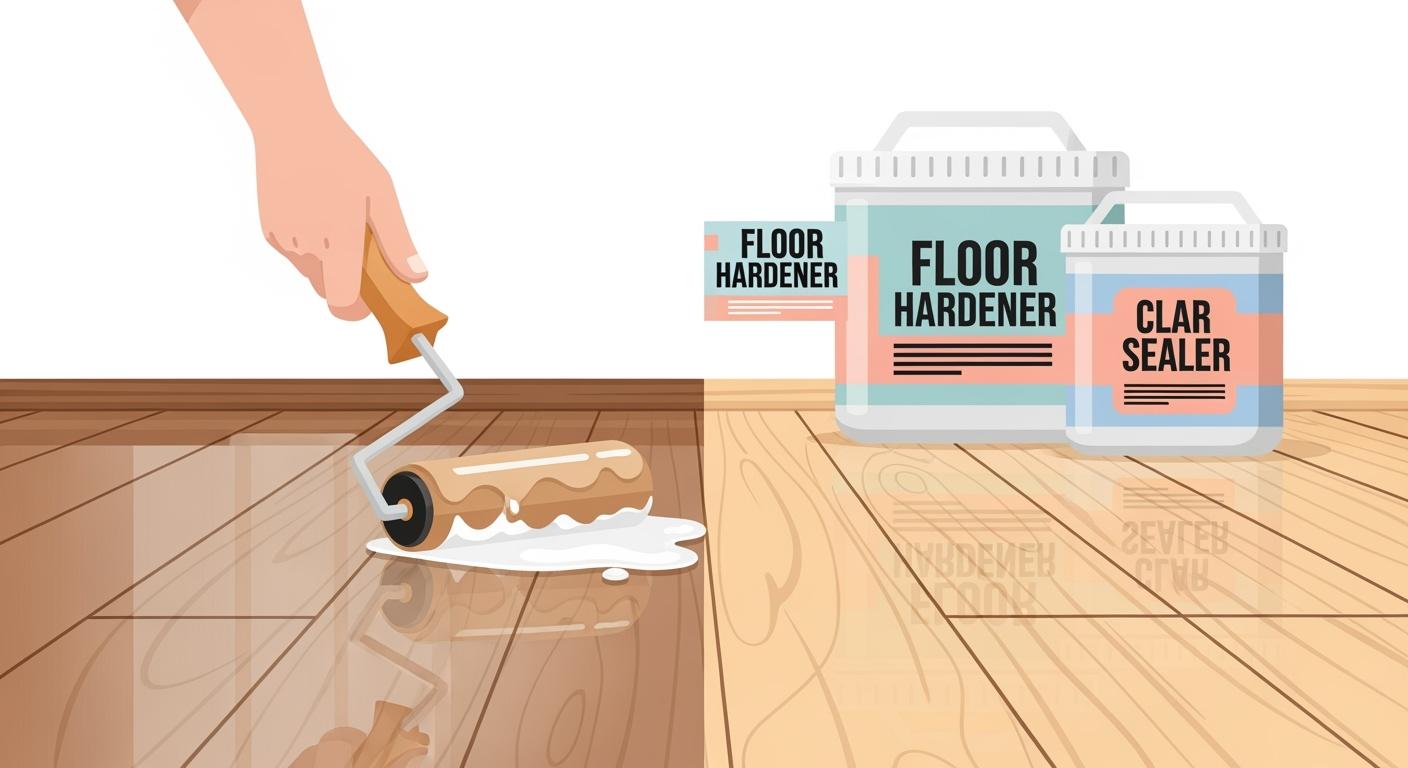
You might wonder what these products actually are. A penetrating floor hardener sealer is a special liquid solution. You apply it to concrete or terrazzo floors. Unlike paints or coatings that sit on the surface, this solution soaks deep into the material. It reacts chemically with the concrete, creating a much denser, harder surface. Think of it as strengthening the floor from within. Penetrating sealers then add an extra layer of protection, making your floor even more resilient.
Key Advantages of Quality Floor Treatment
Choosing a quality penetrating floor hardener sealer offers many benefits. Firstly, it penetrates deeply, typically 3-8mm into your floor. This creates a permanent hardening effect through silicate gel formation. You get a lasting crystal shine, meaning no more waxing! Your floors become self-polishing, maintaining a high-gloss finish with minimal effort. This treatment also resists dust and stains because it seals the pores, making cleaning much easier.
Furthermore, these products are eco-friendly. They are water-based and have low VOCs (Volatile Organic Compounds), which is better for the environment and your health. The application is quick; you can spray or roll it on, and your floor is ready for use within 24 hours. You will also appreciate the superior durability. Expect your floor to last 15+ years, with a 40% increase in compressive strength and 300% better abrasion resistance. This makes for a truly durable finish. These solutions work on new or old concrete, terrazzo, and other similar surfaces, offering wide applicability.
Solving Common Floor Problems
Are you tired of common floor issues? A penetrating floor hardener sealer directly addresses many of these problems. It stops dusting and flaking, which often plague untreated concrete. You will see a significant reduction in cleaning and maintenance costs because your floors become low-maintenance floors. Traditional coatings often have a short lifespan, but this treatment offers long-term protection.
Long construction periods can disrupt your operations, but the quick application of these products minimises downtime. If you worry about environmental impact, these eco-friendly options ease those concerns. Finally, say goodbye to short-lived shine that needs constant upkeep. This treatment provides a lasting high-gloss finish and a robust protective barrier, keeping your floors looking fantastic for years.
Applying Penetrating Concrete Sealer for Flawless Results
Achieving a flawless floor with a penetrating concrete sealer involves careful steps. You need to prepare properly, apply correctly, and allow for adequate curing. Let’s walk through the process together.
Essential Tools and Safety Preparations
Before you begin, gather your tools and prioritise your safety. You will need:
A low-pressure sprayer or a roller with an extension pole for even application.
Clean buckets for mixing and rinsing.
A squeegee or microfibre mop for spreading and removing excess product.
Stiff-bristled brushes for cleaning.
Masks
Gloves
Safety Glasses
Always wear your protective gear. This keeps you safe from splashes and fumes during the application process.
Preparing Your Floor Surface for Sealing
The success of your penetrating concrete sealer hinges on excellent surface preparation. You must ensure your floor is sound, clean, and ready to accept the treatment. For bare terrazzo, this often means diamond grinding to remove old coatings and expose a fresh surface. After grinding, or for any concrete floor, you need a thorough, pH-neutral cleaning. This removes all dirt, grease, and contaminants. A clean surface ensures proper bonding and deep penetration of the hardener and sealer. Any residue can prevent the product from working effectively, so take your time with this crucial surface preparation step.
Optimal Environmental Conditions for Application
The environment plays a big role in how well your hardener and sealer perform. You want to apply the product when conditions are just right. The ideal ambient temperature range for applying penetrating hardeners and sealers is between 10–30°C (50–86°F). Avoid direct sunlight, as this can cause the product to dry too quickly, leading to an uneven finish. It is best to apply during the coolest part of the day, perhaps in the early morning or late afternoon. This gives the product enough time to penetrate deeply before it evaporates.
Step-by-Step Hardener Application
Now, let’s get to the hardener application. You will apply the hardener evenly across the floor. Use a low-pressure sprayer or a roller, moving in a circular or oval pattern. Your goal is to saturate the surface without creating puddles. Ensure you use enough product for proper penetration. For many hardeners, you need to keep the surface wet for about 20 minutes. This allows the chemicals to react fully with the concrete. Do not let the product dry out during this time. If it starts to dry, simply reapply a little more to keep it wet. This careful application ensures maximum hardening.
Achieving Even Coverage and Avoiding Mistakes
Even coverage is key to a flawless, high-gloss finish. When applying both the hardener and the sealer, remember that two thin, even coats are always better than one thick one. A thick coat can lead to bubbling, peeling, or an uneven finish. Work in manageable sections. Overlap your passes slightly to avoid missed spots. After application, inspect the surface for any excess product. You can use a squeegee or a clean microfibre mop to remove any standing liquid. This prevents unsightly residue and ensures a uniform appearance.
Sealer Application for Enhanced Protection
Once the hardener has dried, you can move on to the sealer application for enhanced protection. Some penetrating sealers offer a one-step application without scrubbing or flushing, making the process even simpler. For a specific solvent-based acrylic penetrating sealer (PaveCoat Same Day Sealer) on concrete, the recommendation is to apply one even saturation coat. Apply the sealer just as you did the hardener: evenly, without puddling, and ensuring full coverage. This layer provides the dust and stain resistance you want, contributing to that beautiful high-gloss finish. This proper sealing step locks in the benefits of the hardener.
Drying, Curing, and Post-Application Care
After your final application, allow the floor to dry completely. While it might feel dry to the touch relatively quickly, the full curing process takes longer. For ‘PaveCoat Same Day Sealer’, ‘PaveCoat (Coloured or Clear)’, and ‘Agreseal’, the complete cure time for vehicle use or maximum durability is 7 days. During this period, avoid heavy traffic or placing heavy objects on the floor. Once fully cured, your floor will be incredibly durable. For ongoing care, simply sweep or mop with a pH-neutral cleaner. You will find your new floor easy to maintain, keeping its high-gloss finish for years to come.
You now understand the transformative power of a correctly applied penetrating floor hardener sealer. This guide showed you the ease and effectiveness of proper application. Your floors will be truly flawless and long-lasting. You can take pride in your new, low-maintenance floors and their enhanced aesthetics. The penetrating concrete sealer provides a high-gloss finish and a truly durable finish.
FAQ
How often do you need to reapply a penetrating sealer?
You typically do not need to reapply penetrating hardeners for 15+ years. Just maintain your floor with pH-neutral cleaners for lasting shine. ✨
Can you use this product on concrete that has paint on it?
No, you must remove all existing coatings first. Diamond grinding ensures a bare, clean surface for proper penetration and bonding.
What should you do if you see puddles forming during application?
Tip: Immediately spread any puddles with a squeegee or mop. Excess product can lead to an uneven finish or residue. You want even coverage.
See Also
Premium Liquid Solutions: Hardening, Sealing, and Densifying Concrete Floors Effectively
Mastering 2025 Floor Hardener Application for Extended Concrete Longevity
Upgrade Your Garage: Durable Liquid Hardener Outperforms Peeling Paint
Understanding Concrete Floor Hardeners: Their Purpose and Operational Mechanics
Achieving Dust-Free Floors: A Guide to Concrete Dust Sealer Application