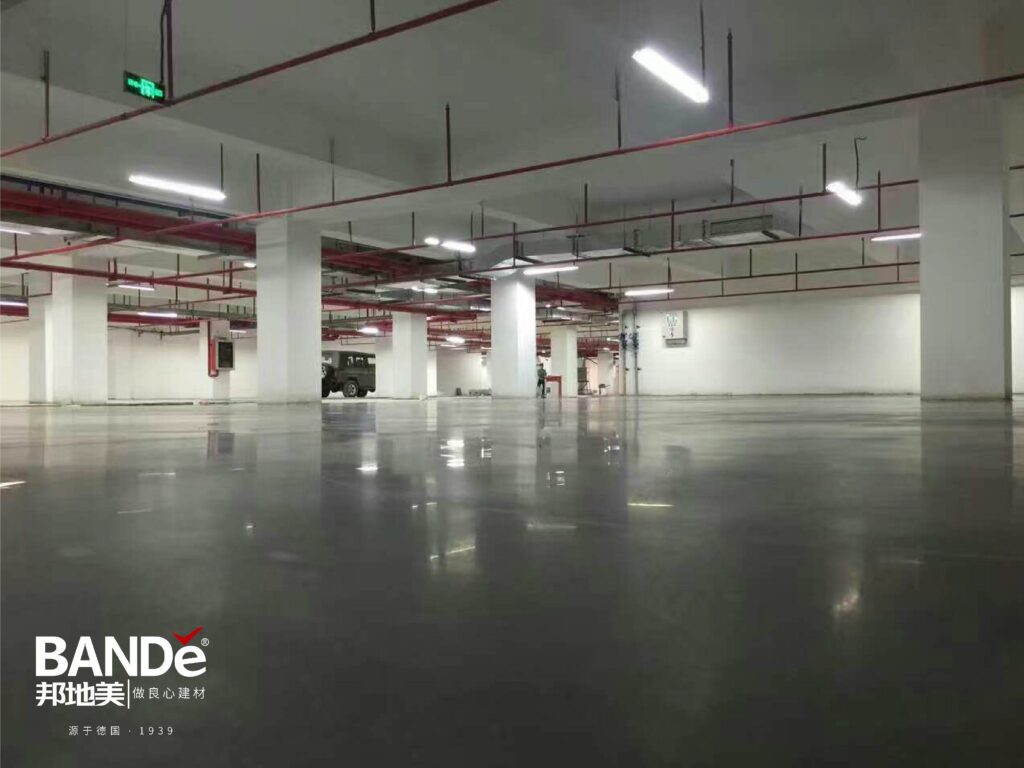
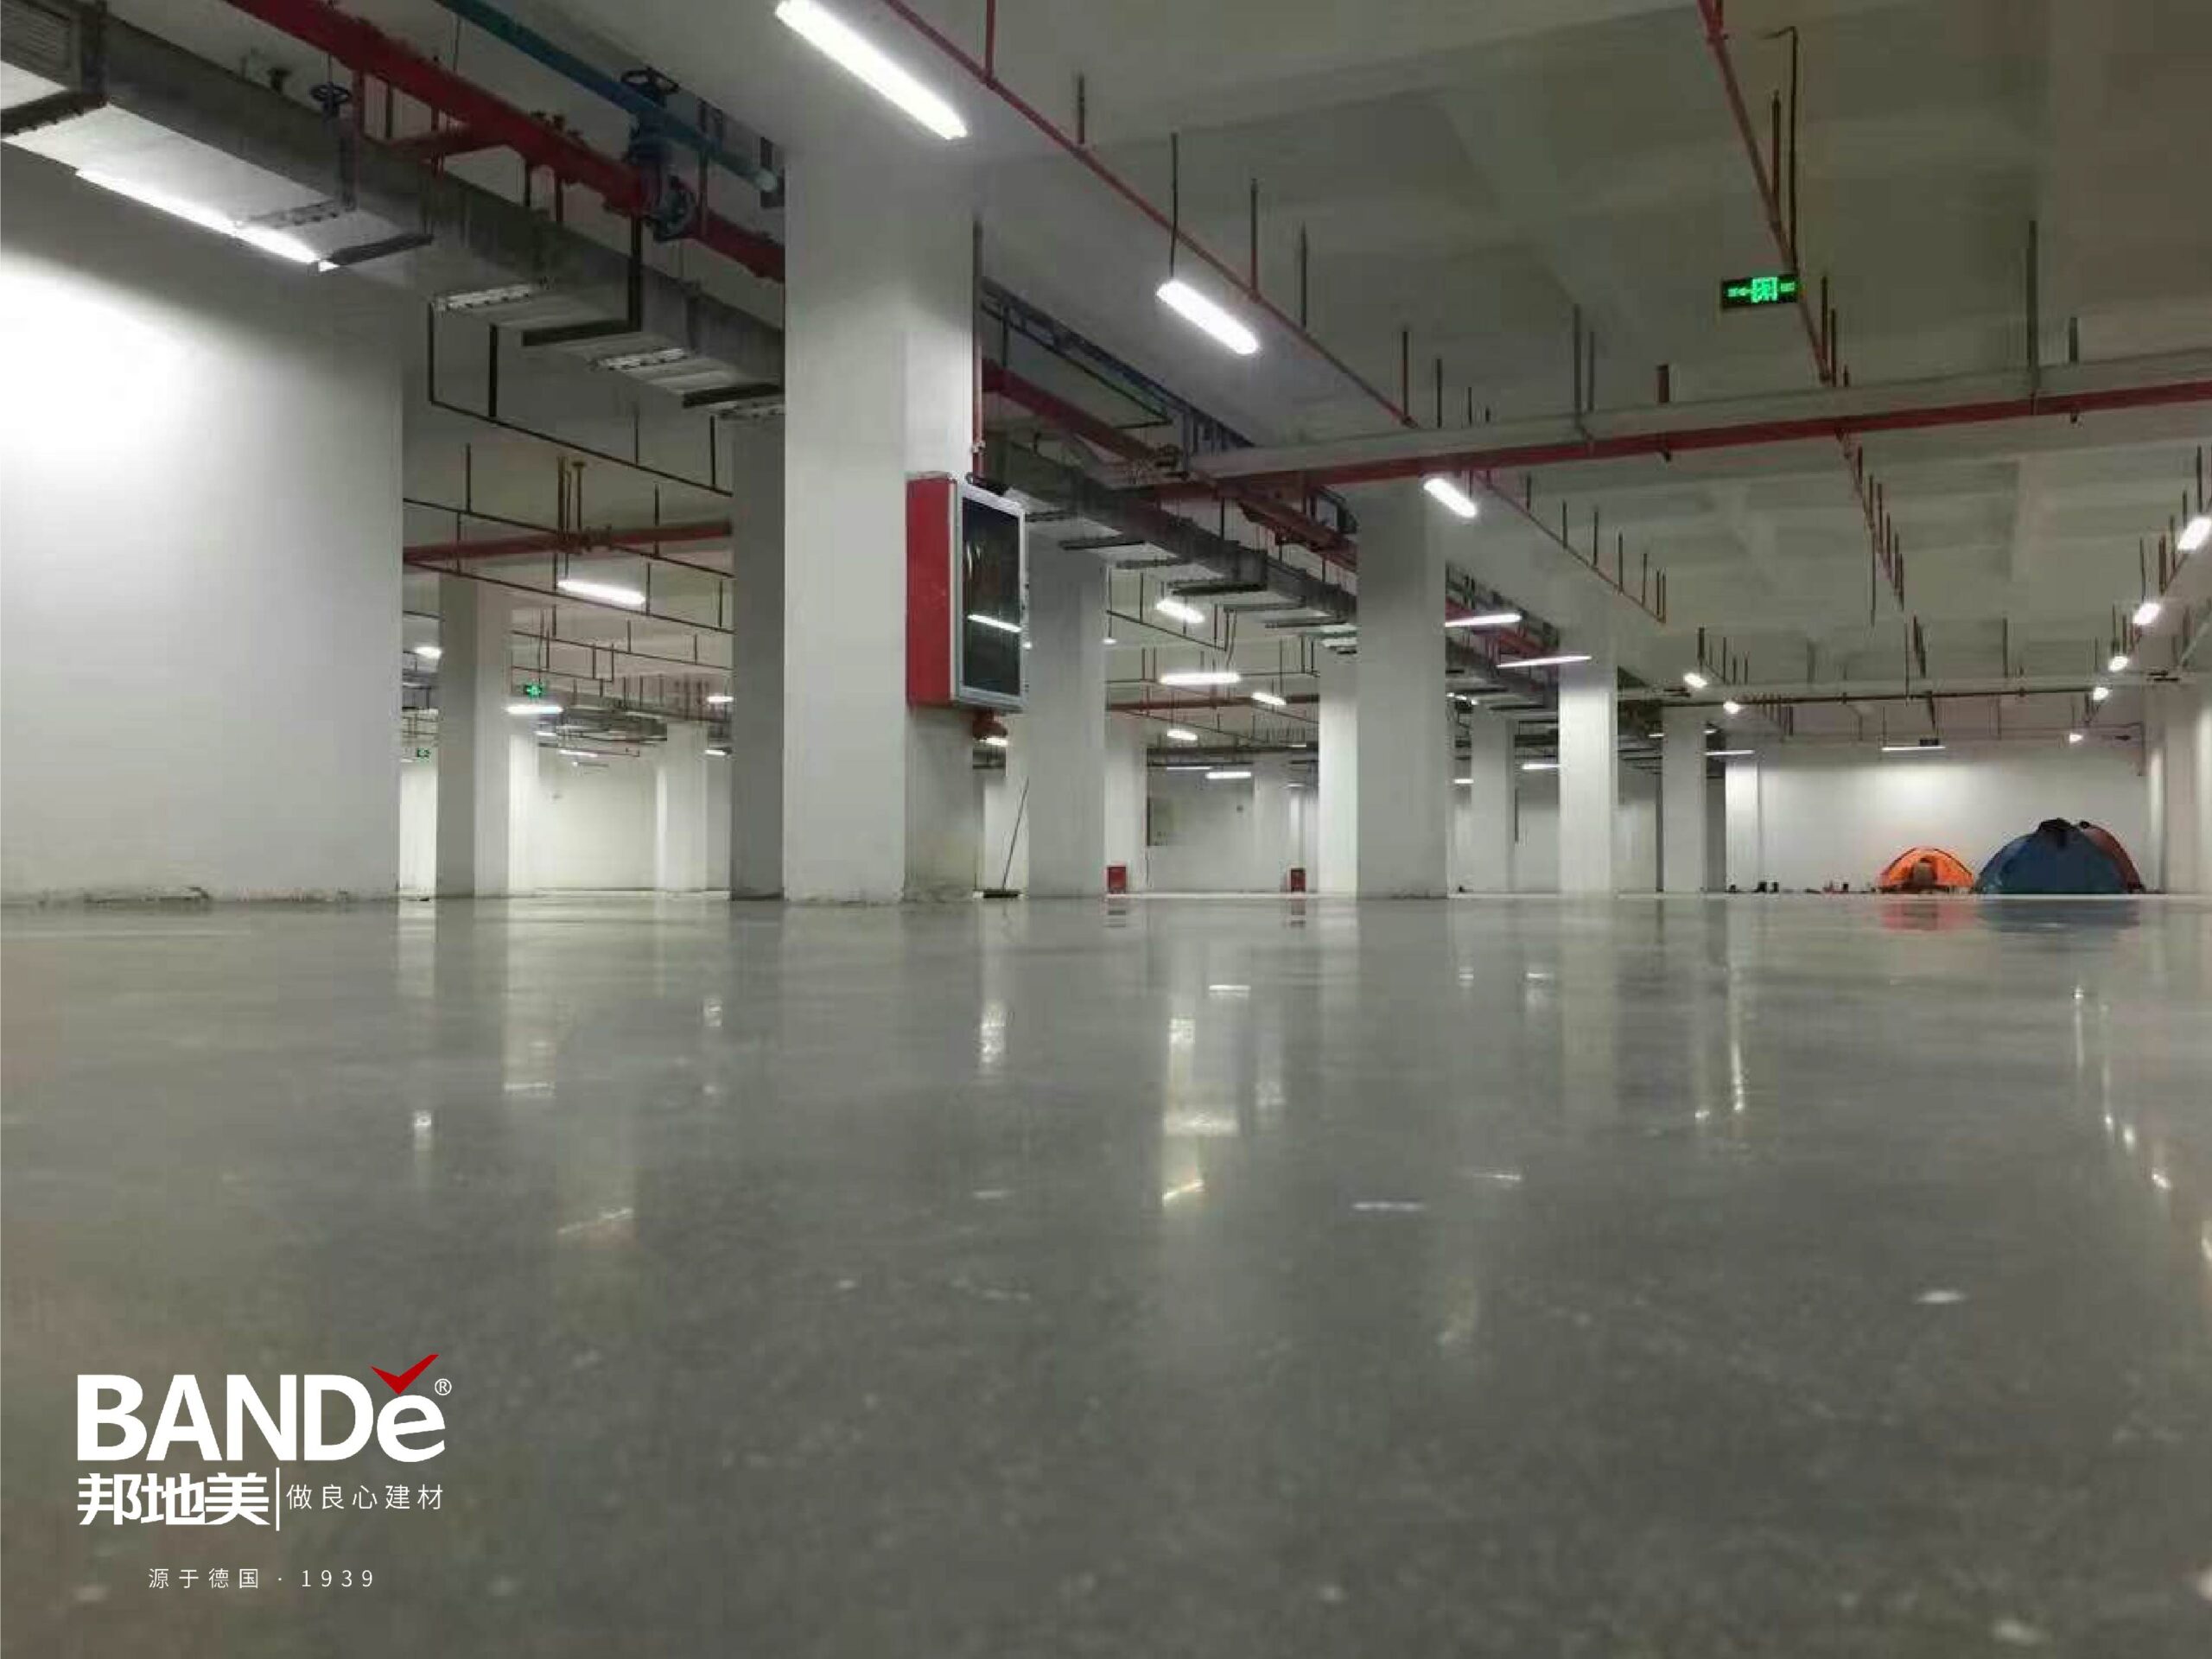
Polished concrete floors are increasingly popular, offering great aesthetic appeal. The benefits of polished concrete floors include durability, low maintenance, and a dust-free environment. Proper preparation is the most crucial step in the entire installation process. It ensures a successful polished concrete floors finish. Poor preparation significantly impacts the quality of the polished concrete floors. The installation process demands careful attention to achieve professional-grade polished concrete floors.
Key Takeaways
Good preparation is the most important step for polished concrete floors. It makes sure the floor looks good and lasts a long time.
Always check the concrete surface carefully. Look for cracks, old coatings, and moisture before you start any work.
Use the right tools and follow all safety rules. This helps you get the best results and keeps everyone safe.
Initial Concrete Surface Assessment
Evaluating Existing Conditions
The journey to beautiful polished concrete begins with a thorough assessment. This initial step is paramount. Carefully evaluate the existing concrete surface. Look closely at its current condition. Are there old coatings, paints, or sealers present? These must be identified. They require specific removal methods. Understanding the desired final look for your polished concrete floor also guides this evaluation. This helps determine the necessary preparation intensity.
Identifying Problem Areas
Next, identify all problem areas on the concrete. Search for cracks, spalls, or uneven sections. Note any previous patches or repairs. These might react differently to polishing. Also, check for contaminants such as oil, grease, or chemical spills. These substances can prevent proper adhesion of treatments. Addressing these issues early ensures a flawless polished concrete finish. Ignoring them can lead to visible flaws later. 🧐
Moisture Testing Essentials
Moisture testing is a non-negotiable step. Concrete naturally contains moisture. High moisture levels can compromise the effectiveness of densifiers and sealers. It can also lead to delamination or discoloration. Use accurate testing methods. Calcium chloride tests measure moisture vapor emission. In-situ relative humidity probes provide internal moisture readings. These tests are crucial. They prevent future problems with your polished concrete floor. Always ensure the concrete is dry enough before proceeding.
Essential Prep Tools and Materials
Achieving beautiful polished concrete requires the right equipment. Proper tool selection is a key part of the overall preparation. It ensures efficiency and a high-quality finish.
Grinders and Abrasives
Concrete grinders are powerful machines. They remove surface imperfections and old coatings. These tools use abrasive discs. Different grits of abrasives exist. Coarse grits remove significant material. Finer grits smooth the surface. Choosing the correct abrasive is vital for each stage of the polished concrete process.
Dust Collection Systems
Grinding concrete creates a lot of dust. A robust dust collection system is essential. These systems connect directly to the grinders. They capture airborne particles. This keeps the work area clean. It also protects workers’ respiratory health. A dust-free environment is safer. It also helps achieve better results for your polished concrete.
Repair Compounds
Concrete often has cracks or holes. Repair compounds fix these issues. These materials fill in imperfections. They create a smooth, uniform surface. This step is critical before grinding. A well-repaired surface leads to flawless polished concrete.
Tip: Always choose repair compounds compatible with polished concrete applications.
Safety Gear
Safety is paramount during concrete preparation. Workers must wear personal protective equipment. This includes safety glasses, hearing protection, and respirators. Gloves and sturdy work boots are also necessary. This gear protects against dust, noise, and potential injuries. Prioritizing safety ensures a smooth project for your polished concrete.
Deep Cleaning and Surface Prep
Achieving a perfect polished concrete floor requires a truly clean slate. This deep cleaning phase removes all surface contaminants. It ensures subsequent treatments work effectively.
Debris and Loose Material Removal
Begin by removing all loose debris. Sweep the entire area thoroughly. Use a heavy-duty shop vacuum to pick up dust and small particles. This step prevents larger debris from scratching the floor during later stages. It also ensures chemical cleaners can directly contact the concrete surface. A clean starting point is essential for quality polished concrete.
Degreasing and Chemical Cleaning
After removing loose debris, address any grease or oil. Apply a suitable degreasing agent to affected areas. Allow it to dwell as per product instructions. Then, scrub the surface vigorously. Rinse thoroughly with clean water. For general grime and dirt, use a pH-neutral concrete cleaner. This ensures the surface is free from any residues. The goal is a completely clean surface for your polished concrete project.
Tip: Always test chemical cleaners in an inconspicuous area first. This checks for any adverse reactions.
Stain Treatment
Specific stains require targeted treatment. Rust stains may need an acid-based cleaner. Organic stains, like mildew, often respond to alkaline cleaners. It is crucial to identify the stain type correctly. Treat stains before any grinding begins. The concrete surface must be completely free of sealers, waxes, or other residues. This meticulous cleaning prepares the floor for a beautiful, long-lasting polished concrete finish.
Removing Coatings and Adhesives
Existing layers on concrete must be removed. This includes old coatings, paints, sealers, or adhesives. Proper removal ensures a strong bond for new treatments. It also prepares the surface for a beautiful polished concrete finish.
Mechanical Stripping
Mechanical stripping is a common method. It uses specialized equipment. Grinders with aggressive diamond tooling are effective. They physically abrade the surface. This process removes tough coatings. Shot blasters also work well. They propel abrasive media at high speed. This creates a clean, profiled surface. Mechanical methods are often preferred. They are dust-controlled with proper equipment. This prepares the floor for a smooth polished concrete surface.
Chemical Removal Options
Chemical strippers offer another option. These products dissolve or soften coatings. Different chemicals target different materials. Always choose a stripper compatible with the coating. Apply the chemical evenly. Allow it to dwell for the recommended time. Then, scrape off the softened material. Chemical removal can be effective for stubborn layers. It requires careful handling. Proper ventilation is crucial.
Residue Neutralization
Chemical removal leaves residues. These residues must be neutralized. Some strippers are acidic. Others are alkaline. Follow the product instructions for neutralization. Often, a rinse with clean water is enough. Sometimes, a specific neutralizing agent is needed. This step is vital. It prevents chemical reactions with future treatments. It ensures the concrete is clean and ready. This prepares the floor for the next steps towards polished concrete. A clean surface is key for a durable polished concrete floor. It ensures the best outcome for your polished concrete project.
Repairing Surface Imperfections
Addressing surface damage is a critical step. It happens before any grinding begins. A smooth, uniform surface is essential for beautiful polished concrete. Ignoring imperfections can lead to visible flaws in the final finish.
Crack Repair Techniques
Cracks in concrete must be fixed. They can affect the durability and appearance of your floor. Various materials are available for repair. These include specialized repair materials and patching compounds. Epoxy injections are also common. For instance, Ressi EPO Crack Fill is a three-component epoxy-based crack filler. It has a Base Resin (Part A), Hardener (Part B), and a Filler (Part C). You can adjust the filler ratio. This makes it flowable for deep cracks (over 4mm). It can also be a putty-like paste for shallower cracks (under 4mm). Using the right material ensures a strong repair.
Filling Pits and Spalls
Pits are small depressions. Spalls are larger, chipped areas. Both need filling. They create an uneven surface. This affects the quality of the polished concrete. Use a suitable repair compound. Apply it to fill these voids. The goal is to create a level surface. This step ensures a smooth and consistent finish.
Joint Preparation
Concrete floors often have control joints or expansion joints. These are designed to manage cracking. They need proper preparation too. Clean out any debris from these joints. Sometimes, they require filling. This depends on the desired look for your polished concrete. Proper joint treatment contributes to the overall aesthetic. It also helps maintain the integrity of the polished concrete surface.
Initial Grinding for Leveling
The initial grinding phase is a foundational step in creating beautiful polished concrete. This stage focuses on leveling the floor and removing significant imperfections. It sets the stage for all subsequent grinding and polishing steps. Proper execution here ensures a smooth, uniform surface for the final polished concrete finish.
Coarse Grit Abrasives
This first grinding phase begins with coarse grit abrasives. These are essential for aggressive material removal. For example, an 80-grit metal bond diamond abrasive is commonly used. These coarse abrasives effectively cut through the concrete surface. They remove any remaining thin coatings, sealers, or adhesives. They also eliminate surface irregularities and coarse scratch patterns left from previous repairs. The goal is to achieve a consistent profile across the entire floor. Selecting the correct initial grit is crucial for efficiency and effectiveness.
Tip: Always start with the coarsest grit necessary to address the existing surface conditions. This saves time and effort in later stages.
Achieving a Flat Surface
Achieving a flat and uniform surface is the primary objective of this initial grinding phase. Operators guide the grinder across the concrete, applying consistent pressure. They make overlapping passes to ensure no area is missed. This systematic approach helps to smooth out high spots and fill in minor depressions. The machine’s weight and the abrasive’s cutting action work together. They create a level plane. Regularly checking the floor with a straightedge helps identify any remaining uneven areas. This ensures the entire surface is prepared for the next steps in creating polished concrete.
Edge Grinding
Large concrete grinders cannot reach every part of a floor. Edges, corners, and areas around columns require special attention. This is where edge grinding comes into play. Smaller, handheld grinders equipped with coarse grit diamond tooling are used. These tools meticulously grind these hard-to-reach spots. The goal is to match the level and texture of the main floor area. Neglecting edge grinding will result in an uneven appearance. This compromises the overall quality of the polished concrete. Careful edge work ensures a seamless and professional finish across the entire surface.
Concrete Densification
After the initial grinding, the concrete surface is ready for densification. This step is crucial for creating durable and high-performing polished concrete. Densification transforms the concrete. It makes the surface harder and more resistant to damage. This process is key to achieving the long-term benefits of polished concrete.
Densifier Application
Applying a concrete densifier is a vital step. It seals, hardens, and improves wear resistance. It also enhances dust and moisture resistance. This process contributes to a glossy finish. We recommend BANDě Polished Concrete Densifier. It is a colorless, odorless, non-toxic, and non-flammable product. This densifier is a water-based inorganic compound. It chemically reacts with ions present in set concrete. This reaction leads to crystallization and maturation. These changes provide permanent benefits to the concrete. BANDě Polished Concrete Densifier meets today’s environmental, health, and safety requirements. It makes the concrete denser. This significantly reduces wear from abrasion. It also binds dust particles. This increases the concrete’s resistance to chemicals.
Curing and Reaction
Once applied, the densifier begins its curing and reaction process. The inorganic compounds penetrate the concrete. They react with the calcium hydroxide within the concrete’s pores. This chemical reaction forms a dense, crystalline structure. This structure fills the microscopic voids in the concrete. Over time, this crystallization matures. This process permanently hardens the surface. It also makes the concrete less porous. This improved density is essential for the durability of polished concrete. The concrete becomes stronger and more resilient.
Post-Application Protection
Proper protection after densifier application is important. It ensures the densifier fully cures and reacts. This maximizes the benefits of polished concrete. Polished concrete, achieved through chemical densification and hardening, results in a smooth surface. This surface is durable, light-reflective, and easy to maintain. To protect the newly densified surface:
No one is allowed to enter the area within 4 hours after application. This allows the initial reaction to occur undisturbed.
Light use is permitted 24 hours after application. However, the surface must not be soaked in water during this time.
Cross-operation units must ensure surface strength. They must also implement comprehensive protection measures. This strictly forbids dragging or scratching with equipment, cables, or tools. These precautions prevent damage to the maturing surface.
These steps ensure the concrete achieves its full potential. They contribute to a long-lasting and beautiful polished concrete floors.
Refining Grinding Stages
After the initial coarse grinding, the concrete surface needs further refinement. This stage focuses on achieving the desired smoothness for polished concrete floors. It involves a series of progressive grinding steps. Each step uses finer abrasives.
Medium Grit Abrasives
The next step involves medium grit abrasives. These typically range from 100 to 200 grit. Their main purpose is to remove the scratch patterns left by the coarser abrasives. This process further smooths the concrete surface. It prepares the floor for the subsequent, finer grinding stages. Operators must ensure even coverage. This prevents uneven spots in the final finish. The goal is to create a uniform texture across the entire area. This consistency is vital for the final polish.
Progressive Grinding
Progressive grinding is a systematic approach. It involves moving through a sequence of increasingly finer abrasives. Each pass with a finer grit removes the scratches from the previous, coarser grit. For example, after 100-grit, you might use 200-grit, then 400-grit. This gradual refinement is crucial. It ensures a truly smooth surface. Skipping grits can leave visible scratches. These will become more apparent with polishing. Each step builds upon the last. It systematically reduces the surface profile. This prepares the concrete for its ultimate shine. Patience and thoroughness are key during this phase.
Scratch Inspection
Regular scratch inspection is vital. After each grinding stage, carefully examine the floor. Use a strong flashlight. Shine it across the surface at a low angle. This highlights any remaining scratches. Wetting the surface can also make scratches more visible. All scratches from the previous grit must be gone before moving to the next. Unremoved scratches will be permanently visible in the finished surface. This meticulous inspection guarantees a high-quality result. It prevents imperfections from being locked into the final polished look. Taking time here saves significant rework later.
DIY vs. Professional Prep
Preparing concrete for polishing is a big job. You might wonder if you should do it yourself. Or, you might consider hiring experts. This section compares these two choices.
When to Hire Professionals
Polished concrete is a complex process. Achieving professional quality often needs experience. Most homeowners do not have this experience. Hiring professionals is often better for complex projects. This includes structural changes or specific expertise. Professionals also ensure flawless results. They save time and effort compared to DIY.
Cost-Benefit Analysis
DIY projects can seem cost-effective at first. You save on initial labor costs. However, hiring professionals has a higher initial cost. Consider the long-term benefits. Professionals offer specialized skills and knowledge. They work efficiently. They deliver quality work. This prevents costly mistakes later. The overall cost and pricing for a professional job often provide better value. This is due to their expertise and efficiency.
Skill and Equipment Needs
Renting equipment for polished concrete has risks. These risks are both physical and about achieving desired quality. Professionals have specialized tools. They also have the skills to use them correctly. They understand the nuances of concrete. This ensures a smooth and durable finish. DIY is suitable for smaller, less intricate tasks. Professionals are recommended for bigger or more detailed jobs.
Meticulous preparation is the absolute foundation for beautiful, durable, and dust-free polished concrete floors. Skipping any essential step in the installation process severely compromises the final result. Approach preparation with patience and attention to detail. This applies whether you choose a DIY route or hire professionals. Enjoy the long-lasting benefits of properly prepared polished concrete floors.
FAQ
What is the most important step in preparing concrete for polishing?
Proper preparation is the most crucial step. It ensures a durable, beautiful, and dust-free polished concrete floor. This prevents future issues like delamination or uneven finishes.
Why is moisture testing essential before polishing?
Moisture testing is essential. High moisture levels can compromise densifiers and sealers. It can also lead to delamination or discoloration. This ensures a successful, long-lasting polished finish.
What is the purpose of concrete densification?
Concrete densification hardens the surface. It improves wear resistance and reduces porosity. This makes the floor more durable and less prone to dusting. It also enhances the glossy finish.
See Also
Achieve Dust-Free Floors: Applying Concrete Dust Sealer Effectively
Maintain Polished Concrete Floors: Transform Dull Surfaces to Dazzling
Ultimate Guide: Polishing Concrete Floors with BANDě Products
BANDe’s 2025 Guide: Selecting the Best Polished Concrete Densifier
Concrete Sealer: Ultimate Guide to Protecting Your Industrial Floors