
Concrete repairs are very important. They help keep buildings safe and strong. If you don’t fix problems quickly, you could have big issues later. Studies show that 55% of concrete repairs fail in the first 10 years. Common causes of damage are:
Chemical exposure
Heavy loads
Soil movement
Moisture intrusion
Cracks and spalling are common problems. You need to use Concrete Patching Compound for these issues. Using the right materials helps make repairs last longer. Follow the steps in this blog for good repairs.
Key Takeaways
Look at your concrete damage closely. Find cracks, spalling, or delamination to pick the best repair method.
Get the surface ready before using patching compound. Clean it well to make sure it sticks strongly.
Choose the right kind of concrete patching compound based on the damage and weather. Think about strength and cost.
Mix the patching compound as the instructions say. Mixing it right is important for strong and lasting repairs.
Keep up with your repairs by checking for cracks and using protective coatings. This helps your concrete repairs last longer.
Assessing Repairs
Identifying Damage
Before you start fixing anything, you need to find out what is wrong with your concrete. Different problems need different fixes. Here are some ways to check the condition of your concrete:
Identification Method | Description | |
|---|---|---|
Crack Analysis | Measure width and classify | This finds cracks by size and possible causes |
Delamination Detection | Tap surface for sound | Hollow sounds mean there is damage inside |
Chemical Damage | Look for discoloration | This shows signs of chemical damage and effects |
You should also check for scaling or flaking. These signs usually mean the concrete is damaged.
Repair Scope
After finding the damage, you must decide how much repair is needed. Knowing how bad the damage is very important. Here are some steps to help you:
Check how bad the damage is to see how it affects use.
Decide how much repair is needed for safety and use.
Choose the right repair methods and materials based on what you found.
The kind and cause of damage will decide how to fix it. For example, small cosmetic damage might just need surface patching. But deeper cracks may need injection methods. If you see rebar rust, you must fix both the concrete and steel. Very weak areas may need stronger support methods.
By carefully checking your concrete and knowing the repair needs, you can make sure your repairs work well and last a long time.
Surface Preparation for Concrete Patching
Cleaning the Area
Before you put on any concrete patching compound, clean the area well. Good surface preparation is very important for a strong bond between the patching compound and the old concrete. Follow these steps to clean effectively:
Chemical Cleaning: Use degreasers to remove oil and grease. Put the degreaser on without mixing it, let it sit for 15-20 minutes, scrub the area, and rinse it off. Do this again if needed.
Acid Etching: This method removes cement to make a rough surface. It gets rid of laitance but does not work well on oil or grease. Always wear personal protective equipment (PPE) and make sure there is good airflow when using acids.
Surface Retarders: For new concrete, these stop hydration to show coarse aggregate. After using a surface retarder, pressure wash the area to get it ready for patching.
Cleaning is very important because dirt can mess up the bond between the patching compound and the old concrete. Things like oils, dirt, and moisture can weaken both the grip and the chemical bond. If you do not handle moisture well, it can bring salts and other dirt to the top, making the bond weaker.
Using Bonding Agents
After cleaning, think about using a bonding agent to help with sticking. Bonding agents make the connection between the patching compound and the old concrete better. Here are some good bonding agents and how to use them:
Sakrete Bonder & Fortifier: This is a popular choice for concrete patching. You can put it directly on the old concrete with a brush or rag. If you can, spraying is also an option.
Application Timing: Let the bonding agent dry until it feels sticky, which usually takes just a few minutes.
Using a bonding agent can really boost bond strength. Studies show that using a bonding agent can lead to a 94% increase in bond strength on a normal concrete surface. This improvement is very important for making sure your repairs last.
Remember, not cleaning the surface well is one of the biggest mistakes in concrete patching. Make sure the surface is clean, dry, and strong to avoid problems. By doing these steps, you prepare for successful repairs that will last a long time.
Selecting Concrete Patching Compound
Types of Compounds
When picking a concrete patching compound, think about the types available. Each type has its own purpose:
Cement-Based Compounds: These are the most common. They are good for general repairs and are cheap. They stick well to old concrete and can be used inside or outside.
Epoxy-Based Compounds: These compounds are very strong and resist chemicals. They work well in places with harsh chemicals. Epoxy can hold heavy loads and dries quickly, getting strong in just 2-4 hours. But, they can cost more than cement-based ones.
Polymer-Modified Compounds: These compounds improve sticking and flexibility. They are great for thin repairs and resurfacing. They can handle temperature changes, making them good for outdoor use.
Choosing Factors
Choosing the right concrete patching compound involves some important factors:
Type and Extent of Damage: Check what kind of damage there is. Cracks might need different fixes than spalling or delamination.
Structural Considerations: Think about how important the damaged area is. Busy areas may need stronger concrete to last longer.
Environmental Factors: Look at temperature and moisture levels. For example, epoxy might break down under UV light, so it’s not great for outside use.
Time Constraints: If you need a fast repair, quick-setting cement patchers can help. They let you finish repairs quickly without losing quality.
Budgetary Constraints: Your budget will affect your choice. Cement repairs are usually cheaper, costing 60-75% less than epoxy for big projects.
Using good concrete patching compounds can save you money in the long run. They lower maintenance needs and cut repair costs, improving the overall value of your project. By thinking about these factors, you can make sure your repairs work well and last a long time.
Application Techniques
Mixing Instructions
Mixing your concrete patching compound the right way is very important. It helps make a strong and lasting repair. Follow these steps to mix it properly:
Read the Instructions: Always start by looking at the instructions on the package. Different compounds may need different mixing amounts.
Use Clean Tools: Make sure your mixing tools, like buckets and mixers, are clean. Dirt can change how the compound works.
Measure Accurately: Use a scale or measuring cups to get the right amount of water and compound. Wrong amounts can cause weak adhesion and less strength.
Mix Thoroughly: Combine the compound and water until it is smooth. Avoid lumps because they can make the bond weaker.
Tip: Not mixing correctly can cause many problems:
Weak adhesion from wrong mixing amounts, which can lead to a bad bond with the concrete.
Less durability since poorly mixed coatings may dry out partly, making a thinner and weaker surface.
Bad curing processes that can cause cracks and total failure of the coating.
Layering for Thickness
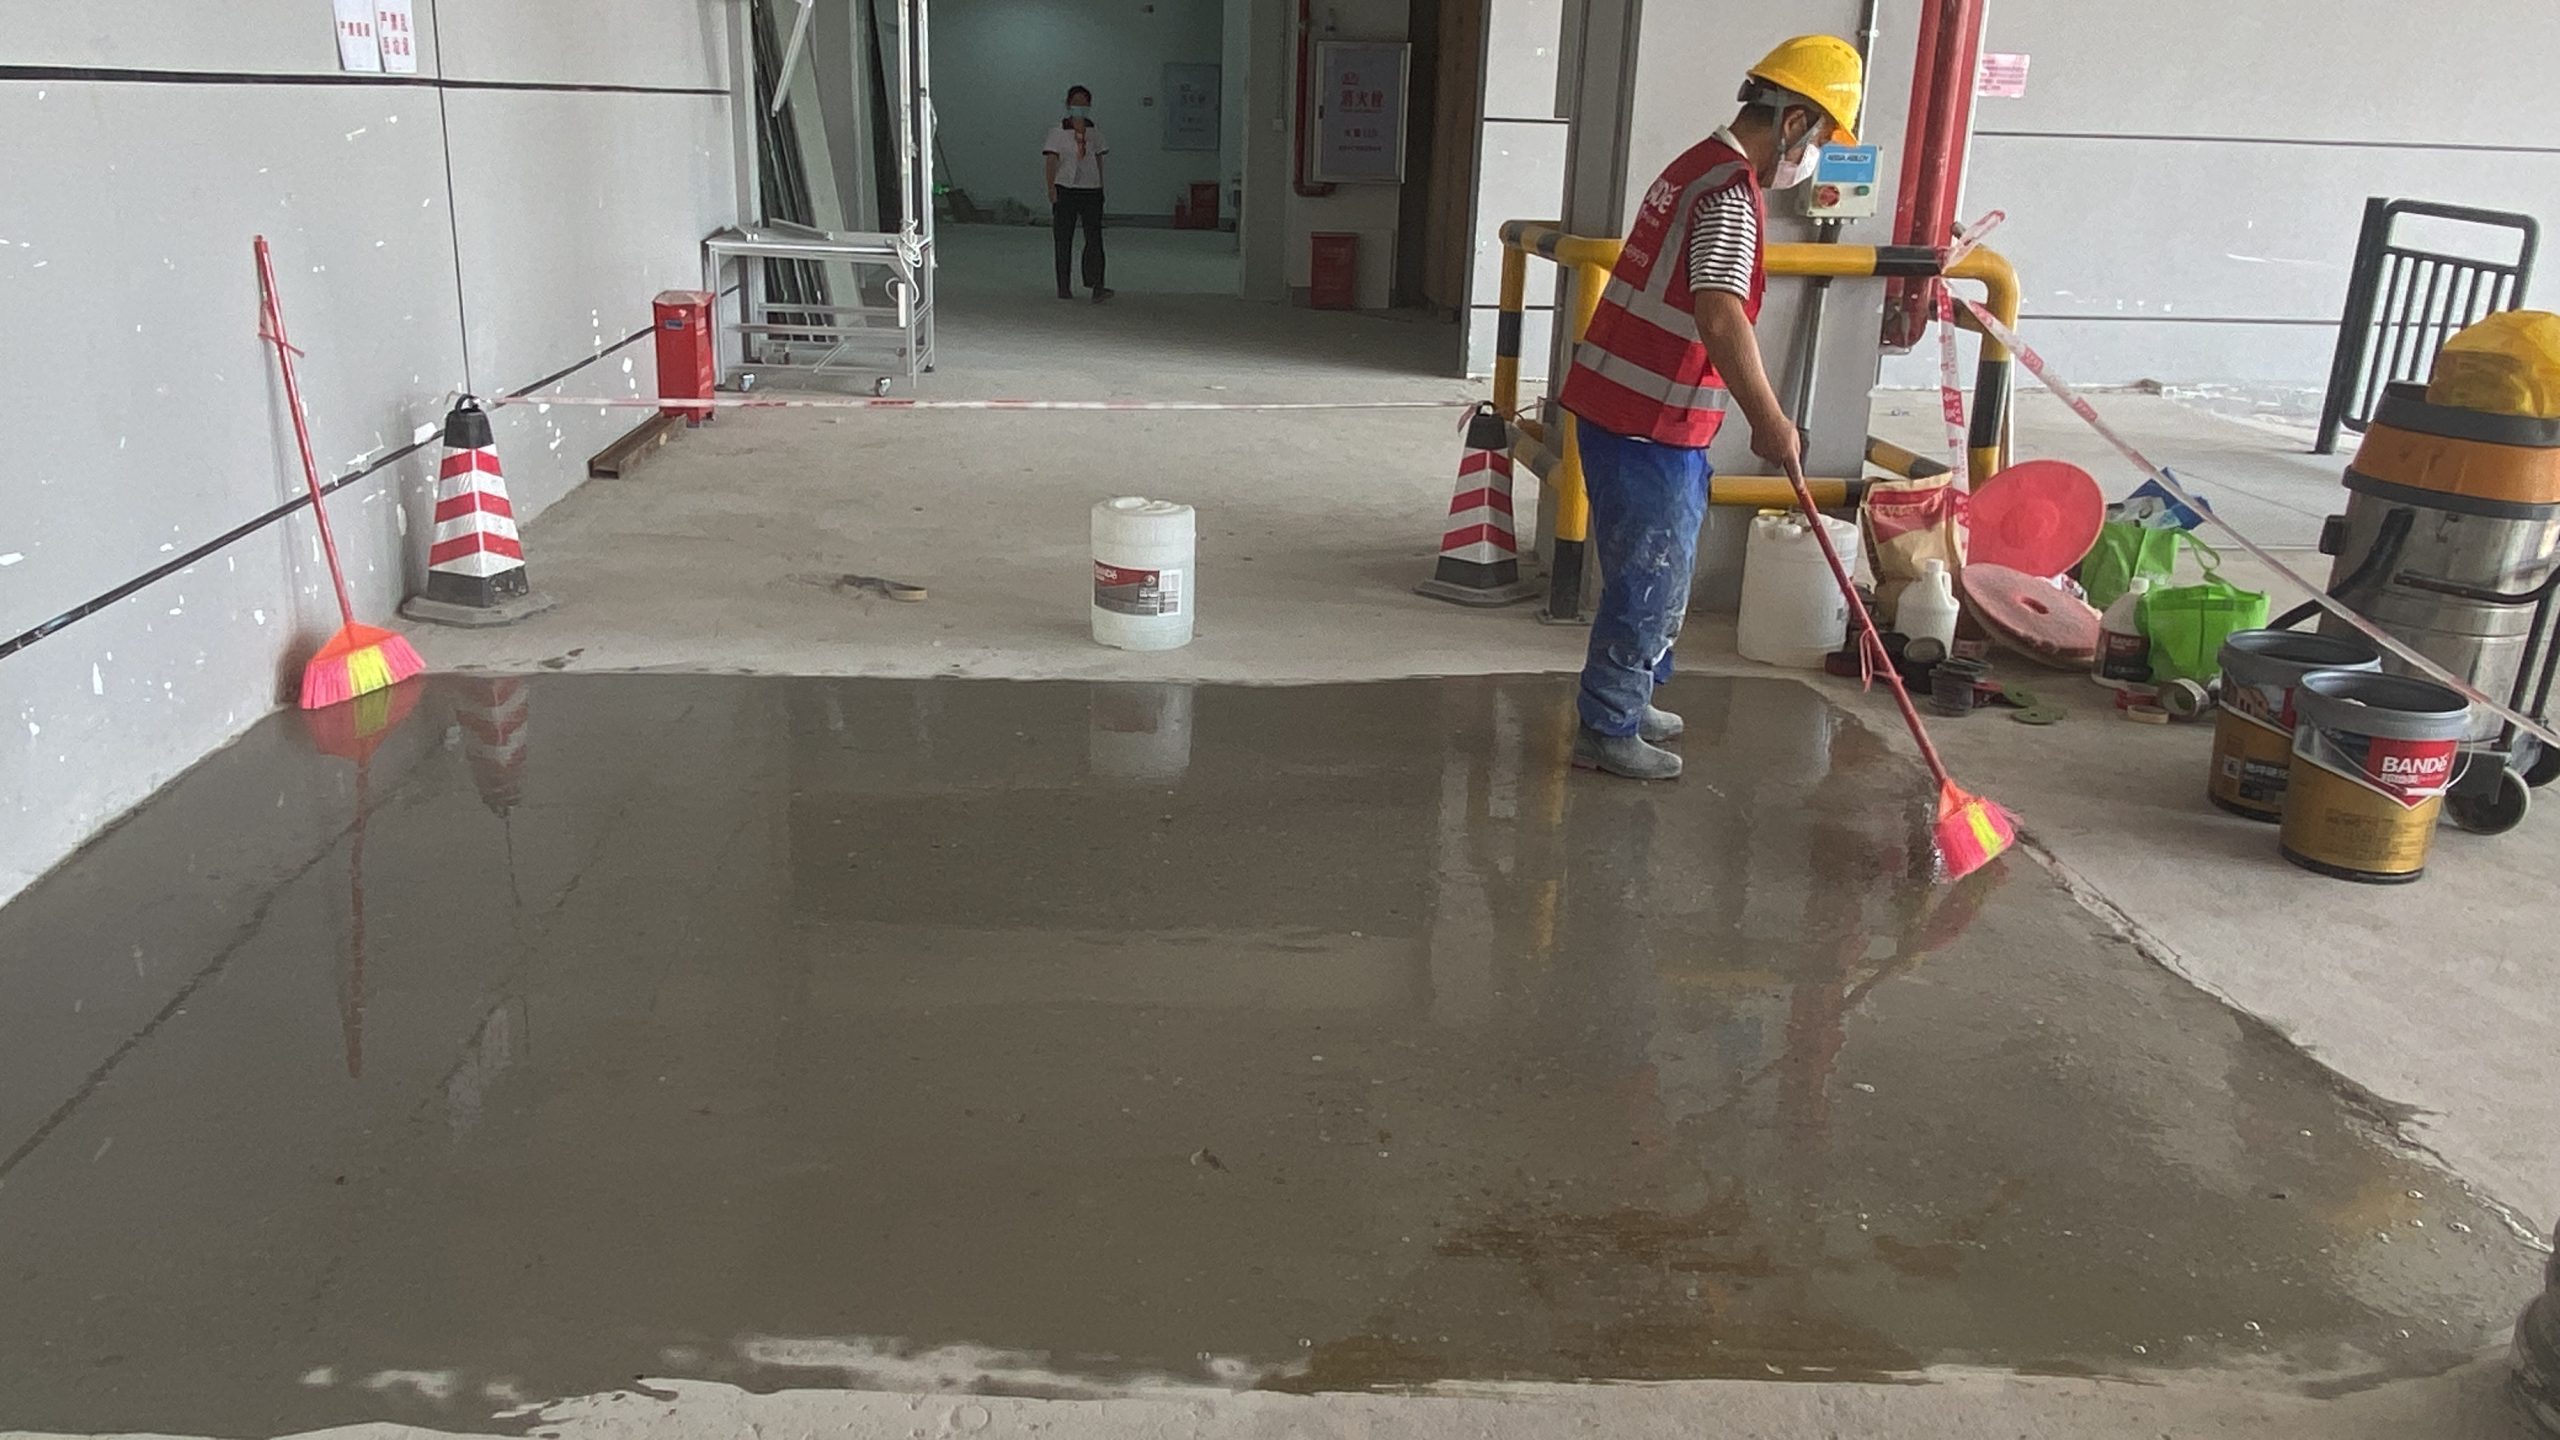
When fixing deeper areas, layering your patching compound is very important. This method helps you get a smooth finish and keeps the patch strong. Here’s how to apply the compound in layers:
Prepare the Surface: Keep all repair areas wet for at least 20 minutes before putting on the patching compound. This helps it stick better.
Remove Excess Water: After wetting, make sure the surface is damp but not full of water. This is called saturated/surface dry.
Fill Gaps: Fill all corners and gaps under reinforcing steel completely to avoid empty spaces. This step is very important for keeping strength.
Layer Application: Apply the patching compound in layers of 1/4 inch. Let each layer set before adding the next. Don’t put on too much material at once to stop the bottom from staying soft.
Important: For patches deeper than 1 inch, think about adding coarse aggregate to the mix. Always follow the manufacturer’s guidelines for mixing amounts. Throw away any unused material after 20 minutes to keep quality.
By following these application techniques, you can make a strong and lasting repair that fits well with the existing concrete surface.
Evaluating Repair Effectiveness
Inspecting Repairs
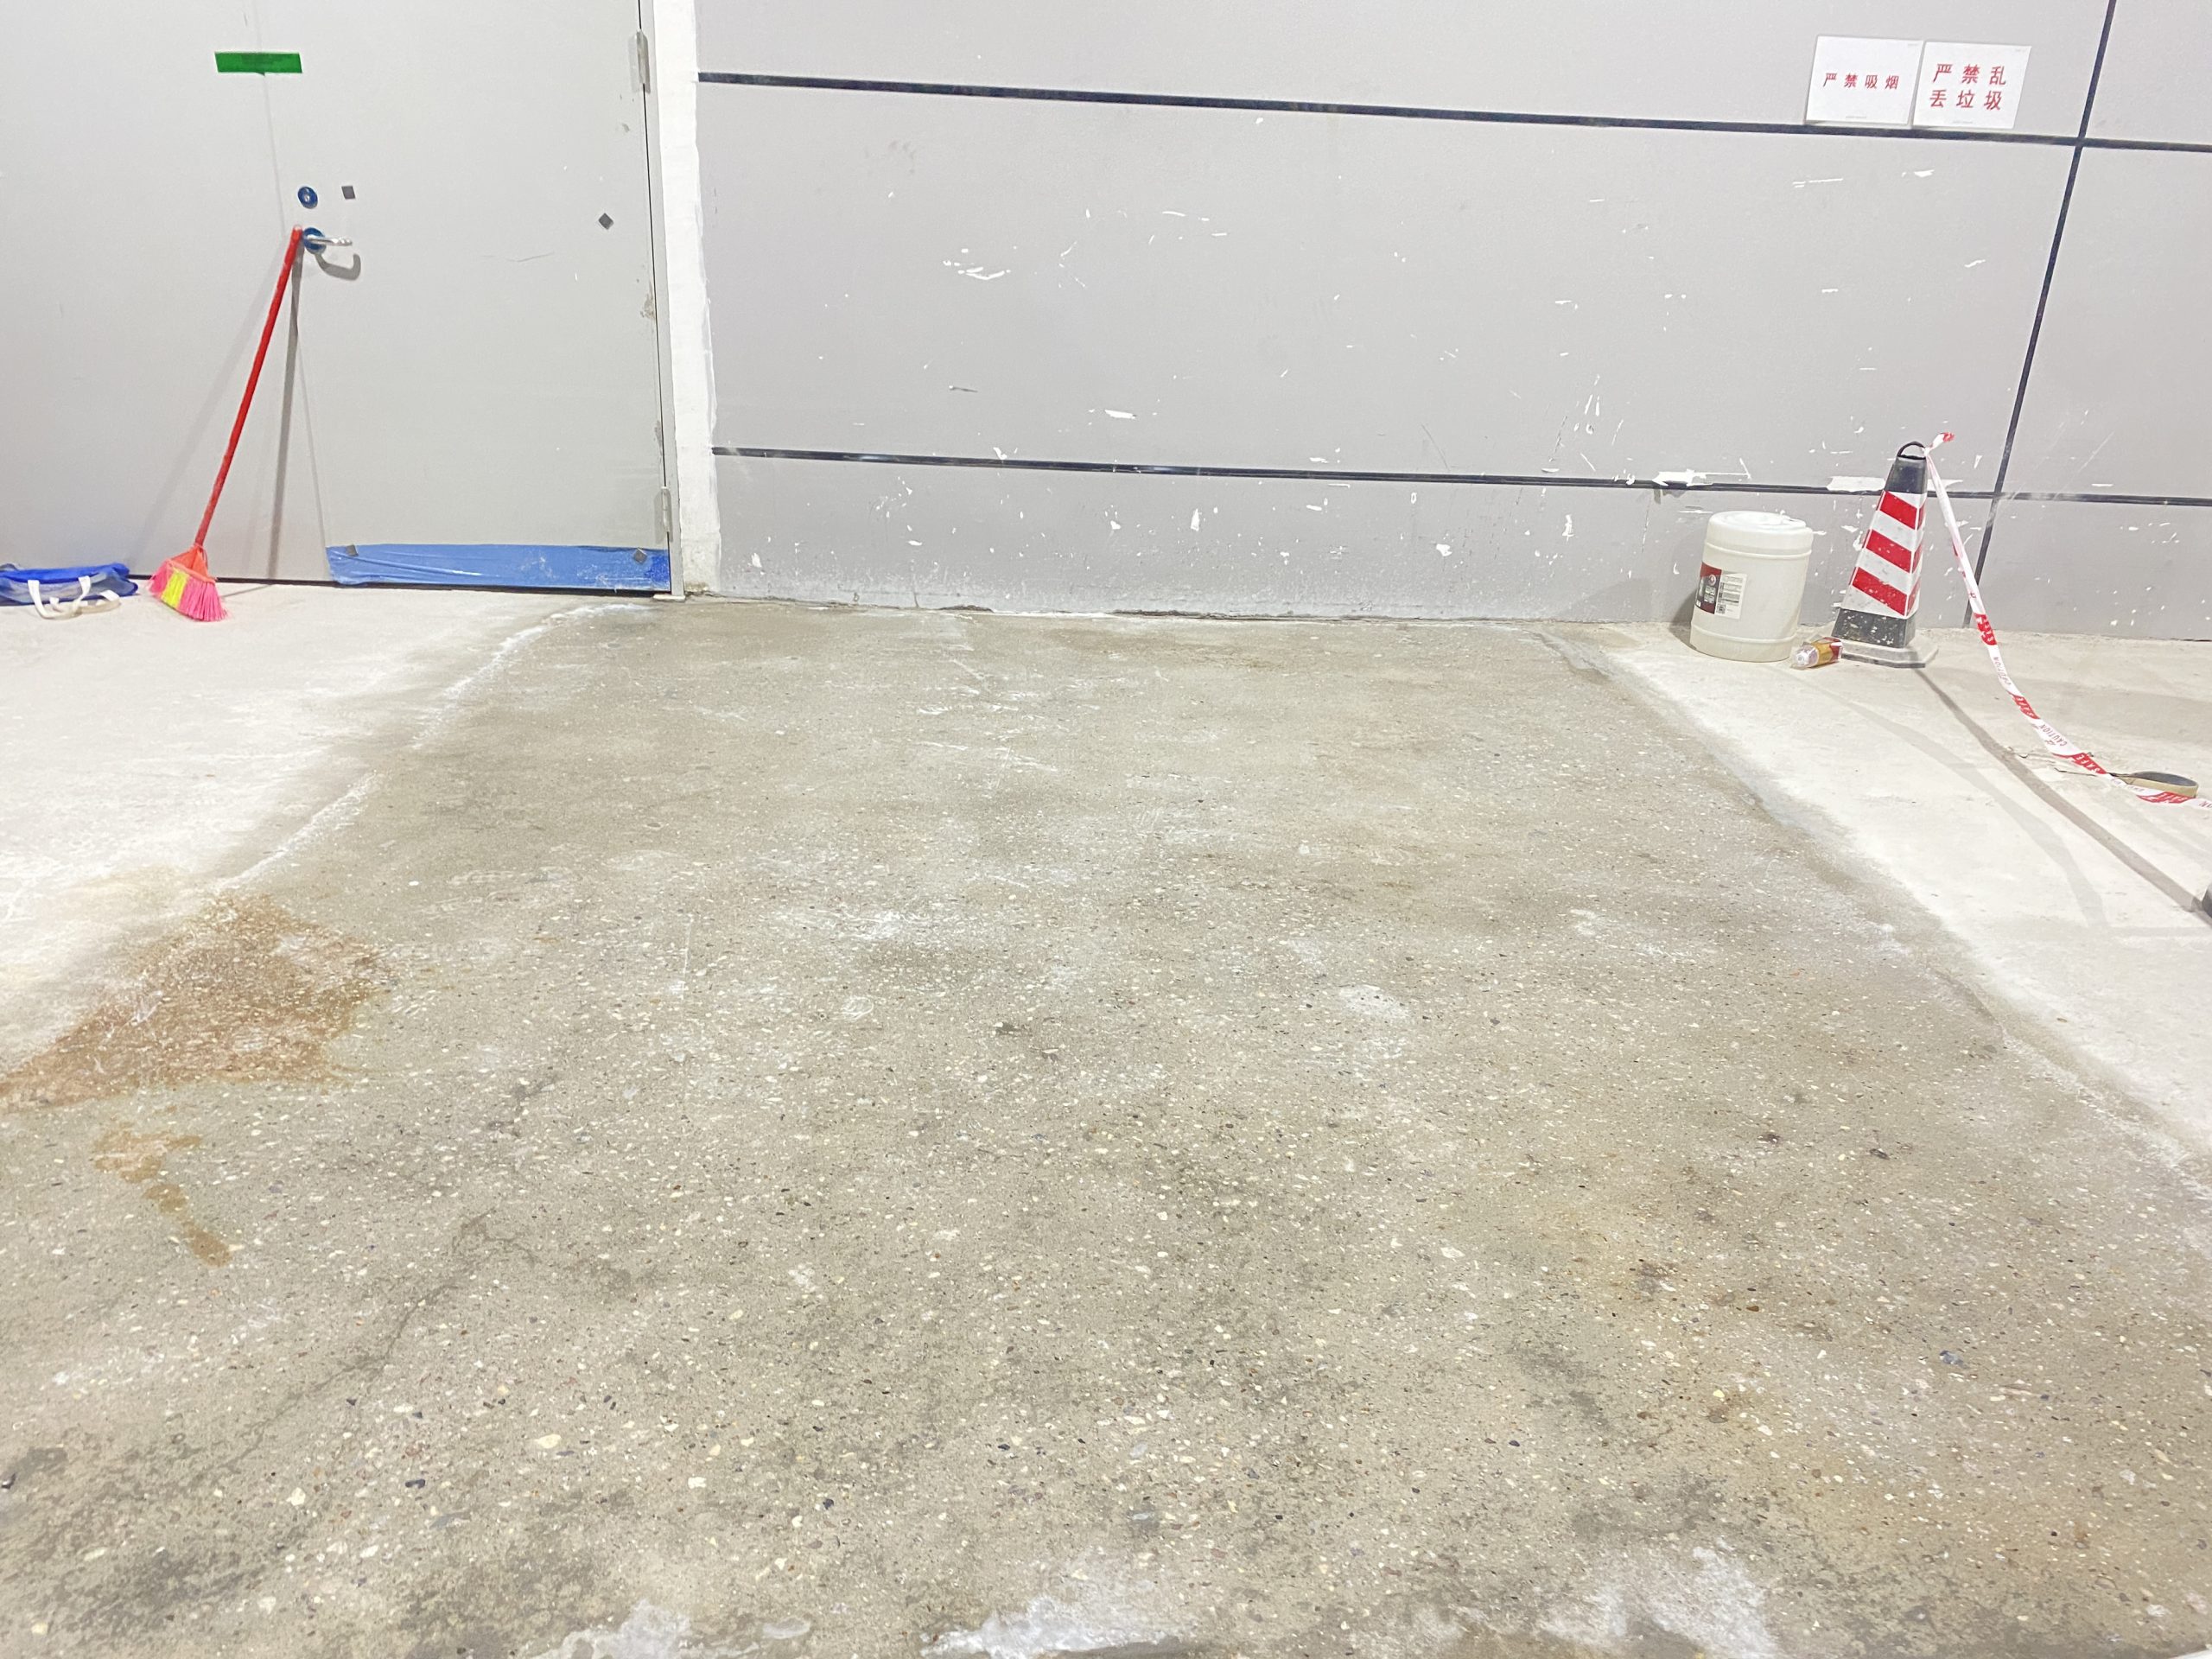
After you finish patching your concrete, check the repairs to see if they worked well. Look for signs of success, like a smooth surface and a strong bond with the old concrete. How well you prepare the surface and choose materials affects how long your repairs last. Good surfaces can make patches last ten to twenty years. But if you don’t prepare well, they might fail in just one to three years.
To check how strong your repairs are, you can use different testing methods:
Testing Method | Description |
|---|---|
Ultrasonic Pulse Velocity (UPV) | Sends sound waves through concrete to check its density and strength. |
Rebound Hammer Test | Gives a quick idea of how hard the surface is and its strength. |
Ground-Penetrating Radar (GPR) | Finds hidden objects and shows the layout inside, revealing areas with corrosion. |
Infrared Thermography | Takes thermal images to show moisture problems and weak bonding spots. |
Half-Cell Potential Test | Checks the chance of corrosion in steel, helping you know where to focus repairs. |
Maintenance Tips
To help your concrete repairs last longer, follow these maintenance tips:
Regularly check the surface and look for cracks.
Use protective coatings like sealants and water repellents.
Make sure repair materials cure properly.
You should also do these things often:
Inspect and clean to stop small problems from getting worse.
Fix drainage issues to manage moisture.
Seal joints and fill small cracks quickly to keep water out.
Proper curing is very important for how long concrete repairs last. If curing is not done right, repairs can break down, and you may need to remove and replace them. By following these maintenance steps, you can keep your repairs effective and strong for many years.
To sum up, using concrete patching compounds well means following some important steps:
Surface Preparation: Clean and get surfaces ready.
Crack Repair: Fix cracks quickly to stop more damage.
Priming: Use bonding agents when needed.
Concrete Patching: Carefully mix and apply the compound.
Curing: Make sure to cure properly for lasting repairs.
Doing a good job with assessment, preparation, and application is very important for how long your repairs last. By following these steps, you can get strong results. Start today and use what you’ve learned to make sure your concrete repairs last a long time! 🛠️
FAQ
What is a concrete patching compound?
A concrete patching compound is a material for fixing cracks, holes, and damage in concrete. It helps make concrete surfaces look good and stay strong.
How long does it take for concrete patching to cure?
Curing time depends on the compound used. Usually, most patching compounds cure in 24 to 48 hours. But, it can take up to 28 days to reach full strength. Always check the instructions from the manufacturer for exact curing times.
Can I use concrete patching compound outdoors?
Yes, many concrete patching compounds can be used outside. Pick a compound made for outdoor use to handle weather. Make sure to prepare the surface well for the best results.
How do I know if my repair was successful?
Check the repair for a smooth surface and a strong bond with the old concrete. A good repair should not have cracks or peeling. Regular maintenance checks can help keep your repairs lasting longer.
Is it necessary to use a bonding agent?
Using a bonding agent is very important. It helps the patching compound stick better to the old concrete, making it stronger and last longer. This step can really increase how long your repairs will hold up.
See Also
Choosing The Ideal BANDě Concrete Patch For Your Needs
The Definitive Guide To Mastering Concrete Crack Repairs
Locating The Top Epoxy Concrete Patch For Your Job