
Cracked concrete can cause bigger problems if you don’t fix it fast. Common issues are tiny cracks from temperature changes and big cracks from heavy loads. Luckily, you can do these repairs yourself! DIY concrete repair saves money and makes you feel good. Just remember, with the right tools and steps, you can make your concrete look great again.
Here are some common reasons for cracked concrete:
Bad installation
Too much water in the mix
Not enough drying time
Poor ground preparation
Taking action now can stop more damage and help your concrete last longer.
Key Takeaways
Find out what type of crack you have before fixing it. Hairline cracks are small. Wide and structural cracks might need a professional.
Clean the area around the crack well. A clean surface helps repair materials stick better and last longer.
Pick the right repair method based on how big the crack is. Use patching compounds for wide cracks and sealants for hairline cracks.
Check your concrete surfaces often. Look for new cracks or damage at least once a year to find problems early.
Seal your concrete every 2 to 3 years. This keeps out moisture and UV damage, helping your concrete last longer.
Tools for Concrete Repair
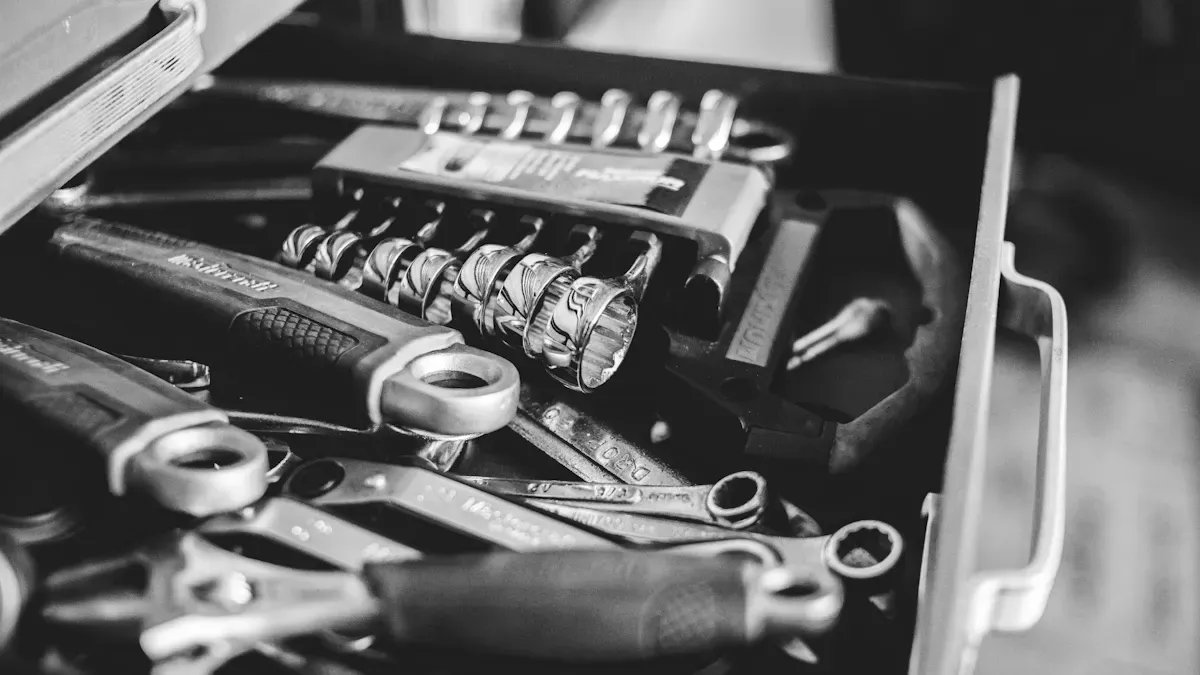
When you start your concrete repair project, the right tools and materials are very important. Here’s a list of tools you need to begin:
Essential Tools
Standard Caulk Gun: This tool helps you put sealants and fillers on easily.
Acetone: Use this to clean up any polyurethane products after you finish your repair.
These tools are key for a clean and effective repair.
Recommended Materials
For bigger or wider cracks, you should have some special tools ready. Here are a few that can help you get a professional look:
Trowel: This tool is great for putting thicker compounds into cracks and smoothing them out.
Putty Knife: Like a trowel, it helps push material into the crack and finish the surface nicely.
Float: A flat, wide tool that’s good for applying a smooth coat, especially when resurfacing.
Having these tools and materials ready will make your concrete repair easier and better. Remember, getting the right tools saves you time and helps your repairs last longer. So, gather your tools and get ready to fix your concrete surfaces!
Types of Cracks in Concrete
Concrete can crack for many reasons. Knowing the types of cracks helps you choose the best way to fix them. Here’s a list of the most common types:
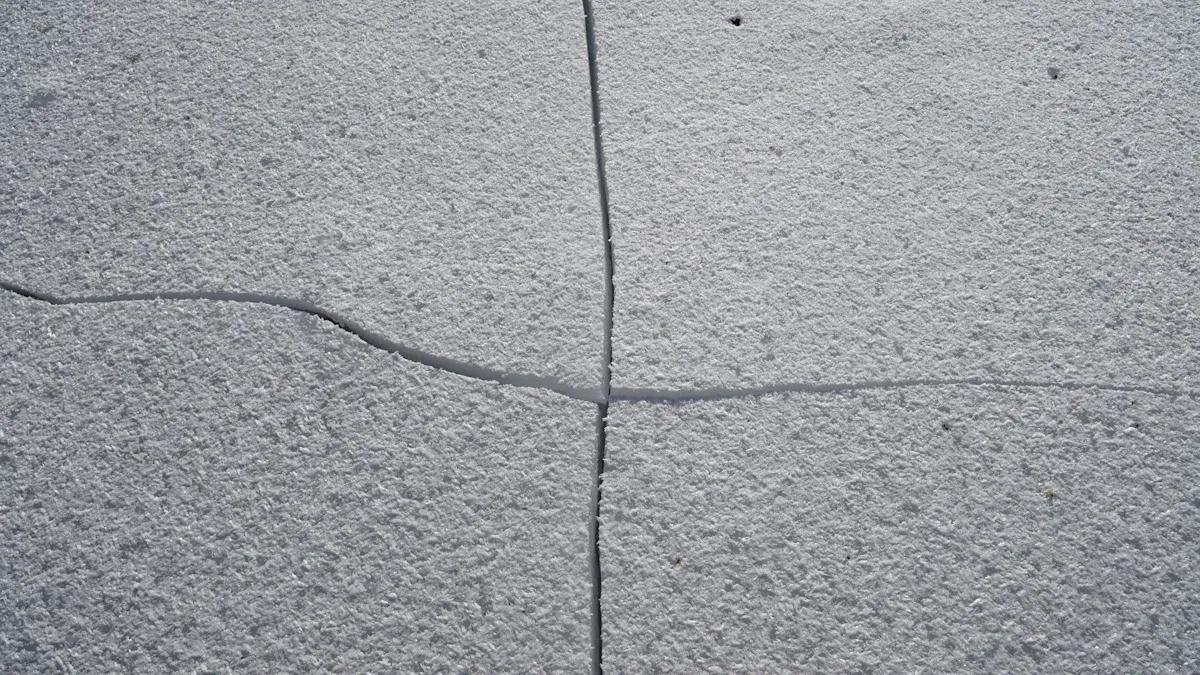
Hairline Cracks
Hairline cracks are very small and shallow. They are less than 0.1 mm wide. You usually see them on new concrete surfaces. These cracks happen because of small pressures like shrinking during drying or changes in temperature. They may look bad, but they usually don’t mean serious problems.
Wide Cracks
Wide cracks are bigger and often more than 1/8 inch wide. These cracks can show deeper issues. They may happen from too much weight on the concrete, bad installation, or soil moving under the surface. If you see wide cracks, it’s important to check what caused them. Ignoring them can lead to worse damage.
Structural Cracks
Structural cracks are the most serious type. They look like large, deep cracks and can mean big foundation problems. These cracks may happen from bad construction, weak materials, or unstable ground. If you notice structural cracks, like doors that stick or uneven floors, you should get professional help. Ignoring these signs can lead to expensive repairs later.
Here’s a quick reference table to help you identify the different types of cracks:
Type of Crack | Description | Causes |
|---|---|---|
Hairline Cracks | Small, shallow cracks less than 0.1 mm wide, often seen in new concrete. | Caused by minor pressures like shrinking or temperature changes. |
Wide Cracks | Cracks wider than 1/8 inch indicating serious issues needing attention. | Result from excessive weight, poor construction, or inadequate materials. |
Structural Cracks | Large cracks indicating serious foundation problems. | Caused by excessive weight, poor installation, or ground instability. |
Knowing these cracks will help you decide when to fix a crack yourself and when to call for help.
Preparing for Concrete Crack Repair
Before you start fixing your cracked concrete, you must prepare the surface well. This means cleaning the area and checking the damage. Let’s look at these steps.
Cleaning the Surface
Cleaning the surface is very important for a good repair. If you skip this, dirt can stop the crack filler from sticking. Here are some good ways to clean:
Degreasers: These work well for getting rid of oil, grease, and stains. Use the degreaser without mixing it, let it sit for 15–20 minutes, scrub the area, and rinse it well. If it’s really dirty, you may need to do this again.
Acid Etching: This method removes cement to show the rocks underneath. It helps create a rough surface. It’s good for removing laitance and getting a Concrete Surface Profile (CSP) of 3 to 5, which works well for sealants and thin coatings.
Tip: Always wear gloves, goggles, and long sleeves when cleaning. This keeps you safe from harmful stuff and skin irritation.
Assessing Damage
After cleaning, it’s time to check the damage. Knowing how deep and serious the cracks are helps you pick the right repair method. Here’s how to do it:
Start by cleaning the crack area well with a wire brush.
Use a crack gauge to measure the width at the widest part.
Measure the depth every 12 inches with a depth probe.
Check if the surface is even using a 2-foot level.
You can sort the cracks by size:
Hairline Cracks (< 1/16″): These are just for looks and usually don’t need quick action, but keep watching them.
Minor Cracks (1/16″–1/4″): Seal these to stop water from getting in.
Major Cracks (> 1/4″): These might mean structural problems, so it’s best to ask a professional.
Crack Size | Description | Recommended Action |
|---|---|---|
Hairline Cracks | Cosmetic cracks, keep an eye on them. | No immediate action needed. |
Minor Cracks | Cracks that can let water in. | Seal to stop more damage. |
Major Cracks | Possible structural risks. | Consult a professional for help. |
By following these steps, your concrete repair will be effective and last longer. Remember, taking time to prepare well can save you from bigger problems later!
Repairing Cracked Concrete
Fixing cracked concrete might seem hard, but you can do it with the right steps. Let’s look at how to fix different types of cracks.
Repairing Hairline Cracks
Hairline cracks look small, but fixing them quickly can stop bigger problems. Here’s how to fix them well:
Check the Damage Carefully: Look at the crack and the area around it. This helps you see how bad the damage is.
Clean the Crack Area: Make sure the crack is clear of dirt and water. A clean area helps the filler stick better.
Pick and Prepare the Right Repair Material: For hairline cracks, use a concrete patch or special crack filler. Follow the instructions on the package.
Apply the Repair Product Carefully: Use a caulk gun or putty knife to put in the filler. Fill the crack all the way and smooth it out.
Cure, Seal, and Protect the Repaired Surface: Let the repair dry according to the product instructions. Sealing it afterward can help it last longer.
Tip: Always check the weather before you start. Don’t repair on rainy days because moisture can mess up the curing.
Repairing Wide Cracks
Wide cracks need more care. Here’s how to fix them:
Materials to Use: Think about using quick-setting concrete, patching compound, or standard concrete mix. Each one has its benefits:
Material | Description |
|---|---|
Quick-setting concrete | Great for big cracks, fills gaps well, and dries fast. |
Patching compound | Good for larger cracks, can be mixed as needed for filling. |
Standard concrete mix | Can fill cracks, mix as much as you need. |
Resurfacer | Helps cover repairs and adds strength after filling cracks. |
Clean the Area: Just like with hairline cracks, start by cleaning the area well.
Widen the Crack: Use a chisel to make a V-shape in the crack. This helps the repair material stick better.
Fill the Crack: Use a trowel to apply your chosen material. Pack it in tightly.
Smooth the Surface: Use a float to level the surface and blend it with the rest of the concrete.
Cure and Seal: Follow the drying instructions and seal the area to keep out moisture.
Repairing Structural Cracks
Structural cracks are serious and often mean there are bigger problems. Here’s how to deal with them:
Technique | Description |
|---|---|
Epoxy Injection | Best for narrow cracks, this method bonds the crack faces with epoxy resin to restore strength. |
Routing and Sealing | This means making the crack bigger and filling it with a flexible sealant to stop water from coming in. |
Polyurethane Foam Injection | Expands to fill gaps and seals cracks that have moisture problems. |
Stitching | Drilling holes and putting in metal staples to lock the crack and help with load transfer. |
Surface Patching and Overlay | Fixes cracks while restoring the surface with special mortar or overlays. |
Check the Damage: Find out what caused the structural crack. You might need professional help.
Prepare the Area: Clean and widen the crack if needed.
Choose the Right Technique: Pick a repair method based on how bad it is.
Apply the Repair Material: Follow the specific instructions for the method you chose.
Watch the Repair: After fixing, keep an eye on the area for any new cracks.
Fixing cracked concrete is important to keep your surfaces strong. By following these steps, you can make sure your repairs work well and last a long time.
Finishing and Sealing
Smoothing the Surface
After fixing your concrete, it’s important to smooth the surface. This makes the repaired area blend in with the rest of the concrete. Here are some good ways to do that:
Smooth and blend the layers to make a seamless finish. Feather the edges around the patch.
Think about skim-coating the whole repair area with Sakrete Top ‘N Bond. This helps create a uniform look.
Use the edge of a margin trowel to shape the repair. Make it match the surrounding concrete.
Doing these steps will make your repair look professional. It will also keep your concrete surface looking nice.
Sealing the Repair
Sealing your repaired concrete is very important. It protects against moisture, dirt, and other things that can cause damage over time. Here are some good sealants to think about:
Sealant Type | Key Properties | Best Use Cases |
|---|---|---|
Polyurethane | Very flexible, strong adhesion, and resists UV rays | For outdoor crack repairs |
Silicone | Great at resisting weather and can handle extreme temperatures | In harsh climates |
MS Polymer | Has the benefits of silicones and polyurethanes, can be painted after curing | For aesthetic repairs |
Epoxy | Bonds well, fills small cracks, and restores strength | For structural repairs |
When sealing, remember that curing times can change based on the weather. Here’s a quick guide:
Weather Condition | Recommended Curing Time | Additional Notes |
|---|---|---|
General | At least 7 days | Longer for bigger areas or structures that have been around for decades. Use curing compounds, wet coverings, or keep applying water to stop rapid surface drying. |
Cold Weather | Slower curing process | Water in the mix can freeze, which causes cracks. |
Hot Weather | Keep the surface damp | Material dries quickly; avoid fast drying to stop cracks. |
By sealing your repairs well, you make sure they last longer and stay safe from future damage.
Maintenance Tips for Concrete
Regular Inspections
To keep your concrete surfaces looking good, check them regularly. You should look for new cracks or wear at least once a year. If you live in a place with tough weather, check more often. For example, if you have concrete in underground parking areas, inspect it every six months. This helps you find problems before they get worse.
Here’s a quick checklist for your inspections:
Look for cracks, color changes, or uneven spots.
Check for standing water, which can mean drainage problems.
Pay attention to areas with a lot of traffic or weather exposure.
Importance of Sealing
Sealing your concrete is one of the best ways to make it last longer. Regular sealing keeps the surface strong and stops it from breaking down. It also protects against water and UV damage, which can cause cracks and wear over time. Did you know that well-sealed concrete can last over 20 years? On the other hand, untreated surfaces might start to crumble in less than 10 years!
To keep your concrete in good shape, think about resealing every 2–3 years. Here’s a helpful table to guide you on resealing times:
Recommended Interval | Description |
|---|---|
2–3 years | Reseal every 2–3 years based on weather, traffic, and surface condition to prevent damage. |
Annual inspections | Check every year to know when to reseal for the best results. |
Indicators for resealing | Color changes, standing water, and surface cracks show it’s time to reseal. |
By following these maintenance tips, you can keep your concrete surfaces strong and nice for many years. Remember, a little work now can save you from expensive repairs later!
Fixing cracked concrete is important to keep your surfaces strong and safe. Here are some key steps to follow:
Identify the crack type: Know if it’s a hairline, wide, or structural crack.
Clean the area: A clean surface helps repair materials stick better.
Choose the right repair method: Use the right materials based on the crack size.
Regular maintenance is very important. It protects your concrete from damage and stops water problems. Plus, fixing cracks quickly can save you money on big repairs later.
So, take action now! Check your concrete often and fix any cracks, no matter how small. This will help your concrete last longer and keep your property looking nice! 🏡
FAQ
What causes cracks in concrete?
Cracks can happen for many reasons. These include changes in temperature, heavy weights, or bad installation. Soil movement and moisture can also cause cracks. Knowing the cause helps you pick the right way to fix it.
How do I know if a crack is serious?
If a crack is wider than 1/4 inch or looks like it’s shifting, it might be serious. Check for uneven floors or doors that stick. In these cases, it’s a good idea to ask a professional for help.
Can I repair concrete in cold weather?
Yes, but you need to be careful. Use a quick-setting concrete mix and keep the area warm. Don’t repair when temperatures go below 50°F (10°C) to make sure it cures properly.
How long does it take for concrete repairs to cure?
Curing times can change based on the material and weather. Usually, let it cure for at least 7 days. Check the product instructions for specific advice.
How often should I seal my concrete?
You should reseal your concrete every 2 to 3 years. Regular sealing protects against moisture and UV damage, helping your concrete last longer. Check your surfaces every year for signs of wear.
See Also
The Definitive Handbook for Effective Concrete Crack Repairs
The Comprehensive Manual for Durable Cement Crack Sealing
An Easy Guide to Achieving Flawless Concrete Crack Repairs
Selecting the Ideal Cementitious Crack Sealer for Your Needs