Moisture control is crucial for maintaining a healthy home. A vapor barrier can effectively prevent moisture problems, protecting your space from mold and structural damage. Homeowners often worry about issues like mold growth and wood rot. Proper installation of a vapor barrier can help alleviate these concerns and enhance your home’s durability.
Key Takeaways
A vapor barrier prevents moisture from entering your home, protecting against mold and structural damage.
Proper installation of a vapor barrier involves preparing the area, cutting the material, and sealing edges and joints to ensure effectiveness.
Common mistakes include improper sealing of seams and penetrations, which can lead to moisture issues. Always overlap seams and seal around pipes tightly.
Vapor Barrier Overview
Define what a vapor barrier is and its purpose.
A vapor barrier is a crucial element in home construction. It’s a material placed on the exterior back-up wall of a structure, designed to control the movement of air and vapor within the building. This non-permeable membrane, often called an impermeable membrane or vapor retarder, has a vapor permeance of less than 1 U.S. perm. Its main purpose is to prevent moisture from entering your home, which can lead to mold growth and structural damage.
The below-slab vapor barrier is a highly engineered plastic that is installed directly beneath the concrete slab. It serves to protect the foundation from water vapor that can damage flooring and from soil gases like radon, which can affect indoor air quality.
Discuss the importance of vapor barriers in home construction.
Vapor barriers play a vital role in maintaining a healthy living environment. They help protect against moisture vapor diffusion from the ground, which enhances both structural longevity and indoor air quality. Here are some key benefits of using vapor barriers in new home construction:
They act as a preventive measure against unsafe levels of radon gas, a leading cause of lung cancer in non-smokers.
They deter termites without harmful chemicals through an Integrated Pest Management approach.
They maintain indoor air quality with low-VOC emitting materials, especially in crawl spaces.
Building codes emphasize the importance of vapor barriers. For instance, vapor retarders must have a minimum thickness of 10-Mil and must conform to ASTM E1745 Class A requirements. This ensures durability and performance in below-slab applications.
Types of Vapor Barriers
Plastic Sheeting
Plastic sheeting is one of the most common types of vapor barriers. It’s typically made from polyethylene and comes in various thicknesses. Here’s a quick look at its characteristics:
Perm Rating (Class) | |
|---|---|
6-mil | Class 1 (0.06 perm) |
10-mil | Class 1 (0.1 perm or less) |
20-mil | Class 2 (0.1 to 1.0 perm) |
>20-mil | Class 3 (1.0 to 10 perm) |
Plastic sheeting is preferred in many situations because it effectively prevents moisture seepage, mold growth, and structural damage. It acts like a raincoat for your home, keeping unwanted moisture at bay. Plus, it contributes to energy efficiency by helping maintain ideal temperature levels.
Foil Barriers
Foil barriers are another excellent option. They are designed to reflect radiant heat, which helps regulate temperature and control moisture. Their multi-layer structure traps heat and moisture, making them particularly effective in environments like metal buildings.
Advantages | Disadvantages |
|---|---|
Reflective properties reduce heat absorption, lowering HVAC costs. | Generally more expensive than other vapor barriers. |
Excellent moisture control. | May not be suitable in environments requiring breathability. |
Crawl Space Vapor Barriers
Crawl space vapor barriers are specifically designed for use in crawl spaces. According to building codes, these barriers must be at least 6-mil polyethylene and classified as Class I vapor retarders. They should cover all exposed earth in unvented crawl spaces, with joints overlapping by at least 6 inches. This setup helps block ground moisture, significantly reducing indoor humidity levels and preventing mold growth.
Homes with sealed crawl spaces can reduce mold presence by up to 70% within six months!
By using crawl space vapor barriers, you create a physical shield against moisture, ensuring your home remains dry and healthy.
Materials for Installing a Vapor Barrier
Required Tools
Before diving into the installation, gather the right tools. Here’s a handy list of what you’ll need:
Vapor barrier (usually 6 mil or thicker polyethylene)
Utility knife for cutting the barrier
Tape to secure seams and edges
Staple gun or adhesive for fastening the barrier
Protective gear like gloves, a mask, and knee pads
Having these tools ready will make your installation smoother and safer.
Tip: Always ensure proper ventilation when working with materials that may release fumes.
Vapor Barrier Materials
When it comes to choosing the right vapor barrier materials, you have several options. Here’s a quick overview of some popular choices:
Product Name | Description |
|---|---|
Stego Wrap Class A | Exceptional vapor retarder for below-grade waterproofing applications. |
Stego Wrap 20-Mil Vapor Barrier | Ideal for below-slab applications, providing robust moisture protection. |
Durable and lightweight, perfect for crawl space projects. It offers excellent moisture blocking. |
High-density polyethylene (HDPE) is often used for these barriers. It’s puncture-resistant and effective in moisture prevention. Thinner materials might not provide the same level of protection, so choose wisely based on your needs.
By selecting the right tools and materials, you set the stage for a successful installation of your vapor barrier. This will help protect your home from moisture issues in the long run.
Steps for Installing a Vapor Barrier
Preparing the Area
Before you start installing a vapor barrier, preparation is key. A well-prepared area ensures that the barrier functions effectively and lasts longer. Here’s how to get started:
Conduct a site evaluation to identify any moisture sources. Look for leaks or areas where water might accumulate.
Inspect the subfloor and insulation for any signs of moisture damage. If you find any, address these issues before proceeding.
Remove debris, rocks, or sharp objects from the area. This helps prevent punctures in the vapor barrier later on.
Check local building codes for specific requirements regarding vapor barrier installation. Compliance is crucial for safety and effectiveness.
Prepare the subbase by compacting it and ensuring it’s free of debris. This minimizes sharp components that could damage the barrier.
Neglecting these steps can lead to serious issues. For instance, improper overlap at sheet junctions can create direct moisture transmission points. Additionally, inadequate sealing at the edges can allow moisture to seep in, compromising your entire moisture control system.
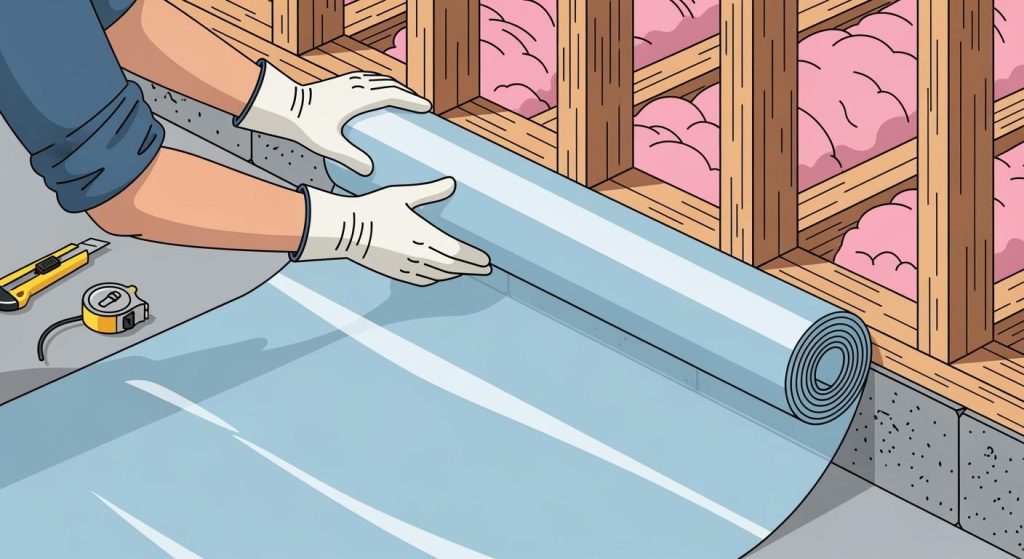
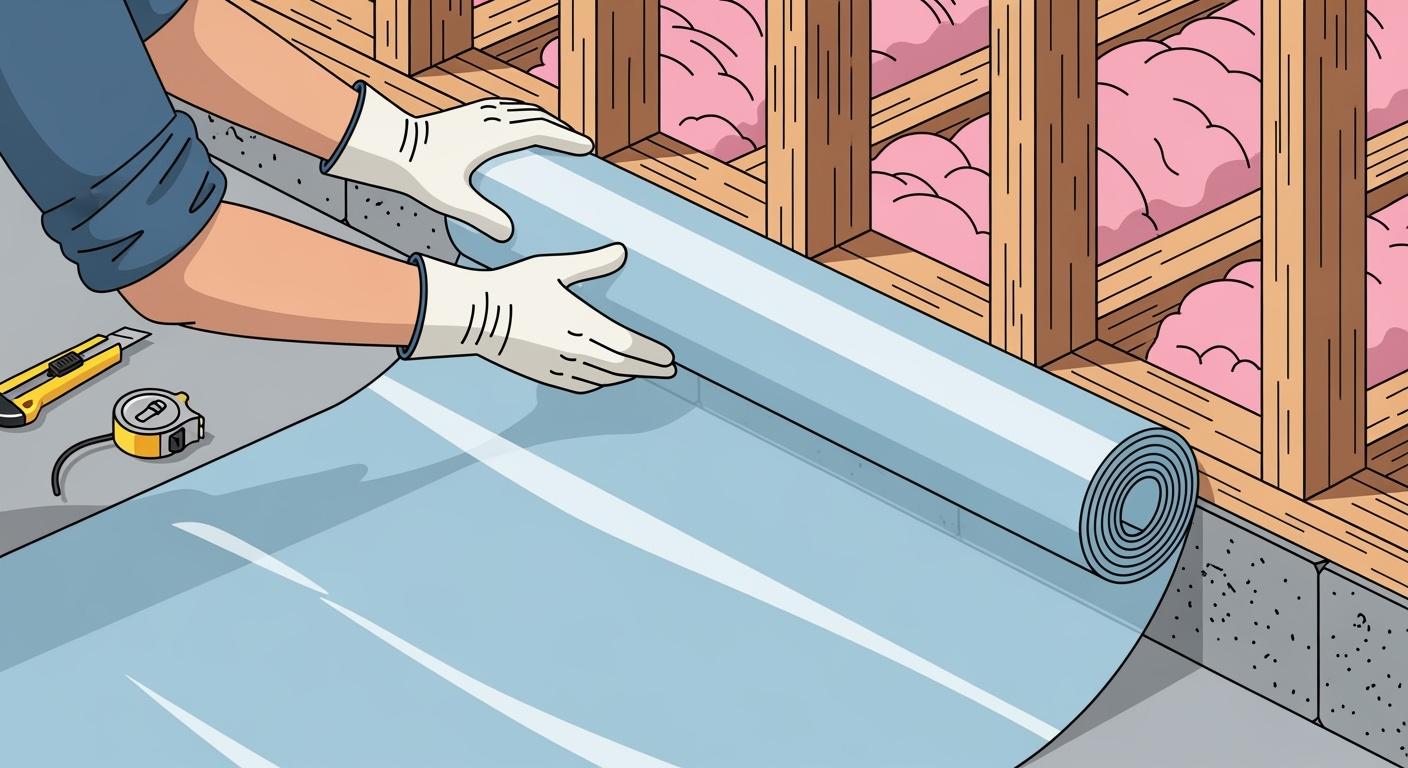
Cutting and Securing the Barrier
Once the area is prepared, it’s time to cut and secure the vapor barrier. Here’s how to do it effectively:
Measure and cut the vapor barrier to fit the area. Ensure you have enough material to extend up the walls if necessary.
Apply Stego Crete Claw Tape as close as possible to the terminating edge of the vapor barrier. This ensures a tight seal without any hanging edges.
Secure the barrier using a staple gun or adhesive. Make sure it’s tightly fastened to prevent any gaps.
Clean the surface of the vapor barrier before applying tape. This ensures better adhesion and a more effective seal.
Using quality materials is essential. For example, vapor barrier tape is crucial for securing the barrier to various surfaces. It helps create a moisture-resistant seal that keeps your home dry.
Sealing Edges and Joints
Sealing the edges and joints of your vapor barrier is one of the most critical steps in the installation process. Here’s how to do it right:
To seal the edges of a below-slab vapor barrier, use Stego Crete Claw Tape to bond the vapor barrier to the concrete. Ensure the adhesion area is clean and apply firm pressure to maximize adhesion.
Seal all termination points to prevent soil vapor migration. This includes where the barrier meets the walls and any penetrations for pipes or vents.
Lap the vapor barrier up at the slab edge for a tighter seal. This helps prevent moisture from sneaking in through the edges.
Use a squeegee for application of the tape. This technique creates a smooth seal and enhances effectiveness.
Improper sealing can lead to significant moisture issues. Failing to seal seams and edges properly can create weak points, allowing moisture to bypass the barrier entirely.
By following these steps, you can ensure that your vapor barrier installation is effective and long-lasting. This will help protect your home from moisture damage and maintain a healthy living environment.
Common Mistakes in Vapor Barrier Installation
Overlapping Seams
One of the most frequent mistakes homeowners make during vapor barrier installation is improperly overlapping seams. This can lead to significant problems caused by moisture. Here are some common pitfalls to avoid:
Improper sealing: Failing to seal seams, edges, and penetrations properly can create weak points in your moisture barrier system, allowing moisture to bypass the barrier entirely.
Inconsistent overlapping: Make sure to overlap seams uniformly to avoid gaps that could compromise the barrier.
To ensure a proper overlap, follow these steps:
Create a six-inch overlap of vapor retarder at all seams.
Seal seams with the manufacturer’s recommended accessories.
Seal around permanent penetrations.
Avoid puncturing the vapor retarder.
Repair all damaged areas.
Seal the vapor retarder at terminating edges to the foundation wall, slab, or grade beam.
Taking the time to overlap seams correctly can save you from future headaches related to moisture damage.
Sealing Penetrations
Another critical area where mistakes often occur is sealing penetrations for pipes and vents. Every penetration must be sealed tightly to prevent moisture issues. Here’s why this is so important:
Failing to seal penetrations can lead to moisture intrusion, which may result in mold growth.
It can cause wood rot, compromising structural integrity.
Poor indoor air quality can arise from unsealed penetrations.
To effectively seal the penetrations, consider these tips:
The liner should be run up the pier a few inches and taped securely to create a sealed ‘boot.’
Ensure that contractors use appropriate gaskets or sealants to maintain an airtight seal around penetrations.
Utilize products like Pro Clima Gaskets for various penetrations, or Stego Crete Claw Tape for sealing below-slab vapor barriers.
By sealing the penetrations properly, you can significantly reduce the risk of moisture damage in your home. Remember, without a vapor barrier, homes are at a higher risk of water damage, leading to many preventable issues related to moisture.
Installing a vapor barrier correctly is essential for protecting your home from moisture damage. It prevents mold growth, enhances energy efficiency, and safeguards your foundation. If you’re unsure about the installation process, consider consulting a professional. They can help ensure your home stays dry and healthy for years to come.
Remember, a well-installed vapor barrier can increase your home’s value and longevity!
FAQ
What is a vapor barrier?
A vapor barrier is a material that prevents moisture from entering your home, protecting against mold and structural damage.
Where should I install a vapor barrier?
Install a vapor barrier in crawl spaces, basements, and under concrete slabs to effectively control moisture.
How do I maintain my vapor barrier?
Regularly inspect for tears or damage. Ensure edges and seams remain sealed to maintain effectiveness.
See Also
A Comprehensive Overview of Home Moisture Barriers
Selecting Ideal Moisture Barriers for Your 2025 Renovation
Comparing Various Moisture Barriers for Walls and Floors