
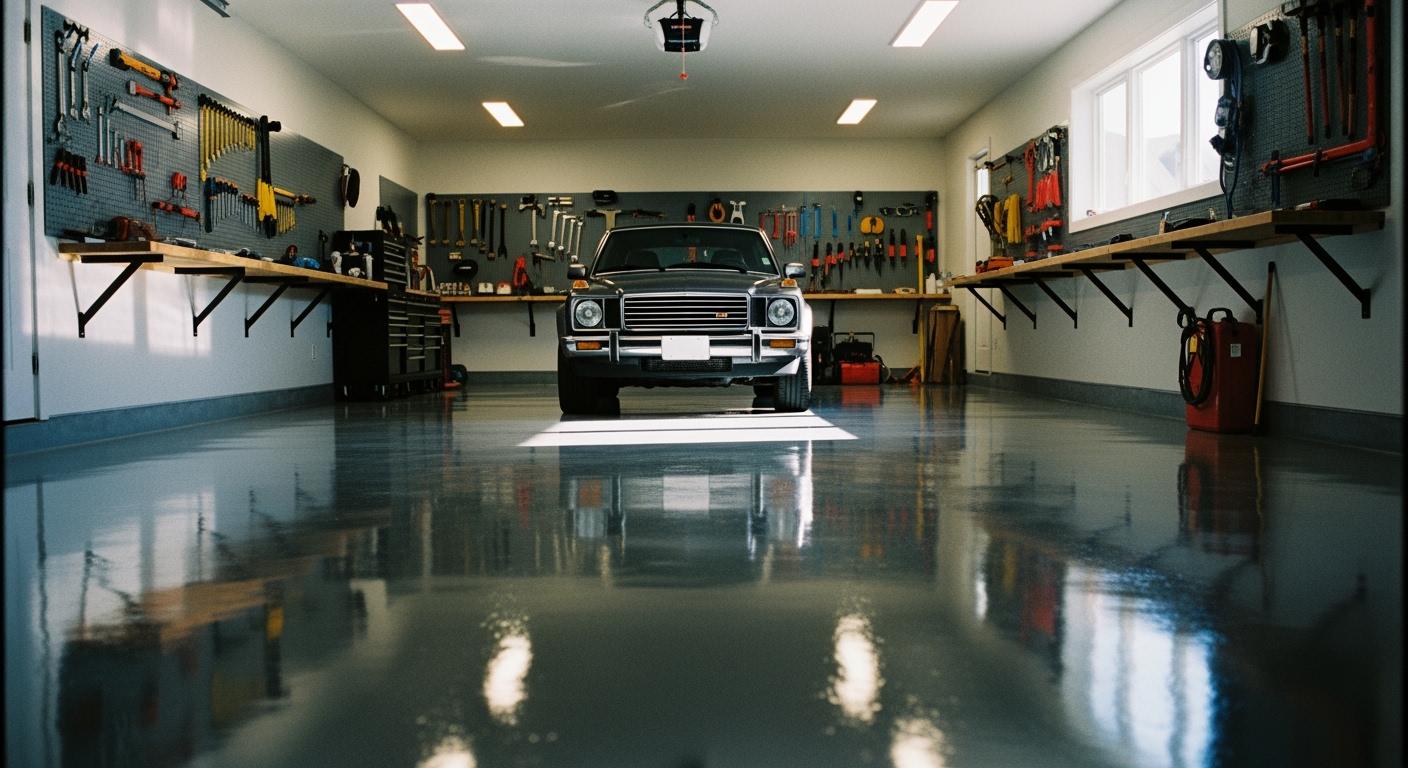
Epoxy floor coating transforms your garage into an aesthetically pleasing and durable space. This flooring option withstands heavy use while maintaining a sleek appearance. With a smooth, non-porous surface, cleaning becomes effortless, leading to long-term cost savings. Moreover, the DIY-friendly installation process empowers you to take on this project, potentially increasing your property’s value.
Key Takeaways
Invest in quality tools and materials for a successful epoxy finish. Essential items include concrete grinders, scrapers, and high-quality epoxy products.
Thoroughly prepare your garage floor by cleaning and etching the surface. This step is crucial for ensuring proper adhesion and long-lasting results.
Follow precise mixing and application techniques to achieve a smooth finish. Use a squeegee for even spreading and a spiked roller to eliminate air bubbles.
Materials for Epoxy Floor Coating
Achieving a professional epoxy finish requires the right materials and tools. Below, you will find a comprehensive list of essential tools and recommended epoxy products to ensure your project runs smoothly.
Essential Tools
To successfully apply epoxy floor coating, you need the following tools:
Concrete Grinders: These are crucial for profiling the concrete surface, ensuring optimal adhesion of the epoxy.
Scrapers and Putty Knives: Use these to remove any loose debris or imperfections from the floor.
Industrial Vacuum Cleaner: This tool helps clean the surface thoroughly after preparation, ensuring no dust or particles interfere with the epoxy application.
Mixing Buckets: Essential for mixing the resin and hardener components of your epoxy.
Squeegees: Use these for an even application of the epoxy across the floor.
Spiked Rollers: These help release air bubbles and ensure a smooth finish after applying the epoxy.
Tip: Always prepare the surface thoroughly to ensure proper adhesion. Use a squeegee for spreading the epoxy evenly, and follow up with a spiked roller to eliminate air bubbles.
Recommended Epoxy Products
When selecting epoxy products, consider the following high-quality options that professionals often recommend:
E4115 Epoxy Paint: This high-build coating contains 100% solids, ensuring better coverage and durability compared to other brands. It maintains its thickness and does not shrink back, providing superior longevity.
Low-Viscosity Primer: This primer acts as an adhesion promoter and moisture barrier, essential for a successful epoxy application.
Self-Leveling Epoxy Base Coat: A thicker base coat helps create a smooth, even surface that enhances the overall appearance.
Clear or Tinted Topcoat: Applying a topcoat adds gloss and durability, protecting the underlying layers from wear and tear.
Product Type | Description |
|---|---|
E4115 Epoxy Paint | High-build coating with excellent coverage |
Low-Viscosity Primer | Enhances adhesion and acts as a moisture barrier |
Self-Leveling Base Coat | Creates a smooth, even surface |
Clear or Tinted Topcoat | Adds gloss and protects the epoxy layers |
By investing in quality tools and products, you set yourself up for success in achieving a professional epoxy finish in your garage.
Prep Work
Preparing your garage floor is crucial for achieving a professional epoxy finish. Proper surface preparation ensures that the epoxy adheres effectively, enhancing its longevity and performance. Neglecting this step can lead to issues such as delamination and uneven surfaces.
Cleaning the Floor
Begin by thoroughly cleaning the floor to remove any contaminants. Oil stains and dust can severely compromise adhesion. Follow these steps for effective cleaning:
Wash the floor with a mild detergent to eliminate grease and oil stains.
Use a stiff broom to scrub the surface, focusing on stubborn spots.
Rinse the floor thoroughly with water to remove any detergent residue.
For persistent oil stains, apply a degreasing cleaner directly to the affected area. Scrub gently and rinse thoroughly to ensure a clean surface. Using products like Rust-Oleum Cleaner & Degreaser can be particularly effective.
Etching the Surface
Once the floor is clean, etching the surface is essential for optimal epoxy adhesion. This process creates a suitable profile for the epoxy to bond effectively. You can achieve this through the following methods:
Acid Etching: Apply a diluted acid solution to the surface. This method enhances the texture, allowing for better adhesion.
Mechanical Grinding: Use a concrete grinder to create a rough surface. This method is preferred for its effectiveness in removing imperfections.
Proper etching ensures that the surface is clean and free of contaminants, significantly enhancing the adhesion and overall performance of the epoxy floor coating. Investing time in these preparation steps leads to a smoother installation and improves the durability of your new floor.
Applying Epoxy

Mixing the Epoxy
Properly mixing the epoxy is a critical step in achieving a durable and professional finish. Follow these steps to ensure the resin and hardener combine effectively:
Use a clean, wax-free container made of plastic, metal, or paper. Avoid glass or foam, as these materials can cause heat build-up.
Pour the resin and hardener into the container according to the manufacturer’s specified ratio. Precision is essential to avoid under-mixing or over-mixing, which can compromise the coating’s performance.
Use a mixing drill with a paddle attachment to stir the components thoroughly. Scrape the sides and bottom of the container to incorporate all material.
Stir the mixture for one to three minutes until it reaches a uniform consistency. Avoid mixing too quickly to prevent air bubbles from forming.
Once mixed, pour the epoxy into a roller pan immediately. This step extends the pot life and ensures you have enough working time to apply the coating.
Tip: Start with a small batch if you are new to epoxy floor coating. This allows you to familiarise yourself with the mixing process and avoid wastage.
Maintaining the right environmental conditions is equally important. The ideal temperature for mixing and application is between 20°C and 25°C. High humidity levels above 85% can lead to condensation on the surface, causing defects in the final finish. Use a hygrometer to monitor humidity and ensure optimal curing conditions.
Application Techniques
Applying the epoxy evenly is key to achieving a smooth and professional finish. Use the following techniques for the best results:
Begin by pouring the mixed epoxy onto the floor in small sections. This prevents the material from curing too quickly and ensures even coverage.
Use a squeegee to spread the epoxy across the surface. Work in straight, overlapping strokes to avoid leaving gaps or uneven areas.
Follow up with a spiked roller to release any trapped air bubbles. Roll in multiple directions to ensure a uniform finish.
Pay extra attention to edges and corners. Use a brush or smaller roller to apply epoxy in these areas, ensuring complete coverage.
Note: Temperature and humidity can affect the curing process. Cold temperatures increase viscosity, making the epoxy harder to spread, while high temperatures accelerate curing, reducing your working time. Maintain a consistent environment to avoid these challenges.
After application, allow the epoxy to cure according to the manufacturer’s guidelines. Light foot traffic is typically safe after 24–48 hours, while vehicle use should be avoided for at least 3–7 days. Keeping the garage free of objects during this period ensures the coating cures without interference.
By following these steps and techniques, you can achieve a flawless epoxy floor coating that enhances the durability and appearance of your garage.
Final Touches
Clear Coat Application
Applying a clear coat over your epoxy flooring significantly enhances its durability and appearance. This additional layer provides several benefits:
It offers additional chemical resistance.
It provides a glossy finish for improved aesthetics.
Benefit | Explanation |
|---|---|
Additional Thickness | Provides extra protection to the underlying epoxy layer. |
Embedding Decorative Elements | Ensures that colour chips are fully integrated, preventing dirt accumulation and enhancing aesthetics. |
Glossy Finish | Adds a high gloss that improves the overall appearance of the garage floor. |
The clear coat not only protects against scratches but also embeds colour chips, making them integral to the floor coating. This integration prevents dirt from collecting and maintains the floor’s attractive look.
Maintenance Tips
To maximise the lifespan of your epoxy garage floor, follow these maintenance practices:
Daily Cleaning: Sweep or vacuum regularly to remove dirt and prevent scratches.
Weekly Mopping: Use warm water and a mild, non-abrasive cleaner to mop the surface.
Spot Cleaning: Quickly clean up spills using a soft cloth to prevent staining.
Protect High-Traffic Areas: Place rugs or mats in frequently used zones to reduce wear and tear.
Prevent Furniture Damage: Attach protective pads to furniture legs to avoid scratches.
Rinsing: Rinse the floor with clean water after mopping to avoid residue buildup.
Regular Inspection: Check for minor cracks or peeling to address issues promptly.
Cleaning the entire floor every three to four months helps preserve the polish and sheen of your epoxy floors. Regular inspections can identify wear and tear, preventing further damage.
Achieving a professional epoxy finish in your garage involves several key steps:
Clean the floor thoroughly.
Tackle any stains.
Etch the concrete surface.
Repair cracks and holes.
Conduct a final cleaning.
This DIY project is manageable for homeowners, saving you approximately £2000 compared to hiring professionals. With careful preparation and application, you can enjoy a durable and aesthetically pleasing garage floor.
FAQ
What is the best temperature for applying epoxy?
Aim for temperatures between 20°C and 25°C for optimal adhesion and curing.
How long does epoxy take to cure?
Typically, epoxy requires 3 to 7 days for full curing, depending on conditions.
Can I apply epoxy over existing paint?
It’s best to remove old paint before applying epoxy for proper adhesion and durability.
See Also
Epoxy Or Latex: Choosing The Right Concrete Repair Solution
Selecting The Ideal Epoxy Patch For Your Concrete Needs
Applying Concrete Dust Sealant For A Clean, Dust-Free Surface