
Dry shake floor hardeners enhance your concrete floor. This concrete floor hardener, a dry-shake hardener, boosts durability, abrasion resistance, and reduces dusting. A quality dry shake floor hardener transforms any surface. For your floor, optimal hardener application demands precise techniques, including proper curing. This step-by-step guide ensures a superior concrete floor hardener.
Key Takeaways
Prepare your concrete well. This helps the hardener stick and work best.
Apply the hardener at the right time. This makes sure the color stays and the hardener bonds well.
Cure the concrete properly after applying the hardener. This makes the floor strong and last a long time.
Concrete Preparation for Dry Shake Floor Hardener
Achieving a durable, high-performance floor starts long before you apply any dry shake floor hardener. Proper concrete preparation is the foundation for optimal adhesion and performance. You must ensure your concrete base is perfect.
Optimizing Concrete Mix Design
Start with the right concrete mix. A consistent and well-designed mix is crucial. It prevents issues like excessive bleed water or premature setting. This consistency ensures your concrete floor hardener bonds effectively and performs as expected.
Proper Concrete Placement
Place your concrete with care. You want uniform density across the entire floor. This evenness helps the hardener integrate properly. When you apply the hardener, do it in two separate passes. This method allows the hardener to absorb water effectively. After each application, work the hardener into the surface. Use a wood or resin float for this step. These floats create a slightly rougher surface. This promotes better moisture migration and helps disperse the hardener into the concrete.
Timing Initial Concrete Set
Timing is everything for successful application. Apply the hardener when the concrete is plastic. Most bleed water should have dissipated. Applying too early can wash out the color. Waiting too long makes the concrete too dry, creating a weak, thin layer. Allow at least 7 to 10 minutes for the hardener to “wet out.” This means the concrete’s moisture absorbs into the hardener. Rushing this step can cause tearing on the surface.
Surface Readiness for Adhesion
Your concrete surface must be ready to accept the hardener. It should be firm enough to support the material. Yet, it must still be wet enough for proper integration. Proper floating is essential for strong adhesion. Also, consider environmental factors. On hot or windy days, prevent rapid moisture evaporation. Use evaporation reducers if necessary. This stops surface crusting and cracking. It also ensures the hardener wets out correctly.
Applying Dry Shake Hardeners
This is where your hard work in preparation pays off. The actual application process for dry shake hardeners is a critical step. You want to ensure your concrete floor hardener performs its best. Let’s walk through how you apply these materials to your concrete.
Material Coverage and Distribution
You need to know how much material to use. The right amount ensures uniform color and performance for your floor. Coverage rates vary depending on the product and desired outcome. Each layer you apply contributes to the final strength.
Product/Condition | Coverage Rate (lb/sq. ft.) | Coverage Rate (kg/m²) |
|---|---|---|
SikaColor®-200 (General) | 50 lb./100 sq. ft. | 22.7 kg/9.3 m² |
SikaColor®-200 (Lighter Colors) | 50 lb./80 sq. ft. | 22.7 kg/7.4 m² |
Remember, factors like slump, ambient temperature, and humidity can affect how much hardener you need. Also, consider the use of admixtures or finishing aids and your chosen finishing methods. You must broadcast powdered dry shake hardeners evenly. Finish them promptly, and avoid overworking them into the surface.
First Pass Broadcasting
Timing is crucial for your first pass. For hand application of dry shake hardeners, wait until the concrete has an initial set and you’ve floated it. If you’re using mechanical application, you can apply it immediately after concrete placement, before the initial set. Generally, wait 15-30 minutes for the initial set of concrete. This allows bleed water to develop before you apply the color hardener.
Here’s how you do it:
Keep the product below knee level. This minimizes dusting, waste, and loss of fine materials.
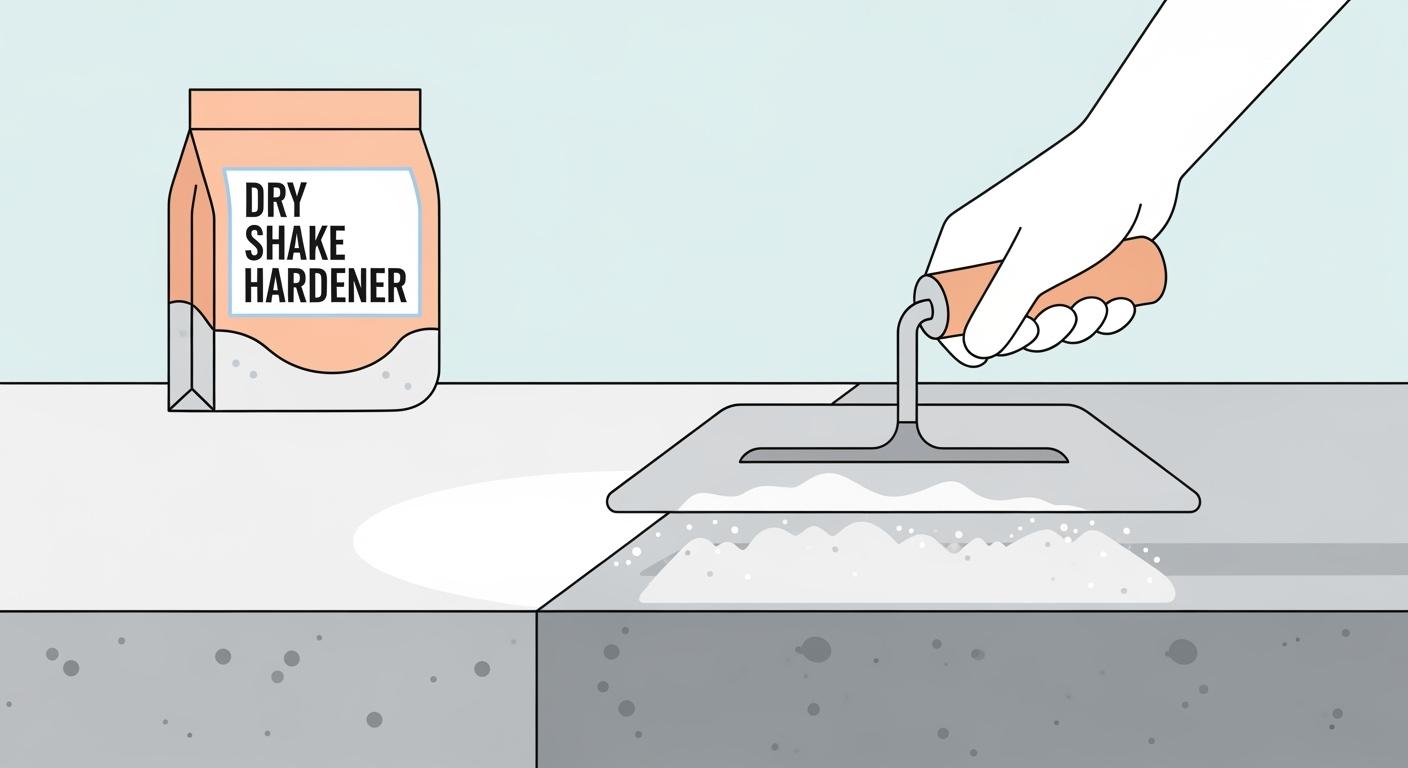
Broadcast about half of the total hardener dose. Use an underhand or side arm motion. This ensures even distribution across the freshly poured concrete.
Float the hardener into the concrete surface. This helps create a strong bonding layer.
Working Hardener into Concrete
After broadcasting, you need to work it into the concrete. This step integrates the dry shake hardener with the wet concrete.
Prepare the Concrete Surface: Ensure the concrete is freshly poured and leveled. Let the concrete reach the “plastic” stage. It should be slightly indented but still workable. This is crucial for proper bonding of the hardener.
First Application: Use a mechanical spreader or your hand. Evenly distribute about two-thirds of the recommended amount of dry-shake hardener over the concrete surface.
Floating: Use a bull float or a power trowel with float blades. Work it into the concrete surface. The hardener should become saturated with moisture from the concrete.
Did you know you can apply a thicker layer? Concria Optima Slab™ is a patented technology. It lets you apply a three times thicker layer of dry shake hardener in 2-3 layers using Concria Trowel Hard product. Concria™ Trowel Hard, a nanotechnology liquid, extends the application window for finishers. It helps you apply sufficient dry shake even in challenging weather. Think high heat, direct sun, and wind. Spraying Trowel Hard during finishing lubricates the hardener. It enhances hydration and ‘glues’ dry shake layers together. For white concrete surfaces, use only plastic pans and blades.
Subsequent Passes and Uniformity
You’re not done after the first pass! For maximum uniformity, especially with colored dry shake hardeners, apply the material in two even passes. This gives you the best appearance and performance for your floor.
Second Application: Once the surface has been floated, apply the remaining one-third of the hardener. Again, distribute it evenly.
Floating (Repeat): Float the surface again. This incorporates the second application.
Broadcast the remaining material from a different direction. This helps eliminate any bare spots. For heavy doses, you might even consider three broadcast and float cycles.
Achieving a Dense Finish
Now, you want to achieve a dense, durable finish. This is where troweling comes in.
Troweling: Once the concrete has hardened sufficiently, use a power trowel with finish blades. Smooth and compact the surface. This creates a hard, dense finish. You might need multiple passes with the trowel. This final step ensures a strong, long-lasting floor.
Troubleshooting Application Issues
Sometimes, things don’t go perfectly. You might encounter issues.
One common problem is insufficient application rates of the hardener. If you only use around 3 kg/m², you get a very thin or non-existent hardener layer. This leads to poor performance. Another issue is using water during the finishing process with power trowels. This changes the water-cement ratio on the top layer. It makes it softer.
If you have uneven color, especially with colored stamped concrete, it’s often not a sealer problem. It’s usually caused by too much antiquing color. If the secondary color constitutes almost 100% of the final color, it can cause sealer failure. This might happen within weeks or typically 6 to 12 months. The recommendation? Secondary color should ideally be only 5% to 30% of the final color. This prevents such issues and ensures a beautiful, consistent floor.
Curing and Post-Application Care
You’ve put in the hard work applying your dry shake hardener. Now, you need to protect that investment. Proper curing and post-application care are just as vital as the application itself. These steps ensure your concrete floor reaches its full potential in strength and durability.
Choosing Curing Methods
After you finish troweling, you need to start curing your concrete. You have several options for curing. You can use a liquid membrane-forming curing compound. This compound creates a seal on the surface. Another method is wet curing, which involves keeping the surface continuously moist. Both methods aim to retain moisture in the concrete. This moisture is essential for the hydration process.
Effective Curing Practices
Effective curing is crucial for the strength of your floor. You want to prevent the concrete from drying out too quickly. For example, studies show that concrete specimens cured in a moist environment for 24 hours, then immersed in water, consistently gain strength over time. Compressive and flexural strengths increase significantly at 7, 14, and 28 days. The highest strengths are often seen at 28 days. This means your hardener floor needs time to develop its full strength. So, ensure proper curing for at least 7 days, and ideally up to 28 days, for optimal results.
Initial Protection and Traffic
Do not burnish the final trowel pass. This can lead to a slick surface. Hand troweling often gives the best appearance for your concrete. After curing, protect your new floor. Keep heavy traffic off it for at least 7 days. This allows the hardener to fully bond and harden. You should also cut control or contraction joints. Place these at proper spacing and depth. This prevents random cracking in your concrete.
Long-Term Maintenance
Your hardener floor will last a long time with good care. Regular cleaning helps maintain its appearance. Avoid harsh chemicals that could damage the surface. A well-cured and maintained floor provides excellent durability.
Meticulous preparation, precise dry shake floor hardener application, and proper curing are critical for a durable concrete floor. This ensures your floor gains extended life, reduced maintenance, and improved aesthetics. Apply these expert techniques for quality, durable results. Investing time and effort in your hardener application truly pays off for long-term floor performance.
FAQ
What is dry shake floor hardener?
You apply dry shake floor hardener to fresh concrete. It makes your floor much stronger and more resistant to wear. This also reduces dust.
Why is timing important for application?
You must apply the hardener when the concrete is plastic. Too early, and color washes out. Too late, and the concrete is too dry for proper bonding.
How do I prevent cracks in my hardener floor?
You should cut control or contraction joints at proper spacing and depth. This prevents random cracking in your concrete. Also, ensure proper curing.
See Also
Premium Liquid Solutions: Hardening, Sealing, and Densifying Concrete Floors Effectively
2025 Guide: Applying Floor Hardener for Extended Concrete Durability and Life
2025 Guide: Choosing the Ideal Concrete Floor Hardener for Your Needs
Skip Epoxy Mess: Upgrade Garage Floors with This Simple One-Step Densifier
Selecting the Optimal Concrete Densifier for Your Warehouse Floor’s Needs