


Industrial floor hardeners play a crucial role in industrial settings. They enhance the durability of concrete floors, making them resistant to heavy traffic, abrasion, and chemical spills. This durability significantly reduces maintenance costs and downtime. In the context of ‘Make in India‘ projects, proper application of industrial floor hardeners boosts productivity and supports infrastructure longevity.
Key Takeaways
Using industrial floor hardeners increases concrete durability, making floors resistant to heavy traffic and chemical spills. This leads to lower maintenance costs and longer-lasting surfaces.
Proper surface preparation is essential. Clean the concrete thoroughly and repair any cracks before applying the hardener to ensure strong adhesion and durability.
Always wear safety gear, including gloves and goggles, during the application process. This protects you from chemical exposure and ensures a safe working environment.
Equipment Needed for Industrial Floor Hardener
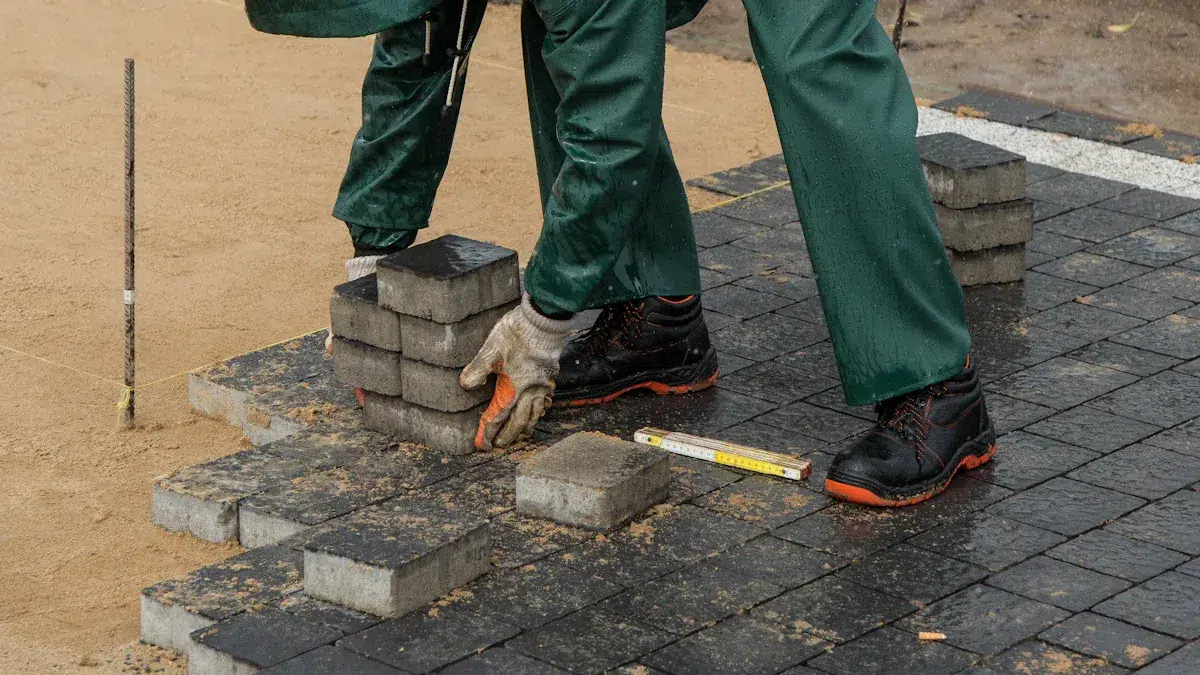
Tools and Materials
To successfully apply industrial floor hardeners, you need specific tools and materials. The primary components include a mixture of cement, fine aggregates, and chemical additives. These materials enhance the durability and strength of concrete floors. You can choose from various types of floor hardeners, such as metallic, non-metallic, and polymer-based options, depending on your project needs.
Here’s a list of essential tools and materials for the application:
Dry shakes: These factory-blended materials contain a cementitious binder, aggregates, and additives. They require sufficient free water on the surface of fresh concrete for proper application.
Mixing equipment: Use a concrete mixer to ensure a uniform blend of the hardener components.
Trowels: These are necessary for spreading the hardener evenly across the surface.
Brooms: A broom helps in the final finishing process, ensuring an even texture.
Safety Gear
Safety should always be a priority during the application process. Equip yourself with the following safety gear:
Gloves: Protect your hands from chemical exposure.
Safety goggles: Shield your eyes from dust and splashes.
Dust masks: Prevent inhalation of fine particles during mixing and application.
Steel-toed boots: Ensure foot protection against heavy equipment and materials.
By using the right equipment and safety gear, you can achieve a successful application of floor hardeners, ensuring a durable and long-lasting surface for your industrial projects.
Preparing the Concrete Surface
Proper surface preparation is essential for the effective application of industrial floor hardeners. A well-prepared surface ensures better adhesion and enhances the longevity of the flooring. Neglecting this step can lead to compromised performance and durability of the hardeners.
Cleaning and Repairing
Start by thoroughly cleaning the concrete surface. Remove any dust, debris, or contaminants that may interfere with the bonding process. You can use a pressure washer or a broom to achieve a clean surface. If you notice any cracks or imperfections, repair them before proceeding. Fill in cracks with a suitable concrete patching compound. This step is crucial because any flaws can affect the final finish and durability of the floor.
Here are the key steps for cleaning and repairing the concrete surface:
Remove Debris: Sweep or vacuum the area to eliminate loose particles.
Pressure Wash: Use a pressure washer to remove stubborn stains and contaminants.
Inspect for Damage: Look for cracks or holes that need repair.
Patch Repairs: Fill any cracks with a concrete patching compound and allow it to cure.
Moisture Testing
Moisture testing is another critical step in preparing the concrete surface. Excess moisture can hinder the bonding of the floor hardener and lead to future issues. You can perform a simple moisture test using a plastic sheet. Place a square of plastic on the concrete and seal the edges. After 24 hours, check for condensation under the plastic. If moisture collects, you need to address this issue before applying the hardener.
Follow these steps for moisture testing:
Select a Test Area: Choose a representative area of the concrete.
Seal with Plastic: Tape down a plastic sheet over the area.
Wait 24 Hours: Allow time for moisture to accumulate.
Check for Condensation: Inspect the underside of the plastic for moisture.
By ensuring a clean and dry surface, you set the stage for a successful application of floor hardeners. Following these preparation steps will help you achieve a durable and long-lasting industrial floor.
Step-by-Step Guide to Apply Industrial Floor Hardener
Mixing and Applying
To achieve the best results when applying an industrial floor hardener, follow these step-by-step instructions:
Preparation: Before you begin, read the Technical Data Sheets (TDS) for specific mix ratios. This ensures you use the correct proportions for optimal performance.
Personal Protective Equipment: Always wear safety glasses, gloves, and long sleeves to protect against skin contact with the materials.
Mixing: Use a low-speed drill to mix the components. Pour the hardener first, followed by the resin. This method helps avoid bubbles in the mixture.
Application: Pour the mixed product onto the floor in ribbons. Use a squeegee to spread it evenly across the surface. Follow this by rolling with a saturated roller cover to ensure a smooth finish.
Tip: For colder temperatures, store materials in a warmer environment to reduce viscosity. In warmer conditions, keep the hardener in a cooler place to extend working time.
Troweling and Finishing
Once you apply the industrial floor hardener, the next step is troweling and finishing. This process is crucial for achieving a durable surface.
Initial Troweling: After spreading the hardener, use a steel trowel to smooth the surface. This step helps embed the hardener into the concrete.
Final Finishing: As the surface begins to set, perform a final trowel pass. This action enhances the finish and ensures a uniform texture.
Curing: Curing is vital for durability. Begin curing as early as possible and maintain it continuously. Apply curing membranes at the correct coverage rate. Wet curing is preferred, and it should be completed without any intermittent drying.
Product | Foot Traffic Ready | Full Serviceability | Ambient & Substrate Temperature | Relative Humidity |
|---|---|---|---|---|
Within 72 hours | Within 7 days | +5°C to +35°C | 30% min / 98% max |
Note: Avoid applying under direct sunlight or in high wind to prevent cracking. High humidity can slow curing, so avoid application to standing bleed water to prevent efflorescence.
By following these instructions, you can ensure proper bonding and curing of the industrial floor hardener. This attention to detail will lead to a durable and long-lasting floor that meets the demands of your project.
Considerations for Applying Epoxy Flooring
Weather Conditions
When you apply epoxy flooring, weather conditions play a significant role in the outcome. High temperatures above 30 degrees Celsius can reduce the compressive strength of epoxy. This reduction may lead to cracks in the flooring. Additionally, high humidity can cause bubbles to form on the surface. If conditions worsen, you may face peeling issues. To avoid these problems, monitor the weather closely before starting your project.
In Southern India, moisture vapor emission rates (MVER) from the underlying concrete can also affect the effectiveness of epoxy flooring. High MVER can lead to bubbling or delamination over time. To combat this, consider using a moisture-mitigating primer. This primer helps maintain a strong bond between the epoxy and the concrete, even under hydrostatic pressure.
Quality Assurance
Quality assurance is crucial for successful epoxy flooring applications. You should follow specific protocols to ensure durability and performance. Here are some key steps:
Surface Preparation: Properly clean the concrete to remove contaminants. Mechanical preparation, like grinding or shot blasting, creates a rough surface for better adhesion.
Moisture Testing: Conduct moisture testing to prevent blistering and poor adhesion. This step is vital for long-lasting results.
Primer Application: Applying a primer coat enhances adhesion and durability.
By adhering to these quality assurance measures, you can minimize common issues like peeling, bubbling, and poor adhesion. Addressing these challenges upfront will lead to a successful epoxy flooring application that meets your project’s demands.
Using floor hardeners in industrial projects offers significant benefits. You can enhance durability and reduce maintenance costs by adhering to best practices during application. This approach leads to floors lasting up to 50% longer than untreated concrete. You will enjoy substantial savings and improved productivity in your operations.
Tip: Following these best practices not only extends floor lifespan but also minimizes repair frequency, ensuring a cost-effective solution for your business.
FAQ
What is the purpose of using floor hardeners?
Floor hardeners enhance concrete durability, making surfaces resistant to wear, abrasion, and chemical spills.
How long does it take for floor hardeners to cure?
Typically, floor hardeners cure within 7 days, but you can walk on them after 72 hours.
Can I apply floor hardeners in high humidity?
Avoid applying floor hardeners in high humidity. Excess moisture can lead to poor adhesion and surface issues.
See Also
Top Industrial Warehouse Floor Hardening Solutions in the UK
Optimal Warehouse Floor Hardening Options Available in the Philippines
Comprehensive Guide to Choosing BANDě Floor Hardener for 2025
Understanding Floor Hardeners: Functionality and Benefits Explained
Essential Information About BANDě Concrete Floor Hardener Explained
