Waterproofing your flat roof is crucial, especially when considering how to waterproof a flat roof effectively. Did you know that up to 40% of flat roofs face serious water leakage issues within just one year? BAND Sealer makes this task easier. This product offers flexibility, durability, and resistance to elements, ensuring your roof gets the protection it needs.
Key Takeaways
Prepare your flat roof by cleaning the surface and inspecting for damage. A clean and well-maintained roof ensures better adhesion of the sealer.
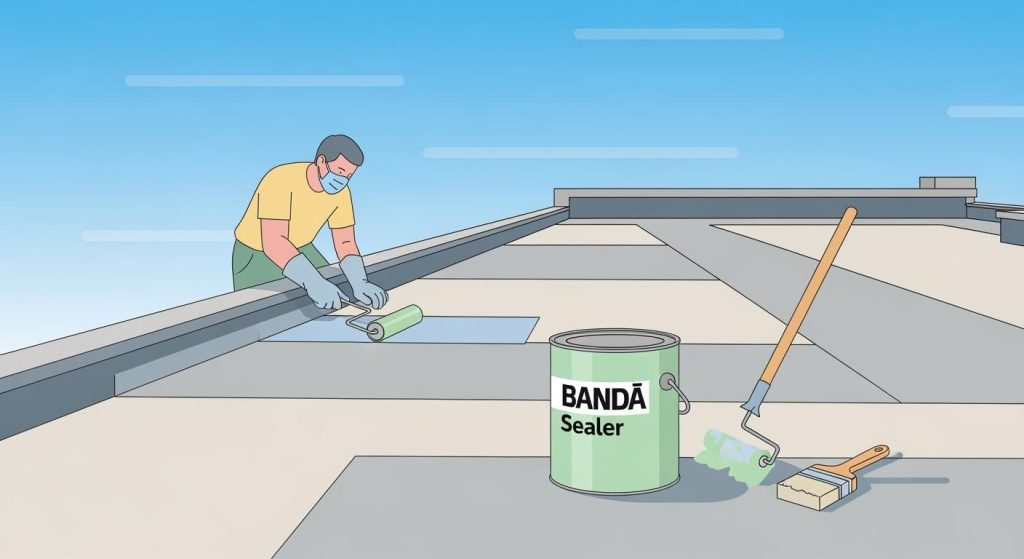
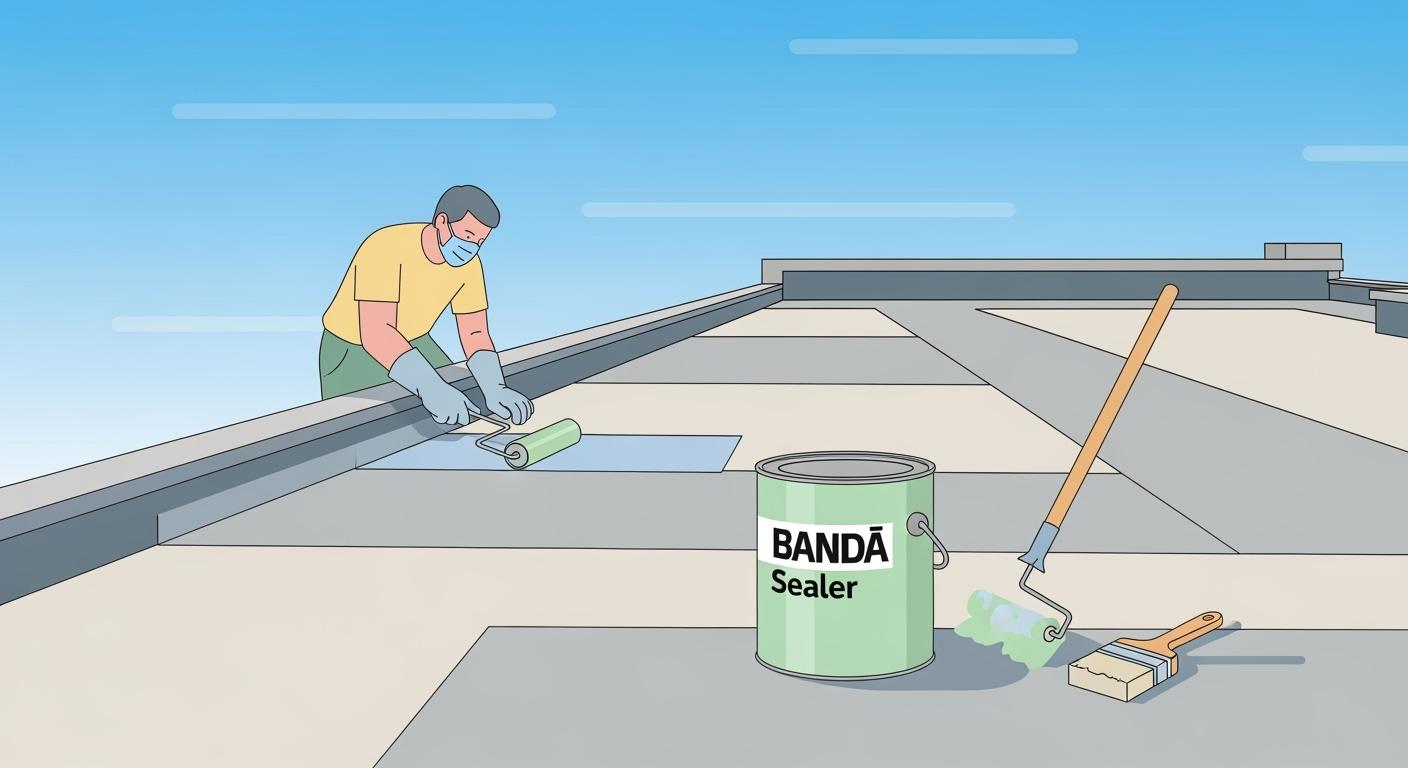
Apply BAND Sealer in thin, even coats. Follow the manufacturer’s instructions and allow proper drying time between coats for optimal waterproofing.
Regularly maintain your waterproofed roof by inspecting for wear and cleaning debris. This helps extend the life of your waterproofing efforts.
Preparation for Waterproofing
Before diving into the application of BAND Sealer, it’s essential to prepare your flat roof properly. A clean and dry surface is crucial for optimal adhesion. If the roof isn’t in good shape, the sealer won’t perform as well as it should. Let’s break down the preparation process into two key areas: tools and materials, and assessing the roof condition.
Tools and Materials
To get started, gather the following tools and materials:
BAND Sealer: The star of the show! Choose the right product based on your roof’s specific needs.
Pressure Washer: This helps clean the roof effectively, removing dirt and debris.
Broom or Brush: For sweeping away loose particles.
Patching Compound: To fix any cracks or holes before applying the sealer.
Roller or Brush: For applying the sealer evenly.
Safety Gear: Gloves, goggles, and a mask to protect yourself during the process.
Having these tools ready will make your roof waterproofing project smoother and more efficient.
Assessing Roof Condition
Next, take a good look at your roof. Assessing its condition is vital for successful roof waterproofing. Here are some steps to follow:
Clean the Surface: Start by removing any dirt, debris, or old paint. A clean surface allows the liquid roofing system to adhere properly.
Inspect for Damage: Look for cracks, holes, or any signs of wear. If you find any, use a suitable filler or patching compound to repair them.
Sand the Surface: This creates a smooth texture, which enhances adhesion. A rough surface can lead to uneven application and potential leaks.
Prime the Surface: Applying a high-quality primer ensures that the sealer bonds well to the roof. This step is often overlooked but is crucial for long-lasting results.
By following these steps, you set the stage for effective liquid rubber applications. Remember, a well-prepared roof is key to achieving the best waterproofing results with BAND Sealer.
Application of BAND Sealer
Cleaning the Roof
Before you start applying BAND Sealer, it’s crucial to clean your roof thoroughly. A clean surface ensures that the sealer adheres properly, creating a strong waterproof layer. Here’s how to do it:
Remove Debris: Use a broom or brush to sweep away leaves, dirt, and any loose particles. This step is essential for a smooth application.
Pressure Wash: If your roof has stubborn grime, a pressure washer can help. It removes dirt and old coatings effectively, leaving a clean surface.
Inspect for Damage: While cleaning, keep an eye out for cracks or holes. If you find any, make sure to patch them up before moving on.
Cleaning your roof might seem like a chore, but it’s a vital step in ensuring the effectiveness of your liquid rubber application.
Applying the Sealer
Now that your roof is clean and ready, it’s time to apply the BAND Sealer. Follow these steps for an effective application:
Read the Instructions: Always start by checking the manufacturer’s guide. It contains important information specific to the product.
Mix the Sealer: Stir the BAND Sealer well to ensure an even consistency. This helps in achieving a uniform application.
Apply the First Coat: Use a sprayer or roller to apply the sealer. Work in small sections and keep a wet edge to prevent lines. Thin, even coats are key to avoiding puddling.
Allow Drying Time: Wait 2 to 4 hours between coats for optimal results. Check the product label for specific drying times.
Apply the Second Coat: Once the first coat is dry, apply another thin layer at a 90-degree angle to the first coat. This crosshatch technique enhances the waterproofing effect.
Cure the Sealer: Let the sealer cure completely. Avoid walking or driving on it too soon, as this can compromise the integrity of your new waterproof barrier.
Remember, applying too much sealer can lead to bubbling or a cloudy appearance. Also, sealing in direct sunlight or on a hot surface can cause rapid drying, resulting in an uneven finish. Take your time and follow these steps carefully for the best results.
By following this process, you’ll create a seamless waterproof membrane that protects your flat roof from water damage. With BAND Sealer, you can enjoy peace of mind knowing your roof is well-protected.
Tips for Best Results
Weather Considerations
When applying BAND Sealer, weather plays a crucial role. Ideally, choose a day with mild temperatures and low humidity. Extreme heat can cause the sealer to dry too quickly, leading to an uneven finish. On the flip side, avoid rainy days. Moisture can interfere with adhesion, compromising the waterproofing.
Here are some quick tips for checking the weather:
Temperature: Aim for 50°F to 90°F during application.
Humidity: Keep it below 85% for best results.
Rain: Wait at least 24 hours after rain before applying.
Maintenance Tips
Once your flat roof is sealed, regular maintenance ensures long-lasting protection. Here are some practical tips for maintaining your waterproofed roof:
Inspect Regularly: Check for visible wear and tear, like fading or scratches. If you notice water soaking into the surface instead of beading up, it might be time to reapply.
Look for Peeling: If the sealer starts to peel or flake, address it immediately to prevent leaks.
Clean the Surface: Keep the roof free from debris. A clean surface helps maintain the sealer’s effectiveness.
Watch for Discoloration: Yellowing or dullness can indicate that the sealer is losing its protective qualities.
By following these tips, you can ensure your flat roof remains protected against leaks and water damage. Remember, a little maintenance goes a long way in extending the life of your waterproofing efforts!
Waterproofing your flat roof with BAND Sealer is a straightforward process. Start by preparing your roof, ensuring it’s clean and free of damage. Then, apply the sealer in thin, even coats for lasting roof waterproofing. Remember to consider weather conditions and maintain your roof regularly. By taking these steps, you can prevent leaks and protect your investment while promoting a healthier planet with eco-friendly materials.
Don’t wait! Start your waterproofing project today and enjoy peace of mind knowing your roof is well-protected.
FAQ
What is BAND Sealer made of?
BAND Sealer is a high-quality liquid rubber product designed for waterproofing. It contains eco-friendly materials that provide excellent durability and flexibility.
How long does it take for BAND Sealer to dry?
Typically, BAND Sealer dries within 2 to 4 hours between coats. Full curing may take up to 24 hours, depending on weather conditions.
Can I apply BAND Sealer in cold weather?
It’s best to avoid applying BAND Sealer in cold weather. Aim for temperatures between 50°F and 90°F for optimal adhesion and performance.
See Also
Selecting The Ideal Flexible Waterproof Sealant For Your Needs
Understanding Rigid Waterproof Sealers And Their Functionality
Comparing Film-Forming And Penetrating Sealers For Australia
Choosing The Right Cementitious Crack Sealer For Your Project
Top Flexible Waterproof Sealers For Home Applications Explained