
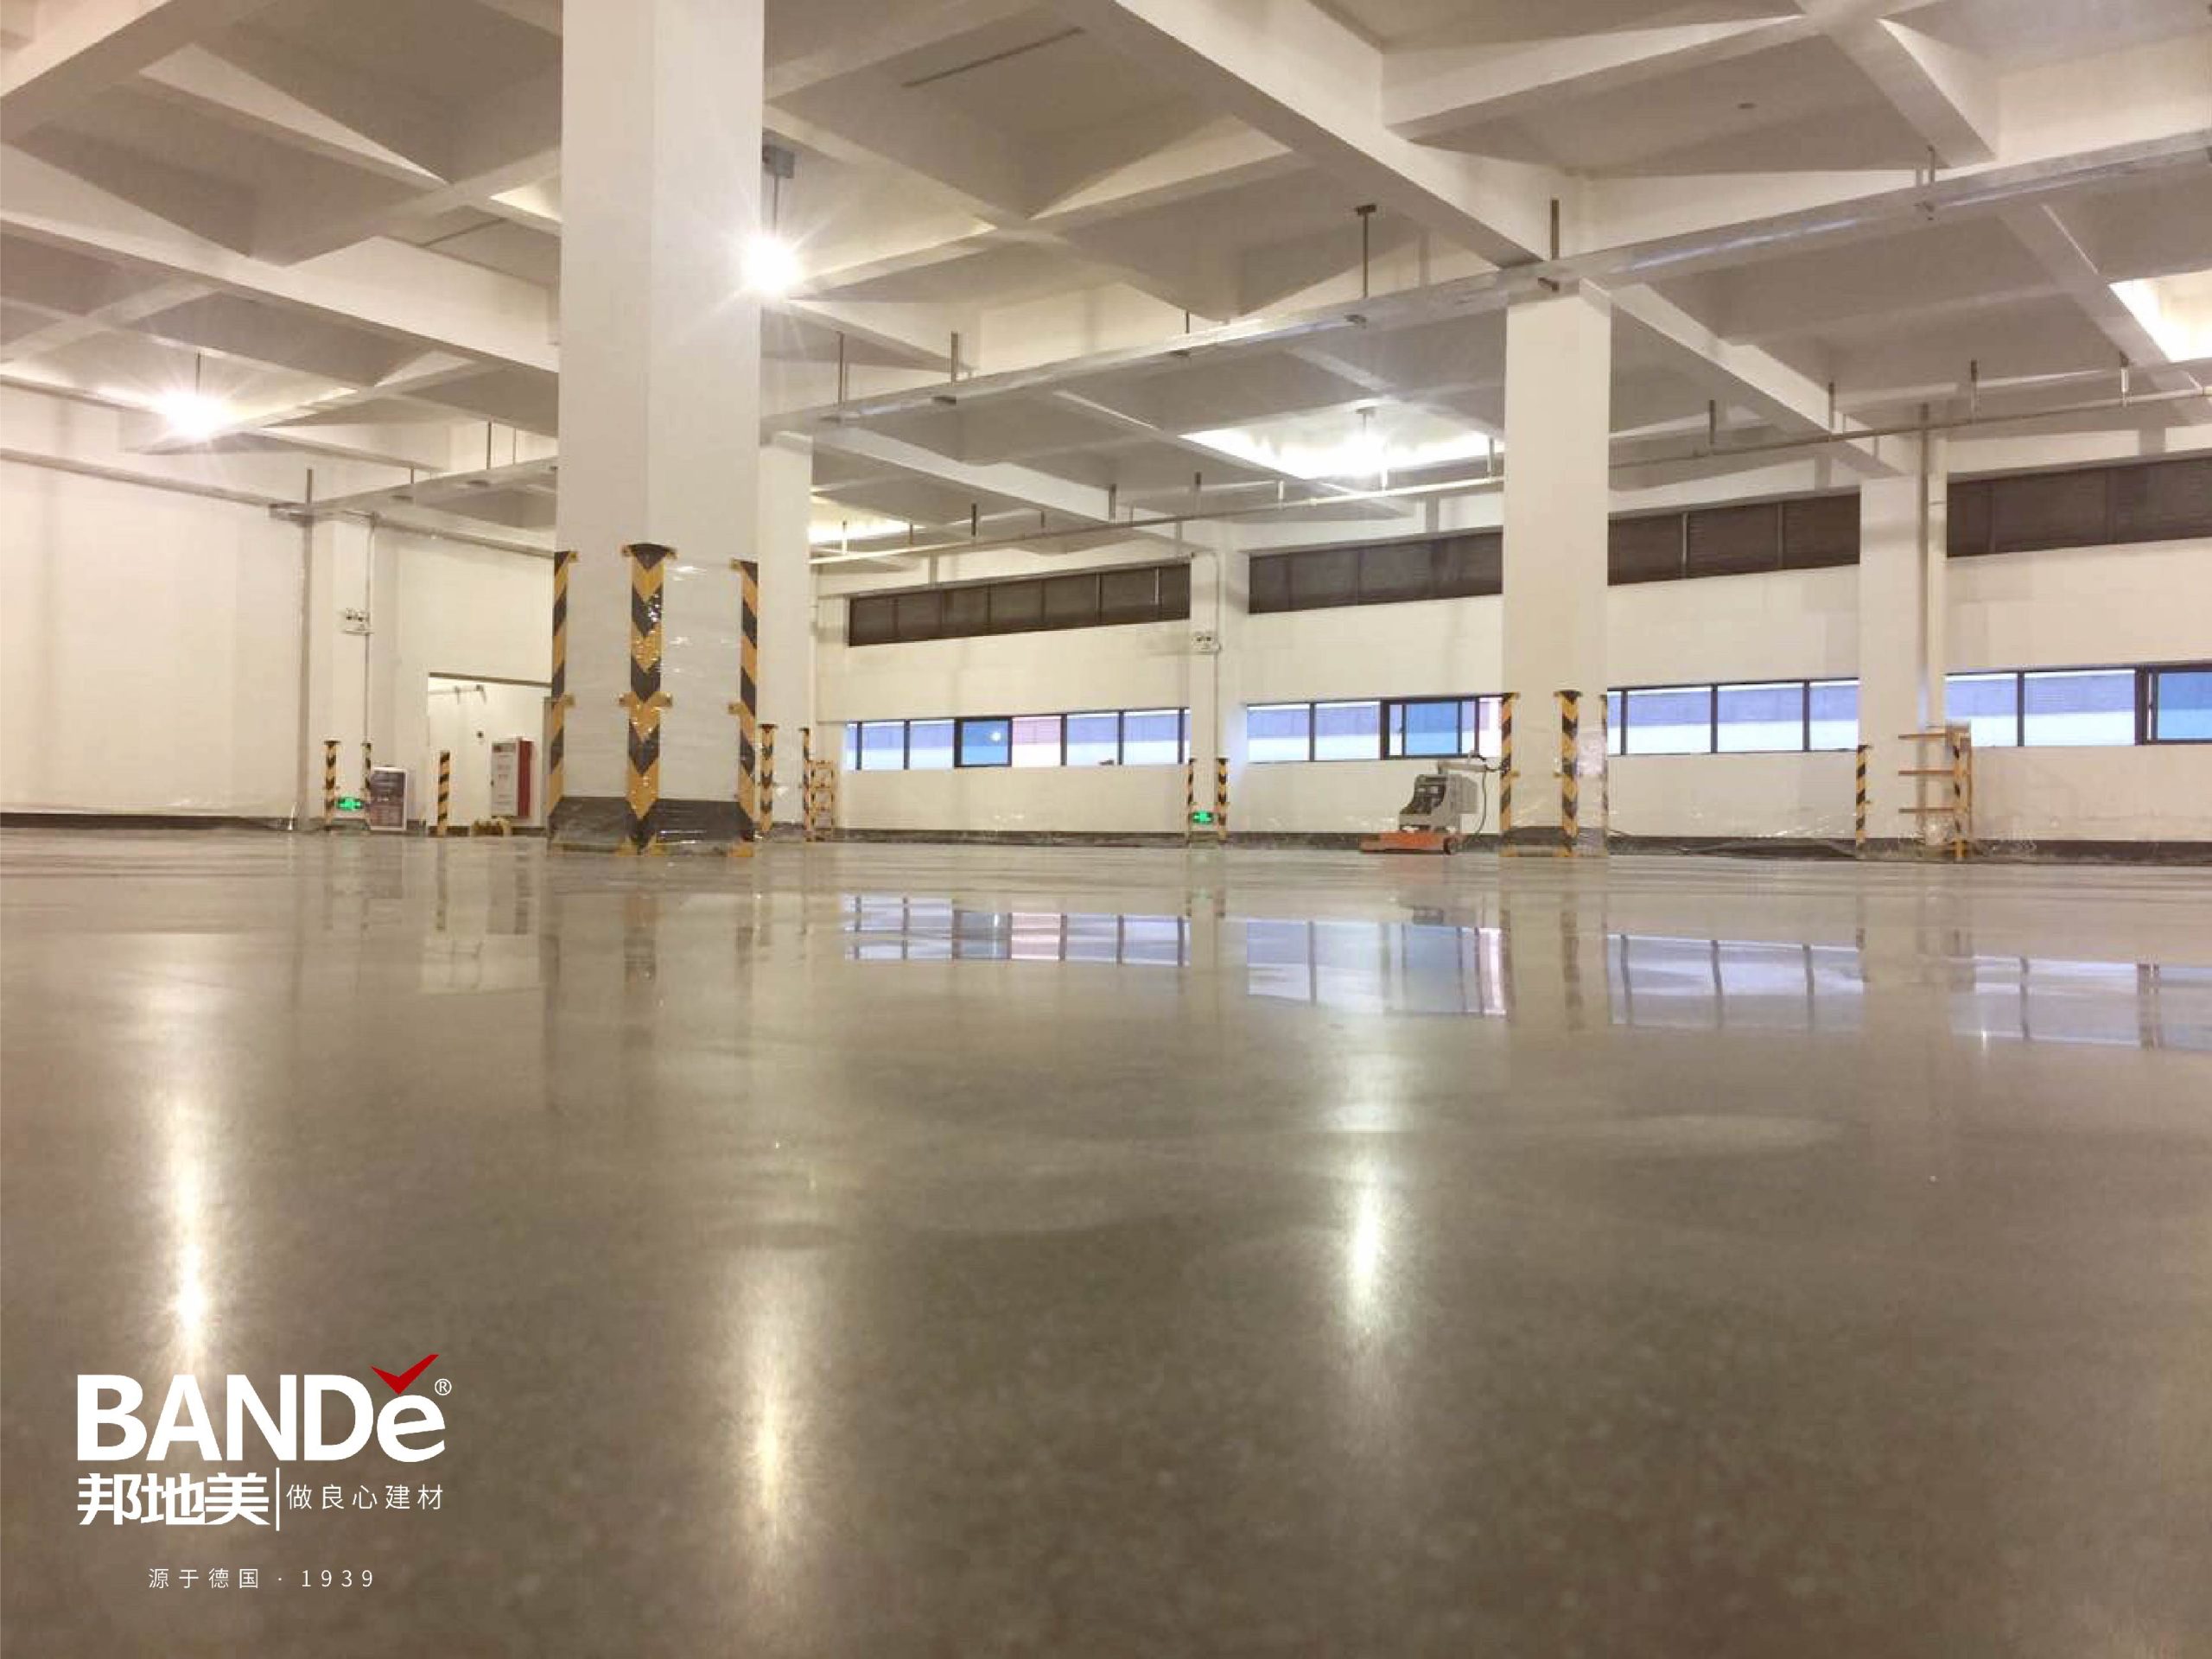
Understanding Polished Concrete Flooring: A Comprehensive Guide reveals that polished concrete flooring is a popular choice for homes and businesses. In 2022, it made up 44.5% of the home market and 55.4% of the business market. Why do many people pick it? The reasons include lower costs over time, easy maintenance, and better air quality inside. Additionally, its modern look complements various styles. If you want to upgrade your flooring, polished concrete could be the right choice for you!
Key Takeaways
Polished concrete flooring is a popular choice. It needs little care, looks modern, and lasts a long time.
Proper preparation is very important. Clean the area well and make sure the surface is flat before pouring concrete.
Use the right tools and materials. You will need a concrete grinder, polisher, and good densifier for a successful installation.
Regular maintenance is key. Dry mop and reseal every 2-3 years. This keeps polished concrete floors looking nice and helps them last longer.
Think about the needs of your space. Polished concrete may not work for every place because it is hard and can be slippery.
Understanding Polished Concrete Flooring
Tools
To put in polished concrete flooring, you need some important tools. Here’s a quick list to help you:
Concrete Grinder: This tool makes the surface smooth by grinding the concrete.
Polisher: A fast polisher is important for that shiny finish.
Vacuum: A strong vacuum gets rid of dust and debris while grinding.
Trowel: Use this to spread and level the concrete mix.
Safety Gear: Remember your goggles, gloves, and dust mask to stay safe while working.
Materials
Now, let’s look at the materials you need. Here’s what to gather:
Concrete Mix: Pick a good mix that works for your project.
Densifier: This chemical makes the concrete harder and stronger.
Sealer: A good sealer keeps your polished concrete safe from stains and wear.
Diamond Grinding Pads: These pads come in different grits for polishing stages.
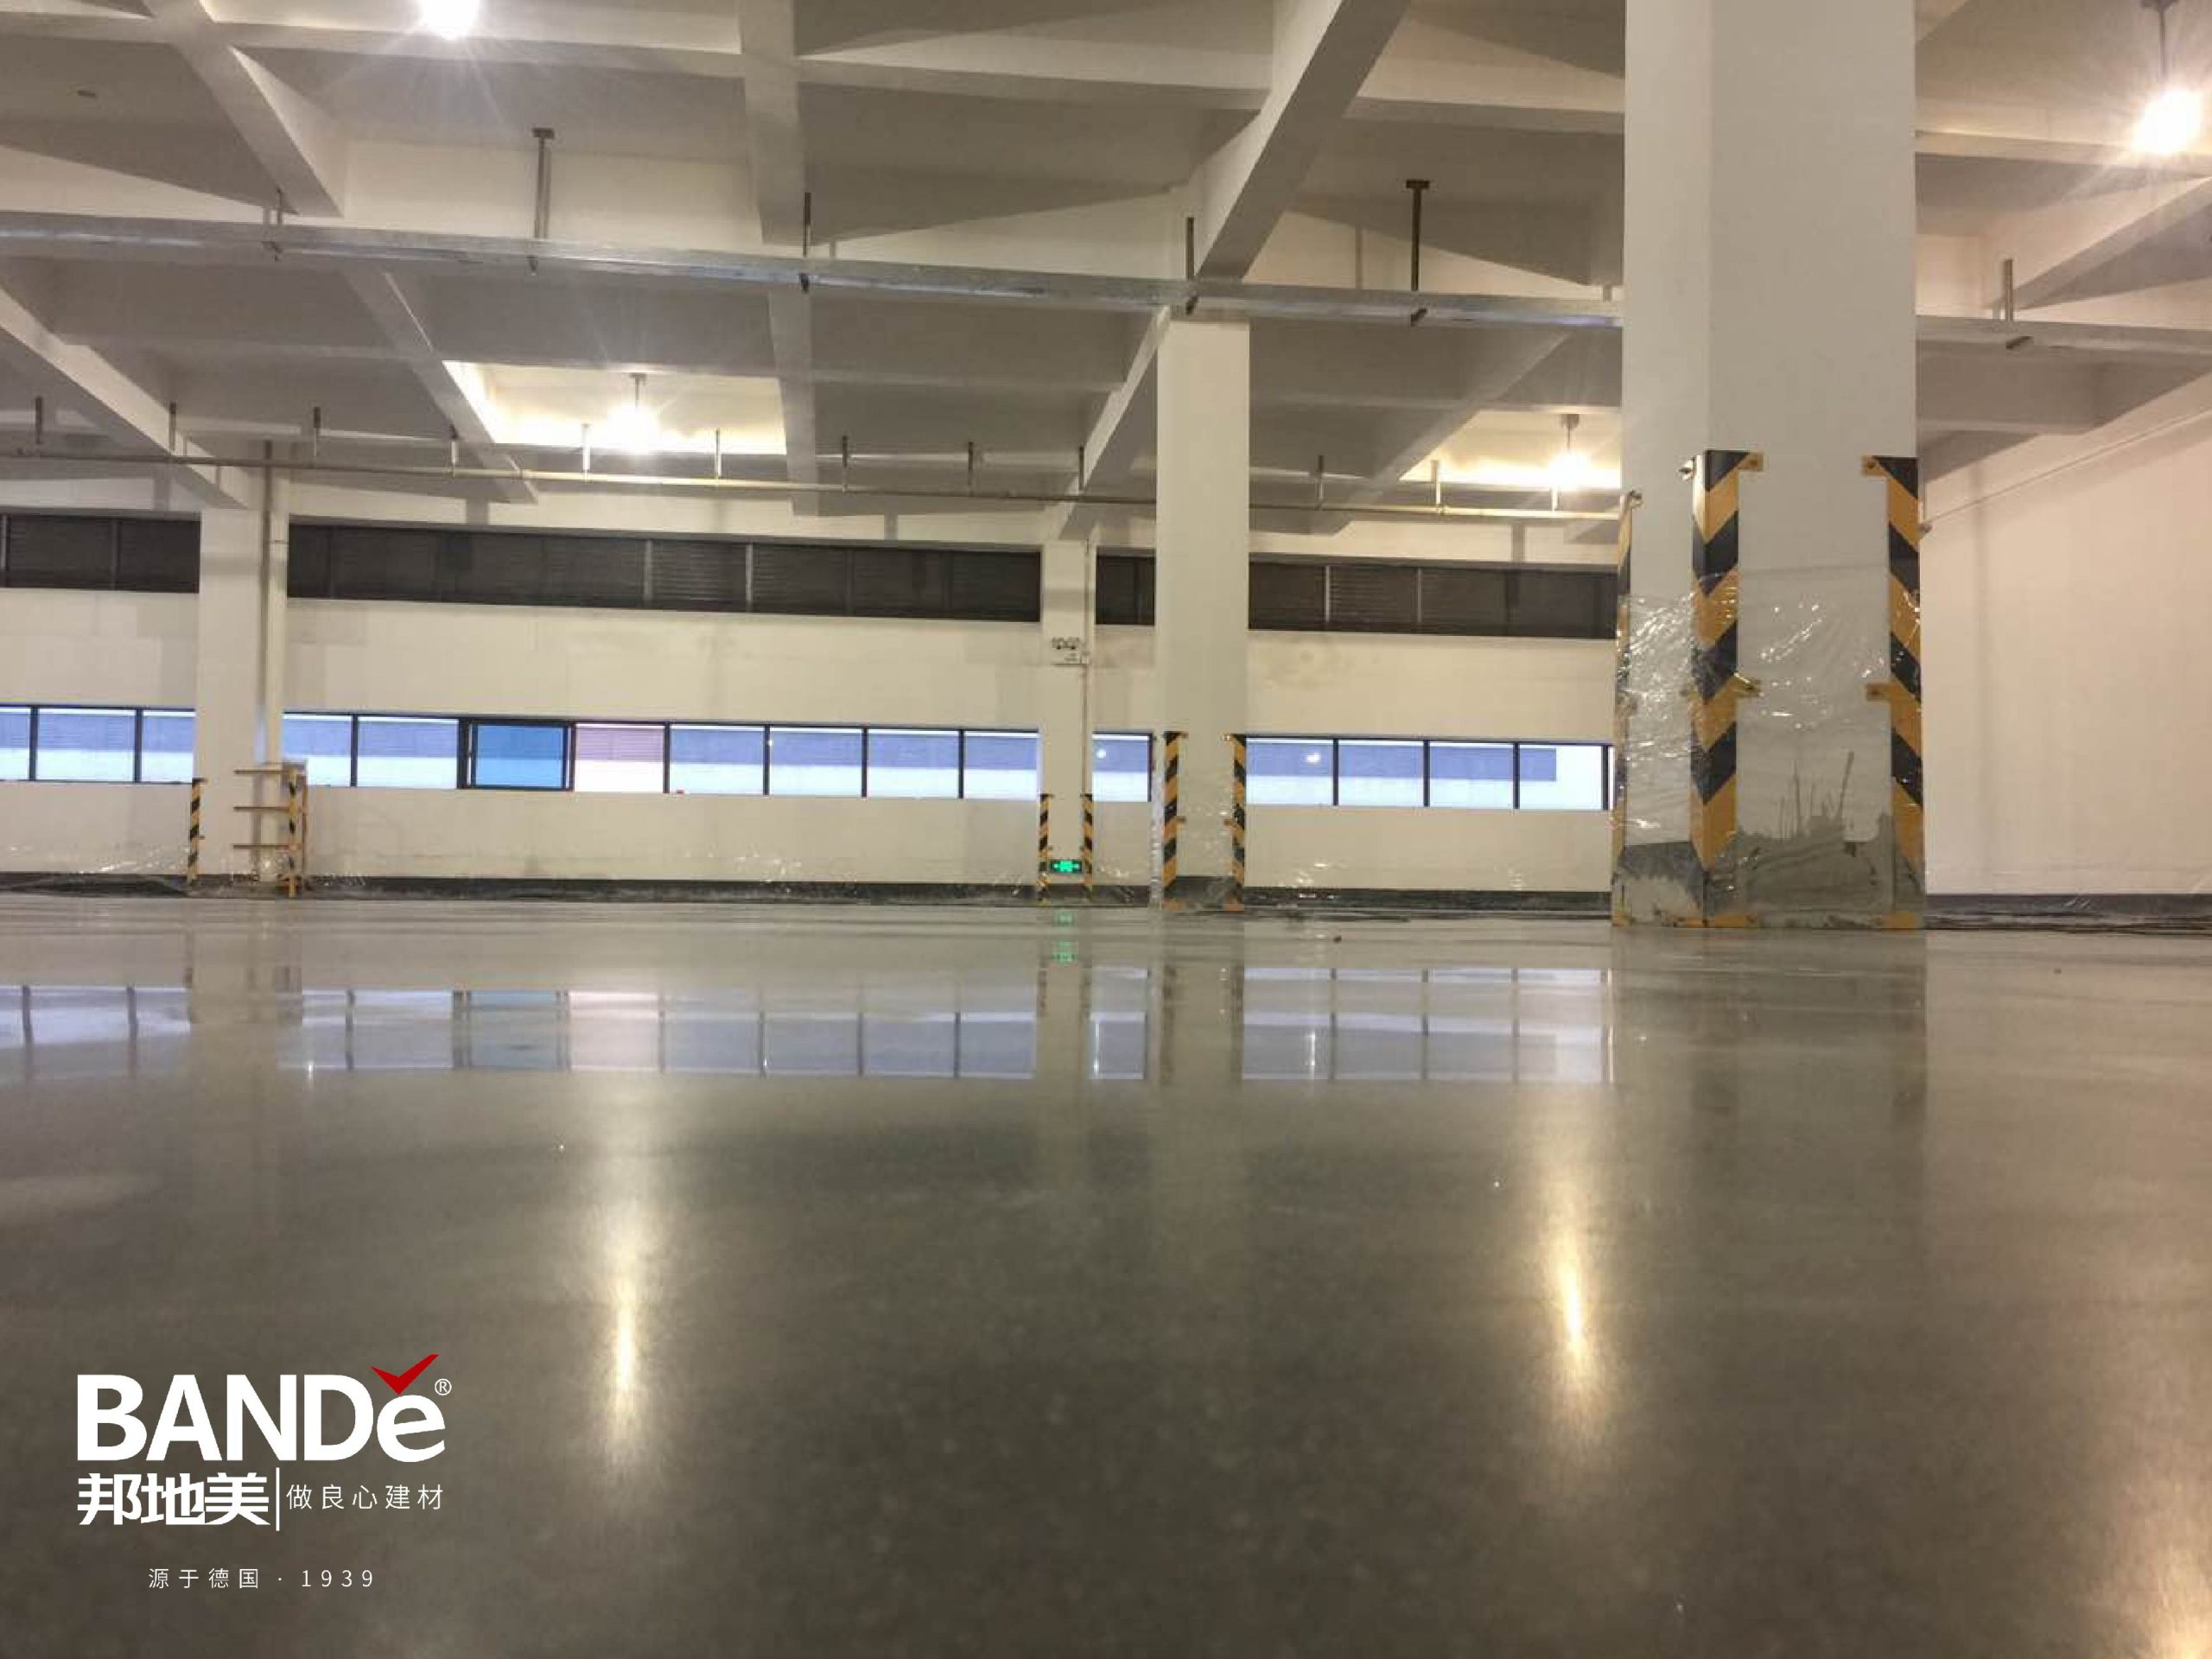
Polished concrete flooring has many benefits. It resists scratches and chips better than regular flooring. This strength makes it great for busy places like offices, gyms, and stores. You’ll see that keeping polished concrete clean is easy; just dry mop and occasionally damp clean to keep it fresh. Plus, the shiny finish gives a modern look, and you can choose different colors and designs to fit your style.
However, proper installation is very important. If you skip steps or hurry, you might get visible problems like cracks or uneven spots. This can hurt the floor’s life and look. So, take your time and follow the steps carefully for a beautiful and lasting finish.
Preparation Steps

Clean Area
Before you start putting in polished concrete flooring, make sure the area is clean and ready. Here’s how to do it step by step:
Remove Furniture and Obstacles: Take out any furniture or items that might be in your way.
Sweep or Vacuum: Get rid of loose dirt and debris by sweeping or vacuuming the whole area.
Moisture Testing: Check for moisture using humidity probes or calcium chloride kits. This step finds high moisture levels that could affect your work.
Prepare Cleaning Solution: Mix a pH-neutral cleaner with warm water. This will help break down oils or residues.
Mop the Floor: Mop the floor section by section, making sure to cover every part.
Rinse and Dry: Rinse the area with clean water and dry it well to avoid streaks.
Cleaning is very important because dust, oils, or residues can stop the polished concrete from sticking well.
Level Surface
After cleaning, it’s time to level the surface. A flat and level floor is key for a good polish. Here’s how to prepare your concrete slab:
Clean the Existing Concrete: Start by cleaning the surface again to remove any leftover dirt or contaminants.
Repair Cracks and Imperfections: Fill any cracks with a concrete patching compound. If you see high spots, grind them down to make a smooth surface.
Use Self-Leveling Concrete: If your slab is very uneven, think about using self-leveling concrete. This helps create a flat and level surface, which is important for a good polished concrete installation.
Taking time to clean and level your concrete slab will help in the long run. It makes sure your polished concrete flooring looks nice and lasts for many years.
Installation Process
Pour Concrete
Now that you have prepared the area, it’s time to pour the concrete. Follow these steps for a smooth pour:
Mix the Concrete: First, mix your concrete as the instructions say. Make sure it has a smooth texture.
Pour the Concrete: Start pouring the concrete into the area you prepared. Use a wheelbarrow or concrete pump for big spaces. Spread the concrete evenly with a trowel.
Level the Surface: Use a screed board to make the surface level. Move the board back and forth over the concrete to make it flat.
Finish the Surface: After leveling, use a float to smooth out any bumps. This step makes the surface ready for polishing later.
To get a polished concrete surface, the concrete must be well-prepared. This means fixing any cracks and cleaning the area well before pouring. Once you pour the concrete, you will grind the top layer to show the aggregate. Then, apply a densifier to make it stronger and shinier.
Cure Concrete
Curing is an important step in the installation process. It helps the concrete become strong and last longer. Here’s how to cure your concrete correctly:
Curing Time: Let the concrete cure for at least 24-48 hours after pouring. This time is important before you start polishing.
Avoid Cure and Seal Compounds: Do not use ‘cure and seal’ compounds during this time. These can build up on the surface and cause scratches when polishing. Also, if the compound doesn’t go away properly because of the weather, it can affect how well your diamond tools work.
By following these steps, you make sure your polished concrete flooring has a strong base. Proper curing gives you a better finish and helps it last longer.
Polishing Techniques for High-Quality Finish
Grinding Process
After your concrete has cured, you can start grinding. This step is very important for getting a smooth and shiny finish. Here’s how to do it:
Choose the Right Diamond Segments: Use diamond grinding pads with different grits. Start with a rough grit to fix imperfections. Then, switch to finer grits for a polished look.
Begin Grinding: Start with the rough pad. Move the grinder in circles, overlapping each pass a little. This helps to grind evenly across the surface.
Check Your Progress: After using the rough pad, look at the surface. It should be smooth with no scratches.
Switch to Finer Grits: Gradually change to finer pads. Each finer grit will make it shinier. Keep grinding until you get the shine you want.
Grinding makes the surface smooth and gets it ready for the next step. Take your time here. If you rush, you might end up with uneven spots or scratches.
Apply Densifier
After grinding, the next step is to apply a densifier. This chemical treatment makes the concrete stronger and better looking. Here’s how to apply it well:
Choose a Quality Densifier: Find a product made for polished concrete. This will give you the best results.
Apply Evenly: Use a sprayer or roller to spread the densifier evenly on the surface. Make sure to cover every part.
Let It Absorb: Let the densifier soak into the concrete for the time suggested. This step is very important for strength.
Polish Again: After the densifier dries, polish the surface again. This will give you a high-gloss finish that looks great and is easy to clean.
Densified concrete floors are much shinier and stronger than untreated ones. With good care, polished concrete can last over 30 years. This makes it a smart choice for your space. The mix of densification and polishing gives a beautiful look and needs less upkeep.
Maintenance of Polished Concrete
Cleaning Tips
Keeping your polished concrete floors looking nice is easy! Here are some simple tips for daily and weekly cleaning:
Clean spills right away to stop stains and slipping.
Daily dry mop to get rid of dust and avoid damage.
Weekly wet mop with clean water and a pH-neutral cleaner to wash away dirt.
Don’t use non-pH neutral cleaners like ammonia, bleach, or vinegar. These can hurt the floor’s finish.
For tough stains, think about using special degreasers or stain removers made for polished concrete. You can also use baking soda and distilled white vinegar for light stains. Just remember to test any cleaner in a small spot first!
Repairing Scratches
Scratches can happen, but don’t worry! You can fix small damage on your polished concrete floors with a few good methods:
Wet grinding lets diamonds cut deeper, which helps remove scratches.
Using a 40-grit diamond wet pad works better than using it dry, as it cuts like a lower grit when wet.
After wet grinding, use an appropriate dry grit to help remove scratches.
Regular maintenance is important to keep your polished concrete looking great. Resealing your floors every 2 to 3 years helps keep a protective layer against moisture, stains, and wear. The timing may change based on foot traffic and location, so watch your floors!
By following these polished concrete maintenance tips, you’ll make sure your floors stay beautiful and last for many years.
In conclusion, polished concrete flooring is a great choice for your home or business. Before you start, think about these important points:
Check the condition of your current slab. Cracks, joints, and moisture can change how it looks.
Know that installation can take a few days and has many steps. This makes it harder than other flooring types.
Disadvantages | |
|---|---|
Improves air quality by lowering VOCs | Hard surface can be tough on your feet |
High slip-resistance when kept clean | Can crack and let moisture in |
Good for the environment with recyclable materials | Hard to keep clean on unfinished floors |
Needs less re-coating or refinishing | Can get stains and spots easily |
With good care, polished concrete can last for many years, making it a smart choice. Just keep in mind, it might not be right for every place. Enjoy your new flooring!
FAQ
What is polished concrete flooring?
Polished concrete flooring is a strong surface made by grinding and polishing concrete. It has a shiny look and resists stains, making it great for homes and businesses.
How long does it take to install polished concrete?
Installing polished concrete usually takes a few days. This depends on how big the area is and how complex the project is. Proper curing and polishing steps are very important for a good finish.
Can I install polished concrete over existing flooring?
Yes, you can put polished concrete over old flooring. Just make sure the surface is clean, level, and dry. You might need to take off any old flooring materials first.
How do I maintain polished concrete floors?
To keep polished concrete looking good, dry mop often to get rid of dust. Use a damp mop with a pH-neutral cleaner. Stay away from harsh chemicals that can harm the finish.
Is polished concrete flooring slippery?
Polished concrete can be slippery when it’s wet. To make it safer, keep the surface clean and think about using anti-slip treatments or mats in busy areas.
See Also
Your Comprehensive Handbook for Polishing Concrete with BANDě
Selecting the Ideal Polished Concrete Densifier in 2025
Transforming Dull Floors: Tips for Polished Concrete Care
Discover the Advantages of BANDě Industrial Polished Concrete
Steps to Effectively Apply Concrete Dust Sealer for Clean Floors