
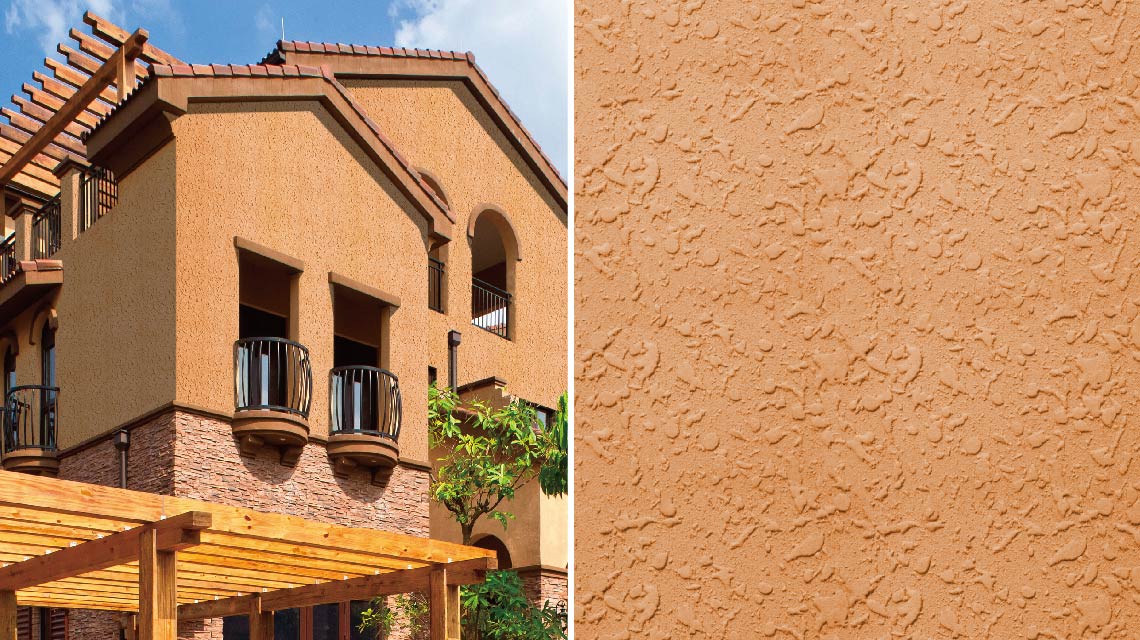
Decorative mineral wall finishes are essential for enhancing the aesthetic appeal of your home. These finishes not only add beauty but are also durable and environmentally friendly. You can transform any room with various textures and colors that reflect your personal style.
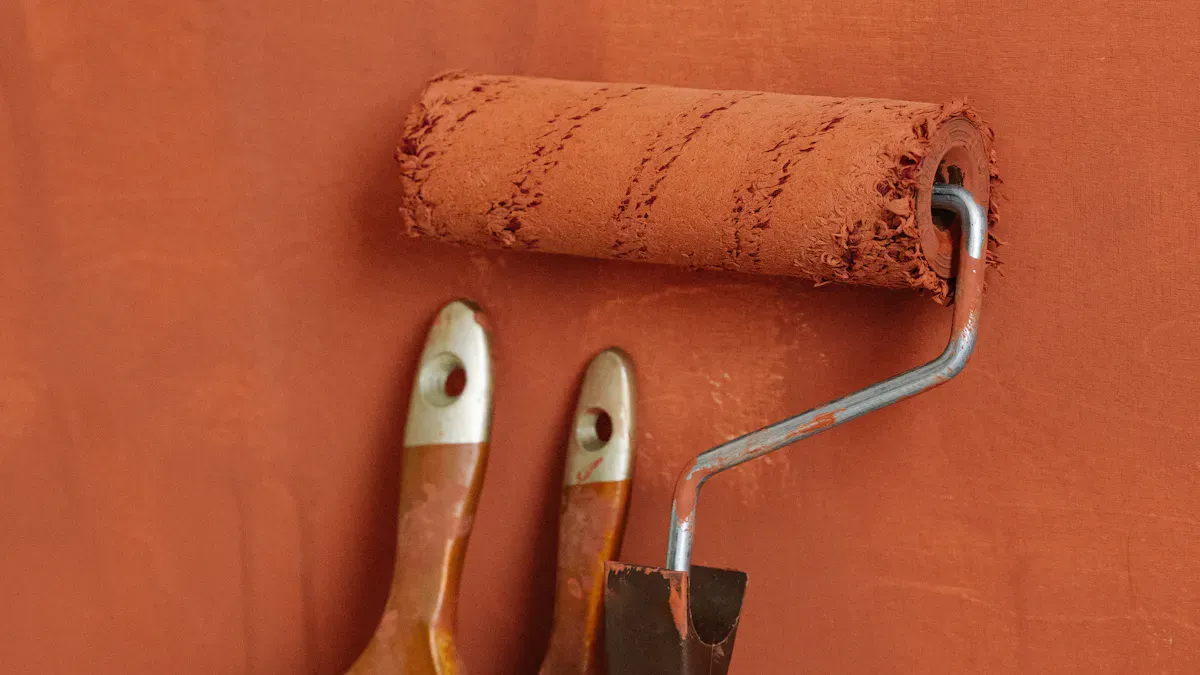
Engaging in a DIY project can be incredibly rewarding. With the right materials and techniques, you can achieve a professional look without breaking the bank. The Decorative Mineral Wall Finish cost is often a worthwhile investment, as more homeowners seek custom and eco-friendly options.
Consider using products like Anga Panels or Quetzal Paint to elevate your home’s interior. These options feature unique textures and colors that help reflect light and create a pleasant atmosphere.
Seize the opportunity to craft something beautiful in your home!
Key Takeaways
Decorative mineral wall finishes make your home look nice and are good for the environment. They come in different textures and colors that show your style.
Getting the surface ready is very important. Clean and fix the walls before putting on finishes. This helps to make sure the result is smooth and lasts a long time.
Mixing your finish the right way is important. Follow the suggested amounts and safety rules to get the best results.
Use the trowel method to apply finishes. This way lets you layer and create pretty textures on your walls.
Taking care of your finishes keeps them looking new. Clean gently and look for repairs to make your decorative walls last longer.
Materials Needed
Before you begin your project, collect the needed materials. Having the right tools and finishes will make your work easier and more fun.
Tools
Here’s a list of important tools you will need:
Rounded-Edges Trowel
Base Trowel
Plastic Trowel
Terre Trowel
Oval Trowel
Mini Trowel
Decorative Trowel
Titanium Trowel
Sponge Float for Venetian Stucco
Sponge Float for coarse plasters (Domus, Dolomites)
Synthetic Marine Sponge
Small Brush – 50mm
Big Mixer
Non-Woven Fabric
Wood effect paddle
Colours Bottles Basket
Tadelakt Stone
Syringe 100ml
These tools will help you get a great finish. Buying good tools may raise your decorative mineral wall finish cost, but it is worth it in the end.
Types of Finishes
You can pick from different decorative mineral wall finishes to match your style. Here are some popular choices:
Grassello: Modern extra glossy
Fine Marmorino: Glossy, fine-grain with amazing trowel movement
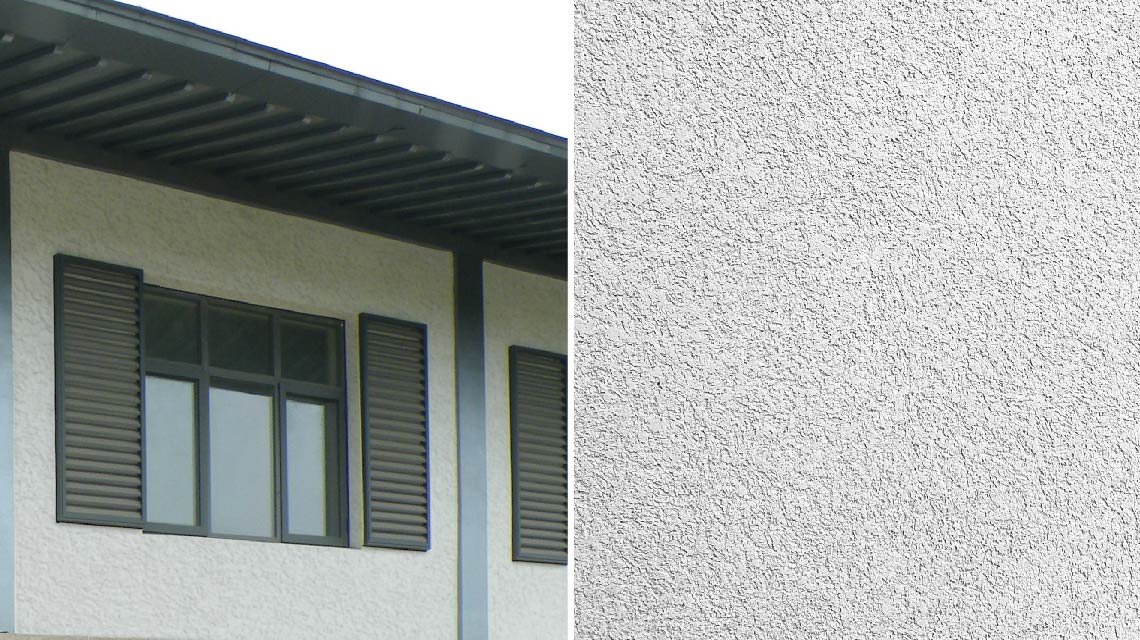
Concrete Stucco: Concrete effect finish
Tadelakt: Smooth and satin Moroccan plaster
Travertine: Textured finish from Renaissance tradition
Each finish has unique textures and colors, letting you create a personal look. Think about your space and desired style when choosing a finish.
By getting ready with the right tools and finishes, you prepare yourself for success in your decorative project.
Surface Preparation
Getting the surface ready is very important for applying decorative mineral wall finishes. Good preparation makes a good texture for the plaster to stick to. It also helps moisture move properly and stops flaws from showing in the final look. When you take time to prepare your walls, you help make a beautiful and lasting result.
Cleaning the Wall
Before you put on any finish, you need to clean the wall well. Follow these steps to get your surface ready:
Make a bleach solution and put it on the wall. Let it sit for 20 minutes while keeping the area wet.
If needed, gently scrub the surface with a soft brush to remove any growth without hurting the finish.
Rinse the area well from the bottom up with fresh water using a hose.
You might want to lightly pressure wash to remove dirt and pollution. Follow the manufacturer’s instructions and use the lowest pressure setting.
Stay at a safe distance from the surface while pressure washing to avoid damage.
If there are tough stains, you can use a non-ionic detergent while pressure washing.
By doing these steps, you make sure your wall is clean and free from dirt. This helps the decorative finish stick better.
Repairing Imperfections
Next, you should fix any flaws on the wall. This step is key for getting a smooth and perfect finish. Here’s how to fix wall imperfections well:
Prepare the Area: Clear away any loose bits around the hole. If any fibers are sticking up, push them down toward the hole with a putty knife handle.
Fill the Hole: Use spackling in ¼-inch layers with a putty knife. Let each layer dry before adding the next one.
Smooth It Out: Use a wet putty knife to smooth the spackling for a clean finish.
Sand When Dry: After it dries, sand the spackling with medium-grit sandpaper, then finish with fine-grit sandpaper for a smooth surface.
Spackle is great for small repairs because it dries fast and is easy to sand. For bigger holes and cracks, think about using joint compound instead.
By making sure your wall is clean and free of flaws, you create the best surface for applying decorative mineral wall finishes. This careful work will show in how your project looks in the end.
Mixing the Finish
Mixing your decorative mineral wall finish the right way is very important. Good mixing helps all the parts blend together. This leads to a smooth application. Follow these tips to mix your finish well.
Proportions
Getting the right amounts of each part is key. Here’s a helpful table showing the best ratios for different uses:
Application Type | Calcium Carbonate Ratio | Talc Ratio | Total Mineral Load | Notes |
|---|---|---|---|---|
Roasted-chicken trays | Up to 50% | N/A | N/A | Higher loading helps with heat deflection strength. |
Thicker parts (e.g., deli trays) | N/A | 25-30% | N/A | Talc gives heat deflection strengths at lower amounts. |
Cost-effective blend for specific part | 22% | 10% | 32% | Mixing talc and calcium carbonate saves money and gives needed heat strengths. |
Final blended concentrate | 55% | 25% | N/A | Achieved targets from tests, maximizing savings while ensuring good performance. |
Use this table to help you mix the right amounts for your project. Change the ratios based on what you need and the finish you want.
Safety Precautions
Safety is very important when mixing materials. Here are some key safety tips to follow:
Wear Protective Gear: Always put on gloves, goggles, and a mask to keep safe from dust and chemicals.
Work in a Ventilated Area: Make sure there is good airflow where you work. Open windows or use fans to keep the air fresh.
Follow Manufacturer Instructions: Read the labels on all materials. Each product may have special mixing instructions and safety warnings.
Avoid Ingestion: Keep all materials away from kids and pets. Do not eat or drink in the mixing area.
By following these mixing tips and safety rules, you prepare for a successful application of decorative mineral wall finishes. Mixing correctly not only improves the finish but also keeps you safe while working.
Application Techniques
Applying decorative mineral wall finishes takes skill and practice. You can get amazing results by learning a few methods. Here, we will look at the trowel method and how to make different textures.
Trowel Method
The trowel method is a popular way to apply decorative mineral finishes. This method helps you layer materials well, adding depth and texture. Follow these steps to use the trowel method correctly:
Prepare Your Trowel: Pick the right trowel for your finish. A rounded-edge trowel is good for smooth applications, while a decorative trowel makes unique patterns.
Apply the First Coat: Start with a thin layer of your chosen finish. Use even pressure as you spread the material on the wall. Aim for a thickness of about 4.0 to 7.0 mils when wet.
Let It Dry: Let the first coat dry completely. This step is very important for a strong base.
Add Additional Coats: Put on at least one more coat, using the same technique. Each layer should build on the last one, improving the overall look.
Finish with Burnishing: For a smooth finish, you can burnish the last coat. This means using a clean trowel to gently smooth the surface.
Lime plaster is thicker and may have fine aggregate for tiny color specks or texture. It needs at least two coats, with specific drying times and burnishing methods to get the right shine, which is not usual for other mineral finishes like lime paint or lime wash.
Creating Textures
Making textures adds style to your decorative mineral wall finishes. You can use different tools and methods to get various looks. Here are some good ways to do it:
Layering Techniques: Layer different materials to add depth. For example, mix a smooth finish with a textured one for contrast.
Polishing Surfaces: After applying your finish, polish the surface for a refined look. This works well with finishes like venetian plaster wall finish.
Using Additives: Add things like fresco texture powder to improve your finish. This can create unique effects that stand out.
To help you pick the right tools for different textures, consider these:
Fresco Texture Powder Additive
Midnight Blue Paint
Casement Paint
Champagne Metallic Paint
Pearl Metallic Paint
Flat Brush
Small / Medium Size Plastic Trowels
Roller
Roll it on
Trowel it on
Brush it on
By trying these techniques, you can create beautiful decorative plaster finishes that improve your interior spaces. Remember, practice makes perfect, so don’t be afraid to try different methods until you find what fits your style.
Common Challenges
While applying decorative mineral wall finishes can be fun, you might face some challenges. Here’s a quick overview:
Aspect | Details |
|---|---|
Drawbacks | Needs good wall preparation and careful application |
Ease of application | Fairly easy, but needs precision during the application process |
By knowing these challenges, you can prepare better and ensure a successful application.
Finishing Touches
Drying Time
Letting your decorative mineral wall finish dry well is very important for a nice look. The drying time can change based on how humid it is and what type of finish you use. High humidity can make drying take longer, which may cause problems like color changes. To get the best results, do these steps:
Check the Primer: Make sure your primer is fully dry before you add the finish.
Mix Thoroughly: Stir your plaster well and mix in colorants completely for even color.
Apply the First Coat: Use a stainless steel finishing trowel to spread a thin layer of plaster. Keep the wall level as you work.
Wait for Drying: After the first coat dries, put on the second coat. After about 20 minutes, use a clean trowel to push the plaster in different ways. This helps make a smooth surface.
Burnish for Shine: For a shiny look, burnish the finish at a 45° angle with your trowel over the semi-dry surface.
Doing these steps will help you get a great finish that makes your space look better.
Maintenance Tips
To make your decorative mineral wall finishes last longer, regular care is very important. Here are some good practices:
Refresh: Touch up your facade with changes like repainting or refinishing.
Repair: Clean and check the facade often. Find and fix small problems to stop bigger issues.
Renovate: If your finish is ignored or has poor thermal transmittance, think about replacing it.
For cleaning, use gentle products to keep the finish safe. Here are some good options:
Baking soda mixed with white vinegar for hard water stains.
OxiClean Foam-Tastic for larger areas.
Borax for tough stains on tiles and porcelain.
Hydrogen peroxide for delicate surfaces.
By following these maintenance tips, you can keep your decorative mineral wall finishes looking fresh and bright for many years.
Decorative mineral wall finishes have many benefits that improve your home. Here are some important advantages:
Durability: Finishes like lime plaster last longer than regular paint, giving you lasting beauty.
Aesthetic Appeal: Special textures and depth make a beautiful look that paint can’t match.
Improved Indoor Air Quality: Natural materials like clay and lime help control humidity and lower mold growth.
It’s important to take pride in your work. Always remember to care for your finishes. This helps keep them looking nice and working well for many years. Enjoy the change you’ve made!
FAQ
What are decorative mineral wall finishes?
Decorative mineral wall finishes are green coatings made from natural stuff like lime and clay. They make your walls look better and last longer, giving them special textures and colors.
How long do these finishes last?
If you apply and take care of them well, decorative mineral wall finishes can last for many years. They are often stronger than regular paint, making them a good choice.
Can I apply these finishes myself?
Yes, you can do it yourself! With the right tools, materials, and methods, you can make your walls look professional at home.
Are these finishes safe for indoor use?
Yes, they are safe! Decorative mineral wall finishes use natural materials, so they are good for indoor spaces. They also help keep the air inside fresh by controlling humidity.
How do I maintain my decorative mineral wall finishes?
To keep your finishes looking nice, clean them gently with mild soap. Check for any problems regularly and fix them quickly to keep them beautiful and lasting.
See Also
BANDě’s Expert Guide to Gorgeous Wall Coatings in 2025
2025 Commercial Space Guide to Concrete Dust Sealers
Complete Buying Guide for Concrete Densifiers and Sealers
Expert Techniques for Applying Waterproof Coatings Effectively
Selecting the Ideal Concrete Masonry Primer: BANDě’s 2025 Insights