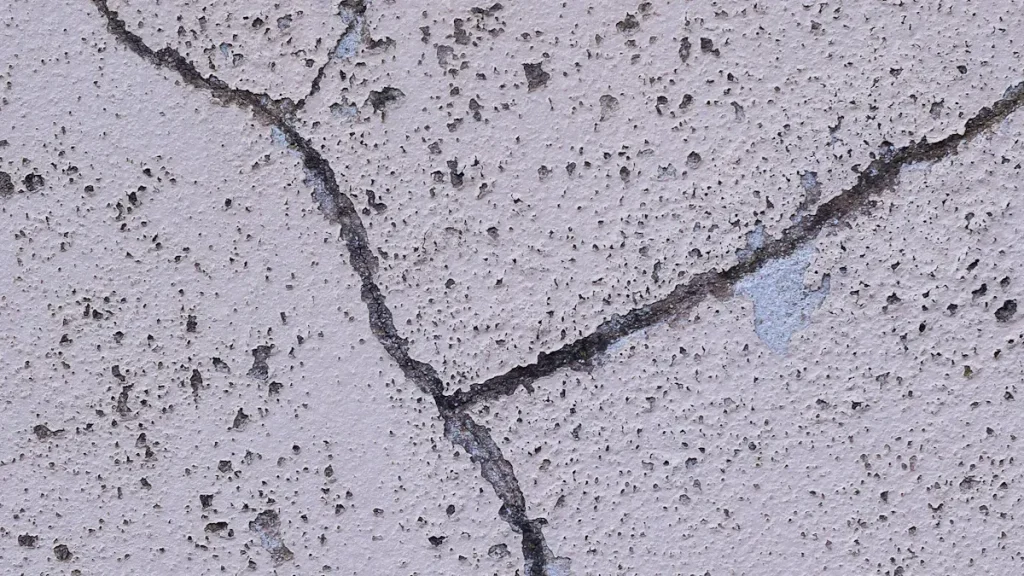
Concrete cracks can cause big problems if you don’t fix them fast. If you ignore these cracks, they can lead to chemical damage, rusting of metal bars, and weak structures from water getting in. Using concrete crack repair paste is an easy and good solution. It helps you fill different kinds of cracks, like structural, shrinkage, and settling cracks. By following a few simple steps, you can make your concrete strong and last longer.
Key Takeaways
Always clean the crack well before using repair paste. A clean surface helps the paste stick better and makes a stronger fix.
Pick the right repair material for the type of crack. Different materials work best for structural, shrinkage, and settling cracks.
Follow the instructions from the manufacturer for mixing and using the repair paste. Doing it right means longer-lasting repairs.
Give enough time for the repair paste to cure. Most products need at least 7 days to fully cure and get strong.
Check and take care of your repaired surfaces often. Acting quickly on new cracks can stop more damage and make your repairs last longer.
Preparation
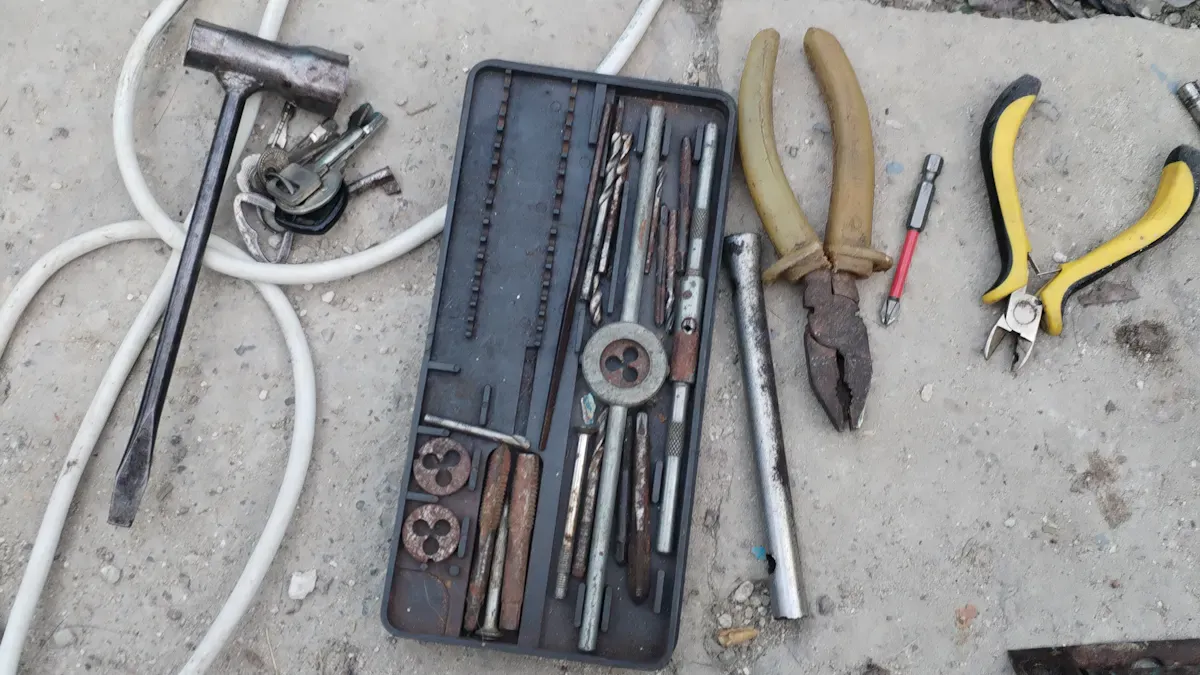
Tools and Materials
Before you start fixing those cracks, get the right tools and materials. Having everything ready will make your work easier and faster. Here’s a helpful list of what you’ll need:
Crack Size | Tools Used |
|---|---|
Hairline to 1/16-inch | Wire brush, shop vacuum, squeegee; use a crack-chaser blade or grinder to open edges. |
≥ 1/4-inch | Backer rod (25–50% bigger than the joint) to control filler depth. |
Over 1/4-inch voids | Pointing trowel, caulking gun, cartridge-based epoxy or polyurethane for filling. |
Make sure to have these tools ready to prepare the crack well.
Cleaning the Surface
Cleaning the surface is very important before using concrete crack repair paste. If you skip this step, the repair might not stick well. Here’s how to clean the cracks properly:
Use compressed air to blow out dust and debris.
Use wire brushes to remove any loose bits.
If needed, make the cracks a bit wider for better filling.
Make sure the surfaces are free from oil and other dirt.
Tip: A clean surface helps create a stronger and more stable structure. Dirty surfaces can make even good sealants fail early.
After cleaning, check that the cracks are completely dry. Moisture can cause the sealant to fail, so it’s important to ensure everything is dry before moving on. Following these steps will help you prepare the crack well and set up for a successful repair.
Application Process
Filling Cracks
Now that you have cleaned the surface, it’s time to fill the cracks in the concrete. Follow these steps to do it right:
Choose the Right Repair Material: Pick a concrete crack repair paste that fits your needs. For structural cracks, use epoxy injection for strong bonding. For smaller cracks, flexible concrete caulk works well.
Mix the Repair Paste: If your product needs mixing, follow the instructions on the label. This helps you get the right mix and performance.
Apply the Paste: Use a caulking gun or trowel to fill the crack with the paste. Push the paste deep into the crack to remove air pockets. For cracks wider than 1/4 inch, use a backer rod to control how deep the filler goes.
Smooth the Surface: After filling, use a putty knife or trowel to smooth the area. Hold the tool at a slight angle and apply steady pressure. This helps the repair blend in with the concrete, making it less visible.
Follow Manufacturer Instructions: Always stick to the guidelines from the manufacturer. This includes curing times and conditions for applying. Following these instructions makes your repairs last longer.
Tip: Remember, different materials act differently. For example, flexible concrete caulk is good for outdoor slabs, while epoxy crack fillers are best for reinforcing cracks.
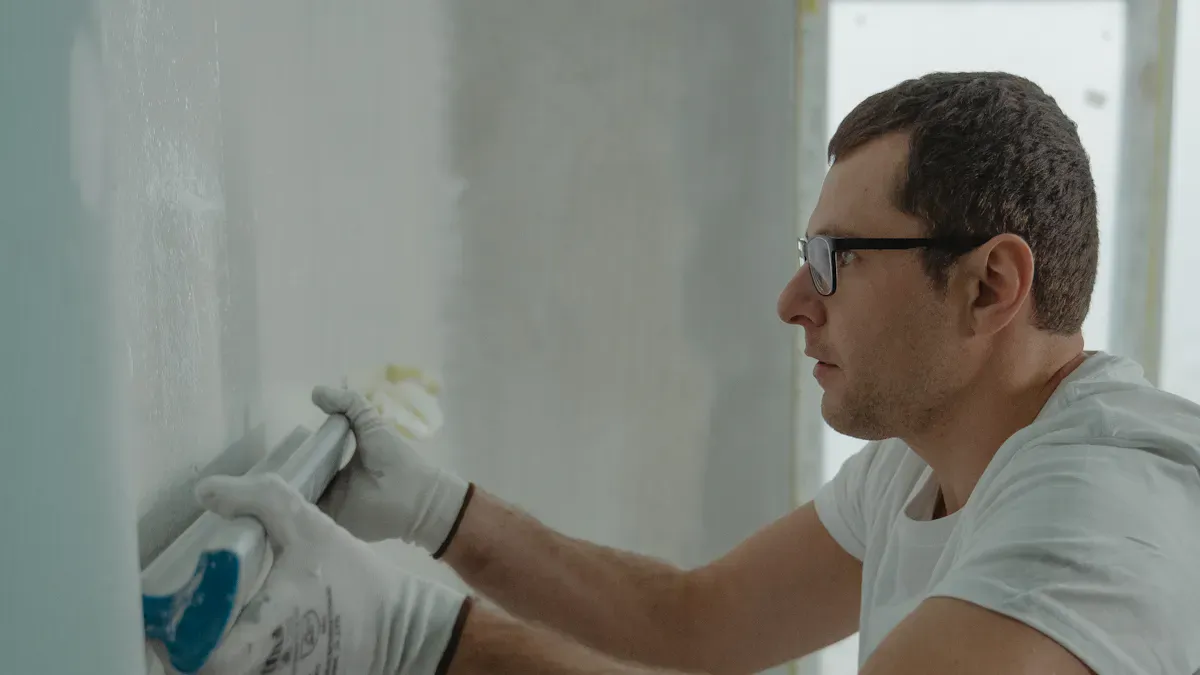
Smoothing the Surface
Smoothing the surface after filling is important for a neat finish. Here are some good techniques:
Use a Putty Knife: A putty knife or sharp paint scraper can help flatten the filler for a smooth finish.
Trowel Techniques: Use proper trowel techniques to blend the repairs with the existing surface. Hold the trowel at a slight angle and apply steady pressure while smoothing the area.
Check for Evenness: After smoothing, check the area to make sure it’s even with the surrounding concrete. If needed, add more filler and smooth it again.
By following these steps, you’ll make sure your concrete crack repair paste application is effective and lasts a long time. Taking the time to fill and smooth properly will help your repairs be more durable.
Tips for Effective Repair
Choosing the Right Product
Picking the right product is very important for fixing concrete cracks. Different places and conditions need special features in your repair products. Here’s a helpful table to help you:
Environment Type | Recommended Sealant Characteristics |
|---|---|
Warm, Dry Areas | Flexible, sun-proof mixes |
Damp Areas | Mold-fighting products with strong adhesion on wet surfaces |
Icy Areas | Rubbery sealants that withstand freeze-thaw cycles without cracking |
Before you start fixing concrete cracks, think about these things:
Horizontal vs. Vertical: Most fillers work well on flat surfaces, but vertical cracks need special epoxies that don’t slide down.
Exterior vs. Interior: Choose products that can handle weather and UV damage for outside repairs.
High-Traffic Areas: Use strong epoxies for busy spots to make them last longer.
Wet Areas: Pick waterproof fillers or hydraulic cement for places that are often wet.
Common Mistakes
Avoiding common mistakes can really help your repairs succeed. Here are some common errors and how to avoid them:
Insufficient Surface Preparation: Always clean the area well. Dirt can stop the repair from sticking.
Incorrect Material Selection: Match your repair product to the type of damage. Using the wrong filler can cause it to fail early.
Ignoring the Root Cause of Damage: Fix underlying problems before using any repair products. Otherwise, you might have the same issues again.
Improper Curing Techniques: Follow the curing methods suggested. Skipping this step can weaken your repair and cause cracks later.
By choosing the right product and avoiding these common mistakes, you can make sure your concrete crack repair works well and lasts a long time.
Post-Application Care
Curing Time
After you put on your concrete crack repair paste, curing time is very important. This time helps the material harden and get strong. Good curing stops cracks from forming due to quick drying. Most makers say to wait at least 7 days, especially when it’s hot or windy. Here’s a quick look at the curing times for different products:
Product Type | Set Time | Full Cure Time |
|---|---|---|
General Fillers | A few hours | 1 day to 1 week |
Damtite Waterproofing SuperPatch | 15 minutes | 48 hours |
HyperCURE Concrete Repair Kit | 1 hour | 2-5 days |
Make sure to follow the specific instructions for your product. Paying attention to these details helps your concrete crack repair last a long time.
Maintenance Tips
Once your repairs are done, regular maintenance is key to keeping your concrete in good shape. Here are some tips to help you take care of your repaired surfaces:
Monitor for New Cracks: Watch for any new cracks or old ones coming back. Fixing these problems quickly can stop more damage.
Regular Cleaning: Clean the surfaces often to get rid of dirt and debris. This helps prevent damage and keeps your concrete looking nice.
Conduct Inspections: Plan regular checks to find new cracks before they get worse. For busy areas, think about checking them every six months.
Protect Fresh Repairs: Keep your newly repaired concrete safe from extreme temperatures while it cures. Use blankets or shade if needed.
By following these maintenance tips, you can make sure your repairs last and keep your concrete surfaces looking great for years.
To sum up, using concrete crack repair paste the right way has a few important steps. First, look at the crack and clean it well. Then, get the crack ready and pick the right repair material. After that, use the right tools to apply the material and smooth the surface. Lastly, let the repair cure properly.
Always remember, following the instructions is very important. Good preparation and choosing the right material can really help your repairs last longer. So, don’t wait! Fix those concrete cracks today to keep your surfaces strong and safe.
Tip: Always check the type of crack before picking your repair method. This helps you get the best results!
FAQ
What types of cracks can I repair with concrete crack repair paste?
You can repair various cracks, including structural, shrinkage, and settling cracks. The paste works well for hairline cracks up to larger voids, making it versatile for different concrete issues.
How long does it take for the repair paste to cure?
Curing time varies by product. Generally, you should wait at least 7 days for full strength. Always check the manufacturer’s instructions for specific curing times.
Can I apply concrete crack repair paste in wet conditions?
It’s best to avoid applying the paste in wet conditions. Moisture can affect adhesion and the overall effectiveness of the repair. Wait for dry weather for the best results.
How do I know if I need to reapply the repair paste?
If you notice new cracks or if the repaired area shows signs of wear, it may be time to reapply. Regular inspections can help you catch these issues early.
Is it necessary to use a backer rod for larger cracks?
Yes, using a backer rod for cracks wider than 1/4 inch helps control the depth of the filler. It ensures proper adhesion and prevents the paste from sinking too deep.
See Also
The Definitive Guide to Effective Concrete Crack Patching
Your Comprehensive Guide to Durable Cement Crack Sealing
Choosing the Ideal Epoxy Concrete Patch for Success
A Straightforward Guide to Repairing Concrete Cracks Effectively
Selecting the Right BANDě Concrete Patching Compound for You