Using an epoxy concrete patch for repairs makes your concrete last longer. This strong solution creates a solid bond and makes repairs easier. The epoxy sticks well, so your repairs last a long time.
Think about how much epoxy costs compared to other methods. For example, epoxy repairs cost between $8 and $20 per square foot. On the other hand, polymer-modified cement repairs cost only $3 to $8. But, epoxy usually lasts longer, making it a better choice.
If you follow the steps given, you can make successful and long-lasting repairs easily.
Repair Type | Cost per Square Foot |
|---|---|
Epoxy (1/4 inch overlay) | $8 – $20 |
Polymer-modified Cementitious | $3 – $8 |
Key Takeaways
First, clean the surface before using epoxy. Get rid of dirt, grease, and loose concrete for a strong bond.
Mix the epoxy as the package says. Measuring correctly and mixing well helps make a strong repair.
Carefully apply the epoxy. Fill in cracks and smooth the surface. Good application leads to lasting results.
Let the epoxy cure properly. Wait 24 hours before using it to ensure a strong repair.
Take care of your repair regularly. Sweep and clean spills to keep your epoxy patch looking good and lasting longer.
Prep Surface
Clean and Assess
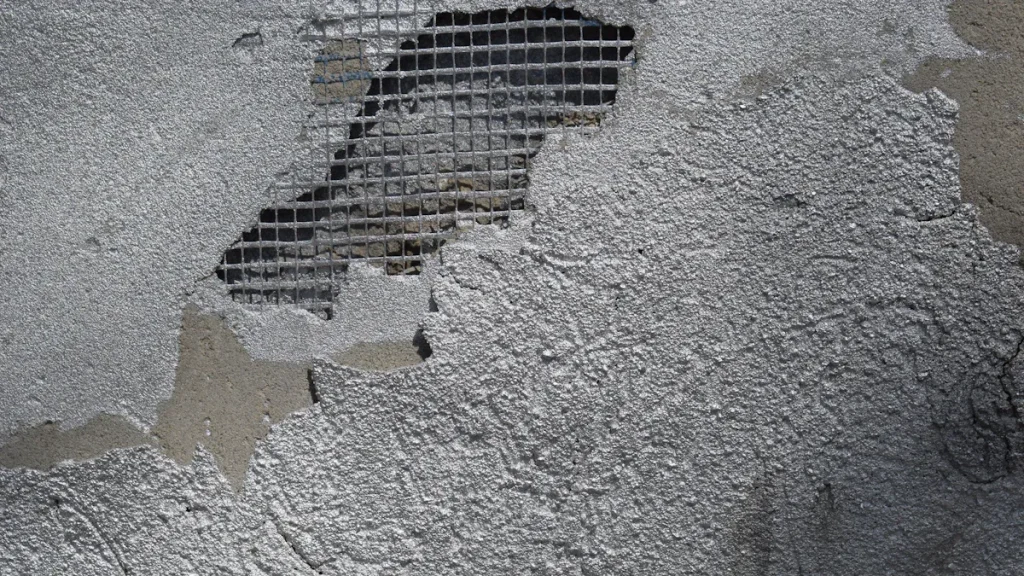
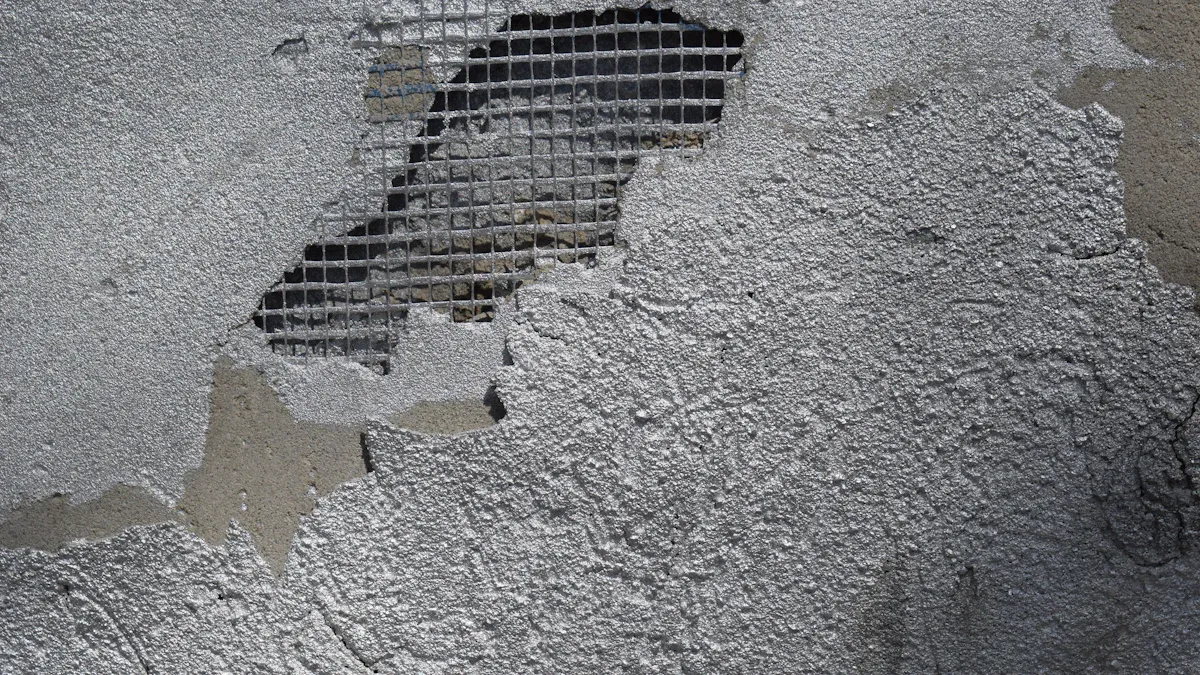
Before you use the epoxy concrete patch, you need to clean and check the surface. This step is very important for a strong bond between the epoxy and the old concrete. Start by looking for anything that could stop it from sticking. Common things to check for are:
Oil
Grease
Paint
Curing compounds
Sealers
To get the best results, follow these steps to check the damage:
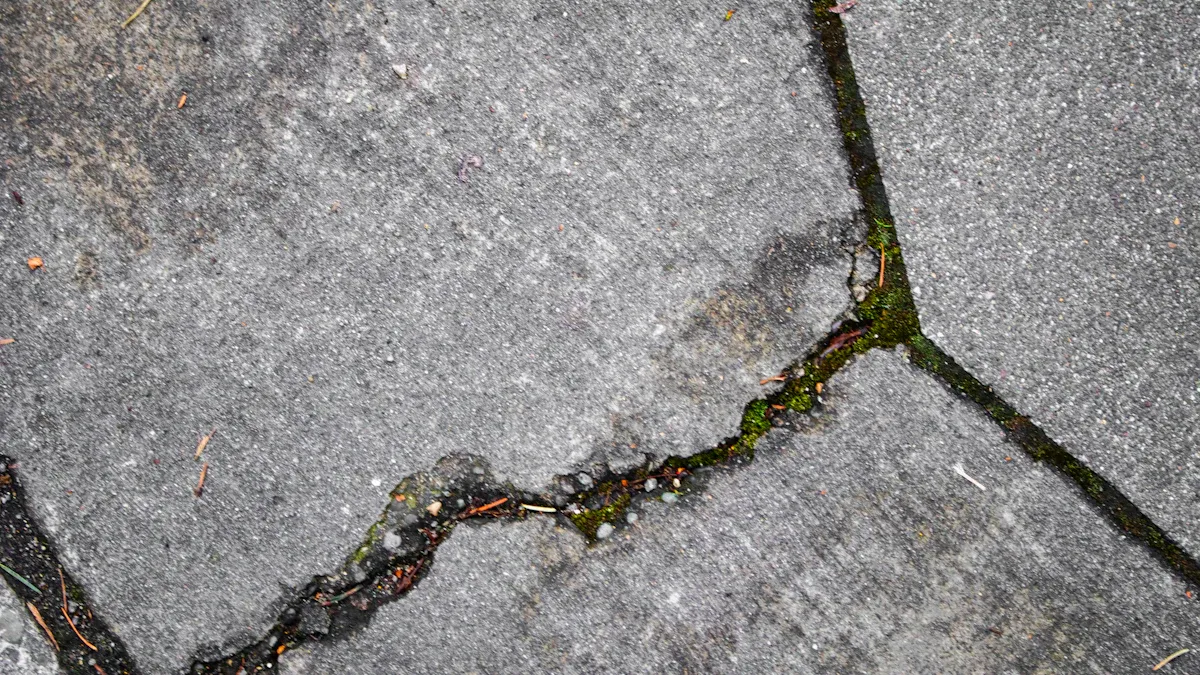
Repair or replace? See if the concrete is safe. If you see big problems like heaving or deep cracks, think about replacing the concrete instead of just fixing it.
Prepare the surface. Take away all loose stuff and dirt from the surface to help it stick well. This might mean washing or using a tool to scrape.
Choose a bonding method. Pick between mechanical bonding (using a scratch coat) or chemical bonding (using a liquid bonding agent) to make sure the old and new concrete stick together well.
Wet the surface (if necessary). Make sure the surface is ready for the epoxy patch.
Tools Needed
Having the right tools makes getting ready easier and faster. Here’s a list of important tools you will need:
Tool Description | Purpose |
|---|---|
Wire brush and cold chisel or handheld hammer | To take off loose material |
Shop vacuum or compressed air | To remove dust |
Stiff putty knife, margin trowel, or small steel trowel | For putting on and smoothing the epoxy |
Disposable mixing containers and rigid stir sticks | For mixing the epoxy |
Fine abrasive paper or grinder | For leveling the surface at the end |
By using these tools, you can get the surface ready for patching the old concrete. Remember, a clean and well-prepared surface is key to making a strong and lasting repair.
Mix Epoxy Concrete Patch
Mixing Ratios
Mixing the epoxy concrete patch the right way is very important. It helps create a strong bond and good repair. Follow these steps to mix everything correctly:
Read the Instructions: Always check the instructions on the package. They tell you how to mix the epoxy and hardener.
Measure Accurately: Use a measuring cup to get the right amounts. A common mix is 1 part epoxy to 1 part hardener, but this can change.
Combine Thoroughly: Pour the epoxy and hardener into a container. Use a stiff stir stick to mix them well. Stir until the color and texture look the same. This usually takes about 2-3 minutes.
Consider Temperature and Humidity: Remember that cold weather can slow down curing. Hot weather can speed it up. Always follow the suggested temperature and humidity for the best results.
Tip: Avoid mistakes when mixing. Don’t forget to measure right or mix well. These mistakes can cause weak bonds and bad repairs.
Safety Tips
Be careful when handling epoxy to stay safe. Here are some important safety tips to follow while mixing:
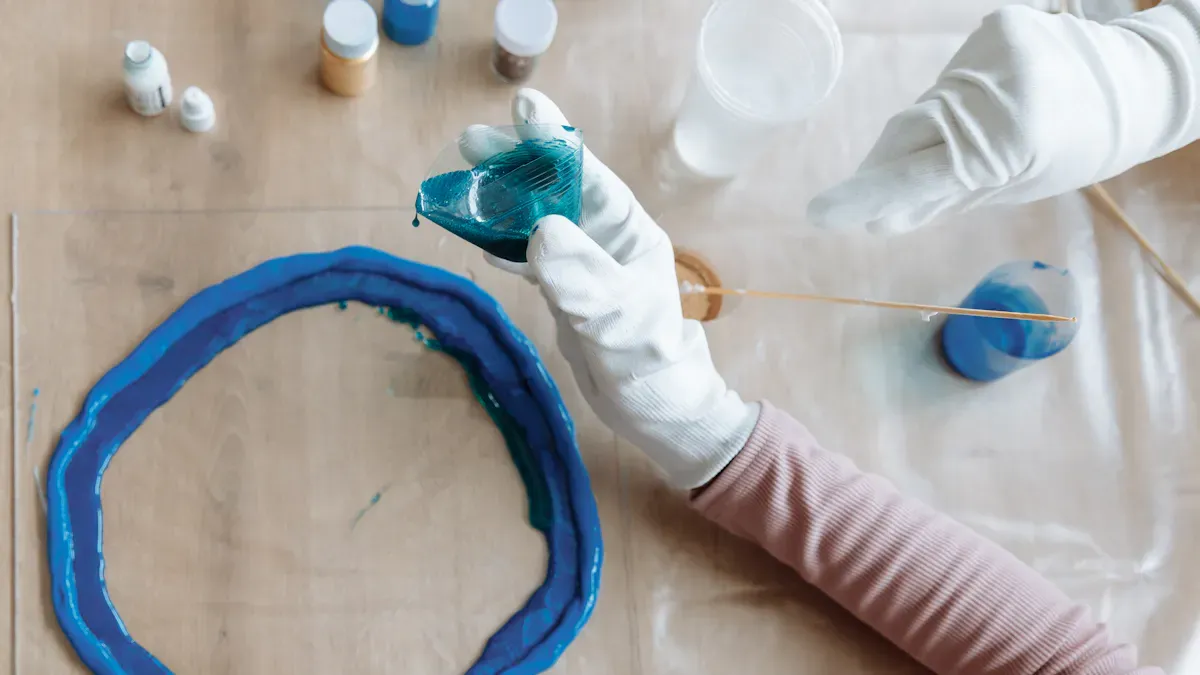
Wear Protective Gear: Always put on nitrile gloves made for resin. This helps stop skin irritation and allergies. Safety glasses or splash goggles are also important to protect your eyes from splashes.
Ensure Proper Ventilation: If you are inside, make sure the area has good airflow. If not, think about using a respirator with organic vapor filters to avoid breathing in harmful fumes.
Be Aware of Health Risks: Not handling epoxy correctly can cause health problems. Risks include skin irritation, allergic reactions, and serious eye irritation. Always keep safety first to avoid these issues.
By following these mixing ratios and safety tips, you can prepare your epoxy concrete patch well. This preparation is key for a strong bond to the old concrete and a successful repair.
Apply Patch
Application Techniques
When you put on the epoxy concrete patch, you want it to stick well and last a long time. Here are some good ways to do it:
Surface Preparation: Make sure the surface is clean and smooth. Get rid of any dirt like oil or grease that can stop it from sticking.
Remove Loose Concrete: Chip away broken concrete to find solid parts. This helps create edges that hold better.
Thoroughly Clean Dust: Use a vacuum and compressed air to get rid of dust. Dust can stop the epoxy from sticking to the concrete.
Ensure Dry Surface: Only put the repair material on dry concrete. Moisture can cause sticking problems.
Accurate Mixing: Follow the mixing ratio on the package exactly. This helps the epoxy cure and be strong.
Proper Application: Push the epoxy into the gaps firmly. This gets rid of air pockets and makes a strong bond.
Tip: For deeper repairs, put the epoxy on in layers. This helps avoid problems like heat buildup and shrinking.
Filling Cracks
Filling cracks well is very important for a good repair. Here’s how to do it:
Surface Preparation: Start by cleaning off any dirt and loose concrete. This makes a good surface for the epoxy.
Mixing: Measure the parts carefully and mix them well before the product’s time runs out. This makes sure the epoxy cures right.
Application: Push the epoxy into the crack. Get rid of air pockets and smooth the surface for a nice finish.
Curing and Finishing: Wait for the time needed to cure. If needed, grind or sand the surface for a shiny look.
Cutting square edges when applying is important. This helps the epoxy stick better and makes a smoother repair.
By using these methods, you can make a strong and lasting repair with your epoxy concrete patch.
Cure and Finish
Curing Time
After you put on the repair material, curing time is very important. This time helps create a strong bond. You can allow light traffic in just 6 to 12 hours under normal conditions. But for full use or chemical resistance, wait 24 hours to a few days.
Curing time can change based on temperature and humidity. Cold weather can make curing take longer. Hot weather can speed it up. High humidity can also affect curing and weaken the bond of the epoxy. Always check the weather before starting your project for the best results.
Final Touches
After the epoxy concrete patch has cured, you can add final touches to make your repair look better and last longer. Here are some steps to think about:
Inspect the Surface: Look for any bumps or areas that need smoothing. Use fine abrasive paper or a grinder to level the surface if needed.
Clean the Area: Get rid of any dust or debris from the surface. A clean area helps any extra coatings or sealers stick well.
Consider Sealing: Putting on a concrete sealer can protect your repair from moisture and stains. This step can help your patch last longer.
Regular Maintenance: To keep your repair looking nice, do regular maintenance. Sweep the area often and clean spills quickly to avoid damage.
By following these steps, you can make sure your epoxy concrete patch looks great and lasts for many years.
To sum it up, using an epoxy concrete patch has some important steps. First, clean and check the surface. Then, mix the epoxy the right way and remember safety tips. After that, put on the patch using good methods and fill any cracks well. Lastly, let it cure for enough time and add final touches. Each step is important to make sure your repair lasts.
Start your repair projects today. Following these steps will help you make strong and lasting repairs.
FAQ
What surfaces can I repair with epoxy concrete patch?
You can fix many cement surfaces like floors, driveways, and sidewalks. The epoxy patch is good for rough spots, holes, peeling, and potholes.
How long does it take for the epoxy patch to cure?
Curing time depends on the conditions. Usually, you can allow light traffic after 6 to 12 hours. For full use, wait 24 hours to a few days.
Can I apply epoxy concrete patch in wet conditions?
No, do not apply the epoxy patch when it’s wet. Moisture can weaken the bond and make the repair less effective.
How do I maintain my epoxy repair?
Regular maintenance means sweeping the area and cleaning spills quickly. You might want to use a concrete sealer for extra protection against moisture and stains.
Is it safe to use epoxy indoors?
Yes, you can use epoxy indoors. Make sure there is good airflow to avoid breathing in fumes. Wear protective gear like gloves and safety glasses while applying.
See Also
Choosing The Ideal Epoxy Patch For Your Concrete Needs
The Definitive Guide To Expertly Repairing Concrete Cracks
Comparing Epoxy And Latex For Effective Concrete Repairs
The Comprehensive Guide To Durable Cement Crack Sealing
Selecting The Right BANDě Compound For Your Patching Project