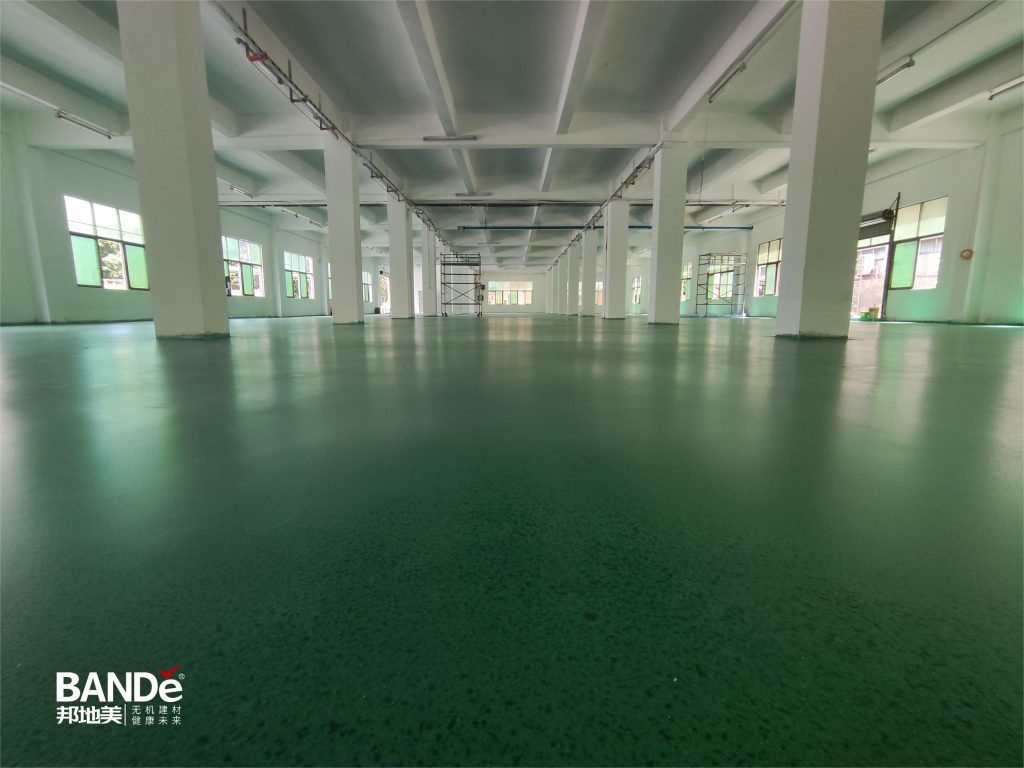

Resurfacing your concrete surfaces is important. It helps keep them looking good and working well. This includes your driveway, patio, or floor. Old concrete can make your property look less appealing. Using a concrete surface resurfacer not only improves the appearance but also saves money. It helps your surfaces last longer. Using a good resurfacer like BAND Shaving Agent makes it easier. This product sticks well and lasts a long time, ensuring your new surface endures. Additionally, resurfacing is a smart choice. It reduces waste and saves you money!
Key Takeaways
Clean your concrete surfaces well before resurfacing. This helps it stick better and last longer.
Fix any damage like cracks or rough spots first. Good repairs stop future problems.
Mix the resurfacer as the manufacturer says. Mixing well is important for a strong surface.
Apply the resurfacer in thin layers for a smooth finish. This method helps prevent bumps and makes it last.
Cure the resurfaced area by keeping it wet for a few days. This step is key for getting the best strength.
Surface Preparation
Before you start fixing your old concrete, it’s important to prepare the surface. This step makes sure your work will look good and last long. There are two main tasks: cleaning and fixing damaged spots.
Cleaning the Surface
First, clean the concrete really well. Remove dirt, grime, or junk that might mess up the resurfacing. A clean surface helps the new material stick better. Use a grinder or power washer to remove tough dirt. Wet sandblasting and washing work great. This method gets rid of laitance, which is a weak layer of cement and tiny particles. Doing this helps make resurfacing successful.
Tip: Don’t ignore dirt and junk. They can stop a strong bond and cause the resurfacing to fail early. Cleaning well is very important!
Repairing Damaged Areas
After cleaning, fix any damage. Cracks and rough spots need fixing before you resurface cracked slabs. Check the damage. See if any parts need replacing. For small bumps, self-leveling concrete is great. Fill deep cracks with epoxy or special stuff to stop water and more damage.
Here’s a quick guide to common problems and fixes:
Surface Deterioration: Clean, seal, and resurface.
Discoloration: Stain and seal.
Pitting: Fill with patching compound.
Cracking: Use epoxy injection.
Spalling: Resurface or use repair mortar.
Note: Not preparing the surface right is a common mistake. Make sure you clean and fix well to avoid problems later.
By doing these steps carefully, you make sure your resurfacing project lasts. Remember, a well-prepared surface is key to success. When you’re ready to apply the resurfacer, try BAND Shaving Agent for its great sticking and long-lasting results.
Applying Concrete Surface Resurfacer
When you are ready to use your concrete surface resurfacer, the next steps are very important. They help you get a smooth and strong finish. Let’s split it into two main parts: mixing the resurfacer and applying it well.
Mixing the Resurfacer
Mixing your resurfacer the right way is very important. If you don’t mix it well, you might have problems later. Here’s how to do it:
Follow Manufacturer Instructions: Always read the instructions on the BAND Shaving Agent package first. This helps you get the right mix and performance.
Use a Mixing Drill: A mixing drill with a paddle works best. It helps you mix without lumps.
Add Water Gradually: Pour the right amount of water into the container first. Then, slowly add the resurfacer powder while mixing. This helps stop clumping.
Mix Until Smooth: Keep mixing until it is smooth and lump-free. This step is very important because bad mixing can make it less strong and more likely to chip.
Tip: If you mix too much at once, you might waste some. Only mix what you can use in the time given by the manufacturer.
Application Techniques
Now that your resurfacer is mixed, it’s time to apply it. Here are some good techniques to make sure you get an even and strong finish:
Check the Slab Condition: Make sure your slab is damp but not wet before starting. This is called saturated surface dry (SSD).
Pour in Strips: Start by pouring a 1-foot strip along the longest edge of the slab. This helps you manage the material better.
Avoid Thick Layers: Instead of pouring a lot at once, apply several thin layers. This makes it easier to control and helps avoid uneven surfaces.
Use a Squeegee: Get a long-handled, stiff rubber squeegee. Pull the mix across the pour direction. This helps spread the resurfacer evenly.
Spread Lightly: Apply the material gently, pulling in one direction only. This stops overworking the mix, which can cause problems.
Consolidate Before Touching: Let the material settle after spreading before touching it again. This step is key to keeping the surface nice.
Clean Your Tools: Clean your squeegee often to stop dragging hard material through the wet mix. This keeps your application smooth.
Move Quickly: After spreading the first strip, quickly go to the next. This stops cold joints, which can weaken the bond.
Finish with a Broom: Lightly drag a broom across the surface to fix any small issues. This also helps make a non-slip finish.
Note: Temperature and humidity can change how you apply it. High heat may make the resurfacer dry too fast, while too much humidity can keep the slab too wet. Aim for a damp surface for the best results.
By following these steps, you will be ready for success with your resurfacing project. Remember, using a good product like BAND Shaving Agent can really help the final result.
Curing the Resurfaced Area
Importance of Curing
Curing your resurfaced concrete is very important. It helps make the concrete strong and durable. Good curing keeps enough moisture in the concrete. This helps it reach its full strength. If you skip this step, your slab might dry too fast. This can cause cracks and shrinkage on the surface. Using good curing methods is key to stopping long-term damage. It also makes your concrete surfaces last longer, especially in busy areas. Remember, proper curing stops cracks and helps with hydration. This is important for getting the best strength.
Curing Steps
To make sure your resurfaced area cures well, follow these steps:
Moist Curing: After the resurfacer hardens (usually 4-8 hours), lightly spray the surface with water. Cover it with plastic sheeting for at least 24 hours. Keep the plastic on and the concrete damp for 3-7 days.
Curing Compound: Use a liquid curing compound on the surface. This helps keep moisture in.
Allow Proper Curing Time: Always check the manufacturer’s instructions for how long to cure the resurfacing product you used.
Implement Effective Curing Techniques: Keep the resurfaced concrete surface lightly damp during the first curing period by misting or covering it with plastic.
By following these steps, you can make sure your resurfaced concrete lasts a long time. Good curing not only makes your slab look better but also helps it last longer. This is a smart investment for your property.
Tip: Look for signs of bad curing, like discoloration or crazing. If you see these problems, fix them right away to keep your resurfaced area strong.
Resurfacing your concrete surfaces might look hard, but it’s easy if you follow some steps. First, clean the surface really well and fix any damage. This helps the resurfacer stick better and last longer. Next, apply the resurfacer using the right methods to get a smooth finish. Lastly, don’t forget to cure the surface! Keeping it wet for a few days helps it get really strong.
By doing these steps carefully, you can get great results. Think about using BAND Shaving Agent because it sticks well and lasts a long time. It’s a smart choice for your resurfacing project!
FAQ
What is concrete resurfacing?
Concrete resurfacing means putting a new layer on old concrete. This makes it look better and work well. It helps surfaces look new and last longer.
How long does the resurfacing process take?
The whole resurfacing process can take a few days. This includes getting ready, applying, and curing. You should wait at least 3-7 days before using it heavily.
Can I resurface my concrete myself?
Yes, you can do it yourself! With good preparation and the right materials, like BAND Shaving Agent, you can get great results.
How do I know if my concrete needs resurfacing?
Check for signs like cracks, color changes, or holes. If your concrete looks worn or damaged, resurfacing can help fix its look and strength.
Is BAND Shaving Agent suitable for outdoor use?
Yes! BAND Shaving Agent works well for both inside and outside surfaces. Just don’t apply it on rainy days to make sure it sticks well and works great.
See Also
Top Concrete Sealers of 2025 for Surface Protection
Discover The 10 Most Effective Concrete Surface Sealers
How To Choose The Right Concrete Sealer For You