Rough concrete floors can pose significant challenges for homeowners, often manifesting as cracks, holes, or discoloration. These issues typically arise due to soil movement or freeze-thaw cycles. Addressing them is crucial for both aesthetics and safety. The good news is that many of these repairs can be tackled on your own! In ‘How to Fix Pitted and Rough Concrete Floors: The Ultimate Guide,’ you’ll discover simple DIY methods to restore your concrete surfaces. Prepare to transform your floors and enhance your living space!
Key Takeaways
Check the type and amount of damage first. This helps you pick the best way to fix it.
Use concrete grinding to smooth rough spots. Begin with medium grit and move to finer grit for a better finish.
Think about resurfacing choices like epoxy flooring for strength and looks. They can make your floors look nicer.
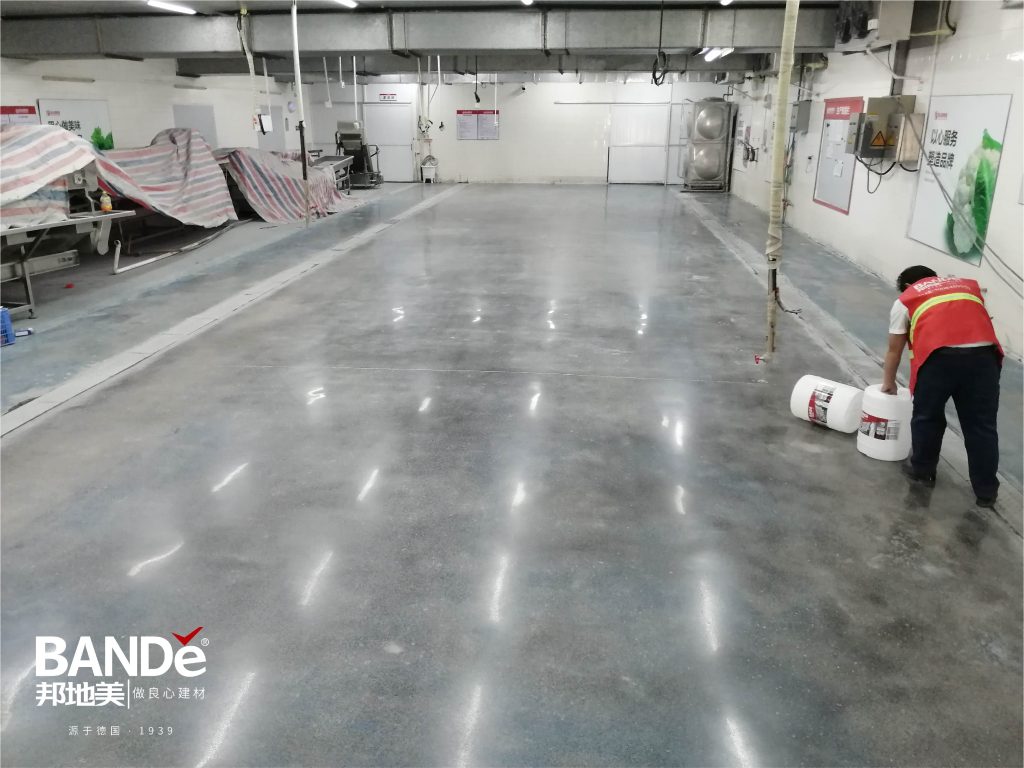
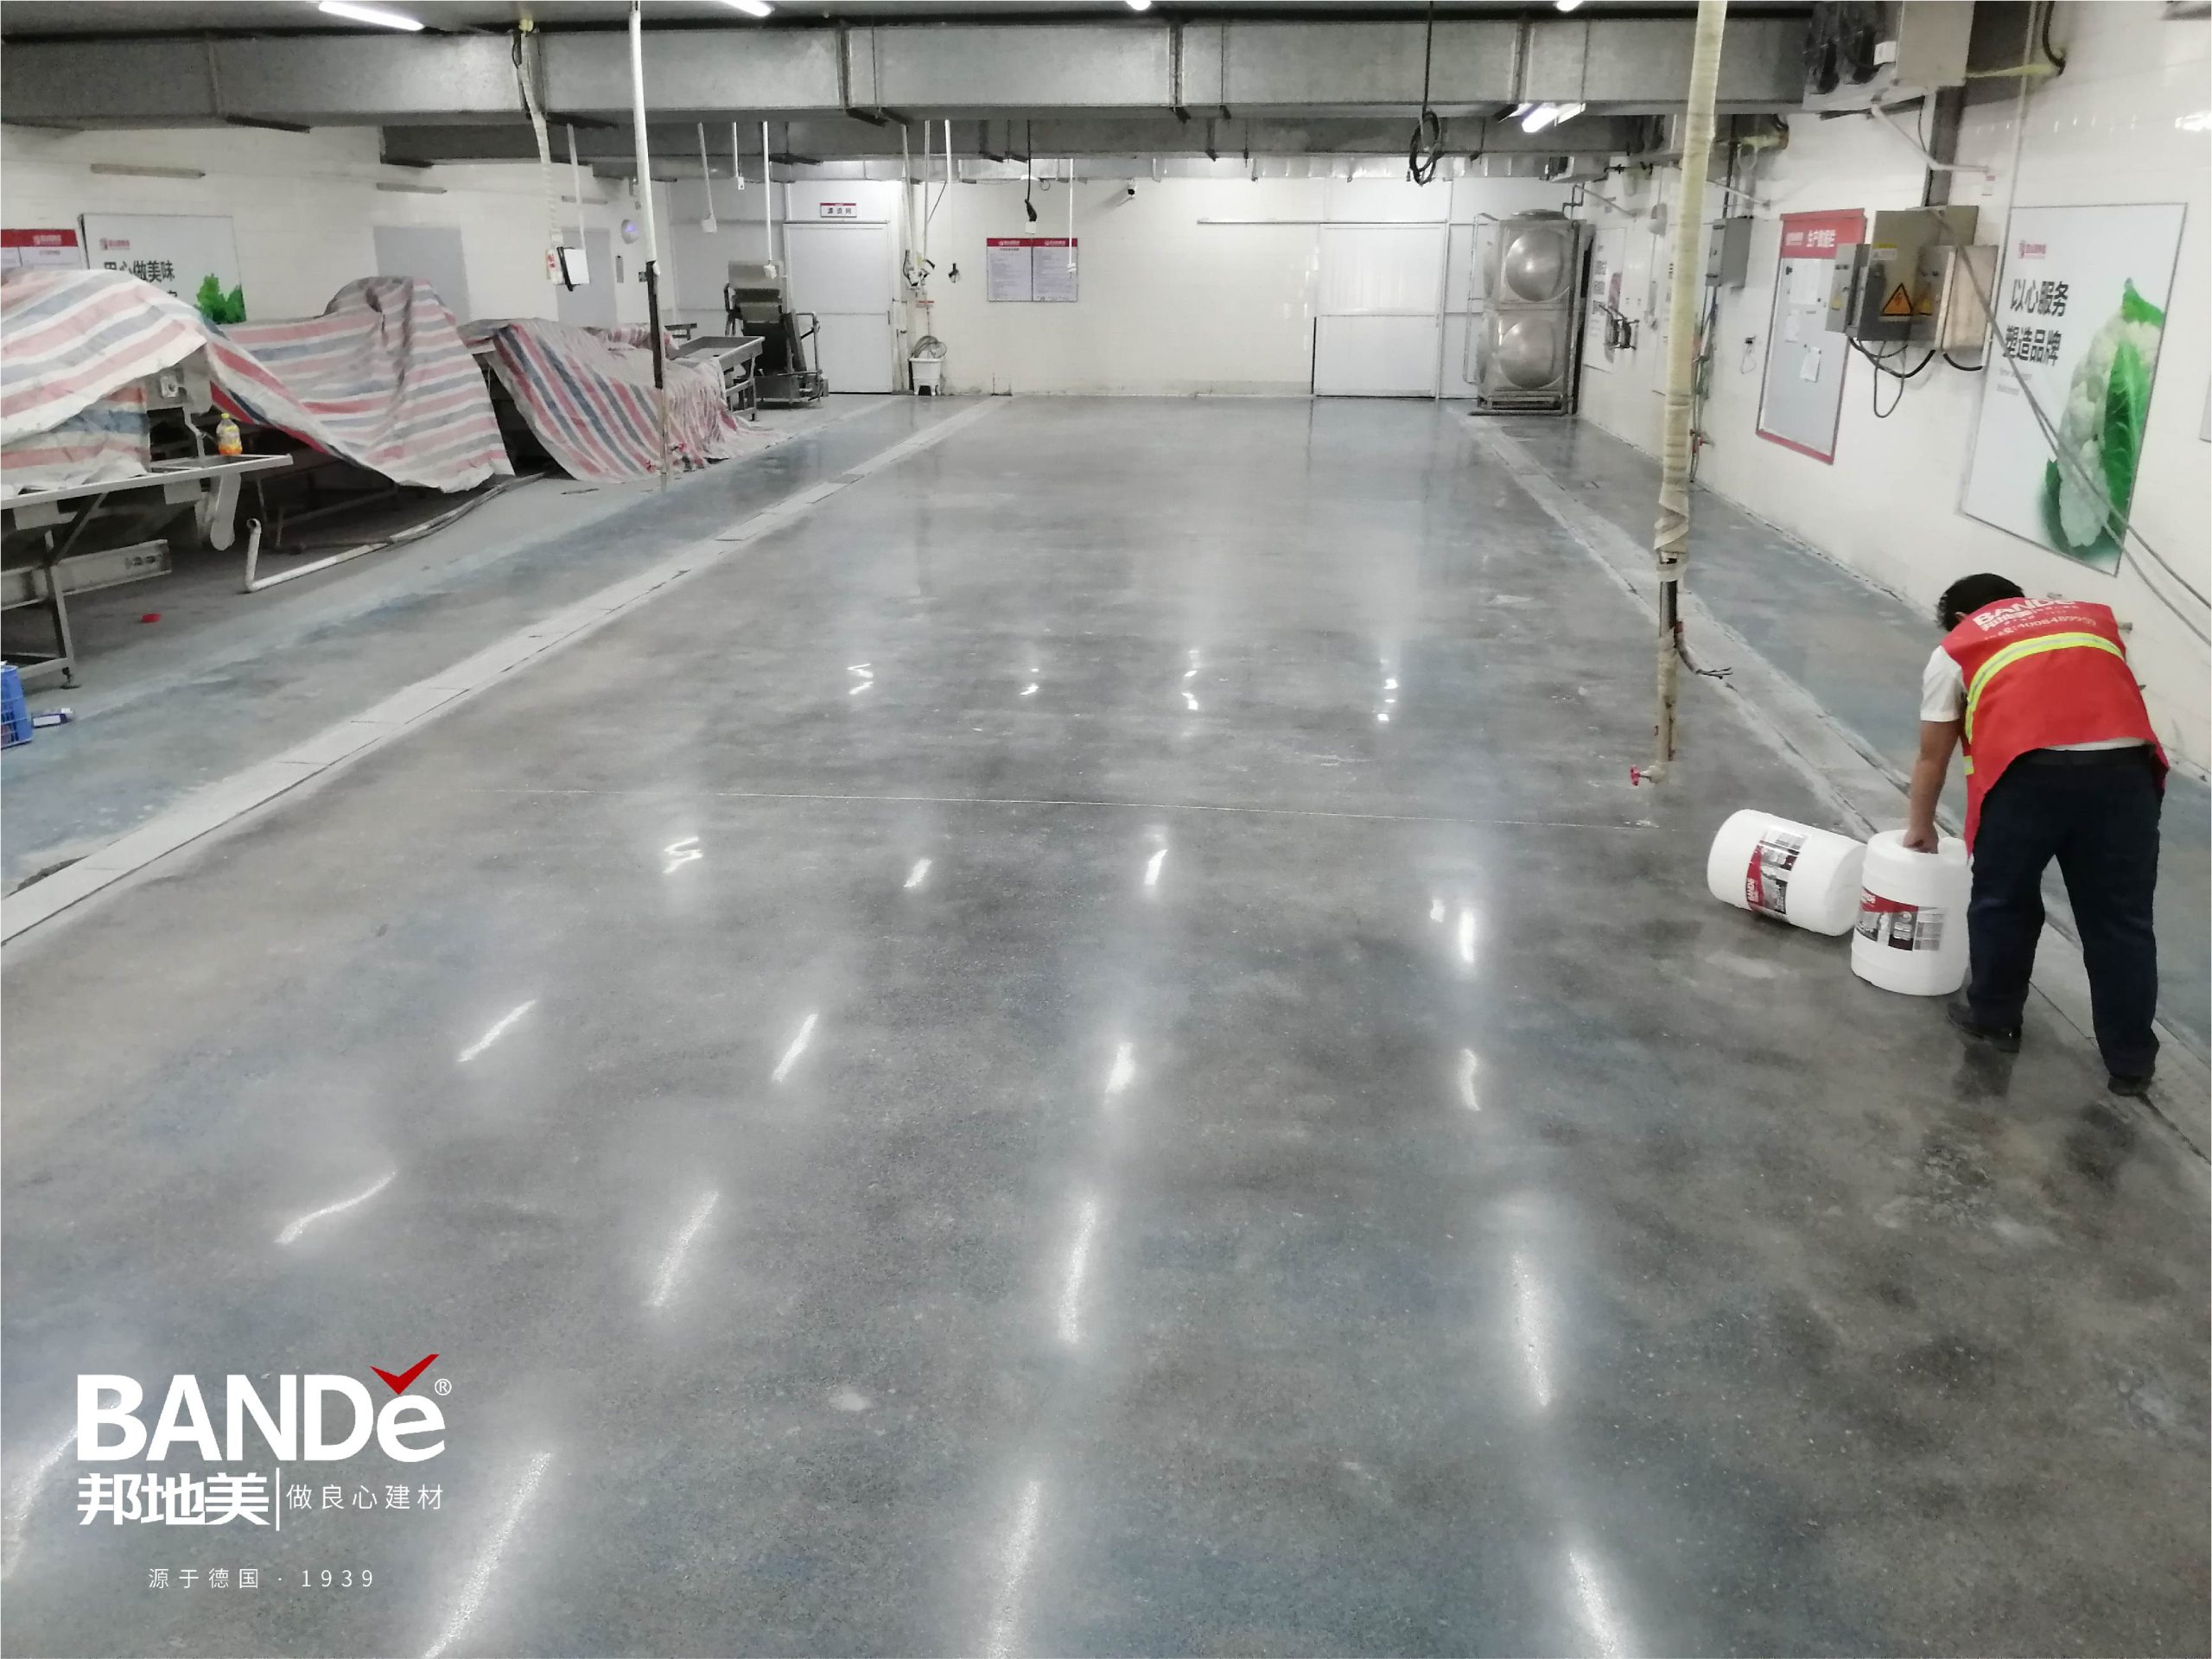
Pick good patching stuff like BANDě Shaving Agent for fixing. This makes sure repairs last a long time.
Regular care, like resealing, keeps your concrete floors looking nice and makes them last longer.
Understanding Concrete Issues
Common Causes
Rough concrete surfaces can form for many reasons. Knowing these causes helps you stop more damage and plan good repairs. Here are some common reasons:
Freeze-Thaw Cycles: Water gets into the concrete, freezes, and expands. This causes chips on the surface.
Poor Concrete Mix: If there is not enough water or air in the mix, it can lead to pitting.
Deicing Salts: These salts make the concrete absorb more water and chemicals, which speeds up damage.
Heavy Traffic: Constant use wears down the concrete, especially in busy areas.
Age and Neglect: Old concrete that is not sealed is more likely to pit.
Fixing these problems early can save you money later. For example, small joint repairs cost only a few dollars per square foot. But big repairs can cost ten to twenty times more.
Identifying Damage
Before you start fixing anything, you must find the damage correctly. A visual check is very important. Here’s how to check your concrete:
Crack Width: Measure the cracks. Use the table below to sort them:
Crack Width | Classification | Typical Cause |
|---|---|---|
< 0.1mm | Hairline | – |
0.1-0.3mm | Minor | – |
0.3-1.0mm | Moderate | Structural movement |
> 1.0mm | Severe | Possible structural issues |
Delamination Detection: Tap the surface with a hammer. Hollow sounds might mean there is damage inside.
Chemical Damage: Look for scaling from freeze-thaw cycles and discoloration from chemicals.
By spotting these problems, you can get your surface ready for repairs. Remember, preparing the surface well is key for successful repairs.
Repair Methods for Concrete
When you want to fix uneven concrete, there are many good methods to use. Each method works well in its own way. Let’s look at the best ways to repair your rough concrete floors.
Grinding Techniques
Concrete grinding is a common way to smooth rough surfaces. It uses special tools to take off the top layer of concrete. This shows a smoother layer below. Here are some good grinding techniques to think about:
Start with a medium-fine grit pad (80-120 grit) to show aggregate and make an even finish.
Move to finer grits (up to 3000 grit) for a shiny look.
Use densifiers or sealers for extra protection and shine.
Change the direction of each pass by 90 degrees for even coverage.
Use a scarifier or grinder with a diamond wheel to take off damaged concrete.
Fill any holes or cracks with the right patching material.
Keep your grinder moving back and forth or in circles to avoid staying in one spot too long.
Overlap each pass by about an inch for even results.
Grind wet when you can to control dust and keep pads cool.
Start with a coarse grit pad (30–40 grit) for uneven areas, then switch to finer pads (80–120 grit) for smoothing.
Grinding can cost between $4 and $8 per square foot. This depends on how bad the damage is and what services you pick. For home projects, expect it to take about 1 to 2 days.
Resurfacing Options
If grinding doesn’t fully work for you, resurfacing is another great choice. This method puts a new layer of concrete or a special resurfacing compound over the old surface. Here are some popular resurfacing options:
Epoxy Flooring:
Benefits:
Highly customizable
Resists chemicals
Limitations:
Sensitive to UV light
Takes a lot of work to install
Can crack
Polished Concrete:
Benefits:
Easy to maintain
Good for the environment
Saves money in the long run
Resurfacing can greatly improve how your concrete floors look and last. It’s a low-maintenance choice that needs cleaning now and then to keep it looking nice.
Concrete Patching Solutions
For small damage areas, concrete patching is a simple and effective way to fix things. You can use products like BANDě Shaving Agent for this. This cement-based repair material sticks well and lasts a long time. Here’s how to patch your concrete:
Clean the area well to get rid of dirt and debris.
Mix the BANDě Shaving Agent as the instructions say.
Put the mixture into the damaged area, making sure it fills all gaps.
Smooth the surface with a spatula for an even finish.
Let it cure according to the product guidelines.
Using good patching materials makes sure your repairs can handle heavy foot traffic and weather. Epoxy coatings, for example, are very strong and resist chemicals, making them great for busy places.
By picking the right method for your needs, you can fix uneven concrete and make your floors beautiful again.
Tools and Materials Needed
Essential Tools
When fixing concrete, having the right tools is very important. Here’s a list of tools you will need for your DIY concrete patching project:
Screeds: These help level the surface.
Trowels: Use a flat trowel for big areas and a margin trowel for small spots.
Bull Floats: They smooth out the surface after pouring.
Grinders: Great for making rough edges and surfaces smooth.
Dust Collection Systems: Keep your work area clean and safe.
Concrete Moisture Meters: Check if the surface is dry before using any products.
Tip: Always wear safety gear like gloves, goggles, and a dust mask when working with concrete. This protects you from dust and debris.
Recommended Products
For good concrete patching, use high-quality products. Here are some recommended choices:
BANDě Shaving Agent: This cement-based repair material sticks well and lasts long. It’s great for filling small holes and rough spots.
Sika® Level-01 Primer Plus: An acrylic primer that helps porous surfaces stick better.
SikaQuick®-1000: A fast-setting repair mortar that works well for quick fixes.
Flowtop: Perfect for resurfacing and leveling uneven areas.
Product Name | Description |
|---|---|
BANDě Shaving Agent | Strong bonding, waterproof, and long-lasting repair. |
Sika® Level-01 Primer Plus | Acrylic primer for better adhesion. |
SikaQuick®-1000 | Fast-setting repair mortar for quick applications. |
Flowtop | Excellent for resurfacing and leveling. |
Using these tools and products will help you get a smooth and strong finish on your concrete floors. Remember, preparation is very important, so take your time to clean and prepare the surface before using any patching materials.
Considerations Before Repairing
Height Issues
When fixing uneven concrete, height problems can happen. You want your repairs to match the surrounding areas. Here are some leveling methods to think about:
Slurry Grouting: This method uses a mix of water, cement, and small rocks. It fills gaps and supports the soil under your concrete. This way is less invasive and better for the environment than older methods.
Polyurethane Foam Injection: This method needs small holes drilled in the concrete slab. You inject foam that expands to lift and level the concrete. You can watch the process to make sure it spreads evenly and doesn’t lift too much.
Fixing height issues early can help you avoid problems later. If you don’t level your surfaces right, you might have uneven spots that can cause trips or drainage issues.
Durability Concerns
Durability is very important when fixing concrete floors. You want your repairs to last, so think about these things:
Environmental Factors: Big temperature changes can make concrete expand and shrink. This puts pressure on your repairs. A flexible latex filler works better in places with big temperature changes because it can move with the concrete. But epoxy can crack in very cold weather if the concrete shifts too much.
Moisture and Humidity: These factors are key to how long your repairs last. High humidity can affect how some fillers dry. You need to choose the right filler based on the weather. For example, epoxy stops water from getting through, making it great for wet areas. Latex fillers resist moisture but may not handle constant wetness as well as epoxy.
Common Durability Issues: Water getting in can cause freeze-thaw damage and efflorescence, which weakens concrete. Soil movement can create unsupported slabs, leading to cracks. Heavy loads can be too much for your concrete surfaces. Not curing properly can make weak, porous surfaces that break down early.
To make your repaired concrete floors last longer, think about these maintenance tips:
Check regularly to find and fix problems early.
Use coatings and membranes to protect against damage and wear.
Apply sealants for crack repair to stop water from getting in and causing more damage.
Protect reinforcing steel to stop rust, which is a common cause of concrete damage.
Investing in a good concrete floor repair and coating system is very important. These systems not only fix damage but also protect your floors from future wear. This saves you time and money on repairs.
To keep your polished concrete floor looking fresh, reseal it every few years. This regular sealing helps keep its shine all year long.
You’ve learned a lot about fixing rough concrete floors! DIY methods can help with small problems like hairline cracks and pitting. Here’s a quick summary of what you can do:
Assess the Damage: Find out what type and how bad the damage is before you start fixing it.
Choose the Right Method: Pick the best way to fix it, whether you grind, resurface, or patch.
Use Quality Products: Think about using BANDě Shaving Agent for strong and lasting repairs.
Remember, DIY repairs can save you money, but bigger issues might need a pro. Keep your concrete surfaces in good shape to avoid expensive repairs later. So, get ready and start those repairs today! 🛠️
Method | Cost Range | Durability & Precision | Long-term Costs |
|---|---|---|---|
DIY Repair | Not very durable | Might be higher | |
Professional | Higher initial cost | Very durable | Lower upkeep |
FAQ
What is the best way to fix pitted concrete floors?
For small pits, use concrete patching with products like BANDě Shaving Agent. For bigger areas, think about resurfacing or grinding to make it smooth.
How long does it take for concrete repairs to dry?
Concrete repairs usually take about 24 to 48 hours to dry. But to reach full strength, it can take up to 28 days. This depends on the product and the weather.
Can I put a sealer on after fixing my concrete?
Yes! Putting a sealer on after repairs protects your concrete from water and wear. Make sure the surface is completely dry before sealing for the best results.
Do I need to grind concrete before resurfacing?
Grinding isn’t always needed, but it can help get rid of rough spots. It also helps the new layer stick better. It’s a good idea if your concrete has a lot of damage.
How do I take care of my repaired concrete floors?
To keep your repaired concrete floors looking nice, clean them regularly and reseal them every few years. Check for cracks or damage often and fix them quickly.
See Also
Essential Tips for Choosing the Right Concrete Sealer
Comprehensive Steps for Polishing Concrete with BANDě Solutions
Discover the Advantages of BANDě Polished Concrete Floors
Choosing the Ideal Concrete Floor Hardener for 2025
Complete Guide to Effective Concrete Crack Repair Techniques