When you do repairs, heavy-duty patching paste helps a lot. This paste makes your repairs last longer and work better. First, clear away any debris before you apply it. Then, press the material down well to make it stick. Keeping the right temperature while applying it also helps. Using a sealcoat regularly can protect your repairs from damage. With these tips, you can get strong results that keep your surfaces looking good for many years.
Key Takeaways
Clean your surface very well. This helps the patch stick better and last longer.
Apply thin layers of heavy-duty patching paste. This helps it dry better and stops cracks. Let each layer dry fully before adding more.
Follow the instructions from the manufacturer for mixing and using the patching compound. This helps you get the best results.
Sand the surface after the patch dries. This makes it smooth and easier to paint. It also improves how it looks.
Check the weather conditions like temperature and humidity. These can change how long it takes to dry and how good your repair is.
Tools & Materials
Essential Tools
To apply heavy-duty patching paste well, you need some important tools. Here’s a list to help you get ready:
Trowel: This helps spread the patching paste evenly.
Putty Knife: A smaller knife is good for detailed work and smoothing edges.
Mixing Bucket: You need this to mix the BANDě Concrete Patching Compound with water.
Sponge or Cloth: Keep these close for cleaning up spills or extra paste.
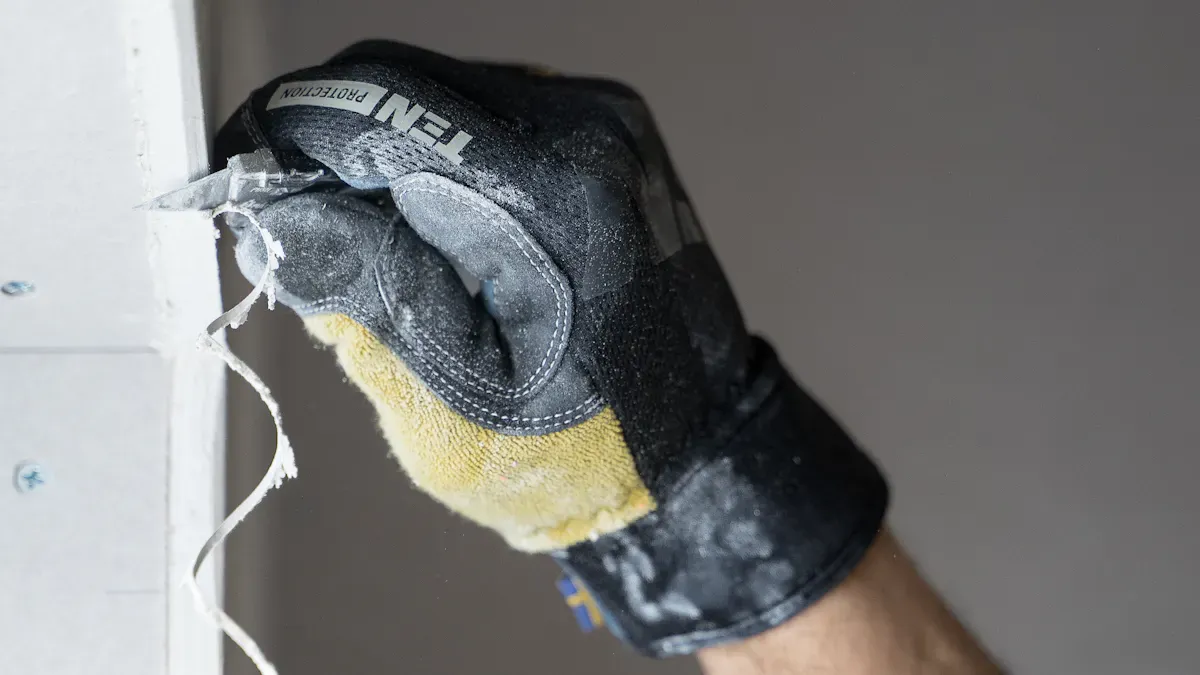
Safety Gear: Always wear gloves and a mask to stay safe from dust and chemicals.
Recommended Materials
For materials, the BANDě Concrete Patching Compound is the best choice. This product is made for quick and effective repairs on cement surfaces. Here are some key features of BANDě:
Quick Curing Time: You can finish your project faster, saving money on labor.
Durability: BANDě is very strong, making it great for busy areas.
Versatility: This compound works well for many flooring needs, like potholes and rough spots.
Using BANDě Concrete Patching Compound gives you long-lasting results. It needs less care than other brands and is a better value over time. You will see that it sticks well and lasts through wear.
Tip: Always read the product instructions for mixing ratios and application methods to get the best results.
By gathering these tools and materials, you prepare yourself for a successful repair job.
Surface Preparation
Cleaning the Surface
Before you use heavy-duty patching paste, clean the surface well. Good cleaning helps the paste stick better and last longer. Things like dust, grease, or old paint can make the bond weaker. Here are some good ways to clean:
Method | Description |
|---|---|
SSPC-SP1 Solvent Cleaning | This method removes oil, grease, and other dirt using different solvents. Dust must be taken off before and after cleaning. |
SSPC-SP2 Hand Tool Cleaning | This uses hand tools to get rid of loose rust, paint, and other stuff, making sure the surface is clean for sticking. |
SSPC-SP3 Power Tool Cleaning | This uses power tools to clean like hand tools, but you must be careful not to damage the surface. |
Research shows that cleaning products can make the bond stronger. Following specific cleaning steps can lead to better bonding results. For example, using products like ZirClean, Ivoclean, or Katana Cleaner gave bond strength similar to clean surfaces. This shows how important it is to clean well before using the patching paste.
Priming the Area
After cleaning, priming the area is very important for good sticking. Priming makes a good surface for the heavy-duty patching paste. You might need to use moisture or interface agents based on the product instructions. These agents help the paste stick better, making a strong and lasting repair.
Not preparing the surface well can cause weak sticking and shorter life for the patching paste. For example, dirty surfaces from release agents can weaken the bond and affect how long it lasts. Chemical dirt can also cause failures, which means the patching paste won’t last as long. On the other hand, using good surface preparation can improve sticking and life by about 35%.
Tip: Always follow the manufacturer’s instructions about moisture or interface agents. This step is very important for getting the best results with your heavy-duty patching paste.
By taking time to clean and prime the surface well, you prepare for a successful repair job.
Applying Heavy-Duty Patching Paste
Step-by-Step Instructions
To use heavy-duty patching paste well, do these steps:
Preparation and Surface Setup: First, make sure your surface is flat and clean. Get all the tools and materials ready, like the BANDě Concrete Patching Compound. Use a lint roller or cloth to clean the area well.
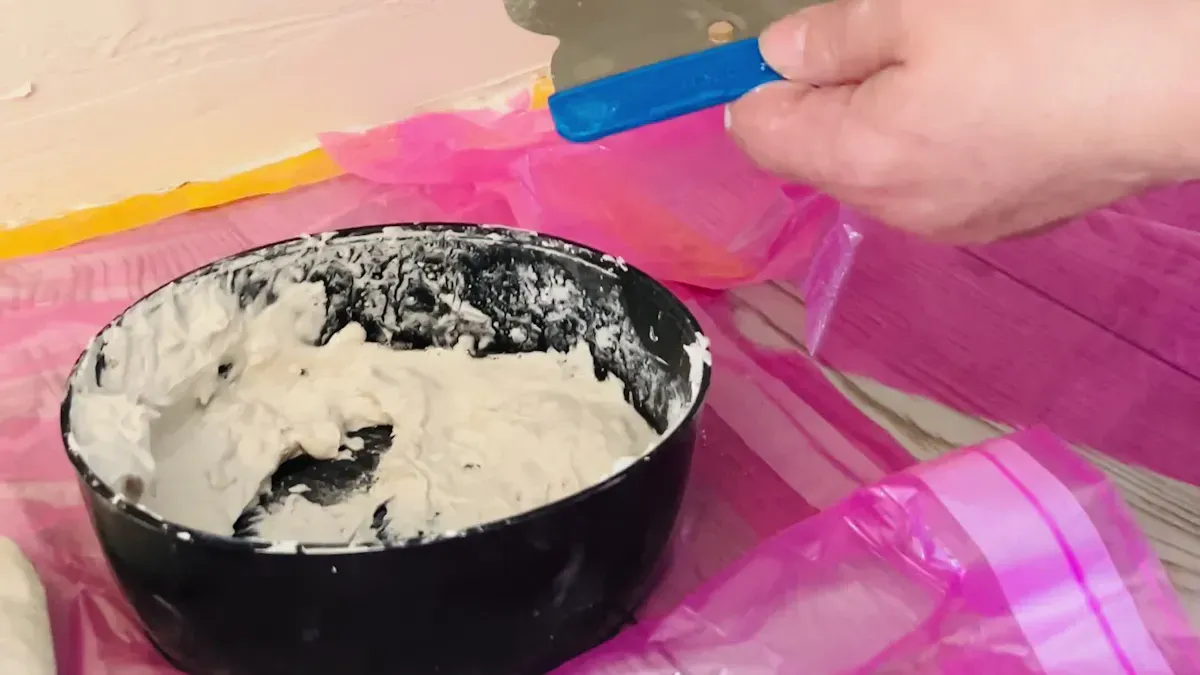
Mix the Patching Compound: In a mixing bucket, mix the BANDě Concrete Patching Compound with water. Follow the instructions on the package. Stir it until it is smooth and has no lumps.
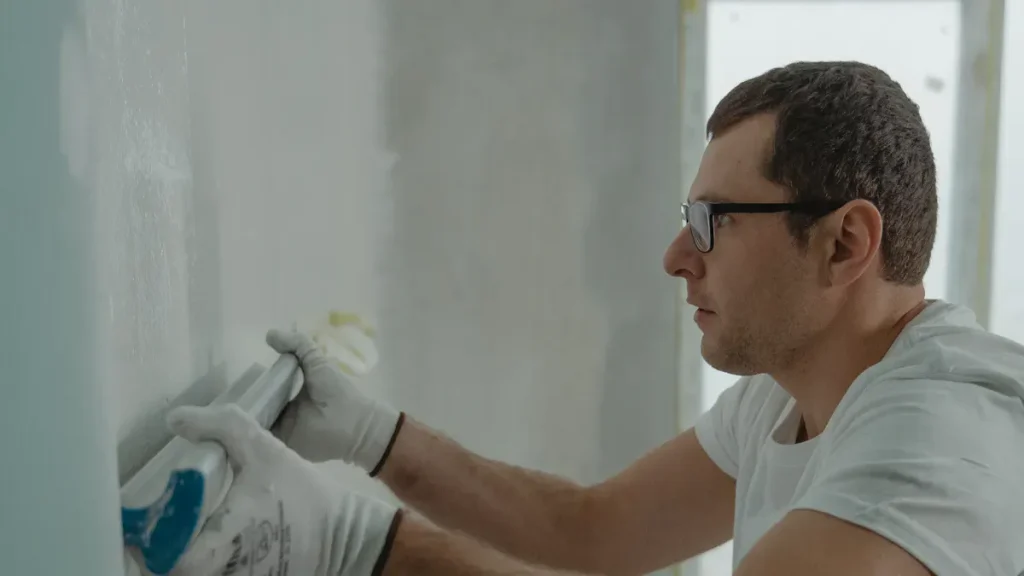
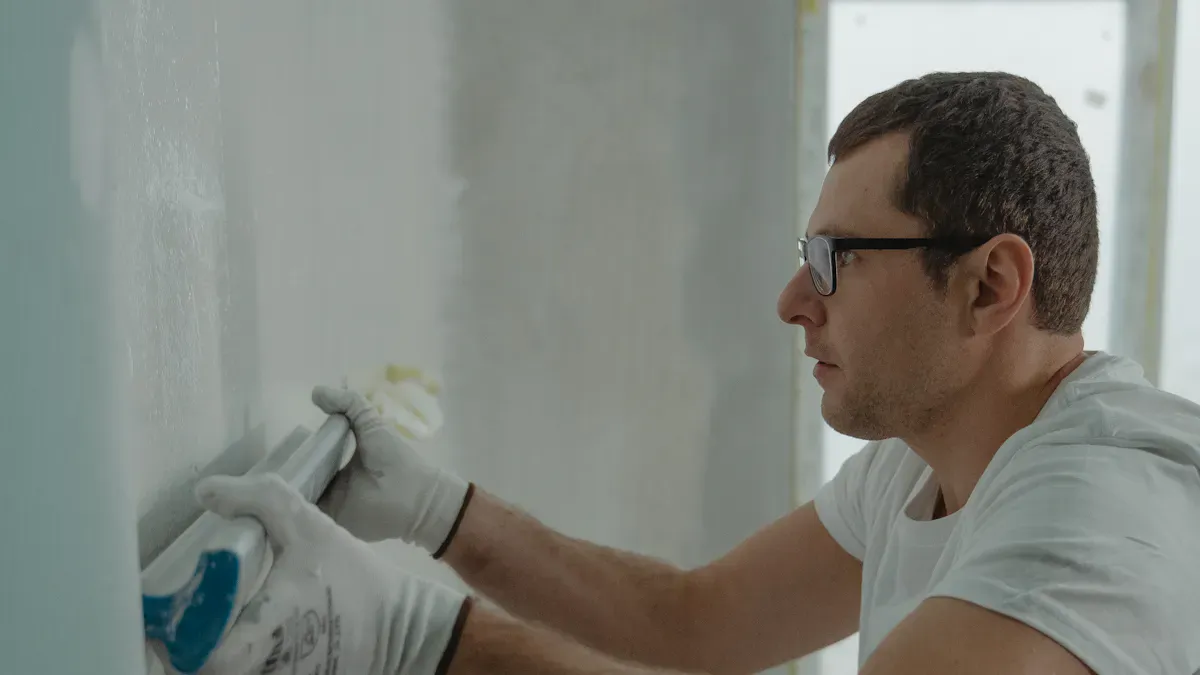
Apply the First Layer: With a trowel, spread a thin layer of the patching paste on the damaged spot. Pay attention to the edges for a strong bond. Thin layers dry better and stop cracks.
Allow for Drying Time: Let the first layer dry completely. This can take 24 to 48 hours, depending on the weather. Keep the area still during this time.
Apply Additional Layers: If needed, add more thin layers of patching paste. Let each layer dry before adding the next one. This helps with sticking and makes it last longer.
Final Touches: After the last layer dries, lightly sand the surface with fine-grit sandpaper. This makes it smooth and ready for painting or sealing later.
Tips for Even Application
To get a smooth finish with heavy-duty patching paste, pay attention to details. Here are some helpful tips:
Gather Materials: Collect everything you need before starting. This keeps you from stopping and helps you work better.
Clean the Area: Make sure the surface is clean and dry. A clean surface helps the paste stick better and gives good results.
Use Multiple Coats: Apply several thin coats instead of one thick one. This stops cracks and helps with drying.
Sanding: After the last coat, lightly sand the surface. This helps make it smooth and easier to paint or seal.
Avoid Common Mistakes: Don’t skip the primer layer, apply on wet surfaces, or mix partial batches wrong. These mistakes can cause poor sticking and longer drying times.
By following these steps and tips, you can successfully apply heavy-duty patching paste for a strong and lasting repair.
Drying & Curing Times
Understanding Drying Stages
When you use heavy-duty patching paste, knowing the drying stages is very important. The drying process has three main stages:
Initial Set: This happens soon after you apply it. The paste starts to harden but is still soft enough to leave a mark with your finger.
Final Set: After a few hours, the paste hardens more. It can hold light foot traffic but is not fully cured yet.
Curing: This stage can take up to a week or more. During curing, the paste gets its best strength and durability.
Factors Affecting Drying Time
Many things can change how fast your heavy-duty patching paste dries. Here are some important points to think about:
Temperature: The best temperatures for curing are between 10°C and 25°C. High temperatures can make water evaporate too fast, which means it won’t hydrate well. Cold temperatures slow down the chemical reactions, making it take longer to set.
Humidity: High humidity can slow down drying, while low humidity can speed it up. Using fans or dehumidifiers can help when it’s humid.
Layer Thickness: Thinner layers of paste dry faster and bond better. Thicker layers take longer to dry and might crack.
Environmental Factor | Effect on Drying Time |
|---|---|
High Humidity | Slows drying |
Warm, Dry Air | Speeds up curing |
Thin Layers | Dries faster |
You should also look for signs that show your patch is fully cured and ready for sanding or painting. Here are some signs to check:
Sign of Curing | Description |
|---|---|
Drying Time | At least a week, preferably longer |
Surface Appearance | Slight bump above the surrounding area |
By paying attention to these factors, you can make sure your application of heavy-duty patching paste is successful.
Finishing Touches
Sanding the Surface
After the heavy-duty patching paste dries, you need to sand it. This makes the surface smooth and even. Here are some tips for good sanding:
Start with coarse sandpaper (about 80-grit) to level the area.
Move to finer grit (120 or 150) for a smooth finish.
Use a sanding block or pole sander for even results.
Make sure the area is well-ventilated and wear a mask to avoid dust.
Wipe the surface with a damp cloth after sanding to remove dust.
For small areas, a hand sander or sanding block works well. For larger surfaces, use the Mirka® LEROS Electric Sander for comfort and speed. The Mirka® DEROS electric sander is great for tight spaces, giving smooth, controlled sanding.
Painting Over the Patch
Once the surface is smooth, you can paint over the patch. This step makes it look better and protects the repair. Here’s how to do it right:
Choose the Right Paint: Pick a paint that matches the area. Use high-quality exterior or interior paint based on where the patch is.
Apply a Primer: If the patch is big or if you used a different material, put on a primer first. This helps the paint stick better and improves the look.
Use a Brush or Roller: Apply the paint with a brush or roller. A brush gives more control for small areas. A roller covers larger areas quickly.
Allow for Drying Time: Let the paint dry completely before adding a second coat. This ensures an even finish and better durability.
Getting a smooth finish is important for looks and lasting quality. A well-sanded and painted patch blends in with the surface, making your repair hard to see.
Tip: Always check the manufacturer’s instructions for drying times and application methods. This helps you get the best results for your project.
Troubleshooting Issues
Identifying Problems
When you use heavy-duty patching paste, you might face some common problems. Spotting these issues early can help you fix them better. Here are a few problems to look out for:
Cracks in the Patch: These can show up if the paste dries too fast or if you put it on too thick.
Poor Adhesion: If the patch does not stick well, dirt or moisture might have gotten on the surface.
Uneven Surface: This can happen if you do not spread the paste evenly or if you forget to sand between layers.
Solutions and Tips
You can fix these problems with some easy solutions. Here are some tips to help you make a good repair:
For Cracks: Use products like CrackWeld® Concrete Floor Repair Kits for small cracks. This kit makes a strong bond and stops further widening. For bigger cracks, try the ElastiPoxy® Joint & Crack Filler Kit. This option allows for slight movement while sticking well and resisting moisture.
For Poor Adhesion: Make sure to clean the surface well before putting on the patching paste. If you see poor adhesion, you might need to take off the patch and start again. Always follow the manufacturer’s instructions for preparing the surface.
For Uneven Surfaces: Put the patching paste on in thin layers. This method helps avoid unevenness and allows for better drying. After the last layer dries, sand the surface lightly to make it smooth.
Tip: Always check the weather conditions. High humidity or extreme temperatures can change how the paste dries. Change your application method as needed to get the best results.
By spotting these common problems and using the right fixes, you can improve the strength and look of your repairs.
Using heavy-duty patching paste needs careful attention. Follow these important steps for good repairs:
Choose the right mortar for what you need.
Clean the area well by removing old materials.
Give enough curing time to make it strong and last.
To make your repairs last longer, think about these maintenance steps:
Maintenance Step | Description |
|---|---|
Check for Damage | Knowing why damage happened helps stop future problems and makes repairs last longer. |
Clean the Surface | Taking off all damaged concrete gives a strong base for the repair material to stick well. |
Making sure the repair material cures right is key for its long-term strength and durability. |
Use these techniques with care. Your focus on details will give you lasting results.
FAQ
What surfaces can I use heavy-duty patching paste on?
You can use heavy-duty patching paste on cement-based surfaces. It works well for repairing rough spots, potholes, and peeling areas.
How long does it take for the patching paste to dry?
Drying time varies. Typically, the initial set takes a few hours, while full curing can take up to a week. Always check the product instructions for specifics.
Can I paint over the patch after it dries?
Yes, you can paint over the patch once it dries completely. Make sure to sand the surface for a smooth finish before applying paint.
How do I know if the patch is fully cured?
Check for a dry, solid surface that feels firm to the touch. It should not leave any marks when you press on it lightly.
What should I do if the patch cracks?
If cracks appear, you may need to apply another layer of patching paste. Ensure you follow proper application techniques and allow adequate drying time.
See Also
The Definitive Guide to Effective Concrete Crack Repair
Choosing the Right BANDě Concrete Patch for Your Needs
Essential Concrete Patching Compounds to Consider in 2025