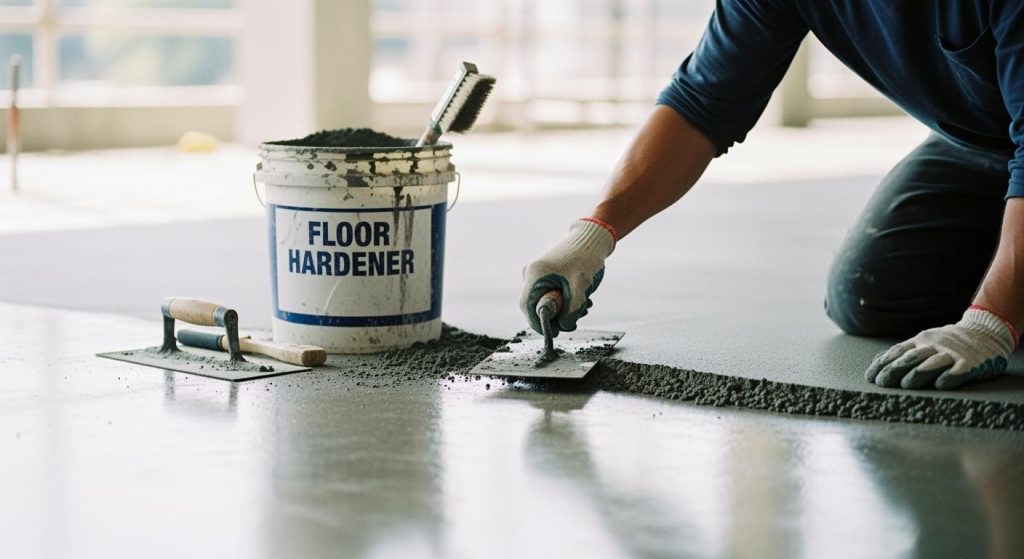

Floor hardeners play a vital role in improving the durability of concrete surfaces. They enhance resistance to heavy loads, abrasion, and liquid spills, making them ideal for industrial environments. By reducing dust and simplifying maintenance, a floor hardener ensures long-term cost savings. Applying concrete floor hardener properly maximizes these benefits effectively.
Key Takeaways
Clean the concrete surface thoroughly before applying a floor hardener. This ensures proper adhesion and maximizes effectiveness.
Choose between dry-shake and liquid hardeners based on your needs. Dry-shake hardeners are great for high-traffic areas, while liquid hardeners work well on both new and old surfaces.
Regular maintenance, including sweeping and scrubbing, keeps your floor looking good and extends its life. Use mild detergents to avoid damaging the hardener.
Preparation
Cleaning the Surface
Before applying a floor hardener, you must ensure the concrete surface is clean. A clean, dry, and structurally sound substrate is essential for proper penetration and adhesion of the floor hardener. Contaminants such as dirt, oil, grease, and existing surface treatments can hinder the performance of the hardener. If you neglect this step, the effectiveness of the hardener may diminish significantly.
To achieve a contaminant-free surface, follow these steps:
Remove any debris, dust, or loose particles.
Use a pressure washer or scrubber to eliminate stubborn stains.
Allow the surface to dry completely before proceeding.
Leveling the Concrete
Proper surface leveling is crucial for the effective incorporation of floor hardeners into the concrete. An uneven surface can lead to inconsistent hardener application, which may affect the overall durability of the floor. After applying the floor hardener, you must level and smooth the surface again to ensure proper impregnation of the hardener.
Here are some tips for leveling your concrete:
Use a screed board to level the surface.
Fill in any low spots with additional concrete mix.
Ensure the surface is smooth and even before the hardener application.
By taking these preparation steps seriously, you set the foundation for a successful floor hardener application, enhancing the longevity and performance of your concrete surface.
Types of Floor Hardeners
When selecting a floor hardener, you have two primary options: dry-shake hardeners and liquid hardeners. Each type has unique properties and applications that cater to different needs.
Dry-Shake Hardeners
Dry-shake floor hardeners consist of a blend of quartz silica, Portland cement, and various additives. You apply them by sprinkling the powder onto freshly placed concrete. This method allows the hardener to bond monolithically with the base concrete as it hardens.
Use Cases:
Dry-shake hardeners enhance wear resistance, making them ideal for high-traffic areas.
They also help mitigate common issues associated with plain concrete, such as dusting and high liquid absorption. By improving abrasion resistance, they reduce surface permeability, which is crucial in industrial settings.
Liquid Hardeners
Liquid floor hardeners are formulated as a liquid that penetrates the concrete surface. They react with free lime in the concrete to form calcium silicate hydrate (CSH) gel, which strengthens the concrete from within.
Use Cases:
Liquid hardeners are suitable for both new and existing concrete surfaces. They provide a protective layer that enhances durability and reduces maintenance needs.
These hardeners are particularly effective in environments where moisture resistance is essential.
Type of Floor Hardener | Composition Details |
|---|---|
Dry-Shake Floor Hardener | Composed of quartz silica, Portland cement, and additives; applied by sprinkling on fresh concrete. |
Liquid Floor Hardener | A liquid that penetrates concrete, reacts with free lime to form calcium silicate hydrate (CSH) gel. |
Both types of floor hardeners adapt well to tropical climates. Their formulations withstand high temperatures and humidity, ensuring long-lasting performance in challenging conditions.
Type of Floor Hardener | Application Method |
|---|---|
Dry-Shake Floor Hardener | Powder is sprinkled on fresh concrete. It bonds monolithically with the base concrete as it hardens. |
Liquid Floor Hardener | Liquid is sprayed or rubbed onto the concrete surface. It seeps into pores and reacts to form a gel. |
By understanding the differences between dry-shake and liquid hardeners, you can make an informed decision that best suits your flooring needs.
Application Process
Tools Required
To achieve optimal results when applying a floor hardener, you need specific tools. These tools ensure proper application and enhance the effectiveness of the hardener. Here’s a list of essential tools for the process:
Surface Preparation Tools: Use brooms, vacuums, or pressure washers to clean the concrete floor of dirt and dust.
Mixing Tools: A mixing paddle or drill is necessary for combining the floor hardener powder with water or solvent.
Application Tools: Depending on the type of hardener, you may need a hand-held applicator or a mechanical sprayer for even distribution.
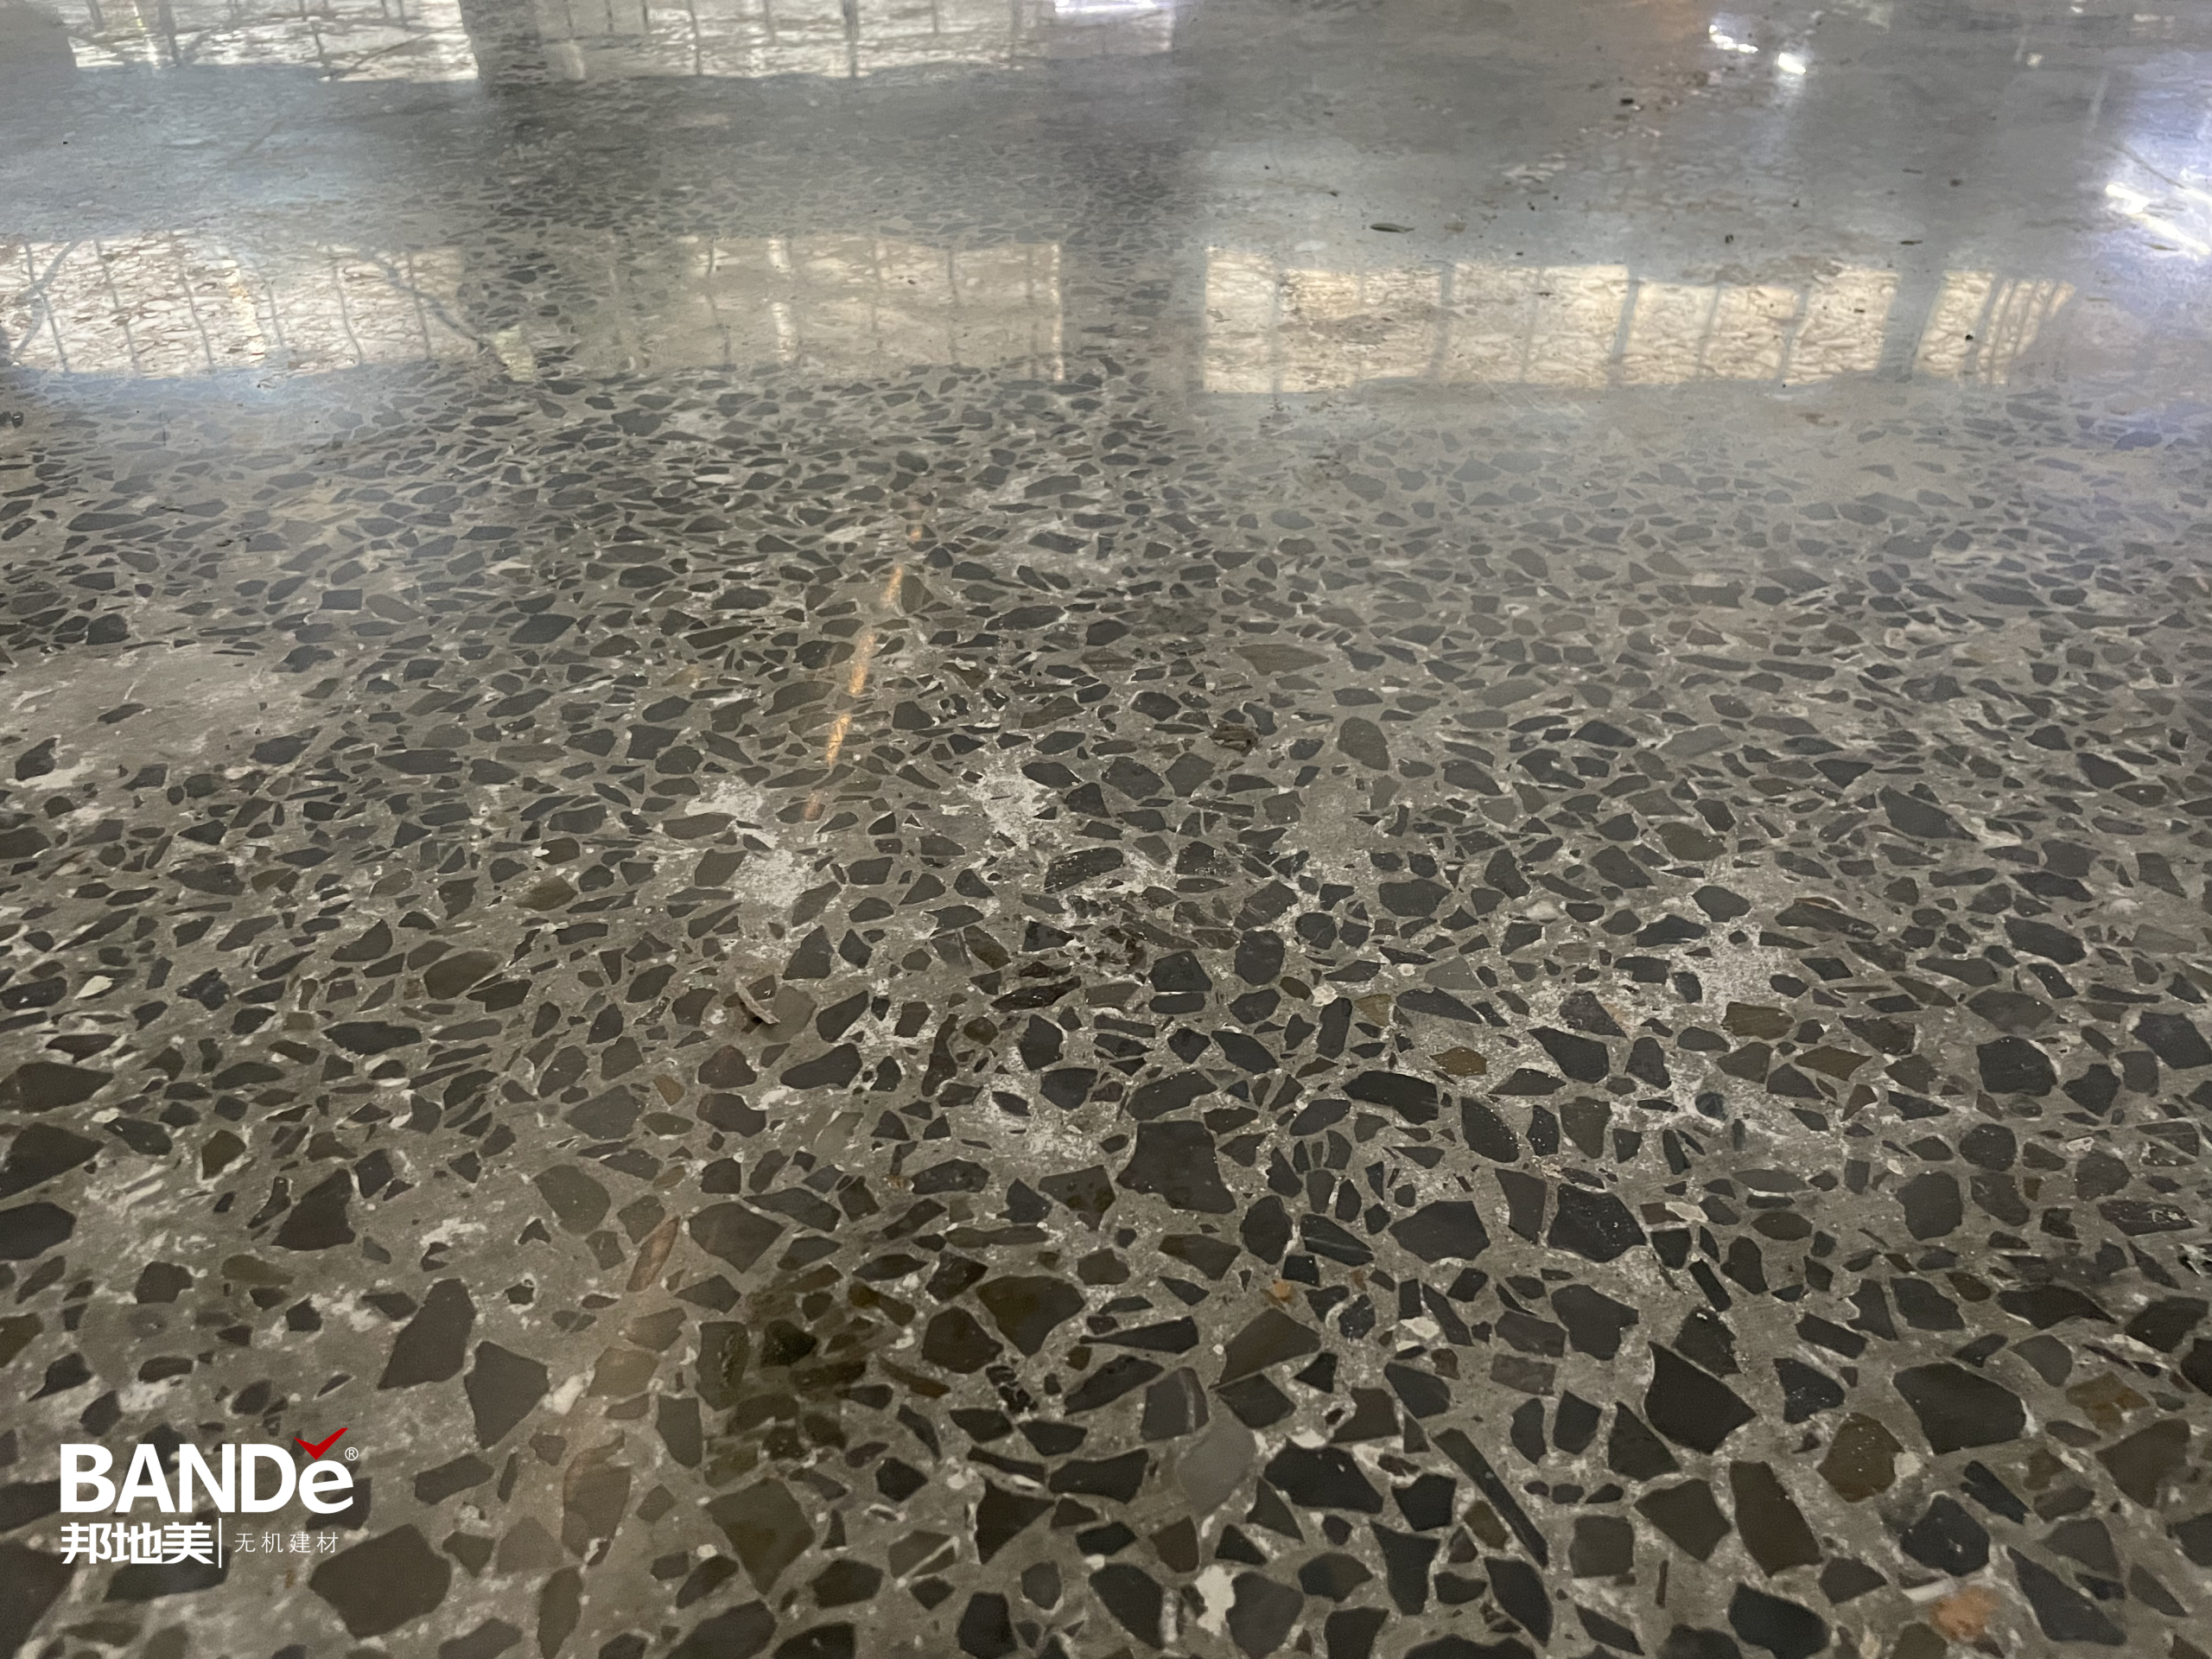
Compacting Tools: A concrete polishing machine helps compact the surface, ensuring the hardener penetrates effectively.
Techniques for Even Distribution
Achieving an even distribution of the floor hardener is crucial for maximizing its benefits. Here are some techniques to ensure uniform application:
For dry-shake hardeners, apply the compound as a dry powder onto freshly placed concrete surfaces. You can do this by hand or mechanically.
If applying by hand, wait until the concrete has set slightly before floating it. This timing allows the hardener to bond effectively.
For mechanical application, do this immediately after placing the concrete, before it sets. This method ensures a consistent layer.
Aim for a final thickness of the dry shake finish between 2 to 3 mm. Adjust application rates based on the bulk density of the dry shake and the intended use of the floor.
Curing Time
Curing time is essential for the floor hardener to achieve its full potential. Proper curing allows the hardener to bond with the concrete, enhancing its hardness and durability. Here are some guidelines for curing:
Allow the floor hardener to cure for at least 24 to 48 hours before subjecting it to foot traffic. This period ensures that the hardener has adequately penetrated the surface.
Monitor environmental conditions, as high temperatures and humidity can affect curing times. Ensure the concrete surface remains moist during the curing process to prevent cracking.
After the initial curing period, you can begin light use of the floor. However, avoid heavy loads for at least a week to allow the floor to reach its maximum strength.
By following these steps, you can effectively apply floor hardeners, ensuring increased strength, abrasion resistance, and a long service life for your concrete surfaces.
Post-Application Care
After applying a floor hardener, proper maintenance is essential for ensuring long-lasting results. Regular care not only enhances the appearance of your concrete surface but also extends its durability. Here are some key practices to follow:
Routine Cleaning: Regularly sweep or vacuum the floor to remove dust and debris. This prevents dirt accumulation, which can lead to surface deterioration over time.
Floor Hardener Scrubbing: Incorporate scrubbing into your cleaning routine. This practice significantly enhances the cleanliness of your floor hardener surfaces. It removes stubborn stains and grime, ensuring a pristine look. Additionally, scrubbing contributes to the durability of the surface by maintaining its strength and preventing deterioration from environmental factors.
Tip: Use a mild detergent with warm water for scrubbing. Avoid harsh chemicals that may damage the hardener.
Periodic Inspections: Check for any signs of wear or damage. Early detection allows for timely repairs, which can save you from costly replacements later.
By following these maintenance practices, you can ensure that your floor hardener remains effective and visually appealing. Regular floor hardener scrubbing not only keeps your surface clean but also reinforces its abrasion resistance, making it a smart choice for high-traffic areas.
Using floor hardeners significantly enhances your concrete surfaces. They improve durability, reduce maintenance, and increase resistance to wear. By following the outlined steps for application, you ensure maximum effectiveness. Implement these techniques to achieve optimal results and enjoy long-lasting, high-quality flooring.
Tip: Regular maintenance will keep your floors looking great and performing well!
FAQ
What is the best time to apply a dry-shake floor hardener?
Apply it when the concrete has set slightly but is still moist. This ensures proper bonding and maximizes durability.
Can floor hardeners be used on old concrete surfaces?
Liquid floor hardeners work well on old concrete. They penetrate the surface and strengthen it internally, improving wear resistance and reducing maintenance needs.
How do you maintain a floor treated with a hardener?
Sweep or vacuum regularly to remove debris. Scrub with mild detergent and warm water to preserve the surface’s strength and appearance.
See Also
Understanding Floor Hardeners: Their Function and Benefits
Essential Insights on BANDě Concrete Floor Hardener
Top 5 Tips for Choosing Concrete Hardeners in 2025