


Textured wall coating for interior work can transform a room’s look and feel. It creates a clean backdrop for your decor and makes painting a breeze. Many homeowners choose to apply textured wall coating for interior work to modernize their space or achieve a cozy cottage vibe. Whether you’re updating a room or prepping for a fresh coat of paint, a smooth finish is key.
Key Takeaways
Gather essential materials like joint compound, taping knives, and sandpaper before starting your project. Proper preparation sets the stage for success.
Use skim coating and sanding techniques to achieve a smooth finish on textured walls. Apply thin layers of joint compound and sand lightly between coats for the best results.
Maintain your smooth walls by inspecting for damage regularly and using safe cleaning methods. Quick attention to stains helps preserve your wall’s beauty.
Preparation for Smooth Textured Walls
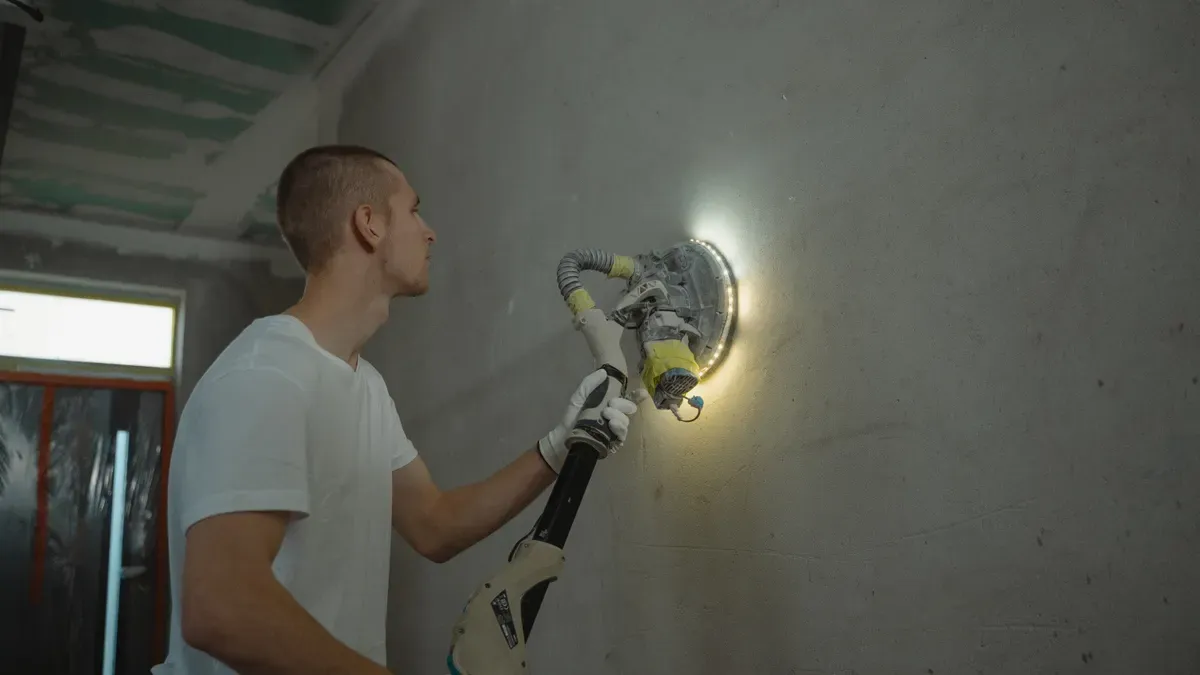
Before you dive into the process of smoothing your textured walls, it’s essential to gather the right materials and tools. This preparation phase sets the foundation for a successful project. Here’s what you’ll need:
Materials and Tools
To achieve a flawless finish, consider these materials and tools:
All-purpose joint compound: This is your go-to material for smoothing out textures.
Mud pan: A handy tool for holding your joint compound while you work.
Taping knives: Use a 12-14″ knife for larger areas and a 2-6″ knife for corners and tight spots.
Optional tools: A 5-gallon bucket, drill with a mixing paddle, and a roller with a 3/4″ nap can make your job easier.
Protective coverings: Plastic sheeting, drop cloths, or paper will help keep your floors and furniture safe from dust and debris.
Sandpaper: Choose 180-220 grit for smoothing out the joint compound after application.
Shop vac: This will help you manage dust effectively.
Dust mask or respirator: Protect your lungs from inhaling harmful particles.
Safety Precautions
Safety should always come first when working on home improvement projects. Here are some precautions to keep in mind:
Description | |
|---|---|
Construction-rated dust masks | Protects against inhaling dust and debris. |
Safety goggles or a full face shield | Shields your eyes and face from particles. |
Heavy-duty work gloves | Protects your hands from sharp edges and chemicals. |
Remember, managing dust is crucial. If dust escapes, increase negative pressure and improve barriers to keep your workspace clean.
As you prepare, be aware of common challenges. You might face issues like uneven removal results or paper tears on the drywall. If you encounter these, don’t hesitate to switch to a skim coat for a more uniform surface.
Lastly, consider environmental factors when disposing of materials. If you find asbestos, it’s vital to contact trained professionals for safe removal. There’s no safe level of asbestos exposure, so proper handling is critical.
With the right materials and safety measures in place, you’re ready to tackle the task of smoothing your textured walls.
Techniques to Remove Wall Texture
Smoothing textured walls can seem daunting, but with the right techniques, you can achieve a flawless finish. Two of the most effective methods are skim coating and sanding. Let’s break down each process.
Skim Coating Process
Skim coating is a fantastic way to smooth out textured walls. This technique involves applying a thin layer of joint compound over the existing texture. Here’s how you can do it step-by-step:
Prep: Start by protecting your floors and removing any furniture from the area. If your walls need it, apply a primer to help the joint compound adhere better.
Apply a coat of drywall mud: Use a roller or a taping knife to spread the joint compound in thin layers. Aim for even coverage.
Let it dry completely: Patience is key here. Wait until the next day for the first coat to dry fully.
Lightly sand between coats: Use 180 grit sandpaper to smooth out any rough patches before applying the next layer.
Apply a second coat: This time, use less compound than the first coat. Let it dry again.
Sand smooth: After the second coat dries, use 180 and 220 grit sandpaper to achieve that smooth finish you desire.
Prime: Finally, apply a primer before painting or adding trim to your newly skimmed walls.
Using an all-purpose joint compound is recommended for this process. Mix it with water to achieve a thick cake batter consistency. A power drill with a mixer attachment can help ensure a smooth, lump-free mixture.
Sanding for Smoothness
Once you’ve applied your skim coat, sanding is the next crucial step. This process helps you achieve that ultra-smooth finish. Here are some tips for effective sanding:
Use fine sandpaper, specifically between 180 to 220 grit. This range is perfect for smoothing walls after texture removal.
Make light passes across the entire surface. Focus on removing any remaining texture shadows to prepare the surface for priming and painting.
After sanding, wipe down the walls with a slightly damp cloth. This helps you check for missed spots and ensures a clean surface for the next steps.
To minimize dust during the sanding process, consider these best practices:
Use appropriate PPE: Ensure proper ventilation and wear a dust mask or respirator to minimize dust exposure.
Select joint compounds designed to reduce dust: Products like ProForm’s Dust-Tech joint compounds can significantly reduce airborne dust.
Consider wet sanding: This method uses a damp sponge to trap particles before they become airborne, keeping your workspace cleaner.
Apply thinner layers of joint compound: This reduces the amount of sanding needed and minimizes dust generation.
Choose the right sandpaper: The grit of sandpaper affects both the efficiency of sanding and the amount of dust produced.
By following these techniques, you’ll be well on your way to achieving smooth textured walls that look professional and polished.
Final Steps for Textured Wall Coating for Interior Work
Final Touches
After you’ve achieved smooth textured walls, it’s time for the final touches before painting. Follow these steps to ensure a professional finish:
Clean the wall surface: Use a damp cloth with a mild soapy solution to remove any dust or stains.
Repair any damage: Check for cracks or holes and fill them with appropriate filler material.
Remove outlet and switch covers: Unscrew these to avoid paint splashes.
Tape the edges: Apply painter’s tape along the edges for clean lines.
Prime your wall: If necessary, apply a primer, especially if you’re covering dark colors or stains.
Cut in edges: Start painting at the edges for straight lines.
Roll paint on textured surfaces: Use a roller designed for textured walls to apply paint evenly.
Apply a second coat: This helps fill in any missed areas.
Clean up: Remove tape, reinstall covers, and tidy the area.
Avoid common mistakes during this process. For instance, don’t skip surface preparation, as clean walls are essential for a good finish. Also, using quality brushes and rollers will ensure even coverage.
Maintenance Tips
To keep your smooth textured walls looking great, regular maintenance is key. Here are some tips:
Inspect your walls: Check for cracks or imperfections at least once a year, especially in areas with high humidity.
Use safe cleaning methods: Non-abrasive methods like dry ice cleaning are ideal for maintaining the integrity of your wall finish. This method is environmentally safe and allows for on-site cleaning without damaging surfaces.
Address stains promptly: Clean any marks or stains as soon as you notice them to prevent permanent damage.
By following these final steps and maintenance tips, you’ll enjoy the beauty of your smooth textured walls for years to come.
Smoothing textured walls can seem challenging, but you can tackle this project with confidence. Remember to prepare your materials, use the right techniques, and finish with care. A smooth finish not only enhances your space but also gives you the satisfaction of completing a rewarding DIY task.
FAQ
What type of joint compound should I use for skim coating?
Use an all-purpose joint compound for skim coating. It’s easy to work with and provides a smooth finish.
How long does it take for the joint compound to dry?
Typically, joint compound takes about 24 hours to dry completely. Humidity and temperature can affect drying time.
Can I paint over textured walls without smoothing them first?
You can, but a smooth finish enhances the paint’s appearance and durability. Smoothing the walls is recommended for the best results.
See Also
Transform Your Walls With Expert Decorative Coating Techniques
Revitalize Your Concrete Floors For A Stunning Finish
Expert Techniques For Applying Waterproof Coatings Effectively
Achieve A Dust-Free Floor With Concrete Dust Sealers
Choosing The Ideal Flexible Waterproof Sealer For Your Needs
