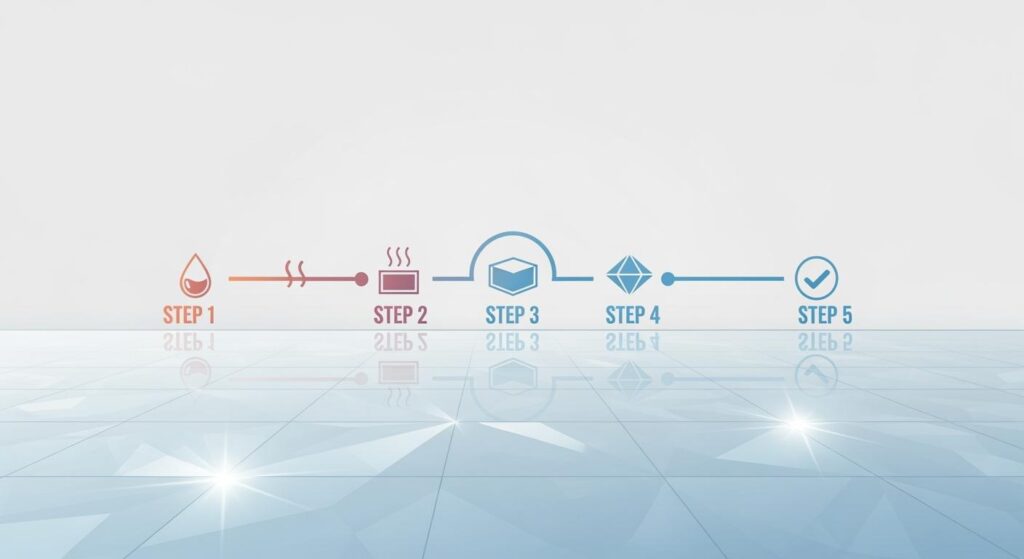
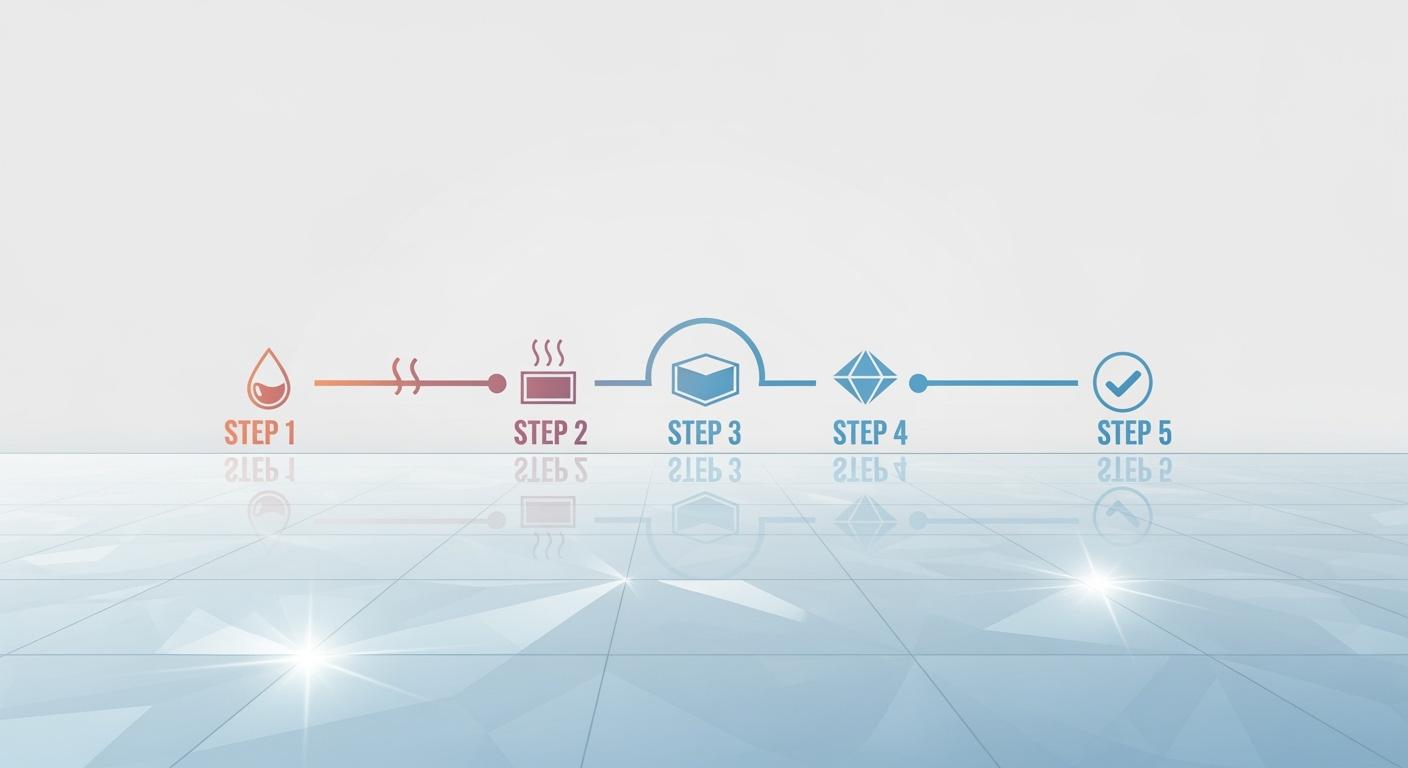
You want a beautiful, durable, and easy-to-maintain floor, free from dust. Achieving a professional crystal floor hardener finish is simpler than many beginners imagine. This comprehensive guide for beginners breaks down the process into 5 easy steps. You gain a long-lasting shine, superior durability, and easy cleaning. This clear finish addresses common floor problems.
Key Takeaways
Prepare your floor well. Clean it, fix cracks, and sand it. This helps the hardener stick better.
Gather all your tools and safety gear. Mix the hardener carefully. This makes sure the floor finish is strong.
Apply the hardener slowly and evenly. Let it cure fully. This gives you a durable, shiny, and easy-to-clean floor.
Step 1: Essential Surface Preparation for Beginners
Proper surface preparation forms the bedrock of a perfect crystal floor hardener finish. You must address common surface issues. This crucial first step ensures a successful and long-lasting result for beginners.
Cleaning and Degreasing the Surface
Begin by thoroughly cleaning your floor. Remove all dirt, dust, and debris. Use a strong degreaser to eliminate oil, grease, or wax. A clean surface ensures optimal adhesion for your chosen resin. Rinse the area completely. Allow it to dry fully before proceeding.
Repairing Cracks and Imperfections
Inspect your floor for cracks, holes, or uneven spots. Fill these imperfections with a suitable concrete patch or filler. Follow the product instructions for application and curing. A smooth, uniform surface is vital for a flawless clear finish.
Optimal Sanding for Adhesion
Sanding is critical for proper adhesion of the clear epoxy resin. Sand the entire surface up to 320 grit. This creates a profile for the epoxy resin to grip. Do not sand higher than 320 grit. Finer sanding can make the surface too smooth. This reduces the mechanical bond for the epoxy. The resin needs a slightly rough texture. This ensures strong adhesion. You want the resin to bond effectively.
Priming for Enhanced Bonding
Consider applying a primer. A primer enhances the bond between the floor and the final epoxy resin coat. It also helps seal porous surfaces. This prevents air bubbles from rising into your clear resin. Choose a primer compatible with your epoxy system. This step ensures maximum durability for your clear, hardened floor.
Step 2: Gathering Your Tools and Materials
Before you begin applying your crystal floor hardener, gather all necessary items. This preparation ensures a smooth, uninterrupted process. You avoid delays and achieve a superior finish.
Selecting Your Crystal Floor Hardener
Choose a high-quality crystal floor hardener. Products like BANDE Crystal Floor Hardener offer significant advantages. This type of resin provides deep penetration into your concrete. It ensures permanent hardening and excellent dust-proofing. You eliminate issues with ground dust and sand. This high-quality hardener also contributes to a lasting, clear finish.
Essential Safety Gear
Your safety is paramount. You, as beginners, must protect yourself during the application of any epoxy resin.
Gloves: Wear chemical-resistant gloves.
Eye Protection: Use safety glasses or goggles.
Respirator: A respirator with organic vapor cartridges protects your lungs.
Protective Clothing: Long sleeves and pants prevent skin contact with the resin.
Mixing and Application Equipment
You need specific tools for mixing and applying the epoxy.
Mixing Buckets: Use clean, sturdy buckets for mixing the resin components.
Stir Sticks/Mixer: A drill with a mixing paddle ensures thorough blending of the epoxy.
Rollers: Use a high-quality roller with a short nap for even application of the clear resin.
Brushes: Small brushes help you reach corners and edges.
Spiked Shoes: These allow you to walk on the wet resin without leaving marks.
Post-Application Cleaning Supplies
Prepare for cleanup immediately after application.
Solvent: Keep a compatible solvent on hand for cleaning tools.
Rags: Use plenty of clean rags for spills and wiping.
Disposal Bags: Properly dispose of contaminated materials.
Step 3: Mixing Your Clear Epoxy Resin Correctly
This step is critical for beginners. You must understand the science behind epoxy to avoid common mixing errors. These errors lead to poor results.
Accurate Ratio Measurement
Precise measurement is paramount. Most two-part epoxy resin systems require specific ratios. One common ratio for epoxy resin is 2:1. Here, you mix two parts of the A-component resin with one part of the B-component hardener. For instance, you would combine 64 ounces of resin with 32 ounces of hardener. Another typical ratio is 1:1, meaning equal parts of resin and hardener. Always consult your specific epoxy resin packaging instructions for exact measurements.
Proper Mixing Techniques to Prevent Bubbles
Mix your clear epoxy resin carefully to prevent air bubbles. Avoid whipping the resin during mixing. This introduces new bubbles. Instead, stir slowly and deliberately. If bubbles appear after pouring, use a blow torch, heat gun, or hair dryer. Hold the tool 6-8 inches above the surface. Move it constantly to eliminate existing air bubbles.
Understanding Pot Life and Working Time
You need to understand pot life. This is also known as open time. The pot life for epoxy resin varies significantly. It typically ranges from 20 minutes to several hours. For example, Craft Resin Arts & Crafts Epoxy has a 40-minute pot life. Manadatec Premium Epoxy Resin also offers 40 minutes at 20°C. This time frame dictates how long you have to work with the mixed resin before it begins to cure.
Achieving a Homogeneous Mix
Thorough mixing ensures a homogeneous blend. Scrape the sides and bottom of your mixing container. Do this frequently. You want to ensure both components of the epoxy are fully incorporated. A homogeneous mix appears uniform in color and consistency. This guarantees proper curing and a durable, clear finish.
Step 4: Applying Your Crystal Floor Hardener Flawlessly
You now apply the mixed resin. This step requires precision. You ensure a smooth, even, and bubble-free finish. This is crucial for a perfect crystal floor hardener finish.
Slow Pouring to Avoid Air Bubbles
Begin pouring your clear epoxy resin slowly. Pour the resin in a continuous stream. This prevents trapping air bubbles. Start in one corner of your surface. Move systematically across the area. A slow, controlled pour is a key tip for clear epoxy resin application.
Even Spreading and Leveling
After pouring, spread the resin evenly. Use a notched squeegee or trowel. This distributes the epoxy resin and maintains consistent thickness. Then, use a roller. This smooths the coating. It eliminates any lines or ridges. Ensure the resin reaches all four corners of the surface. Proper mixing is essential for a smooth, streak-free resin.
Effective De-bubbling Strategies
Address any air bubbles immediately. Use a heat gun or torch. Hold it 6-8 inches above the surface. Move it constantly. This releases trapped air. Some epoxy resin formulations inherently reduce bubbles. Certain deep-pour epoxy resins offer improved bubble release. They also feature a self-leveling formula. This easily releases bubbles. For advanced de-bubbling, an ultrasonic cleaner can process the resin mixture for 5 minutes before application.
Addressing Uneven Spots
Inspect your surface for uneven spots. Gently push the resin into low areas. Use a small brush or roller. This ensures a uniform thickness. Work quickly within the resin’s pot life. This guarantees a flawless, clear finish.
Step 5: Curing and Long-Term Maintenance
This final step guides you through the crucial curing process. It also provides advice for maintaining your floor’s beauty and durability. You highlight the long-term benefits of a crystal floor hardener.
Understanding Curing Times and Conditions
Curing is the process where your applied epoxy resin hardens. This chemical reaction transforms the liquid resin into a solid, durable surface. Full cure times vary. They depend on the specific epoxy resin product and environmental conditions. Most epoxy resin systems achieve walk-on hardness within 24-48 hours. They reach full chemical resistance and durability in 5-7 days. Maintain consistent room temperature and humidity during this period. Avoid extreme cold or heat. These conditions can affect the curing process.
Protecting Your New Floor Hardener Finish
Protect your newly applied resin during its initial cure. Avoid heavy foot traffic for at least 24 hours. Keep heavy objects off the surface for the first 72 hours. Do not expose the floor to harsh chemicals or standing water during the first week. This allows the epoxy to achieve maximum hardness. You ensure a long-lasting, durable finish.
Simple Maintenance for Lasting Shine
Your crystal floor hardener offers lasting shine and super durability. This reduces the need for frequent waxing and cleaning. You address the pain point of high cleaning and maintenance costs. Simply sweep or vacuum regularly. Mop with a mild, pH-neutral cleaner. Avoid abrasive cleaners or harsh chemicals. A high-quality product like BANDE Crystal Floor Hardener provides a 15+ year lifespan. This makes your maintenance routine simple and effective.
Troubleshooting Curing Issues
Sometimes, you might encounter curing issues. Understanding common problems helps you troubleshoot effectively.
Curing Issue | Contributing Factors / Signs | Troubleshooting / Prevention |
|---|---|---|
Soft or Tacky Floor | Incorrect mixing, rapid drying attempts, hot concrete | Proper mixing, install in early morning, improve airflow, use fast-cure coating, keep temperatures steady, avoid space heaters/DIY additives/hot concrete |
Cloudy Patches | Rapid drying attempts, hot concrete | Install in early morning, improve airflow, keep temperatures steady, avoid space heaters/DIY additives/hot concrete |
Uneven Gloss | Rapid drying attempts, hot concrete | Install in early morning, improve airflow, keep temperatures steady, avoid space heaters/DIY additives/hot concrete |
Peeling | Rapid drying attempts, hot concrete | Install in early morning, improve airflow, keep temperatures steady, avoid space heaters/DIY additives/hot concrete |
Chemical Smell (after 48h) | Incomplete curing | Allow more time for drying, ensure proper conditions during application |
Tire Marks Appear Easily | Incomplete curing | Allow more time for drying, ensure proper conditions during application |
Bubbles | Trying to force drying too fast, applying to hot concrete | Avoid space heaters/DIY additives/hot concrete, install in early morning, improve airflow |
Dust on Surface | Environmental factors during application | Avoid working during peak heat, prevent dust from blowing onto surface |
Incorrect Mixing | DIY installations, lack of experience | Ensure proper mixing of product, consider professional installation |
You can resolve most issues by ensuring proper mixing and environmental control. This ensures your epoxy floor cures perfectly.
This comprehensive guide for beginners makes a perfect crystal floor hardener finish simple and attainable. You achieve a durable, dust-free, easy-to-clean, and beautifully shiny floor. This addresses common pain points. Your floor will be clear. Confidently start your project. Enjoy the long-term value of a professional-grade finish. Your space will look clear. Transform your space with a lasting, clear epoxy resin floor.
FAQ
How do you ensure maximum clarity for your floor?
Achieve maximum clarity through meticulous surface preparation. Proper mixing and de-bubbling techniques are crucial. This results in a stunning glass-like finish. You will love the final clarity.
Are there specific tips for working with clear epoxy resin?
Yes, for optimal clarity, always measure precisely. Mix slowly to remove bubbles. This ensures a perfect glass-like finish. Many resin art principles apply. Its clarity is key.
Can you use this product for art and crafts projects?
This product is for floors. For art and crafts, use specific resin art formulations. They offer different properties and clarity levels. You get a beautiful glass-like finish. Its clarity is designed for floors.
See Also
Selecting the Ideal Concrete Floor Hardener: A 2025 Comprehensive Guide
Maximizing Concrete Life: Proper Floor Hardener Application Guide for 2025
Industry’s Top 5 Concrete Floor Hardeners: Making the Best Choice
Liquid Concrete Solutions: Hardener, Sealer, and Densifier Explained for Floors
Choosing the Perfect Concrete Densifier, Hardener, Sealer: Your 2025 Guide