

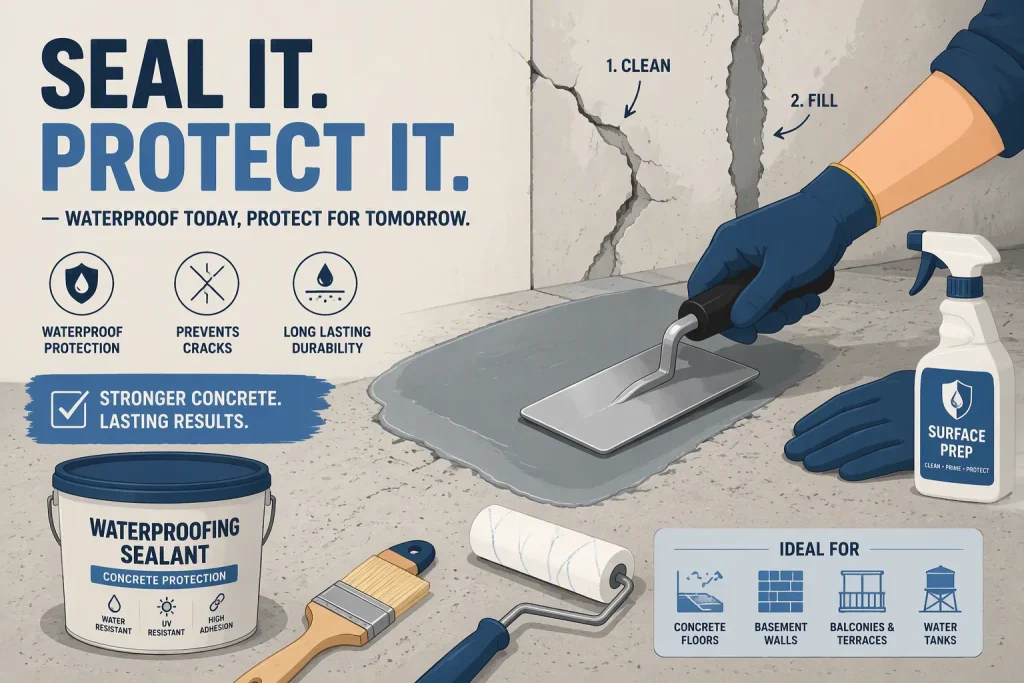
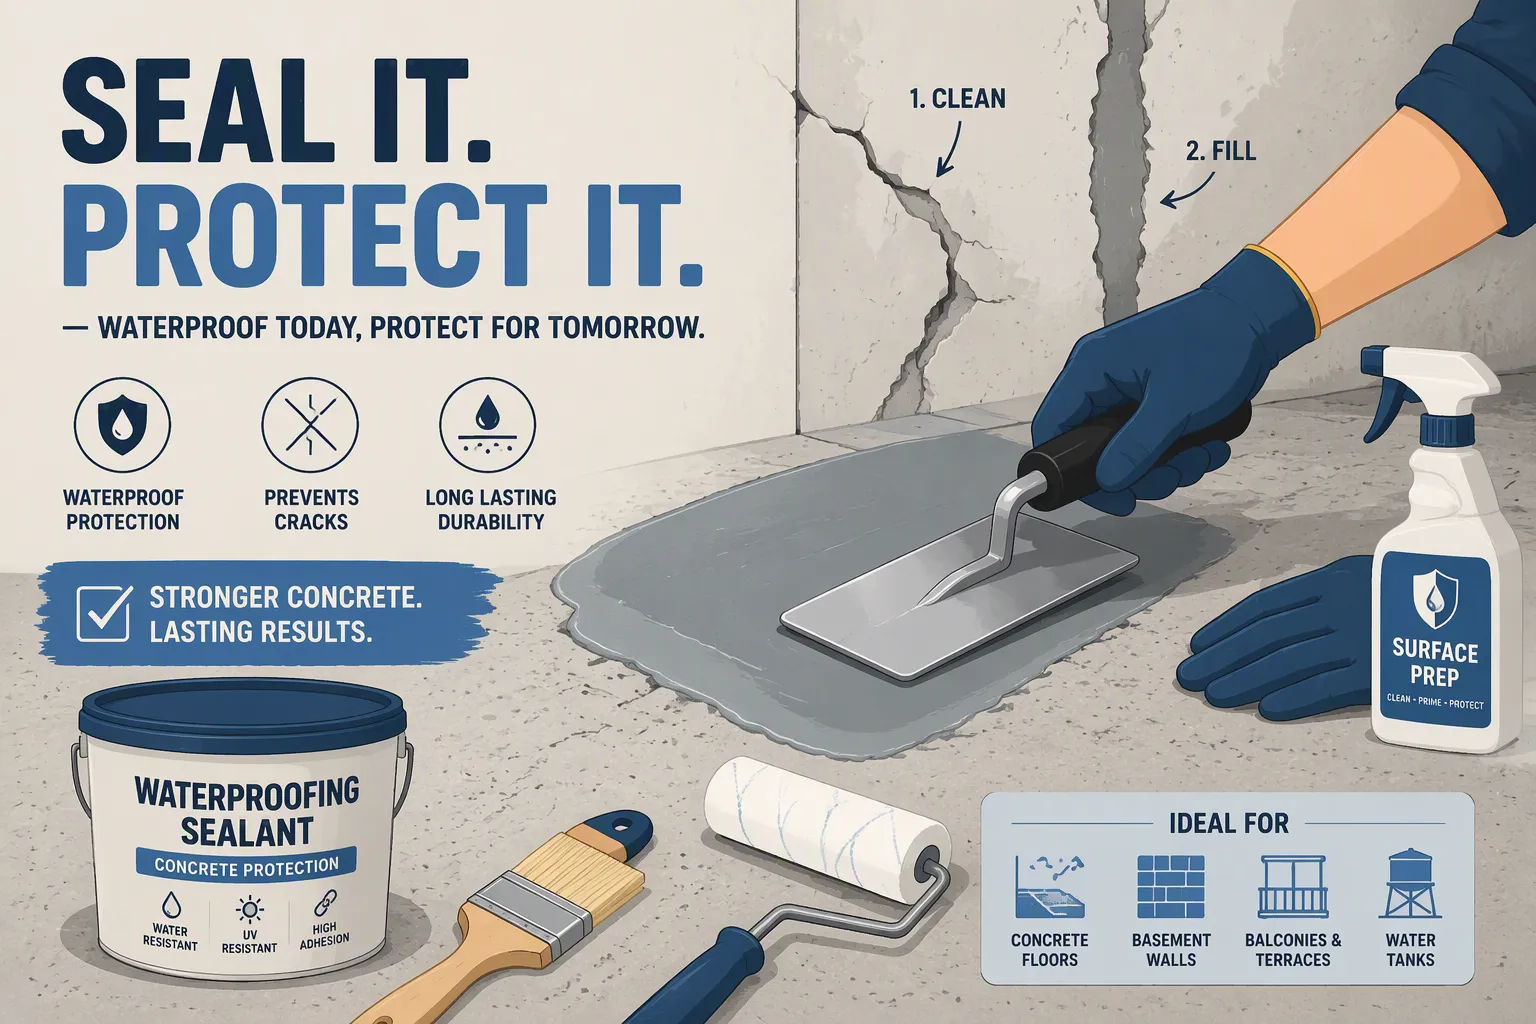
Concrete damage and water intrusion plague countless homeowners. You face a leaky basement or crumbling driveway, then confront overwhelming product choices. How do you select correctly?
Use this four-step framework: assess, select, prepare, apply. This guide delivers a clear path using industry-standard concrete waterproofing products and proven waterproofing techniques. You’ll learn to choose the right concrete repair waterproof coating and achieve durable, professional results.
Key Takeaways
Assess your concrete damage first. Identify the crack type and cause. This step ensures you choose the right repair product.
Match the repair product to the damage. Use epoxy for structural cracks. Use polyurethane for flexible cracks. Use penetrating sealers for above-grade waterproofing.
Prepare the surface properly. Clean and dry the concrete before applying any product. This step ensures a strong bond and long-lasting repair.
Assessing Concrete Damage
Before you purchase any repair product, you must evaluate the damage thoroughly. This step determines which material will actually solve your problem. Skipping this assessment leads to failed repairs, wasted money, and accelerated deterioration. Inadequate repairs often require complete redoing within 2-5 years at costs exceeding proper repair. The underlying deterioration continues expanding while you wait.
Identifying Common Crack Types
Cracks tell you what went wrong. You must identify the crack type before selecting a repair material.
Hairline cracks measure less than 1/16 inch wide. These typically result from plastic shrinkage during curing. They rarely threaten structural integrity. A penetrating sealer usually handles them effectively.
Shrinkage cracks appear wider and often form a pattern across the slab. These occur when concrete dries too quickly after placement. They remain stable over time. You can repair them with a flexible polyurethane sealant.
Structural cracks indicate serious problems. These cracks often run diagonally, widen over time, or show vertical displacement between edges. They signal foundation movement, overload, or reinforcing steel corrosion. You need an epoxy resin injection for these. Epoxy restores the concrete’s original strength.
You must also consider the crack’s activity. An active crack moves with temperature changes or ongoing settlement. A dormant crack stays stable. Each requires a different repair approach.
Recognizing Spalling and Surface Deterioration
Spalling appears as flaking, chipping, or peeling surface layers. You might notice exposed aggregate or rough patches. This deterioration rarely happens overnight.
In colder climates, the primary environmental drivers of concrete spalling are moisture infiltration combined with freeze-thaw cycles. Water enters the concrete, freezes, expands, and exerts pressure on the surrounding material, leading to cracks and eventual surface spalling. Repeated cycles of freezing and thawing are the most common cause of deterioration in cold-weather regions.
Deicing salts accelerate this process. Sodium chloride, calcium chloride, and magnesium chloride chemically react with cement paste. They also lower water’s freezing point, allowing deeper penetration at subfreezing temperatures.
You should also check for hidden problems. Visual inspection alone misses de-lamination, chloride contamination, and rebar condition. Tap the surface with a hammer. A hollow sound indicates de-lamination beneath the surface. Map the full extent of deterioration before you start repairs. Piecemeal repairs create weak points and stress concentrations.
Ignoring root causes guarantees the problem returns. Water infiltration, poor construction, and environmental factors all contribute. Address the cause, not just the symptom.
Selecting Concrete Repair Products
You now match repair materials to the damage you identified. Industry leaders like Sika and Mapei offer specialized solutions for each crack type. A correct product choice prevents repeat failures and extends the life of your concrete. You must also consider the environmental exposure and the structural demands of the repaired area.
Using Epoxy Resins for Structural Cracks
Structural cracks require a material that restores the concrete’s original strength. Epoxy resins excel here. These two-part systems bond to the concrete and transfer load across the crack. They return structural integrity to the damaged section. You cannot use standard patching compounds for these repairs. Only epoxy provides the necessary strength.
You need to check the tensile strength of the epoxy you select. Different products offer different performance levels. Sikadur Injection Gel delivers a minimum tensile strength of 4,300 psi at 14 days when tested per ASTM D-638. Injection Pro 600 GP achieves a tensile strength of 9,500 psi. Your choice depends on the load requirements of the structure. Higher strength epoxies suit foundations and load-bearing walls. Lower strength options work for non-critical slabs.
The injection process requires careful work. You drill ports along the crack, seal the surface, and inject epoxy under pressure. The material fills the crack completely. You must follow the manufacturer’s mixing ratios and cure times. A proper epoxy injection restores the concrete to its original condition. You must ensure the crack is clean and dry before injection. Any moisture or debris prevents proper bonding.
Applying Polyurethane Sealants for Flexible Repairs
Not every crack needs rigid repair. Shrinkage cracks and non-structural joints move with temperature changes. You need a flexible sealant. Polyurethane sealants provide the necessary elasticity. They accommodate movement without cracking or losing their bond to the concrete.
These materials stretch significantly under movement. PU coatings offer elongation capacities of 400% to 600%. This rating means the material can stretch several times its original length before breaking. The sealant expands and contracts with the concrete through daily temperature cycles. You apply polyurethane sealant with a caulking gun and tool it into the joint for proper adhesion.
You should understand how polyurethane compares to silicone for concrete waterproofing. The table below shows the key differences.
Performance Metric | Silicone Sealant | Polyurethane Sealant |
|---|---|---|
Lifespan | Up to 20 years | 5–7 years |
Movement capability | Highest flexibility, ideal for expansion/contraction | Lower flexibility |
Surface adhesion | Not highlighted for porous surfaces | Superior adhesion to porous surfaces like concrete |
Weather resistance | Exceptional UV and extreme temperature resistance | Less weather-resistant |
Cost | Higher upfront cost | Lower upfront cost |
Polyurethane wins on adhesion to concrete and lower upfront cost. Silicone lasts longer and resists weather better. For concrete repairs below grade or indoors, polyurethane is the better choice. For exterior exposed joints, consider silicone. Your specific application determines the best option.
You also need products for active leaks. Hydraulic cement sets in minutes and stops flowing water. This material works well as an emergency measure before you apply a permanent repair. It also functions as a plug for cracks before you inject epoxy or polyurethane. You mix a small batch and force it into the leaking crack. The material hardens rapidly and seals the water flow.
Cementitious systems offer another option for larger repair areas. These pre-blended mortars match the properties of the original concrete. They bond well and provide similar thermal expansion characteristics. You can use them for spalled areas and surface restoration. Cementitious systems work best when you need to rebuild large sections of damaged concrete. You apply them in layers for deep repairs.
Choosing Concrete Waterproofing Products
Your exposure level determines your waterproofing strategy. Above-grade concrete faces rain, sun, and mild moisture. Below-grade concrete endures hydrostatic pressure from groundwater. These conditions demand different concrete waterproofing products. You must match the product to the environment.
Comparing Penetrating Sealers and Coatings
Penetrating sealers work best for above-grade applications. They chemically react with the concrete below the surface, clogging pores and forming a water-repellent barrier. These sealers do not wear off like surface coatings. They remain effective for years because nothing abrades them away.
Surface coatings, by contrast, sit on top of the concrete. They require recoating every 3 to 5 years even for light to moderate traffic. Penetrating sealers do not need such frequent reapplication. In above-grade applications, penetrating sealers maintain their performance without yellowing or leaving a visible membrane. Surface sealers degrade over time and must be reapplied to maintain protection.
Penetrating silane/siloxane sealers offer another advantage. They chemically bond below the surface, allowing concrete to breathe. Acrylic coatings are topical and non-breathable, trapping moisture inside the slab. This trapped moisture leads to freeze-thaw damage in colder climates. Acrylic coatings also wear away from traffic and weather, whereas penetrating sealers last longer and protect from within.
You might notice that penetrating sealers show less visible water beading than coatings. Do not mistake this for failure. Penetrating sealers provide durable water repellency even when water beading is less pronounced. This indicates better long-term reduction in water absorption.
Sealer Type | Expected Lifespan |
|---|---|
Penetrating Sealer | 5–10 years |
Polyurethane Coating | 5–7 years |
The lifespan table shows a modest difference. But penetrating sealers require no stripping or surface preparation for reapplication. Coatings demand complete removal before you can recoat. This hidden cost makes penetrating sealers the economical choice for above-grade work.
Installing Membranes for Heavy-Duty Protection
Below-grade concrete needs more than a sealer. Hydrostatic pressure forces water through cracks and pores. You need a membrane system that blocks this pressure. W.R. Meadows provides a full line of patches, mortars, and epoxies for comprehensive restoration. Their membrane options cover every below-grade scenario.
Fluid-applied systems create a seamless rubber-like barrier. You spray or roll them onto the prepared surface. These systems bond tightly to concrete and bridge hairline cracks. They work well on complex geometries where sheets are difficult to fit. Fluid-applied systems cure into a monolithic membrane with no seams or weak points.
Sheet membrane systems offer factory-controlled thickness. You unroll and adhere them to the surface with adhesive or mechanical fasteners. These systems provide consistent protection across large areas. They suit foundations, retaining walls, and plaza decks. Sheet membrane systems require careful detailing at seams and penetrations to prevent leaks.
Cementitious systems provide a different approach. You mix and apply them like mortar. These systems bond integrally with the concrete substrate. They resist hydrostatic pressure and work well on damp surfaces. Cementitious systems suit water treatment facilities, tunnels, and below-grade structures where positive-side waterproofing is needed.
Bentonite clay systems offer self-sealing properties. These panels contain sodium bentonite clay that expands on contact with water. The expansion creates an impermeable seal. Bentonite clay systems self-heal minor punctures and accommodate settlement. They work exceptionally well for below-grade applications where future movement is expected.
Your choice among fluid-applied systems, sheet membrane systems, cementitious systems, or bentonite clay systems depends on your structure’s specific demands. Consider the substrate condition, expected water pressure, and installation constraints. Each system has proven performance in the right application.
Step-by-Step Repair and Waterproofing Process
Surface preparation determines your repair’s lifespan. You cannot skip this step. A clean, properly prepared surface allows the repair material to bond completely. Poor preparation causes delamination and premature failure. You must remove all dirt, oil, and loose material before applying any product.
Preparing the Concrete Surface for Repair
Start with pressure washing. Use a pressure washer to remove dirt, grease, and efflorescence. You need a clean surface free of contaminants. After washing, chase cracks with a grinder or chisel. This process widens the crack slightly to create a V-shape. The V-shape gives the repair material a mechanical anchor. Remove all loose concrete around spalled areas until you reach sound material.
Drying time matters before you apply any sealer. The table below shows recommended drying times after pressure washing.
Condition | Recommended Drying Time |
|---|---|
Normal conditions (humidity below 70%) | 24 to 48 hours, with a strong recommendation to wait the full 48 hours for complete moisture evaporation. |
High humidity (above 70%) | 48 to 72 hours, as moisture evaporation slows significantly. |
You must wait the full time. Applying sealer over damp concrete traps moisture and causes the coating to fail. Test the surface by taping a plastic sheet overnight. If condensation appears underneath, the concrete needs more drying time.
Applying a Concrete Repair Waterproof Coating
Now you apply the repair material. For structural cracks, inject epoxy resin first. For shrinkage cracks, apply polyurethane sealant. For spalled areas, use a cementitious system to rebuild the surface. Let each repair cure completely before proceeding.
After repairs cure, apply your concrete repair waterproof coating. Check the weather forecast first. The optimal temperature range for silane-siloxane coatings is 50°F – 80°F (10°C – 27°C). Humidity should stay below 80%. Avoid direct sunlight during application. Do not apply if rain is expected within 24 hours. Do not apply below 40°F (4.4°C) or above 95°F (35°C). Protect the coating from rainfall for at least 6 hours after application.
Apply the coating with a roller or sprayer. A high-solids product like BASEMENT SEALER™ covers 100-150 square feet per gallon. Apply an even coat without puddling. For below-grade applications, you might need fluid-applied systems or sheet membrane systems instead of a simple sealer. These products provide heavy-duty protection against hydrostatic pressure. Let the coating dry thoroughly before allowing foot traffic or backfilling.
Maintaining Your Concrete for Long-Term Durability
Your repair work does not end when the coating dries. Regular maintenance protects your investment and prevents small issues from becoming expensive failures.
Conducting Routine Inspections
You should inspect your concrete at least once per year. Standard properties benefit from an annual comprehensive check. Coastal, flood-prone, or older buildings require semi-annual inspections. You must also examine your concrete immediately after heavy rainfall, hurricanes, or snowstorms. These events stress your structure and reveal weaknesses.
Look for early signs of moisture intrusion. Efflorescence appears as white, chalky residue on walls. This mineral deposit forms when water seeps through concrete, dissolves salts, and evaporates on the surface. It only occurs when water moves through the wall. Mold or mildew stains indicate excess moisture. Flaking or peeling paint often signals water intrusion from outside. You should also check for new cracks or changes in existing ones.
Building Condition | Inspection Frequency |
|---|---|
Standard properties | Annual comprehensive inspection |
Coastal, flood-prone, or older buildings | Semi-annual inspection |
After severe weather events | Immediate post-storm inspection |
Roof and below-grade systems | Deeper inspection every 3 to 5 years |
Addressing Minor Issues Promptly
You must act quickly when you spot problems. A hairline shrinkage crack costs $0 to $300 to repair. A horizontal structural crack costs $1,500 to $15,000. Full structural failure from water ingress can exceed $30,000. Addressing cracks under 1/4 inch immediately prevents slab replacement over $5,000, saving you $4,000 to $4,750.
For hairline cracks in patios, follow this simple process:
Clean the cracks with a wire brush and shop vacuum.
Measure the crack width to select the right filler.
Apply liquid crack filler with a caulking gun.
Smooth the filler with a putty knife.
Allow 24 hours of cure time above 50°F.
Seal the cured concrete to prevent future moisture.
You should also reseal your driveway every 2 to 3 years. Extreme weather exposure requires sealing every 2 years. The sealer blocks water from penetrating the concrete, preventing freeze-thaw damage. Combining Sika structural patches with waterproofing gels provides comprehensive protection at a 15% lower lifecycle cost. Your diligence today prevents costly repairs tomorrow.
You now possess a systematic framework: assess, select, prepare, apply. The right concrete repair waterproof coating fails without proper surface preparation. Invest in quality concrete waterproofing products to protect both structure and repair. You have the knowledge to tackle any concrete project confidently. Apply these steps, achieve durable, professional results.
FAQ
Can I apply a concrete repair waterproof coating over existing cracks?
You must repair the crack first. Clean the surface, chase the crack, and seal it. Then apply the concrete repair waterproof coating for lasting protection.
What is the difference between a sealer and a membrane?
A sealer penetrates the surface and repels moisture. A membrane blocks hydrostatic pressure. You need a membrane for below-grade work. Use a sealer for above-grade concrete.
Which waterproofing system works best for below-grade applications?
Bentonite clay systems offer self-sealing properties. They expand on contact with water and create an impermeable barrier. These systems suit foundations and underground structures.
See Also
Top Strategies For Waterproofing Concrete Surfaces Effectively
Complete Guide To Cement Crack Sealer For Durable Fixes
Selecting The Best Concrete Sealer For 2025 A Full Guide
Definitive Handbook For Protecting Industrial Floors With Sealer
