
Assessing the damage to your concrete surfaces is very important, especially when considering concrete patch repair. You need to check the type and amount of damage. This helps you pick the right materials for patching. Common problems include spalling, settling, and cracking. These can happen for many reasons, like bad pouring or freeze-thaw cycles. Taking time to look at these issues helps you choose the best products and methods for concrete patch repair. Good preparation leads to lasting results and a smoother finish.
Key Takeaways
Check the damage to your concrete surfaces before you start fixing them. Finding cracks and problems helps you pick the right materials and methods.
Choose the right patching compound based on the type and size of the damage. You can use Portland cement for regular repairs and epoxy-resin for bigger issues.
Get the surface ready by cleaning and roughening it. A clean area helps the patching material stick better, which means longer-lasting repairs.
Follow a step-by-step process for patching. Mixing, applying, and curing correctly are important for strong and lasting repairs.
Focus on the finishing touches. Smoothing the surface and matching colors can make your repairs look better and blend in with the existing concrete.
Assess Damage
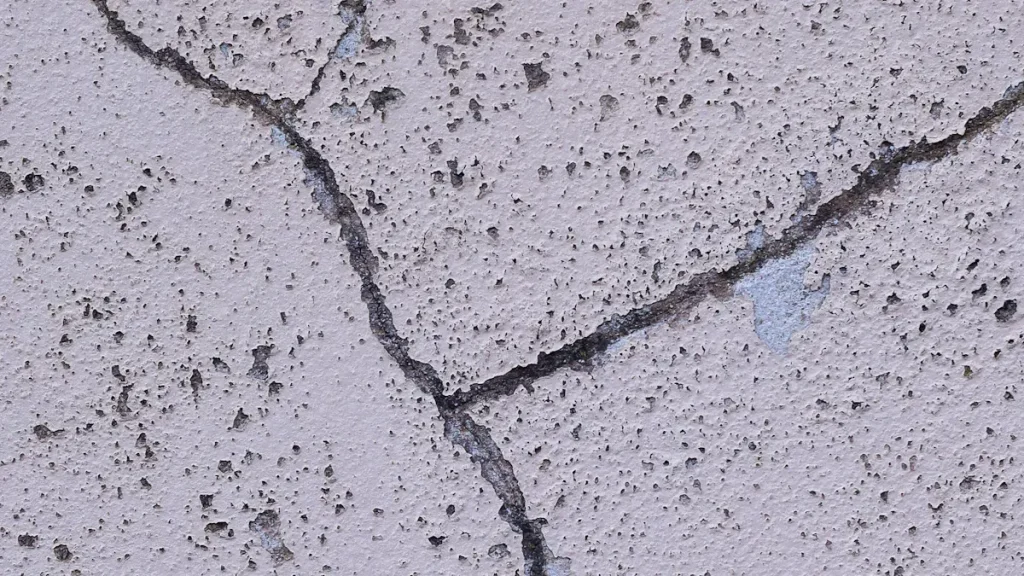
Identify Cracks
To patch concrete surfaces well, you need to find any cracks first. Start by looking closely. Check for lines that can be thin or wide gaps. You can use different ways to watch cracks carefully:
Basic crack monitors have two plastic tabs. They help track crack movement.
Wireless Concrete Crack Data Loggers let you monitor without writing things down.
Ultra-sonic methods send pulses to find cracks using sound waves.
Ground penetrating radar (GPR) uses radio waves to spot problems in concrete.
Terrestrial Laser Scanning makes 3D images to find tiny cracks.
Visual checks are common, but they might miss small cracks. Think about using sound tests or material checks to improve your review. Non-contact methods can also help with work and access problems.
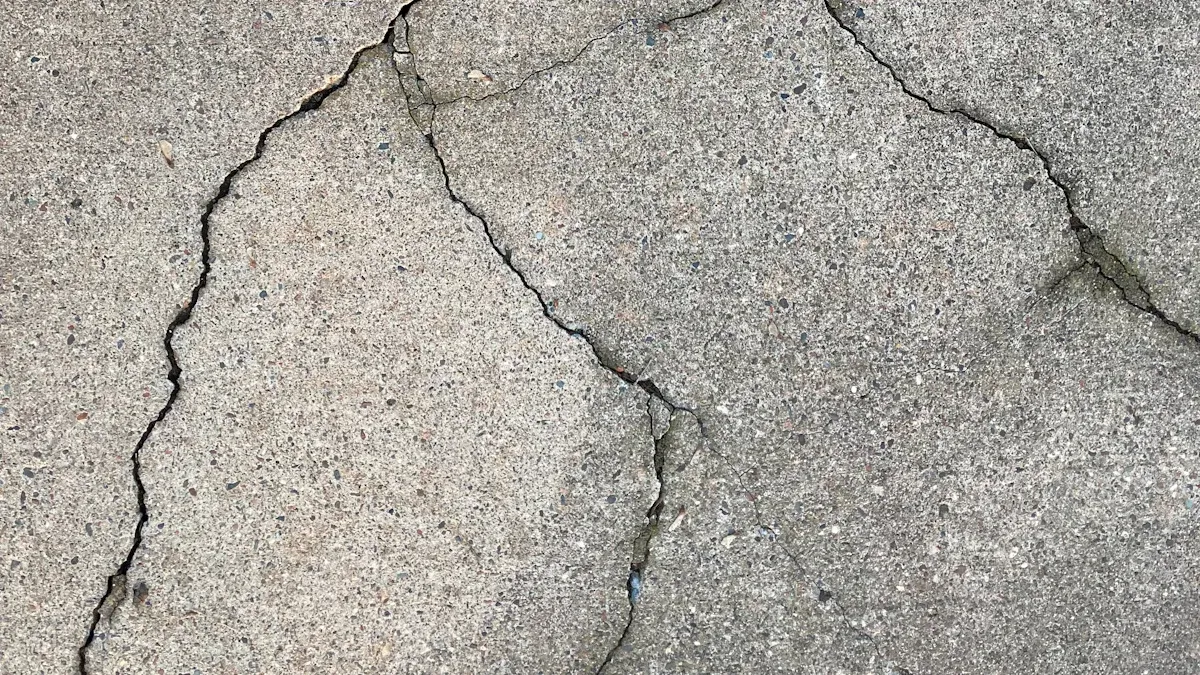
Evaluate Surface Issues
Next, check the surface problems. Knowing the type and level of damage is very important. Follow these steps to check the condition:
Find out what kind of defect it is (big or small).
Look at how serious it is and what caused it.
Pick the right repair method based on what you find.
Description | |
|---|---|
Cracks | Thin lines that can be hairline or wide |
Holes | Deeper gaps in the concrete surface |
Chipped Areas | Shallow damage or flaking on the surface |
Uneven Surfaces | Places where the concrete has sunk or moved |
Knowing why the damage happened is key. Problems can come from freeze-thaw cycles, heavy weight, or bad installation. Fixing these causes helps make good repairs and stops future damage.
Before starting repairs, remember to undercut cracks. This method makes a strong base, stopping future issues like cracking and sinking. Weak materials left can cause dips and bumps on the surface.
By checking concrete damage carefully, you prepare for successful repairs.
Select Materials for Concrete Patch Repair
Types of Patching Compounds
When you start concrete patch repair, picking the right materials is very important. Different patching compounds have different uses. Here are some common choices:
Portland Cement: This is the most popular material for concrete repairs. It is made of water, sand, gravel, and Portland cement. It works well for general repairs and fills larger cracks easily.
Polymer-Modified Mortars: These compounds mix Portland cement with polymers. They improve sticking and flexibility. This makes them great for places that get wet or have temperature changes.
Epoxy-Resin Compounds: These have strong bonding power and last a long time. They are made of epoxy resins and hardeners. They are best for structural repairs or busy areas.
Cement Paint: This is a mix of Portland cement and water. It is used as a surface treatment for small repairs and can make the concrete look better.
Chemical Composition | |
|---|---|
Portland Cement | Water, Sand, Gravel, Portland Cement |
Polymer-Modified Mortars | Portland Cement, Polymers |
Epoxy-Resin Compounds | Epoxy Resins, Hardener |
Cement Paint | Portland Cement, Water |
When to Use Each Type
Choosing the right patching compound depends on a few things, like the type and size of damage. Here’s a guide to help you choose:
For minor cracks (less than 1/4 inch), use liquid fillers or epoxy injections. These materials work quickly and effectively.
For larger cracks, go for cementitious patching compounds or polymer-modified mortars. These options are stronger and last longer.
If you have structural issues, use epoxy-resin compounds. They need a bonding coat for the best strength and are great for busy areas.
Environmental factors matter too. If you work in places with extreme temperatures or moisture, choose materials that can handle these conditions.
BANDě Concrete Patching Compound is another great option. It has a mix of high-quality polymers and aggregates. This gives it strong sticking power and flexibility. It works well for both inside and outside projects. Its quick-setting formula allows for fast repairs, reducing downtime.
By knowing the types of patching compounds and when to use them, you can do effective concrete patch repair. Picking the right materials not only makes your repairs last longer but also helps your concrete surfaces stay strong.
Prepare for Concrete Patching
Clean the Surface
Before you start concrete patching, you must clean the surface. A clean area helps the patching material stick well. Follow these steps to get the damaged area ready:
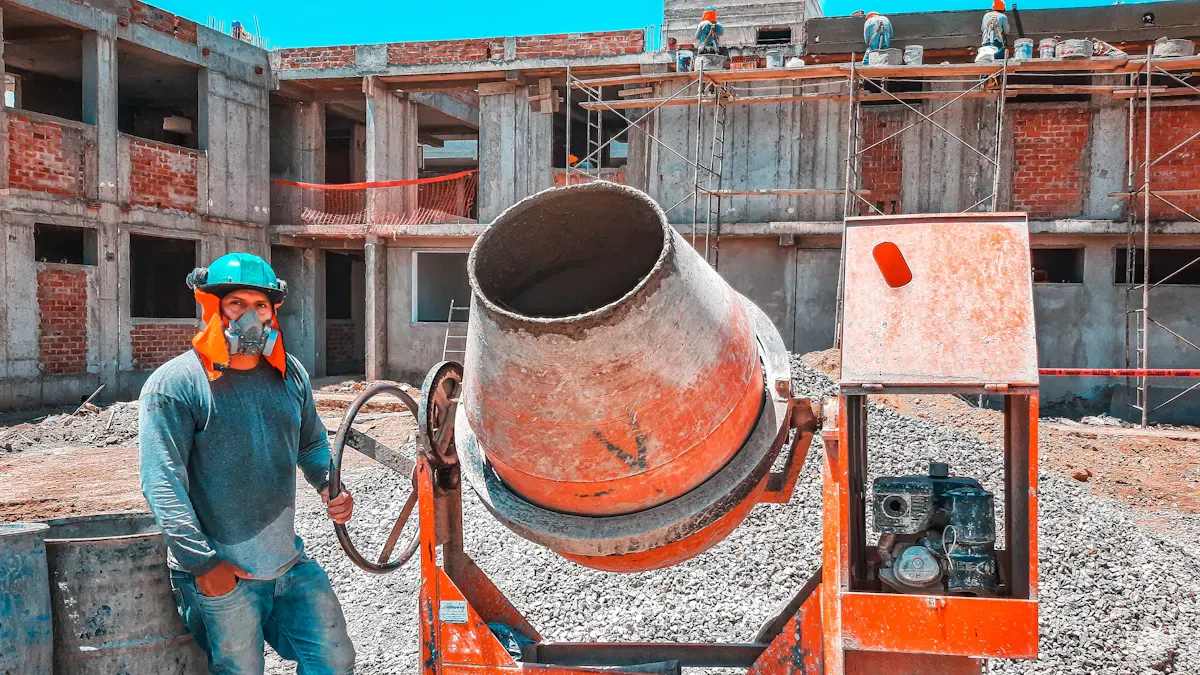
Wear Personal Protective Equipment (PPE): Always wear gloves, safety goggles, and a dust mask. This keeps you safe from debris and harmful stuff.
Remove Loose Debris: Use a wire brush or pressure washer to get rid of dirt, dust, and other contaminants. This step is very important for a strong bond between the old and new concrete.
Roughen the Surface: Make the surface rough with a grinder or chisel. This roughness helps the patch stick better, making your repairs last longer.
Wet the Area: Lightly wetting the surface can help the patching material stick better.
Prepare the Area
Getting the area ready is just as important as cleaning. A well-prepared site helps your repairs last longer. Think about these factors:
Environmental Conditions: Check the temperature and moisture levels. Extreme conditions can change how your patching materials cure.
Safety Precautions: Make sure the area is safe. Remove any obstacles that could cause accidents while you patch.
Gather Necessary Tools: Have all your tools ready, like cleaning tools, patching materials, and chisels or grinders. This preparation saves time and helps everything go smoothly.
By doing these steps, you prepare for successful concrete patching. Good surface preparation not only helps the bond between the old concrete and the repair material but also makes sure your repairs last longer.
Techniques to Repair Concrete Cracks
Step-by-Step Application
Fixing concrete cracks needs a careful plan. Follow these steps to do it right:
Prepare the Area: Start by cleaning the crack well. Use a wire brush or compressed air to remove dirt and dust. This step is very important for a strong bond.
Undercut the Crack: Use a chisel to make an undercut along the crack’s edges. This helps the patch stick better and stops future cracks.
Choose the Right Patching Material: Pick a patching compound that fits the crack type. For small cracks, use liquid fillers. For bigger cracks, choose polymer-modified mortars or epoxy-resin compounds.
Mix the Patching Material: Follow the instructions on the package to mix the patching compound. Make sure it has a smooth texture without lumps.
Apply the Patch: Use a trowel to put the patching material into the crack. Press down hard to remove air pockets and ensure it sticks well. Smooth the surface to match the rest of the concrete.
Cure the Patch: Curing is very important for a strong bond between the repair and the old concrete. Keep the area moist while it cures to stop it from drying too fast. Wet concrete helps it stick better and reduces shrinkage or cracking.
Finish the Surface: After the patch has cured, you can finish the surface. Use a concrete grinder or sander to smooth out rough edges and blend the patch with the surrounding area.
Common Mistakes to Avoid
When fixing concrete cracks, avoid these common mistakes to get good results:
Inadequate Surface Preparation: Not cleaning the crack well can cause poor sticking and early failure of the repair.
Ignoring Curing Requirements: Skipping curing or not keeping it moist can weaken the bond and cause cracks to come back.
Using Incorrect Materials: Choosing the wrong patching compound can lead to bad repairs. Always match the material to the crack’s needs.
Neglecting Environmental Factors: Extreme temperatures or moisture can change how the patch cures. Always check the weather before starting your repair.
Rushing the Process: Take your time with each step. Hurrying can cause mistakes that hurt your repair.
By following these steps and avoiding common mistakes, you can fix concrete cracks well and make your surfaces last longer.
Finishing Touches for Concrete Patching
Smooth the Surface
After you put on your patching material, you want it to look smooth. This step is very important for a nice finish. Here are some ways to help you:
Use a Trowel or Float: While the patch is still wet, use a trowel or float to smooth it out. This helps get rid of rough spots.
Sand the Area: After the patch dries, gently sand it to fix any bumps. This makes the surface even.
Consider a Resurfacer: If you want a nicer look, think about using a resurfacer or skim coat. This can help the patched area match the rest of the concrete.
Timing is key when smoothing the surface. If you trowel too soon, you might leave marks. If you wait too long, it will be too hard to work with. Aim for a firm but soft texture for the best results.
Aesthetic Considerations
How it looks is very important in concrete patching. You want the repaired area to blend in well with the existing surface. Here are some tips to help you do that:
Color Matching: Use real samples to pick colors instead of screens. Mixing dry powder products can help you get the right shades. Always test the filler in a hidden spot to see how it looks after you apply it.
Blending Techniques: Make sure the surface is wet but not puddled. For small defects, fill cracks with dry cement and add moisture from the concrete. Use different troweling patterns to hide marks.
Sealing: Think about sealing the patched area. This not only makes it look better but also protects it from water, freeze-thaw damage, and erosion.
By paying attention to these finishing touches, you can make sure your concrete patching looks great and lasts a long time. Well-cured repairs will keep their strength and appearance, improving the overall look of your concrete surfaces.
Fixing concrete surfaces the right way has a few important steps. First, check for damage by looking at cracks and surface problems. Then, pick the right materials based on what you find. Clean and roughen the surface to help the patch stick better. Use the patching methods carefully and make sure to cure it properly for lasting strength.
To keep your repaired surfaces in good shape, think about these tips:
Curing well keeps repairs from drying too fast.
Use sealants to stop water from getting in.
Check regularly to find small problems early.
Watch for signs of damage in the area.
By doing these steps and taking care of your surfaces, you can make sure your patching work lasts a long time.
FAQ
What is the best time to patch concrete?
You should patch concrete when temperatures are between 50°F and 90°F. Avoid rainy or extremely hot days. Ideal conditions help the patching material cure properly.
How long does concrete patching take to cure?
Most concrete patches take about 24 to 48 hours to cure. However, full strength may take up to 28 days. Keep the area moist during this time for best results.
Can I paint over patched concrete?
Yes, you can paint over patched concrete once it fully cures. Use a concrete primer first to ensure better adhesion. Choose a paint designed for concrete surfaces.
How do I know if my patching material is mixed correctly?
Your patching material should have a smooth, lump-free consistency. Follow the manufacturer’s instructions for mixing ratios. If it looks too dry or too wet, adjust accordingly.
What should I do if my patch cracks again?
If your patch cracks again, inspect the underlying cause. It may be due to improper preparation or environmental factors. You may need to re-evaluate your repair method and materials.
See Also
The Definitive Guide to Effective Concrete Crack Repair
Choosing the Ideal Epoxy Concrete Patch for Your Needs
Selecting the Right BANDě Concrete Patch for Your Task