

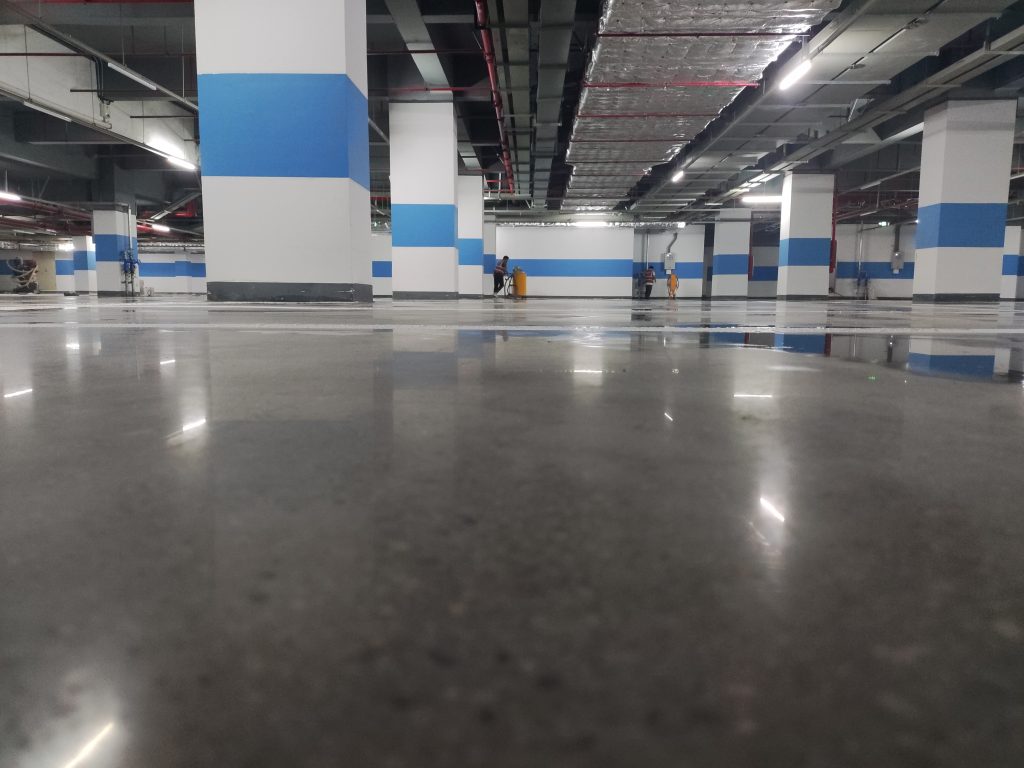
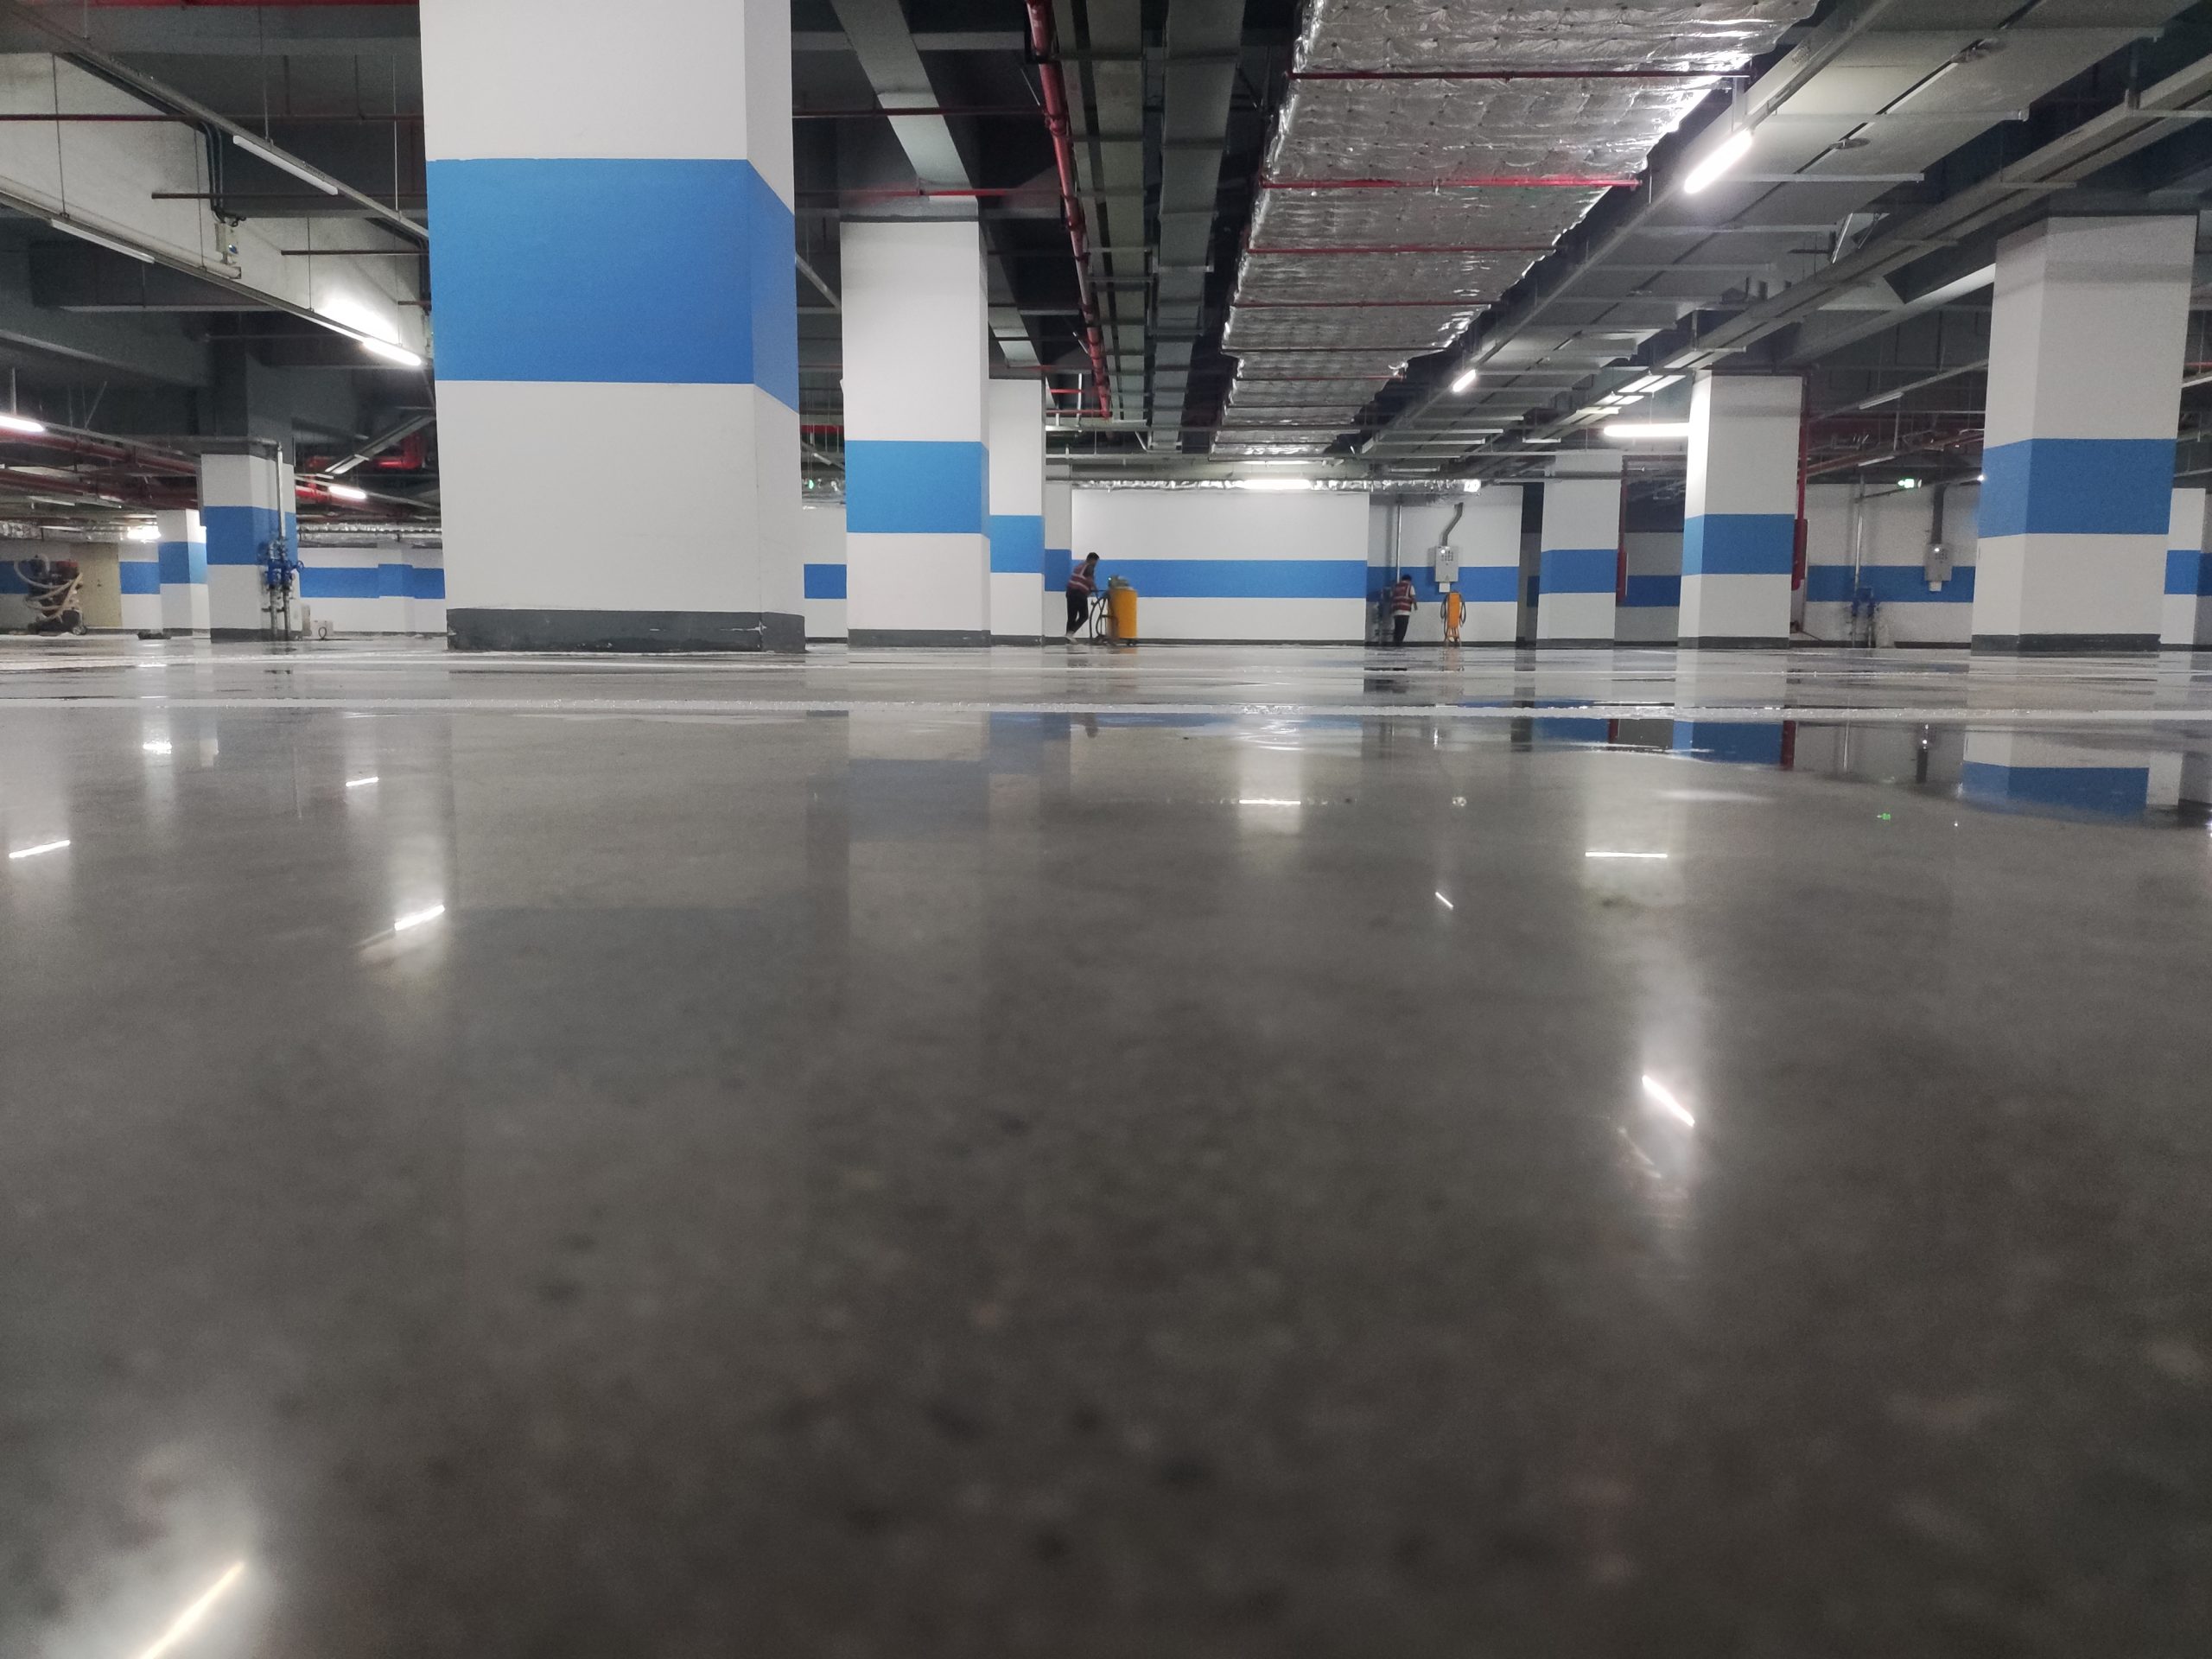
Are you fed up with cracks in your parking lot? A self healing crack sealer for concrete driveway and parking lot repair can help fix your concrete surfaces. These innovative products make repairs simple and efficient. They also keep your concrete strong and durable. You will appreciate how these sealers repair damage on their own, saving you both time and money. They outperform traditional methods and have a longer lifespan. It’s wise to consider using them for your repair needs!
Key Takeaways
Self-healing sealers fix cracks by themselves. This saves you time and work.
These sealers make concrete stronger. This helps it last longer with heavy weight.
Check and maintain your parking lot every one to two years. This helps find problems early and makes it last longer.
Getting the surface ready and having good weather is very important for using the sealer well.
Put on the sealer again every two to three years. This keeps your parking lot strong and looking good.
Benefits of Self Healing Crack Sealer
Automatic Repair Features
One great thing about the self healing crack sealer for concrete driveways and parking lots is that it can fix itself. This cool product copies how nature heals itself. When cracks appear in your concrete, the sealer turns on and starts to fix the damage by itself.
Think about having a product that fills cracks and stops them from getting worse. The sealer has Bacillus subtilis bacteria in it. These bacteria make calcium carbonate, which fills cracks and helps keep your concrete strong. This means your parking lot stays strong and looks good for a longer time, so you won’t need to fix it often.
Enhancing Durability
Using a self healing crack sealer makes your concrete surfaces much stronger. The self-healing process helps concrete beams hold up better under weight. This is really important for parking lots with a lot of cars.
When you use the BAND Cement Crack Sealer, you fix current cracks and also make your concrete tougher against future damage. The result? A surface that lasts longer and can handle daily use.
Cost-Effective Solution
You might think self healing materials cost a lot, and while they can be 10–30% more than regular methods, the savings over time are clear. These sealers can make your concrete last longer, sometimes even twice as long. This means fewer repairs, which saves you money as a homeowner.
Besides cutting down on maintenance costs, the self repairing features of the sealer let you worry less about cracks. You can spend more time enjoying your parking lot. The mix of strength and cost savings makes the self healing crack sealer a smart choice for anyone wanting to keep their concrete surfaces in good shape.
Preparing to Repair Cracks in a Concrete Driveway
Surface Cleaning
Before you apply the self-healing sealer, clean your driveway well. Here’s how to do it:
Clear the Driveway of Debris and Obstacles: Take away leaves, dirt, and other junk. Use a stiff broom to sweep and pick up big items by hand.
Pre-Wet Surrounding Landscaping for Protection: Soak nearby plants with water. This protects them from chemicals during cleaning.
Choose the Right Cleaner for Your Specific Stains: Pick a cleaner that works best for the stains you have.
Pressure Wash the Driveway: Set up your pressure washer. Use the right PSI settings and work from top to bottom in sections.
Use a Surface Cleaner Attachment for Even Results: This tool helps clean evenly without leaving streaks.
Rinse Thoroughly and Inspect for Remaining Spots: After cleaning, rinse the driveway well and check for leftover cleaner or stains.
Cleaning is very important. Contaminants like efflorescence can stop your sealer from sticking. You want a strong bond for the best results.
Damage Assessment
Next, check the damage to your driveway. This step is important for planning your repair. Here’s what to do:
Categorize Damage Severity: Decide if the cracks are small and easy or big, which may need professional help.
Evaluate Root Causes: Look for things like heavy loads or water that might have caused the cracks.
Document Damage Extent: Write down the cracks. This helps you choose the best repair methods and budget.
Use Nondestructive Testing: For tricky issues, think about using ground penetrating radar to find hidden problems.
Tool Gathering
Having the right tools ready makes the job easier. Here’s a list of what you need:
Hammer and chisel: For taking out bad concrete.
Wire brush or broom: To clean debris from cracks.
Pressure washer: For tough cleaning jobs.
Hydraulic cement: Important for filling cracks and holes.
Primer: To help the waterproofing material stick better.
Brushes, rollers, or spray equipment: For putting on the sealant.
Backer rods: To control how deep the sealant goes in wider cracks.
With everything ready, you can start mixing and applying the BAND Cement Crack Sealer. This preparation will help you fix cracks in a concrete driveway and make sure it lasts a long time.
Application Process
Applying the Sealer
Your driveway is ready. Now, apply the BAND Cement Crack Sealer. Follow these steps for good results:
Check the Weather: Make sure it’s between 5°C and 35°C. Don’t apply the sealer if it’s rainy or very humid. This helps it dry well.
Wear Protective Gear: Wear long sleeves, gloves, and goggles. This keeps you safe from chemicals.
Mix the Sealer: Stir the sealer before using it. This mixes everything evenly.
Apply the Sealer: Use a brush, roller, or spray to put on the sealer. Start at one end of the crack and go to the other. Apply it evenly.
Tip: Overlapping strokes are important for even coverage. This stops streaks and makes the surface look smooth.
Ensuring Even Coverage
To cover the area evenly, follow these tips:
Use Consistent Pressure: Apply the sealer with steady pressure. This keeps the layer even.
Work in Sections: Divide the area into small parts. Focus on one part at a time to avoid missing spots.
Avoid Buildup: Don’t put too much sealer in one place. If there’s buildup, spread it out with a brush.
Curing Time
After applying the sealer, let it dry properly. Here’s what to know:
Curing Duration: Let it dry for 24 hours before walking on it. Wait 72 hours for heavy cars.
Monitor Conditions: Watch the temperature and humidity while it dries. High humidity slows drying. Low temperatures make it take longer.
Note: Knowing how weather affects drying helps you plan better. Different sealers react differently to weather, so keep this in mind.
By following these steps, your BAND Cement Crack Sealer will work well and last long.
Tips for Effective Use
Weather Considerations
The weather is very important when using self-healing sealers. Try to work when it’s between 5°C and 35°C. Don’t use it on rainy or very humid days. These conditions can make it hard for the sealer to stick and dry well.
Tip: Always check the weather before you start. If rain is coming, wait for a better day.
Regular Maintenance
To keep your parking lot looking nice and working well, regular maintenance is important. Here are some tips to help your self-healing sealer last longer:
Inspect Every One to Two Years: Look for any damage or wear.
Make Timely Repairs: Fix problems quickly to stop more damage.
Use the Right Materials: Pick polyurethane sealants and backer rods for repairs.
Implement a Maintenance Program: Plan regular tasks to keep everything in good shape.
Clear Debris: Keep the surface clean and make sure water drains well to protect your concrete.
By following these steps, you can keep your parking lot strong and enjoy its benefits for many years.
Avoiding Mistakes
Avoiding common mistakes can save you time and money. Here are some things to watch out for:
Ignoring Proper Surface Preparation: Always clean surfaces well. Dust, grease, or water can stop strong sticking.
Incorrect Joint Design and Sizing: Keep the right width-to-depth ratio to avoid tearing.
Using Incompatible Substrates: Make sure the sealant matches the materials you’re using.
Disregarding Curing Times: Give enough time to cure and don’t apply in extreme weather.
Smoothing and Tooling Errors: Use the right tools to avoid hurting the sealant.
Overlooking Paintability Windows: Know when you can paint over the sealant for good sticking.
Choosing the Wrong Sealant Formulation: Pick the right type based on your needs.
By keeping these tips in mind, you can make sure your application is successful and enjoy a strong, long-lasting parking lot.
Post-Application Maintenance
Routine Cleaning
To keep your parking lot looking good, clean it regularly. Here are some easy steps to follow:
Scrub with Mild Soap: Use gentle soap to wash the surface. Look for cracks while you scrub.
Treat Green Growth Promptly: If you see moss or algae, deal with it quickly to stop it from spreading.
Vinegar or Bleach Mixture: Every three to four months, use a vinegar or bleach mix for a deeper clean.
Rinse Thoroughly: After cleaning, rinse the area well to get rid of any leftover soap.
Remove Winter Salt and Sand: In spring, clear away any salt or sand left from winter.
Use a Leaf Blower: In fall, blow away wet leaves to stop stains and slippery spots.
Keep Snow Clear: In winter, make sure to clear snow and use sand or cat litter for better grip.
Regular cleaning helps keep your self-healing sealer working well and your parking lot looking fresh.
Monitoring Cracks
You should watch your repaired surface to catch any problems early. Here’s how to do it well:
Conduct Routine Inspections: Check for cracks, especially those under 1/4 inch wide. Fix them quickly to stop more damage.
Document Maintenance: Write down when you applied the sealer and any weather conditions. This helps you see how well your repairs are working.
Stress Testing: Sometimes, pretend to use the surface like real traffic and temperature changes to see how it holds up.
Address Small Cracks Promptly: Fix any small cracks right away to stop water from getting in and causing bigger issues.
By checking your parking lot often, you can make sure your self-healing sealer works well for a long time.
Reapplication Guidelines
Knowing when to put on more self-healing sealer is important for keeping your parking lot nice. Here are some signs that it’s time to reapply:
Cracked Sealant Lines: Look for old material around cracks.
Visible Shrinkage: Check for gaps forming around edges.
Recent Isolated Leaks: If you see a leak but no long-term damage, it might be time to reapply.
Surface-Level Damage: If only the top shows wear, your base may still be strong.
Reapplying every two to three years helps keep your parking lot strong. By following these tips, you can keep your surface solid and looking great for years!
Using self-healing sealers like the BAND Cement Crack Sealer can change how you fix your driveway. Here are some important benefits:
They fix cracks by themselves, which saves you time and work.
These materials lower maintenance costs and make your concrete last longer.
A city project showed that self-healing areas needed repairs half as often, which saved a lot of money.
By following the steps in this blog, you can keep your concrete surfaces in good shape. So, why wait? Start today and enjoy a stronger, longer-lasting parking lot!
FAQ
What is a self-healing crack sealer?
A self-healing crack sealer is a product that automatically repairs cracks in concrete. It uses special bacteria to fill gaps and strengthen the surface, making it durable and long-lasting.
How do I apply the self-healing sealer?
To apply the self-healing sealer, clean the surface, mix the product, and use a brush or roller for even coverage. Ensure the temperature is right and avoid applying in wet conditions.
Can I use self-leveling caulk with the sealer?
Yes, you can use self-leveling caulk for additional repairs. It works well with the self-healing sealer to fill larger gaps and ensure a smooth finish.
How often should I check my parking lot for cracks?
Inspect your parking lot every one to two years. Early detection of cracks helps you address issues before they worsen, ensuring your surface remains strong.
When should I reapply the sealer?
Reapply the sealer every two to three years or when you notice cracks or shrinkage. Regular maintenance keeps your parking lot looking great and functioning well.
See Also
The Definitive Guide to Effective Cement Crack Sealing
Essential Tips for Choosing Cementitious Crack Sealers
Comprehensive Guide to Effective Concrete Crack Patching
