


Achieving smooth finishes on textured wall coating for contractors is very important for high-end projects. You will face challenges like picking the right materials and learning application techniques. But these challenges can bring big rewards. By improving your skills, you get a competitive edge in the market. You can make unique designs that match client ideas. This leads to repeat business and more money.
Benefit | Description |
|---|---|
Competitive Edge | Stand out in the market by offering high-end finishes. |
Creative Fulfillment | Work with clients to design unique, custom spaces. |
Repeat Business | Happy clients often ask for more work or refer others. |
Increased Earnings | Higher project fees for premium finishes mean better income. |
Using these techniques will boost your reputation and improve your projects.
Key Takeaways
Clean and fix surfaces well before adding coatings. This helps get a smooth finish.
Pick the right primer for the wall type. This improves sticking and lasts longer.
Use good application methods, like thin layers of drywall mud. This reduces sanding and gives a perfect look.
Sand between coats to remove bumps and get the surface ready for paint.
Focus on final checks and cleaning to keep high standards and make clients happy.
Preparation
Clean the Surface
Before you smooth textured walls, clean the surface well. Dust and dirt can affect how well things stick and look in the end. Here are some good cleaning methods:
Mix a few drops of dish soap in warm water. Use a soft sponge or microfiber cloth for light cleaning.
For tough stains or greasy spots, TSP wall cleaner is great. It removes dirt and grime easily, making it a top choice for wall prep.
Repair Damage
Next, check the walls for any damage. Fixing these problems helps you get a smooth finish. Common types of damage include:
Type of Damage | Repair Method |
|---|---|
Holes | Hole patching |
Cracks | Crack repair |
Water damage | Water damage restoration |
Ceiling damage | Ceiling repair |
Dents | Dent removal |
Seam damage | Seam repair |
You might find small cracks from settling, tiny holes from nails, or bigger holes from hits. Fix these issues before moving on to make sure the surface is perfect.
Prime for Success
Priming is very important for a smooth finish on textured walls. The right primer helps things stick better and last longer. Think about these options:
Primer Type | Best For |
|---|---|
Latex (Water-Based) | Drywall, General interior projects, Light to medium stains |
Oil-Based | Heavily stained areas, Raw wood, Surfaces needing strong sealing |
Shellac-Based | Extreme stain-blocking, Wood surfaces that bleed |
Specialty Primers | Special tasks like bonding or mildew resistance |
Choosing the right primer affects how good your final paint job looks. Good surface prep not only helps things stick but also makes the coating last longer. This step stops expensive repairs later, keeping your high-end projects looking great.
Application Techniques
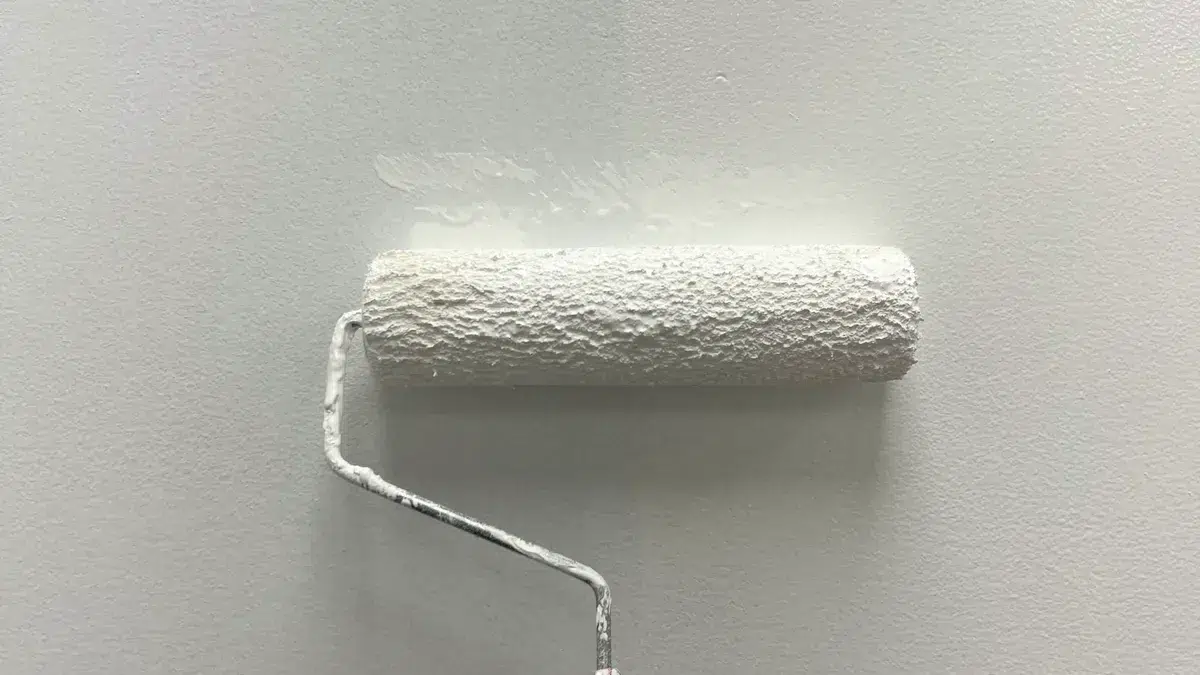
Apply a Coat of Drywall Mud
To make smooth textured walls, you need to apply drywall mud well. First, mix the joint compound with water until it is just right. This helps the mud spread easily and stick well. When you put on the mud, use a trowel or a curved knife. These tools help you create a nice surface finish.
Spread the joint compound in thin layers. This way, you won’t need to sand much and it won’t crack.
Always fix dents and cracks with lightweight spackle or joint compound before adding mud. This makes the surface flat and free of blemishes.
Use Proper Tools
Choosing the right tools is very important for a smooth finish. Good tools can change how your work looks in the end. Here are some tools you should think about:
Trowels & Knives: Great for Venetian plaster and knockdown effects.
Texture Rollers: Come in different patterns for various finishes.
Sponges & Rags: Helpful for faux finishes and rag-rolling techniques.
Combs: Good for making linear or wavy etched effects.
Hopper Guns: Best for heavier textures like orange peel or popcorn.
Brushes: Needed for color washes and suede-like finishes.
Using good brushes and rollers made for smooth surfaces helps paint go on evenly. Cheap tools can cause streaks and uneven coverage, which makes the final product look bad.
Sand Smooth Between Coats
Sanding is a key step for smooth textured walls. You should lightly sand between coats to improve the final look. Here are some tips for good sanding:
Use 80-120 grit sandpaper for the first sanding to smooth the joint compound and seams.
For the last sanding before painting, switch to 150-180 grit sandpaper.
Think about using a sponge for sanding curves and corners well. This helps you reach tricky spots without hurting the surrounding area.
Putting on thinner layers of mud means you won’t have to sand a lot. Getting your mudding technique right reduces mistakes, leading to a perfect finish. Remember to let it dry completely before sanding to keep the surface safe.
By learning these professional application techniques, you can make sure your textured wall coating for contractors gets the smooth finish you want.
Finishing Touches
Sand Smooth
Sanding smooth is very important for a perfect finish on textured walls. After you put on the last coat of mud, let it dry completely. Once it’s dry, use a sanding block or an electric sander to make the surface smooth. Here are some tips for good sanding:
Start with 120-grit sandpaper to get rid of bumps.
Then use 220-grit sandpaper for a smoother finish.
Always sand in a circular motion to avoid flat spots.
This process helps you remove any bumps or ridges. It makes sure the surface is ready for painting. A smooth finish makes your project look professional and polished.
Clean and Inspect
After sanding, you need to clean and check the walls carefully. This step is very important for quality. A clean surface helps your paint stick well and look good. Here’s how to do your final cleaning and inspection:
Dust Removal: Use a damp cloth or vacuum to take off dust from the walls.
Surface Smoothness Test: Run your hand over the surface to feel for bumps.
Cleanliness Verification: Make sure there is no dust left that could stop the paint from sticking.
You can look at this table for a quick overview of the cleaning and inspection steps:
Step | Purpose |
|---|---|
Surface smoothness test | Finds bumps that may affect how wallpaper looks. |
Cleanliness verification | Makes sure surfaces are free from dust that could stop paint from sticking. |
Primer coverage assessment | Checks that the surface is prepared evenly, preventing problems with wallpaper sticking. |
By following these steps, you can make sure your textured walls meet industry standards. For example, a Level 5 finish needs a full skim coat over the whole surface. This ensures a glass-smooth finish with no visible bumps. This attention to detail makes your work stand out as a painting contractor and improves your reputation in high-end projects.
Getting smooth finishes on textured walls needs careful work. Here are some important steps to follow:
Thorough Surface Preparation: Clean the walls, fix any problems, and sand them smooth.
Applying the Right Primer: Use a good primer to seal and prepare the surface.
Professional Application Techniques: Use rollers or sprayers for even coverage and accuracy.
Final Touches and Cleanup: Check your work, fix any problems, and clean up the area.
Remember, good preparation helps things stick better and last longer. Skipping these steps can cause a bad finish. By learning these techniques, you can get great results that please your clients and improve your reputation as a painting contractor.
FAQ
What is the best primer for textured walls?
Use a latex primer for general interior projects. For heavily stained areas, choose an oil-based primer. Specialty primers work well for specific tasks like mildew resistance.
How long should I wait between coats of drywall mud?
Wait at least 24 hours for each coat to dry completely. This ensures a smooth finish and prevents issues like cracking or peeling.
Can I use a roller for applying drywall mud?
Yes, you can use a roller for applying drywall mud. It helps cover large areas quickly. However, use a trowel for edges and corners for better precision.
What grit sandpaper should I use for finishing?
Start with 120-grit sandpaper for initial sanding. For the final finish, use 220-grit sandpaper. This combination ensures a smooth surface ready for painting.
How do I know if my surface is ready for painting?
Run your hand over the surface to check for bumps. Ensure it feels smooth and clean. Dust should be removed to allow proper paint adhesion.
See Also
BAND: Transform Your Walls With Decorative Coatings in 2025
Expert Techniques For Applying Waterproof Coatings On Various Surfaces
Selecting The Ideal Moisture Barrier For Walls And Floors In 2025
BANDe’s Comprehensive 2025 Guide To Polished Concrete Densifiers
Tips For Choosing The Right Flexible Waterproof Sealer For Projects
