

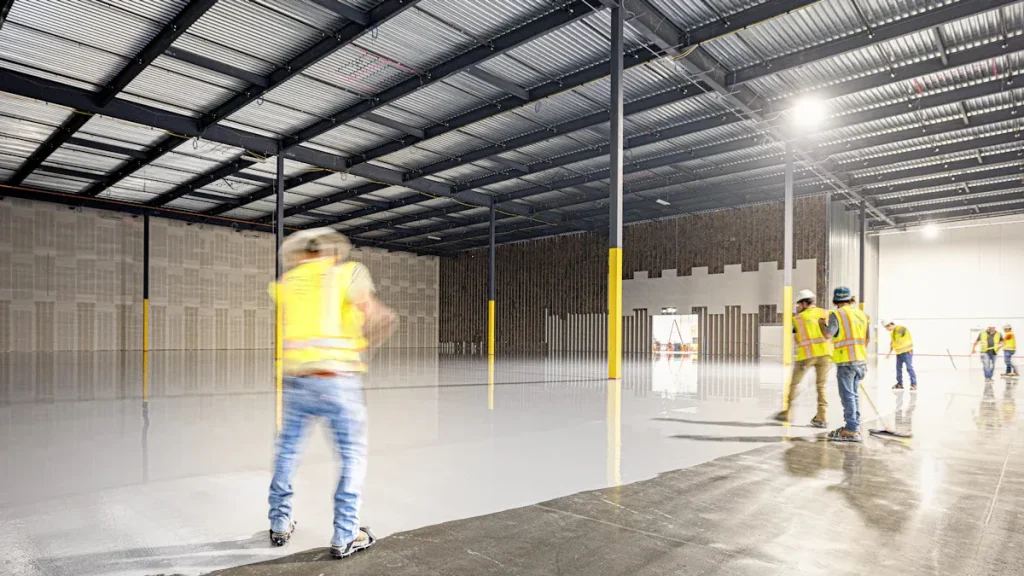

Proper preparation sets the stage for successful floor hardener installation. You must ensure the surface is clean and dry before applying any product. This step is crucial for achieving the best results. Using floor hardener boosts durability, making your floors tougher and more resistant to wear. Plus, it enhances aesthetics, adding beauty to your space.
Key Takeaways
Prepare your surface by cleaning it thoroughly. Remove dirt and stains to ensure the hardener adheres properly.
Assess moisture levels before applying hardener. The moisture content should not exceed 14% for optimal performance.
Choose the right floor hardener based on your surface’s needs. Consider factors like durability and environmental impact.
Surface Prep
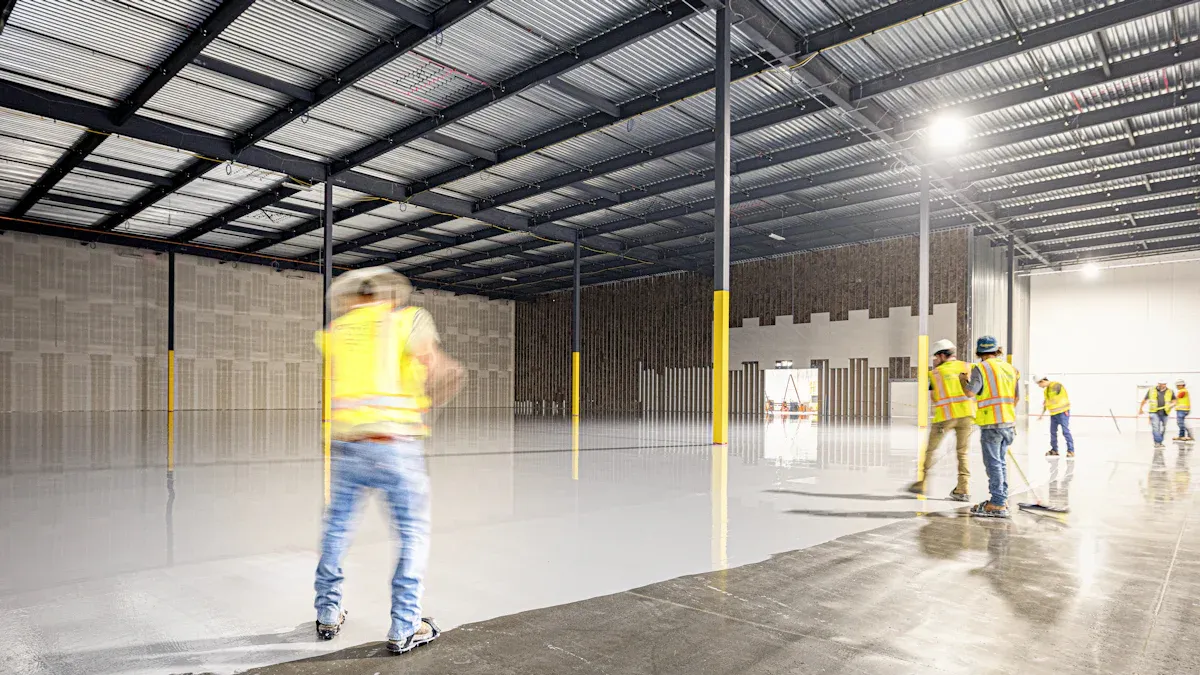
Preparing your surface is a vital step before applying floor hardener. A clean and dry surface ensures that the hardener adheres properly and performs effectively. Let’s dive into some essential cleaning techniques and how to assess moisture levels.
Cleaning Techniques
Start by removing any dirt, dust, or debris from the surface. You can use a broom or vacuum to clear away loose particles. For tougher stains or residues, consider using a pressure washer or a scrubber. These tools can help you achieve a deeper clean, ensuring that no contaminants interfere with the hardener’s performance.
Tip: Always check the manufacturer’s recommendations for cleaning products. Some surfaces may require specific cleaners to avoid damage.
Once you’ve cleaned the surface, inspect it closely. Look for any oil spots or residues that might have been missed. If you find any, use a degreaser to eliminate them. This step is crucial because oil can prevent the hardener from bonding effectively with the concrete.
Moisture Assessment
Next, you need to assess the moisture level of your concrete. Residual moisture can significantly affect the performance of floor hardeners. The hydration process of the cementitious material in the hardener relies on free water from the concrete mix. If the moisture content is too high, it can hinder the hardener’s ability to integrate properly.
To ensure optimal conditions, the moisture content of the surface must not exceed 14%. You can measure this using a moisture meter. If the reading is above this threshold, you may need to wait for the concrete to dry further before applying the hardener.
Requirement | Details |
|---|---|
Surface dryness | Moisture content must not exceed 14%, measured with a moisture meter. |
Surface cleanliness | Must be free of dirt, dust, oil, and other contaminants. |
Special cleaning for fungi | Use a specially designed cleaning product if fungi or algae are present. |
By following these cleaning and moisture assessment steps, you set the stage for a successful floor hardener application. A well-prepared surface leads to better adhesion, durability, and overall performance of your floors.
Choosing Floor Hardener
Selecting the right floor hardener is crucial for achieving the durability and performance you need. With so many options available, understanding the types of products and their compatibility with your surface can make all the difference.
Product Types
Floor hardeners come in various forms, each designed for specific applications. Here are some common types:
Sikafloor® MultiDur: Ideal for residential areas, storage spaces, logistics facilities, and even car parks. It’s a versatile choice for both light and moderate use.
Sikafloor® Dry Shake and Liquid Hardeners: These are perfect for non-critical heavy-duty industrial areas, as well as storage and sales spaces. They’re known for enhancing surface durability and reducing dusting on both new and old concrete.
When choosing a product, consider the level of abrasion resistance required. For industrial settings, abrasion resistance is key to withstanding wear from truck tires and heavy foot traffic. Products tested under the EN 13892-4 method are classified into classes like AR0.5 to AR6, with AR2 being the minimum standard for industrial floors. This classification helps you gauge how well a product will perform under stress.
Compatibility Factors
Not all floor hardeners work well with every surface. Before making a choice, assess your concrete’s condition and intended use. For example, if your floor will endure heavy impacts or vibrations, look for a product with high compressive and flexural strength. These properties ensure the floor can absorb energy without cracking, which is essential for long-term performance.
Also, consider environmental factors. Some products, like water-soluble inorganic compounds, are eco-friendly and safe for health. These are excellent options if sustainability is a priority for your project.
By understanding the types of floor hardeners and their compatibility with your surface, you can make an informed decision that ensures both durability and aesthetics.
Applying Hardener
Applying floor hardener correctly is essential for achieving a durable and long-lasting finish. You want to ensure that the hardener spreads evenly across the surface. Let’s explore some effective application techniques and the best timing and conditions for your project.
Application Techniques
Uniform application of the hardener is crucial. An uneven layer can lead to weak spots, which may compromise the floor’s durability. Here are some tips to help you apply the hardener effectively:
Use a Sprayer or Roller: A sprayer can help you achieve an even coat, especially on larger surfaces. If you prefer a roller, make sure to use one with a thick nap to hold enough product.
Work in Sections: Divide the area into manageable sections. This approach allows you to focus on one part at a time, ensuring that you apply the hardener uniformly before it starts to set.
Overlap Your Strokes: When applying, overlap your strokes slightly. This technique helps to avoid any missed spots and ensures a consistent layer across the entire surface.
Tip: Always follow the manufacturer’s instructions regarding the application thickness and drying times. This guidance can help you avoid common pitfalls.
Timing and Conditions
The timing of your application can significantly impact the results. Ambient conditions, such as temperature and humidity, play a vital role in how well the hardener performs. Here are some key points to consider:
Ideal Temperature: Aim to apply the hardener when temperatures are between 50°F and 90°F (10°C to 32°C). Extreme temperatures can affect the curing process and the hardener’s effectiveness.
Humidity Levels: High humidity can slow down the drying time. If the humidity is above 70%, consider postponing your application. You want the surface to dry quickly to ensure proper adhesion.
Avoid Rain or Direct Sunlight: If possible, avoid applying the hardener during rainy weather or direct sunlight. These conditions can lead to uneven curing and affect the final appearance of your floor.
By paying attention to these application techniques and timing conditions, you can ensure that your floor hardener adheres properly and performs well over time. A well-applied hardener will enhance the durability of your concrete floors and keep them looking great for years to come.
Finishing Touches
Curing Process
After applying the floor hardener, you need to focus on the curing process. Curing is crucial because it allows the hardener to bond effectively with the concrete. This step enhances the durability and strength of your floor. To ensure proper curing, keep the surface moist for at least 24 hours. You can use a fine mist spray to lightly dampen the area.
Tip: Avoid heavy water flow, as it can wash away the hardener. A gentle mist is all you need!
Also, protect the surface from foot traffic and heavy objects during this time. If possible, cover the area with plastic sheeting to retain moisture and prevent dust from settling on the surface.
Final Inspection
Once the curing period is over, it’s time for a final inspection. This step is essential to ensure everything looks great and functions well. Start by checking for any uneven spots or areas that may need touch-ups. Look for signs of dust or debris that might have settled during the curing process.
If you notice any imperfections, don’t hesitate to apply a bit more hardener to those areas. After that, consider sealing your floor. Sealing adds an extra layer of protection and enhances the overall appearance.
Final Note: A thorough inspection and sealing will help your floors maintain their beauty and durability for years to come!
By following these finishing touches, you’ll ensure that your newly treated floors not only look fantastic but also stand the test of time.
Maintenance Tips
Keeping your floors in top shape requires regular maintenance. By following some simple cleaning practices, you can extend the life of your floor hardener and keep your surfaces looking great.
Cleaning Practices
To maintain the integrity of your floor, consider these essential cleaning tips:
Plan Ahead: Proper planning and coordination are key. Monitor ambient conditions, as they can affect moisture levels on your concrete surface.
Keep It Clean: For new concrete, ensure the surface is free from dirt, dust, oil, and other contaminants. If you spot fungi or algae, use a specially designed cleaning product to tackle those issues.
Old Concrete Care: Check for stains or contaminants on older surfaces. Clean them using appropriate methods to ensure a spotless finish.
Wipe Excess Product: During application, if you notice any excess hardener, wipe it off with a cloth or sponge before it sets. This prevents puddling, which can lead to white stains or delamination.
Tip: Regularly sweeping or vacuuming your floors can help prevent dirt buildup and maintain their appearance.
Reapplication Tips
Over time, your floor hardener may need reapplication to keep it performing at its best. Here’s how to approach it:
Assess the Condition: Check your floor regularly for signs of wear or damage. If you notice any issues, it might be time to reapply the hardener.
Follow Manufacturer Guidelines: Always refer to the manufacturer’s instructions for reapplication. They provide specific recommendations based on the product you used.
Timing Matters: Ideally, reapply the hardener during dry weather when temperatures are moderate. This ensures optimal adhesion and performance.
By following these maintenance tips, you can ensure that your floors remain durable and beautiful for years to come!
You’ve learned how to prepare your surface, choose the right hardener, and apply it effectively. Following these tips leads to durable, beautiful floors. Remember, dry shake floors offer long-term savings with low maintenance costs. So, take action today and transform your floors into a stunning, resilient space! 🌟
FAQ
What is a floor hardener?
A floor hardener is a product that strengthens and enhances the durability of concrete floors, making them more resistant to wear and tear.
How long does it take for a concrete floor to cure after applying hardener?
Typically, a concrete floor slab takes about 24 to 48 hours to cure properly after applying the hardener, depending on environmental conditions.
Can I apply floor hardener to an existing concrete floor?
Yes, you can apply floor hardener to an existing concrete floor. Just ensure the surface is clean and dry for optimal results.
See Also
Top 5 Tips For Hardening Concrete Floors In 2025
Understanding Floor Hardeners And Their Working Mechanism
Everything You Should Know About BANDě Floor Hardener
