
Applying floor hardener correctly is vital for extending your concrete floor’s life and boosting its performance. This guide provides a step-by-step approach for maximum durability, using 2025 best practices on concrete. You will see increased abrasion resistance, reduced dusting, and improved aesthetics, ensuring your concrete’s lasting durability and performance.
Key Takeaways
Floor hardeners make concrete floors stronger and last longer. They stop dust and protect against damage.
Prepare your concrete surface well before applying hardener. This helps the hardener work best and stick properly.
Apply hardener carefully and follow all instructions. This ensures your floor stays durable for many years.
Understanding Floor Hardeners and Their Benefits
What Floor Hardeners Are
Floor hardeners are special treatments you apply to concrete surfaces. They significantly improve the strength and durability of your concrete. You will find two main types: liquid concrete hardener and dry shake concrete hardener. Liquid concrete hardener penetrates the concrete, reacting with its components to create a denser, more robust surface. Dry shake concrete hardener, on the other hand, is a powdered material you broadcast onto fresh concrete and then trowel in. Both types enhance the concrete’s inherent properties, making it tougher and longer-lasting.
Benefits of Hardener Application
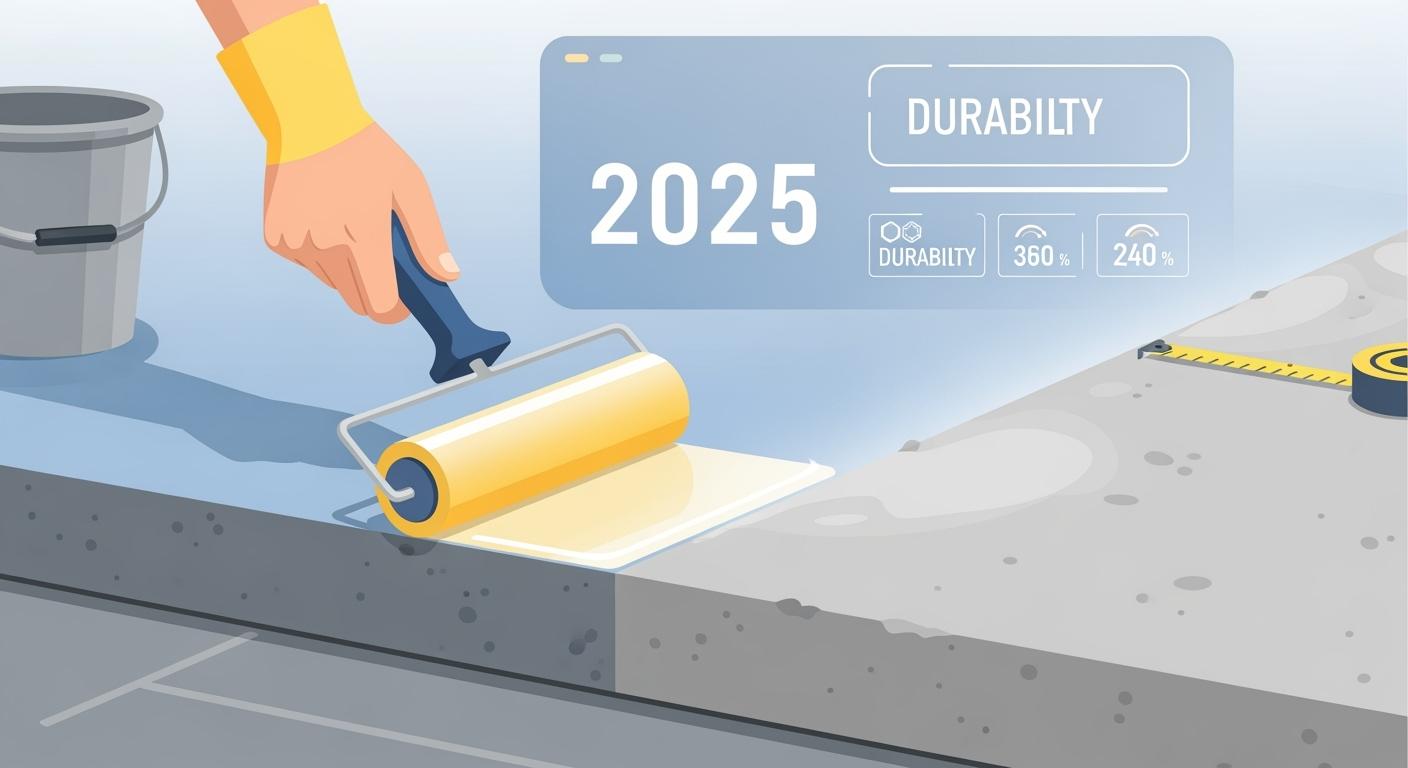
Applying a floor hardener offers many advantages. You get increased abrasion resistance, which means your concrete floor can withstand heavy traffic and impacts much better. Dry-shake hardeners can even double or triple the service life of your concrete floors. High-strength overlays with calcined bauxite aggregate provide three times higher abrasion resistance than base concrete. Silica fume can increase abrasion resistance by as much as 40 percent. You will also notice reduced dusting, a common problem with untreated concrete. Hardeners provide chemical resistance, protecting your concrete from spills. For example, epoxy flooring resists chemicals, abrasion, and moisture, guarding against oil and solvents. Polyaspartic coatings resist caustic soluble solutions. Certain epoxies, like vapor barrier types, are engineered to resist corrosive solutions formed by moisture and soluble salts. This all leads to overall longevity and better performance characteristics for your concrete.
Solving Common Concrete Floor Problems
Floor hardeners solve many common issues you face with concrete floors. They eliminate dusting, which is a major pain point. You also reduce high maintenance costs because the floor becomes easier to clean and less prone to damage. The short lifespan of traditional concrete coatings is no longer a concern. Hardeners also address environmental concerns by offering durable, long-term solutions. Consider BANDě Crystal Floor Hardener. This high-quality liquid concrete hardener offers deep penetration for permanent hardening. It gives your concrete a lasting crystal shine. It is dust-proof and stain-resistant. This product is eco-friendly, with low VOCs and non-toxic properties. You can apply it quickly, and it offers superior durability, lasting 15+ years. It increases compressive strength by 40% and wear resistance by 300%. You can use this liquid concrete hardener on new or old concrete, terrazzo, and power-troweled floors. Non-metallic dry shake concrete hardener also offers excellent durability. Many epoxy flooring systems also include hardeners to boost their performance and durability.
Optimal Floor Hardener Application Methods
Applying floor hardener correctly makes all the difference. You need to follow specific steps to ensure maximum durability. This section guides you through the best application methods for your concrete.
Surface Preparation for New Concrete
When you work with new concrete, timing is everything. You must ensure the concrete surface has reached the correct plasticity. This means it is firm enough to walk on but still workable. Before you apply any liquid concrete hardener or dry shake concrete hardener, the surface must be clean. Remove all dust, debris, and any standing water. A clean surface allows the hardener to bond properly.
Surface Preparation for Existing Concrete
Preparing existing concrete requires more effort. First, thoroughly clean the surface. You need to remove all dust, grease, oil, and any other contaminants. Use a degreaser if necessary. Make sure there is no standing water. Next, inspect the concrete for cracks or damage. You must repair these areas before applying any floor hardener. You might need to etch the surface with an acid solution or grind it down. This creates a profile that helps the hardener penetrate and adhere better. Proper preparation is key for the long-term durability of your concrete.
Environmental Factors and Safety
Environmental conditions greatly affect how your floor hardener performs. Always check the temperature and humidity. Most products have specific ranges for optimal application. Avoid applying hardener in extreme heat or cold. Good ventilation is also crucial, especially when working indoors. Open windows and doors, or use fans. Safety is paramount. Always wear appropriate personal protective equipment (PPE). This includes safety glasses, gloves, and a respirator. Read the product‘s safety data sheet (SDS) for specific recommendations.
Mixing and Application Methods for Floor Hardener
Mixing your floor hardener correctly is vital for optimal chemical reaction. If you use a two-part system, like many liquid concrete hardener products, you must thoroughly blend the resin and hardener. Measure accurately to get the correct ratio. For example, some epoxy floor coatings use a 2:1 mix ratio.
Product | Mix Ratio (by volume) | Pot Life (1.5 gallon volume) |
|---|---|---|
E671 UV Resistant Epoxy Floor Coating | 2:1 | 20-30 min |
Only mix batches you can apply within the product’s ‘pot life’. This is the usable working time after you combine the components. For many 2K water-based systems, the pot life can range from 45 minutes to 3 hours. For instance, Manadatec VL45C 2K Epoxy Self-Levelling Thick Coating has a working time of about 40 minutes at 20 °C.
You have several application methods for floor hardener.
Spraying: This is common for liquid concrete hardener. It provides even coverage over large areas.
Rolling: You can use a roller for smaller areas or when spraying is not practical.
Brooming: Some liquid hardeners can be spread with a soft-bristle broom.
Dry Shake Method: For dry shake concrete hardener, you broadcast the powder evenly over fresh concrete. Then, you power-trowel it into the surface.
Choose the right technique based on your product and project size. Pay attention to the recommended application rates for your chosen product. Different dry shake hardeners and liquid concrete hardener products have varying application rates.
Achieving Even Coverage and Penetration
Achieving uniform distribution is key for consistent results. Work in sections to manage your application. This helps you ensure every part of the concrete receives the correct amount of floor hardener. For liquid products, make sure the surface stays wet for the recommended time. This allows for deep penetration. Some products might require multiple coats. Check the manufacturer’s instructions to determine if and when you need a second application. Proper application rates ensure the hardener works effectively. You want to avoid puddling or dry spots. This guarantees maximum durability for your concrete.
Curing and Post-Application Care
Curing is a critical step. It allows the chemical reaction to complete and the hardener to reach its full strength. For conventional, non-polished dry shake concrete hardener floors, you should cure and seal them immediately after finishing. Use a suitable cureseal product. This protects the surface and aids in the hardening process. After application, you need to allow sufficient drying time before traffic.
Timeframe | |
|---|---|
Tack Free | 7-10 hours |
Light foot traffic | 16-24 hours |
Recoat or Topcoat | 12-18 hours |
Full cure | 2-7 days |
These times can vary based on the specific product and environmental conditions. Following these guidelines ensures the best performance and durability from your floor hardener. Always check the product data sheet for exact application rates and curing times.
Avoiding Mistakes and Ensuring Long-Term Performance
Common Application Mistakes to Avoid
You must avoid common pitfalls when applying floor hardener. Improper surface preparation is a big one. If your concrete has dirt, grease, or too much moisture, your hardener won’t stick right. Applying hardener to concrete with improper moisture content can lead to big problems. You might see vapor trapped beneath the epoxy, bubbling, or even blisters. In the worst cases, you get total delamination of the hardener from the concrete surface. Incorrect mixing ratios also cause issues. If you use the wrong ratio or don’t mix thoroughly, you get soft, sticky, or uneven coatings. This creates weak spots that never fully cure, directly impacting the long-term performance and durability of your concrete floor. Uneven application or applying in unsuitable environmental conditions also hurts your results. Never skip curing or post-application care for your concrete.
Maintenance for Extended Floor Life
After applying your hardener, respect initial drying and traffic restrictions. This protects the fresh application. Regular cleaning preserves the hardener’s effectiveness. You should use pH-neutral cleaners for polished concrete floors. Harsh, acidic, or alkaline cleaners can strip protective layers and dull the finish prematurely. Regular dry dust mopping or vacuuming prevents abrasive particles from scratching the concrete surface. For wet cleaning, use microfiber mops and environmentally friendly, low-impact solutions. Neutral silicate-based cleaners can help replenish minor surface porosity and restore luster. Always prevent contamination; never apply polishing chemicals to concrete surfaces with excessive dirt, moisture, or prior coatings.
Reapplication Considerations
Over time, even with good care, you might see minor wear and tear on your concrete, such as small scratches or dulling. In such cases, a re-coat or touch-up might be necessary to restore its appearance and protective qualities. For polished epoxy floors, you might need a re-burnish or topcoat every three to five years in high-traffic areas. This helps maintain the long-term durability of your concrete. Assess the need for reapplication by observing the floor’s condition and how it handles daily use.
Meticulous application is crucial for your floor hardener’s durability and performance. Remember, proper preparation, precise techniques, and diligent post-application care are non-negotiable for your concrete. By following these guidelines, especially with a quality product like BANDě Crystal Floor Hardener, you significantly extend the life and enhance the functionality of your concrete floors. This protects your concrete investment, ensuring lasting performance and quality for your concrete surfaces. Your concrete will thank you.
FAQ
How long does floor hardener last?
High-quality hardeners, like BANDě Crystal, can last over 15 years. Proper application and maintenance extend its life. You get long-term durability.
Can I apply hardener to old concrete?
Yes, you can. You must thoroughly clean and repair existing concrete first. This ensures proper adhesion and performance.
What are the main benefits of using floor hardener?
You get increased abrasion resistance, reduced dusting, and improved chemical resistance. This makes your floor last much longer. It protects your investment.
See Also
Maximize Concrete Durability: Your 2025 Guide to Floor Hardener Application
2025 Comparative Guide: Selecting the Optimal Floor Hardener for Your Needs
The 2025 Handbook: Choosing the Ideal Concrete Floor Hardener Solution
Liquid Concrete Solutions: Hardener, Sealer, and Densifier Explained for Floors
Floor Hardening Insights: Weighing Pros and Cons for Diverse Floor Types