
Using a ready mix concrete patch is very important for good repairs. It helps fix problems like cracks, rough edges, and holes. Many homeowners and businesses deal with these issues. If not fixed quickly, they can cause more damage.
To begin, you need to prepare the surface. Then, pick the right bonding method. Finally, apply the patch the right way. Following these steps makes sure your repair is strong and lasts a long time.
Key Takeaways
First, find out what type of concrete damage you have. This helps you pick the right materials and methods for good repairs.
Next, clean the area where you will repair. Remove any loose pieces and scrub the surface. You might want to use a bonding agent to help it stick better.
Pick the right bonding agent for your repair. You can choose from acrylic, epoxy, or latex agents. Each one works best in different situations.
Mix your ready mix concrete patch the right way. Use a 4:1 ratio of mix to water for the best strength and smoothness.
Finally, cure and seal your patch correctly. Keep it wet for at least a week. After that, put on a sealer to protect it from water and stains.
Repair Needs
Damage Types
To fix concrete, you must first find out what type of damage you have. Here are some common problems you might see:
Hairline cracks: These tiny lines show up because of drying, ground movement, or temperature changes.
Spalling: This flaking happens when water freezes inside the concrete, making pieces break off.
Structural cracks: These deeper cracks can weaken your concrete. They often happen because steel inside is rusting.
Uneven surfaces: Ground movement or heavy use can create bumps, which can be tripping hazards.
Knowing these damage types helps you choose the right repair method and materials, like a ready mix concrete patch.
Repair Size
Next, you should figure out how big the repair area is. Here are some ways to help you check:
Measure the repair area. Use the largest height, width, and depth to make sure you have enough material.
For big repairs, think about having a professional check the damage. It’s important to write down and get approval for the repair plan before starting.
To help you check how serious cracks or holes are, look at this table:
Criteria | Description |
|---|---|
Width | Hairline cracks (less than 1/16 inch) are small; cracks wider than 1/4 inch are serious. |
Movement | Use tape to monitor; if it breaks or pulls apart, it shows movement and a big problem. |
Location | Cracks far from walls are less serious than those near important parts. |
Pattern | Straight cracks may mean settling; jagged cracks could show structural movement. |
By knowing the damage types and checking the repair size, you prepare yourself for successful concrete repairs.
Prepare the Surface
Cleaning the Area
Before you put on a ready mix concrete patch, you need to clean the surface well. This step is very important for a strong bond. If the surface is dirty, the patch won’t stick properly. This can cause problems later. Here’s how to clean the area well:
Remove loose materials: Start by scraping off any broken concrete or junk. Use a strong stick or scraper for this job.
Brush the surface: Use a stiff brush to scrub the area. This gets rid of dirt and dust. A clean surface is better for sticking.
Wash the concrete: Rinse the area with water while scrubbing. This keeps the surface a little wet, which helps with bonding.
Apply a bonding layer: Think about using a bonding agent made from Portland cement and water. This layer helps the patch stick better.
Cleaning is very important because it removes things like oil or tree sap. These can weaken the bond between the patch and the concrete. Remember, a clean surface means a stronger repair.
Moisture and Bonding
Moisture is very important for bonding. You need to check the moisture level of the surface before applying the patch. Here’s why:
Aspect | Explanation |
|---|---|
Increased space between cement grains | Too much moisture can create bigger gaps between pieces, making it weaker. |
pH levels could compromise adhesive bond and strength | High humidity can raise the pH, which weakens the bonds in concrete. |
Microbial growth | Too much moisture can cause mold, which harms the concrete. |
To help bonding, you might need to wet the surface a little before putting on the patch. But don’t use too much water, as it can make the patch less effective.
By taking time to clean the area and control moisture, you prepare for a good repair. Proper surface preparation is key for a strong and lasting bond with your ready mix concrete patch.
Bonding Methods
Types of Bonding Agents
Choosing the right bonding agent is very important for concrete patch repairs. Here are some common types you might think about:
Acrylic-based bonding agents: These are great for general patch repairs. They help with sticking and flexibility, making them good for many surfaces.
Epoxy-based bonding agents: If you need a strong bond, epoxy is the best choice. It works well for industrial uses and connects old and new concrete well.
Latex or PVA-based bonding agents: These are cheaper options for inside repairs. But, they might not be the best for wet areas.
Here’s a quick look at some popular bonding agents:
Bonding Agent | Description |
|---|---|
Quikrete Acrylic Fortifier | Helps stick to existing concrete and makes the mix stronger, so it stays in place quickly. |
SikaLatex Concrete Bonding Adhesive | Works as a fortifier and bonding agent, making it better against freeze-thaw cycles. |
Application Scenarios
Knowing when to use each bonding agent can help you get the best results. Here are some situations to think about:
Bonding Agent Type | Application Scenario |
|---|---|
Use for general concrete repair and overlays. It helps with sticking and flexibility, especially in different temperatures. | |
PVA Bonding Agent | This is a cheap choice for lighter jobs. It works well for non-structural repairs and small projects. |
Epoxy Resin | Best for high-performance needs. It gives great bonding ability, especially for connecting fresh concrete to old concrete. |
By picking the right bonding agent for your repair needs, you can make sure of a strong and lasting bond. Paying attention to this will help your repairs last longer.
Applying the Ready Mix Concrete Patch
Mixing Techniques
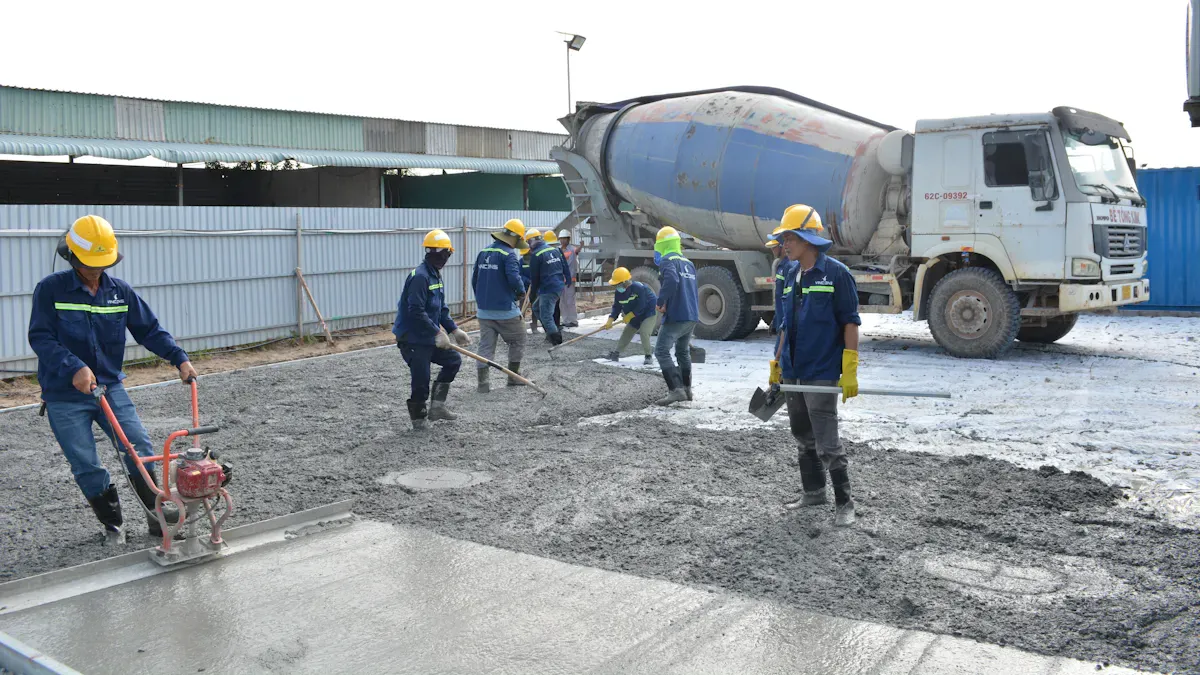
Getting the right mix is crucial for a successful repair. You want your ready mix concrete patch to have the perfect consistency. Here are some best practices to follow:
Start with the right ratio: Begin with a 4:1 ratio of mix to water. Adjust as needed, but don’t exceed a 3:1 ratio. This helps maintain the strength of your patch.
Mix thoroughly: Use a concrete mixer or a sturdy mixing tool. Stir the mixture for about two minutes to ensure complete consolidation. This step is key to achieving a uniform consistency.
Wear gloves: If you’re mixing by hand for small patches, always wear gloves. This keeps your hands safe from the materials.
By following these techniques, you’ll create a patch that bonds well and stands the test of time.
Application Methods
Now that you have your mix ready, it’s time to apply the repair material. Here’s how to ensure full coverage and a strong bond:
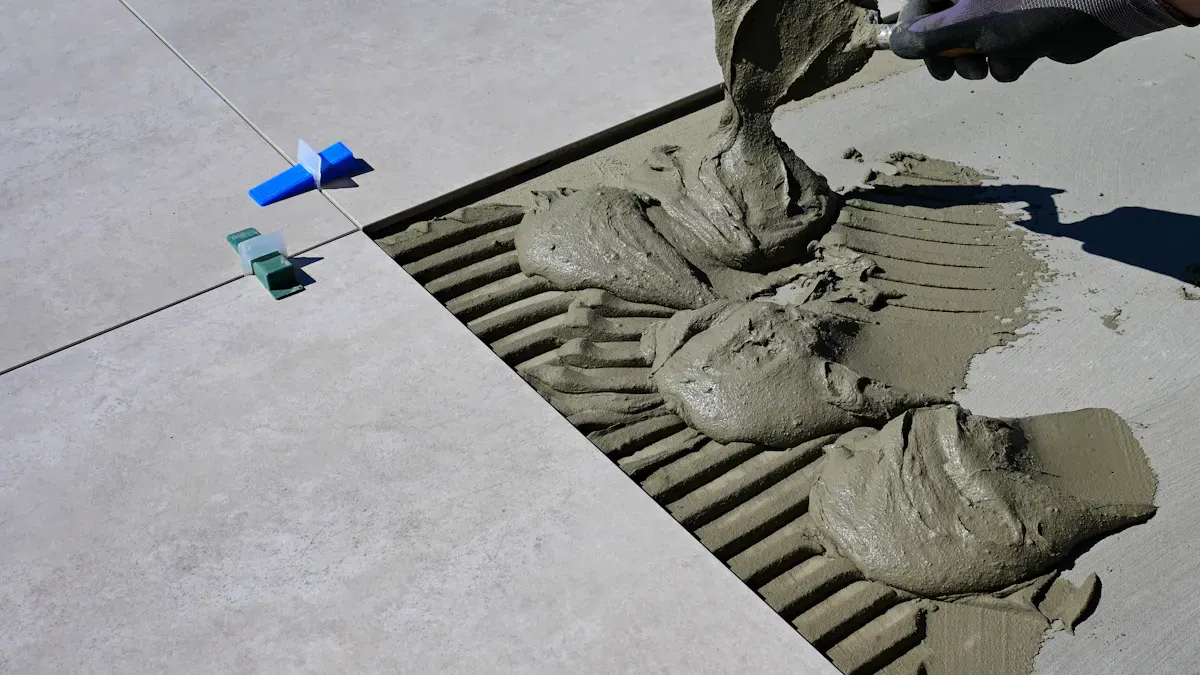
Use a margin trowel: Apply the mix to the damaged area with a margin trowel. This tool helps you get into tight spots and ensures even distribution.
Rod the material: After applying, use a rod to remove air bubbles. This step is essential for a strong bond and prevents weak spots in your repair.
Smooth the surface: Use a flat trowel to smooth the patch. Make two or three passes without overworking it. This gives you a professional finish.
Feather the edges: Spread the material to a feather edge. This creates a smooth transition to the surrounding concrete, making your repair less noticeable.
Consider consistency: For easier spreading, mix to a looser 3:1 consistency. This can help the patch flow better into the repair area.
Tip: Proper surface preparation is crucial. Ensure the surface is clean, structurally sound, and slightly damp before applying the patch. This will enhance the bonding process.
By using these application methods, you’ll achieve effective coverage and a durable repair. Remember, taking your time during this step pays off in the long run.
Finishing Touches
Smoothing the Surface
After you put on your ready mix concrete patch, you need to smooth the surface. This makes it look professional. Here are some tips to help you:
Check the surface: Make sure it is strong before you start.
Clean the area: Get rid of any loose dirt or debris.
Pick a bonding method: You can use a mechanical or chemical bond. For a mechanical bond, apply a wet scratch coat. For a chemical bond, use a liquid bonding agent like Sakrete Bonder & Fortifier.
Wet the surface: On hot days, lightly spray the surface. This stops water from leaving too fast, which helps the bond.
Check your work: After 24 hours, gently tap the patch. This checks if a strong bond has formed.
These steps will help you make a smooth surface that matches the surrounding concrete.
Curing and Sealing
Curing and sealing your concrete patch is very important for strength. Proper curing helps the concrete get strong and stops cracks. Here’s how to do it right:
Cure the patch: Keep the surface wet for at least a week. You can use a damp cloth or lightly spray it with water. This helps the concrete cure evenly.
Seal the surface: After the patch has cured, put on a concrete sealer. This protects against water and stains, making your repair last longer.
Follow the instructions: Different sealers have their own ways to apply and dry. Read the label for the best results.
By paying attention to these finishing touches, your repairs will look good and last a long time.
Using a ready mix concrete patch can be straightforward if you follow the right steps. Start by identifying the damage and preparing the surface properly. Clean the area, choose the right bonding method, and mix your patch correctly. Remember to apply it evenly and smooth the surface for a professional finish.
Don’t rush through these steps! Taking your time ensures a strong bond and a durable repair. Curing your patch is crucial too. Keep it moist for several days to achieve the best strength. You can mist it with water or cover it with plastic sheeting.
By following these techniques, you’ll enjoy long-lasting repairs that stand the test of time.
FAQ
What is ready mix concrete patch?
Ready mix concrete patch is a pre-mixed material designed for repairing concrete surfaces. It offers excellent bonding and durability, making it ideal for fixing cracks, holes, and rough areas.
How long does it take for the patch to cure?
Typically, a concrete patch takes about 24 to 48 hours to cure. However, full strength may take up to a week. Keep the area moist during this time for the best results.
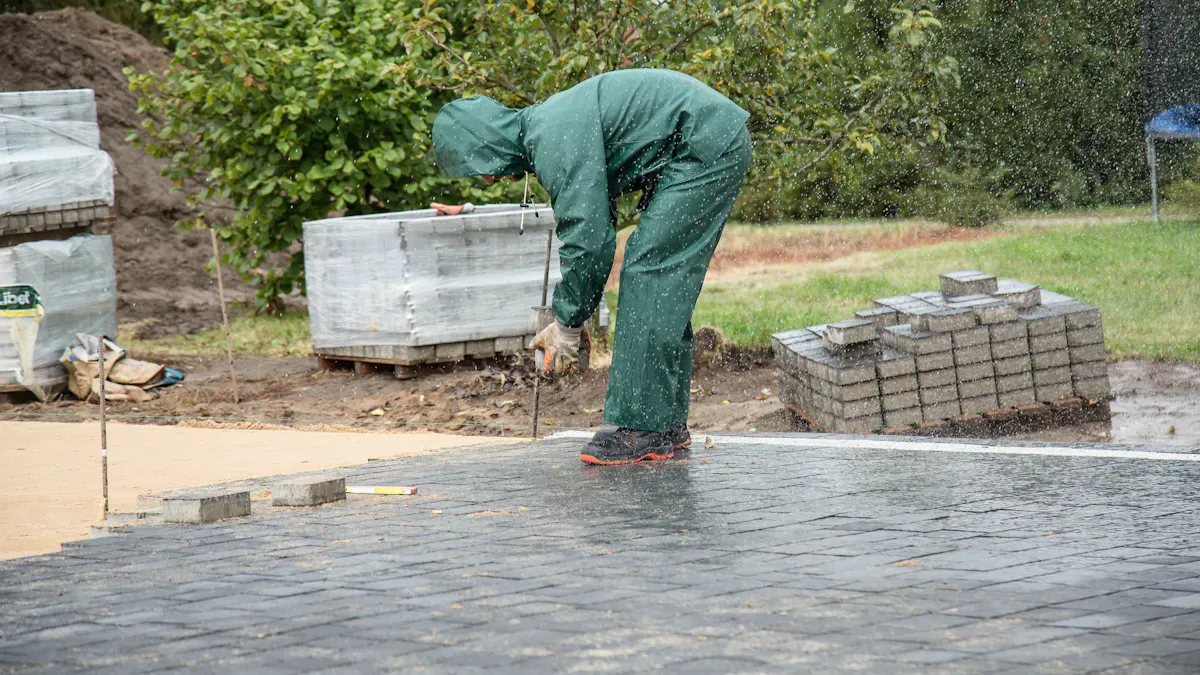
Can I use ready mix concrete patch outdoors?
Yes, you can use ready mix concrete patch outdoors. Just avoid applying it on rainy days. Ensure the surface is clean and dry for optimal bonding.
How do I know if my concrete needs repair?
Look for visible signs like cracks, spalling, or uneven surfaces. If you notice these issues, it’s time to consider using a concrete patch for repairs.
Is it necessary to use a bonding agent?
Using a bonding agent is highly recommended. It enhances the adhesion between the old and new concrete, ensuring a stronger and more durable repair.
See Also
The Definitive Guide to Effective Concrete Crack Repairs
Choosing the Ideal Epoxy Patch for Your Concrete Needs
The Comprehensive Guide to Durable Cement Crack Sealers