
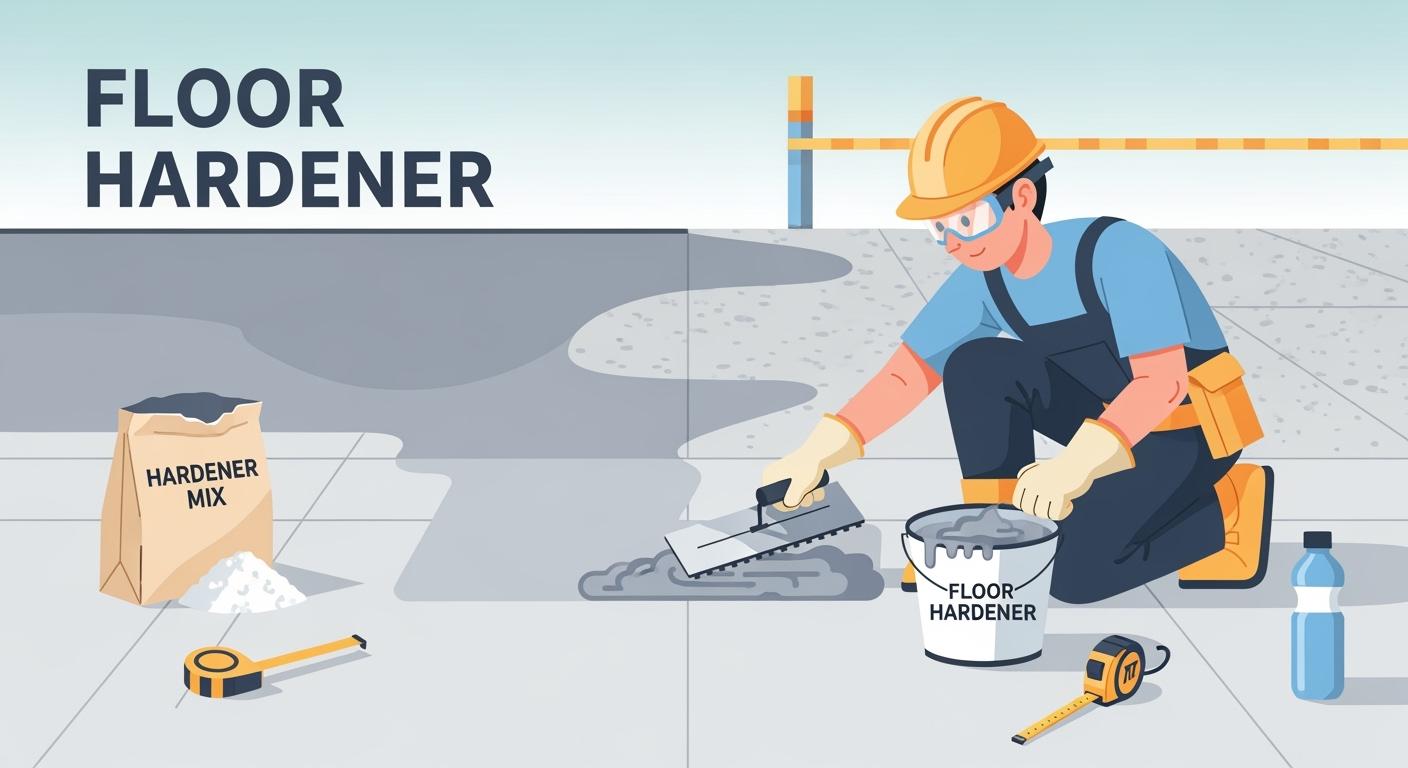
Applying a floor hardener significantly boosts the durability and longevity of your floors. These products strengthen concrete surfaces, making them more resistant to wear and tear. Proper application techniques are crucial to achieving the best results. Without them, you may not enjoy the full benefits of your floor hardener.
Key Takeaways
Thoroughly clean the concrete surface before applying a floor hardener to ensure proper adhesion and effectiveness.
Repair any cracks or imperfections in the concrete to create a smooth base for the hardener application.
Choose the right application method—dry-shake for new concrete and high-traffic areas, or liquid for existing surfaces and budget-friendly options.
Prep Surface for Floor Hardener
Clean Thoroughly
Before you apply concrete floor hardener, you must clean the concrete surface thoroughly. This step is crucial for ensuring proper adhesion and maximizing the effectiveness of the hardener. Follow these steps for effective cleaning:
Initial Cleaning: Start by sweeping the area to remove loose dirt and debris. Use an industrial vacuum cleaner or a brush for stubborn residues. If necessary, a pressure washer can help eliminate tough stains.
Surface Inspection: After cleaning, inspect the surface for any cracks, spalling, or other damage. Identifying these issues early allows you to address them before applying the hardener.
Final Cleaning: Ensure the surface is completely dry before moving on to the next steps. Moisture can hinder the bonding process.
Cleaning the surface properly prevents issues like peeling and bubbling during application.
Repair Imperfections
Next, you need to repair any imperfections on the surface. This step is vital for achieving a smooth and durable finish. Here’s how to effectively repair the surface:
Identify Imperfections: Look for cracks, holes, or chips that need attention.
Widen Cracks: Use a grinder with a cutting disc to widen any cracks. This allows for better penetration of the repair material.
Clean the Area: Remove dust and debris from the cracks using a vacuum. This ensures that the repair material adheres properly.
Fill Cracks: Use a concrete patching compound to fill the cracks and create a smooth surface. Make sure to follow the manufacturer’s instructions for the best results.
By addressing these imperfections, you create a solid base for the application of the floor hardener. Neglecting this step can lead to adhesion problems and compromise the integrity of the application.
Tip: Common mistakes during surface preparation include skipping cleaning, failing to repair cracks, and not profiling the concrete properly. These oversights can lead to coating failures and affect the overall performance of the hardener.
Apply Floor Hardener Techniques
Dry-Shake Method
The dry-shake method involves spreading a powdered floor hardener over freshly placed concrete. This technique allows the hardener to bond with the surface as the concrete cures. Here’s how to effectively apply the dry-shake method:
Timing: Apply the hardener when the concrete is still in its plastic state. This timing is crucial for achieving proper adhesion.
Application: Use a scoop or a spreader to evenly distribute the dry hardener across the surface. Aim for full coverage to ensure consistent results.
Finishing: After applying the hardener, use a trowel to work it into the surface. This process helps integrate the hardener with the concrete, enhancing durability.
The dry-shake method offers several benefits. It creates a tougher surface that integrates with the concrete, providing superior abrasion and impact resistance. This method is ideal for high-wear environments, making it a popular choice for industrial and commercial applications.
Liquid Method
The liquid method involves applying a liquid floor hardener to the surface of cured concrete. This technique is often preferred in specific situations. Here’s when to use the liquid application techniques:
Existing Concrete Surfaces: Liquid hardeners penetrate and enhance the properties of cured concrete, making them suitable for older surfaces.
Budget Constraints: If you need a cost-effective solution, liquid hardeners provide surface-level improvements without extensive preparation.
Aesthetic Requirements: Liquid hardeners offer a cleaner, more durable surface without significant changes to the existing concrete appearance.
Polished Concrete Applications: They prepare concrete for a high-gloss finish, enhancing both appearance and maintenance.
Light to Medium Traffic Environments: Liquid hardeners effectively reduce dusting and improve abrasion resistance.
While liquid floor hardeners primarily densify the surface, their effect is mostly superficial. In contrast, dry-shake hardeners create a more durable surface that integrates with the concrete. This distinction is essential when choosing the right method for your project.
Tip: Consider your specific needs and the environment where the floor will be used. The dry-shake method is excellent for high-wear areas, while the liquid method is more budget-friendly for light abrasion resistance.
Summary of Techniques
Both the dry-shake and liquid methods have their unique advantages. The dry-shake application is ideal for new concrete and high-traffic areas, while the liquid method suits existing surfaces and budget-conscious projects. Understanding these techniques will help you choose the best approach for applying the floor hardener effectively.
Best Conditions for Application
Ideal Temperature
The temperature plays a crucial role in the effectiveness of your floor hardener application. The ideal temperature range for applying and curing floor hardeners typically falls between 60°F (15°C) and 90°F (32°C). Within this range, the hardener cures efficiently, ensuring proper adhesion and optimal performance.
Type of Epoxy | Best Temperature Range (°F) | Best Temperature Range (°C) |
|---|---|---|
Water-Based Epoxy | 60 to 85 | 15 to 29 |
Solid-Based Epoxy | 70 to 85 | 21 to 29 |
Urethane Epoxy | 70 to 85 | 21 to 29 |
Using the hardener within these specified temperature ranges enhances its curing process. Warmer temperatures facilitate molecular movement, leading to improved reactions between the epoxy and hardeners. However, excessive heat can weaken the final product.
Timing Considerations
Timing is another critical factor in the application process. You should apply floor hardeners while the concrete is still in a plastic state. This ensures that the hardener bonds effectively with the surface. If you wait too long, the concrete may harden too much, making it difficult for the hardener to adhere properly.
Tip: Always monitor the timing for application closely. Applying the hardener at the right moment can significantly impact the durability and performance of your floor.
Weather conditions can also affect your application timing. High humidity can prolong the drying process, while rain can prevent the application of protective coatings. Excess moisture can lead to sticky surfaces and incomplete curing, which may compromise the integrity of your floor hardener.
By considering both temperature and timing, you can create the best conditions for applying your floor hardener, ensuring a successful and durable finish.
Safety Measures for Application
Personal Protective Equipment (PPE)
When applying floor hardeners, you must prioritize your safety. Using the right personal protective equipment (PPE) helps prevent injuries and exposure to harmful substances. Here are essential items you should wear:
Gloves: Use chemical-resistant gloves made from nitrile or butyl rubber to prevent skin contact with the hardener.
Safety Goggles: Protect your eyes from splashes or airborne droplets during mixing or application.
Respirator Mask: Wear a half-mask respirator with organic vapor cartridges to avoid inhaling epoxy fumes.
Protective Clothing: Long sleeves, pants, and coveralls shield your skin from epoxy drips.
Ventilation: Ensure proper airflow by using fans or opening doors when working indoors.
Taking these precautions significantly reduces the risk of accidents and health issues during the application process.
Environmental Impact
You should also consider the environmental impact of using floor hardeners. Here are some important regulations and guidelines to follow:
Your regulations depend on the quantity of hazardous waste generated. If you produce less than 100 kilograms (220 pounds) per month, you may qualify as a Conditionally Exempt Small Quantity Generator.
Leftover portions of resin and hardener do not need to be declared as waste if you can use them again.
Cured epoxy, which is fully solidified, is not classified as hazardous waste and can be disposed of as non-hazardous solid waste.
By following these guidelines, you can ensure that your application process is safe for both you and the environment.
Applying a floor hardener effectively requires careful attention to detail. Follow these key steps for optimal results:
Clean the concrete surface well before using the hardener to ensure better adhesion.
Fix any cracks in the concrete to create a smooth surface for application.
Choose the appropriate application method (dry-shake or liquid) based on the concrete’s condition and intended use.
Monitor temperature and humidity during application for optimal results.
Always wear safety gear (PPE) to ensure safety during the application.
By adhering to these procedures, you can achieve a successful application and enjoy long-lasting results.
FAQ
What is the best time to apply floor hardeners?
You should apply floor hardeners when the concrete is still in its plastic state for optimal adhesion.
Can I use floor hardeners on old concrete?
Yes, liquid floor hardeners work well on existing concrete surfaces, enhancing their durability and appearance.
How long does it take for floor hardeners to cure?
Curing times vary, but most floor hardeners cure within 24 to 48 hours, depending on environmental conditions.
See Also
Understanding BANDě Concrete Floor Hardener: Key Insights
Essential Tips for Choosing BANDě Floor Hardener in 2025
Floor Hardeners: Definition and Functionality Explained
Choosing the Ideal Concrete Floor Hardener for 2025
Concrete Floor Hardeners: Their Purpose and Operation Explained