

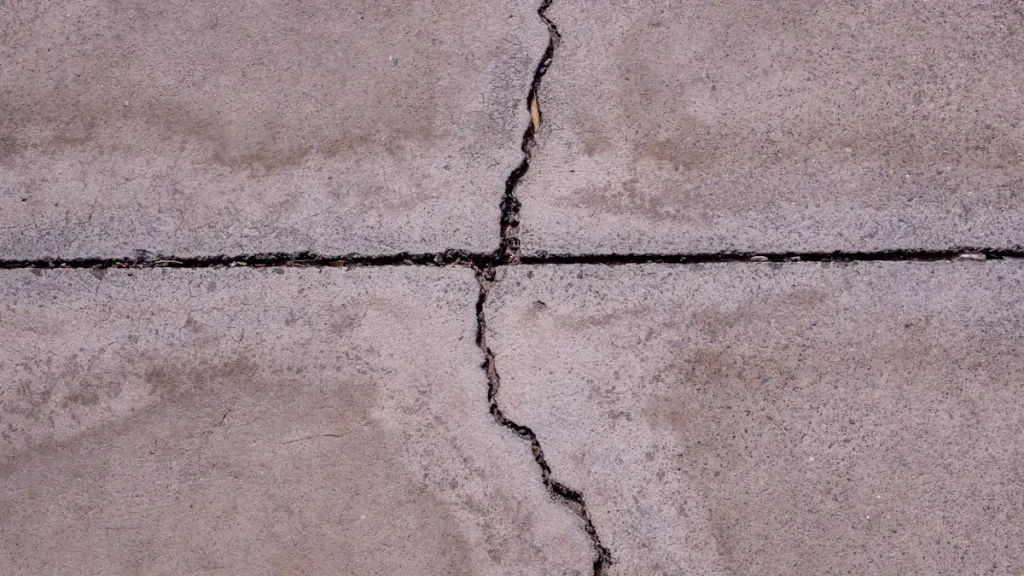
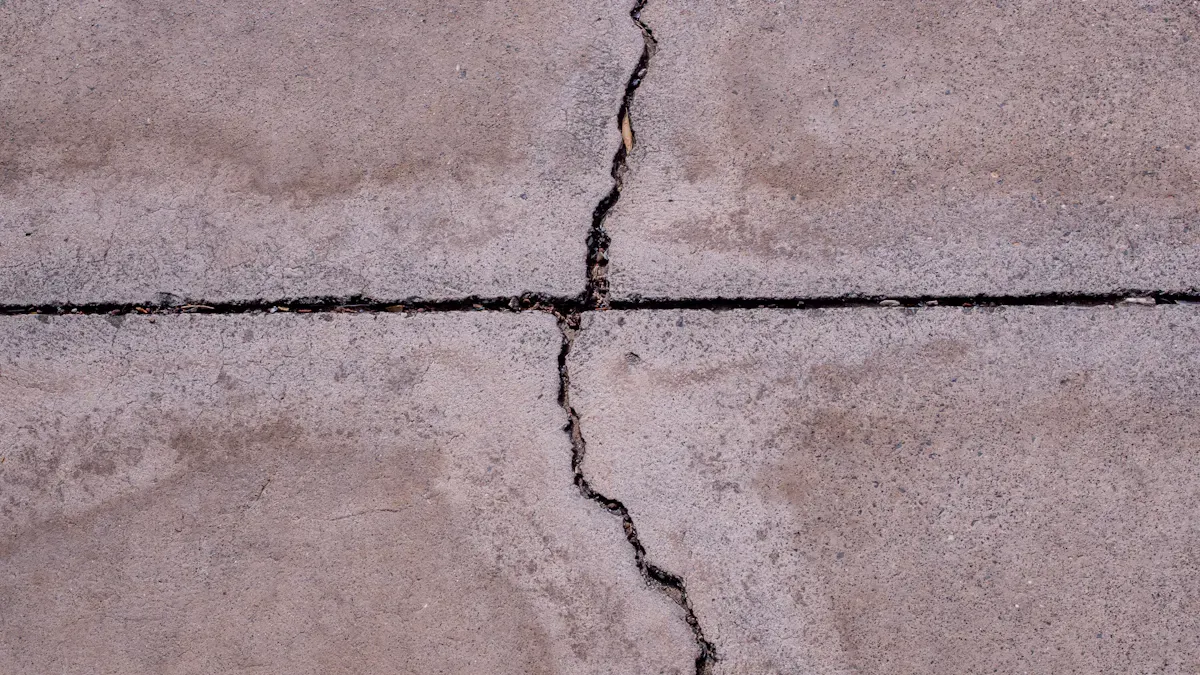
Are you worried about cracks in your concrete floors and walls? Sealing these cracks is crucial for keeping your surfaces strong and looking good. Cracks can lead to bigger problems, like moisture damage and corrosion. By taking care of them now, you can save yourself from costly repairs later. The process is simple and effective, involving just a few easy steps: clean the area, apply the sealant, and finish it off smoothly. Let’s dive into how to seal cracks in concrete floor and wall step by step!
Key Takeaways
Sealing cracks in concrete is important. It helps stop water damage and expensive repairs. Fix cracks early to protect your money.
Use the right tools, like a wire brush and caulking gun. This helps you prepare and apply sealant well. Good preparation gives better results.
Pick high-quality sealants, like BANDě Cement Crack Sealer. They last a long time. These sealants can fix themselves and stick well.
Check your concrete surfaces often for new cracks. Finding them early helps you avoid bigger problems and keep your property safe.
Follow these steps: clean the area, widen the cracks, apply sealant, and finish smoothly. This makes sure the repair is strong and neat.
Materials for Concrete Crack Repair
When you fix cracks in concrete, having the right tools is very important. Let’s look at what you will need to start.
Essential Tools
To fix cracks in concrete well, you need some key tools. Here’s a helpful table to help you:
Tool / Material Type | Specific Function / Use Case |
|---|---|
Wire Brush | Cleans and takes out weak material from cracks before fixing. |
Shop Vacuum / Wet-Dry Vacuum | Cleans up debris and loose material after you prepare the area. |
Crack-Chaser Blade / Grinder | Opens edges of small cracks to get ready for filler. |
Squeegee / Auto-Scrubber | Spreads thin liquid fillers for tiny cracks and levels surfaces. |
Backer Rod | Controls how deep the filler goes in cracks that are 1/4-inch or bigger, sized 25–50% larger than the crack. |
Pointing Trowel | Applies and levels repair materials in bigger cracks over 1/4-inch. |
Caulking Gun | Dispenses sealants for fixing structural or flexible cracks. |
Masonry Chisel and Hammer | Widen cracks to thumb or finger width for better bonding. |
Grinder with Masonry Wheel | Takes out weak material and shapes cracks for repair. |
Standard Caulk Gun | Makes it easy to apply sealants and fillers. |
Acetone | Cleans up polyurethane products after you finish repairing. |
These tools help your repair process go smoothly and effectively, giving you great results.
Recommended Sealants
Picking the right sealant is very important for waterproofing cracks and making sure repairs last. BANDě Cement Crack Sealer is a great choice. This sealant can heal itself, which makes it special for fixing concrete cracks. It sticks very well, stronger than the concrete itself. This means it lasts longer because the concrete will break before the sealer does.
BANDě Cement Crack Sealer uses special healing agents that create calcium carbonate to fill cracks naturally. It also has tiny particles that react with calcium hydroxide to make Calcium Silicate Hydrate (CSH), which helps the bond. Plus, sodium silicate helps form C-S-H gel and calcite for filling cracks effectively.
Other good sealants to think about are DAP Textured Concrete Filler & Sealant and Sika Sikaflex Pro Select. These options are flexible and stick well, working in different weather conditions. Whether it’s hot or humid, these sealants perform reliably.
By choosing the right tools and sealants, you can confidently fix concrete cracks. Remember, sealing those cracks well is key to stopping more damage and keeping your surfaces strong.
Preparation Steps
Cleaning and Assessing
Before sealing cracks, you must clean the area well. A clean surface helps the sealant stick better. This leads to a stronger repair. Here’s a simple process to follow:
Step | Description |
|---|---|
1 | Rinse the crack with water to get rid of loose debris. |
2 | Use a wire brush to scrub the crack well. |
3 | Vacuum the area to clear away any leftover debris. |
4 | Wet the surface with clean water and use masonry cleaner. |
5 | Work the cleaner into the crack with the wire brush. |
6 | Rinse and repeat if needed until the surface looks clean. |
Cleaning the cracks helps find any hidden problems that need fixing. It also makes sure all loose material is gone. This is important for the repair materials to stick well.
When checking the cracks, start by measuring how wide and deep they are. You can use a crack gauge for exact measurements. If the crack is wider than 1/4 inch, it might mean a bigger problem that needs special care. Watch the crack over a few weeks. If it gets wider or changes, you may need to ask a professional for help.
Widening Cracks
Widening cracks might seem strange, but it actually helps your sealant work better. Here’s how to do it safely:
Use a chisel and hammer to carefully make the crack wider. This gives a better surface for the sealant to stick.
Safety first! Always wear safety glasses to protect your eyes from flying debris. Work gloves are also smart to keep your hands safe.
Widening the cracks allows the sealant to go in better, making sure it fills the crack completely. It also gives more surface area for the sealant to bond with the concrete. This step is very important for large cracks, as it helps create a shape that holds more sealant.
By following these preparation steps, you prepare for a successful repair. A clean and properly widened crack will make sealing much easier and more effective.
How to Seal Cracks in Concrete Floor and Wall Step by Step
Applying the Sealant
Now that you have cleaned the cracks, it’s time to put on the sealant. Follow these steps to do it right:
Clean the Area: Make sure the area is clean and dry. Dust or debris can stop the sealant from sticking well.
Widen the Crack: If you haven’t done this yet, use a chisel to make a V-shape in the crack. This shape helps the sealant stick better.
Fill the Crack: Use your BANDě Cement Crack Sealer and apply it with a trowel. Pack it tightly into the crack to avoid air pockets.
Smooth the Surface: Use a float to make the surface level with the surrounding concrete. This step is very important for a neat finish.
Cure and Seal: Follow the drying instructions on the sealant package. Don’t use the surface until it has fully cured to avoid damage.
Tip: When using BANDě Cement Crack Sealer, remember it can heal itself. This means it will keep bonding and filling small gaps over time, making your repair last longer.
Smoothing and Finishing
After the sealant has cured, you want the surface to look good and be safe to walk on. Here are some good ways to smooth and finish:
Concrete Grinding: Use a concrete grinder with diamond abrasives to fix any rough spots. This method gives your surface a shiny finish.
Resurfacing: If the surface still looks uneven after grinding, think about adding a thin layer of cement-based overlay. This will make your concrete look fresh.
Polishing: After grinding, polishing with finer grits makes the concrete shinier and smoother. This not only looks better but also makes it easier to clean.
Note: Always let the surface cure enough before using it regularly. Concrete gets stronger over time, and using it too soon can cause tiny cracks.
By following these steps, you will seal cracks in your concrete floors and walls well. This keeps them strong and looking good. Remember, taking the time to do it right now will help you avoid bigger problems later!
Maintenance Tips
Regular Inspections
To keep your concrete surfaces looking good and working well, regular checks are important. You should look at your floors and walls at least once a year. If you live in a place with bad weather, check every six months. This way, you can find any new cracks or damage early.
Here are some signs that show a crack needs quick fixing:
Cracks in the garage or basement floor can mean a weak foundation.
Cracks from settling happen when soil shrinks or washes away, causing gaps under the foundation.
Cracks from heaving happen because of freezing weather, leading to sloped or uneven floors.
By watching for these signs, you can stop more damage and save money on repairs.
Addressing New Cracks
When you see new cracks, it’s important to act fast. Here’s a simple table to help you decide what to do based on the crack size:
Crack Type | Action Required | Urgency Level |
|---|---|---|
Hairline cracks (<0.5mm) | May not need repair unless in waterproofing or showing activity | Scheduled Maintenance |
Fine cracks (0.5-3mm) | Usually non-structural repairs | Scheduled Maintenance |
Medium cracks (3-6mm) | Need more serious repair methods | Immediate Repair |
Wide cracks (>6mm) | Often show structural problems needing engineering review | Immediate Repair |
Taking care of cracks as they show up can save you from bigger issues later. Remember, sealing concrete is one of the best ways to stop damage. It keeps out moisture, stains, and chemicals. Think of sealant like sunscreen for your concrete—without it, your surfaces are open to the weather.
By following these maintenance tips, you can make sure your concrete crack repair lasts and keep your surfaces in great shape.
Sealing cracks in your concrete floors and walls is a straightforward process that can save you time and money. Start by cleaning the area, widening the cracks, and applying a quality sealant like BANDě Cement Crack Sealer. This not only enhances the look of your property but also prevents safety hazards, like tripping. By addressing cracks early, you protect your investment and maintain your property’s value. So, take action today! Your concrete surfaces will thank you for it. 🏡✨
FAQ
What is the best time to seal cracks in concrete?
You should seal cracks when the weather is dry and temperatures are between 50°F and 90°F. Avoid rainy days to ensure the sealant adheres properly.
How long does it take for the sealant to cure?
Typically, sealants like BANDě Cement Crack Sealer cure within 24 to 48 hours. Always check the product instructions for specific drying times.
Can I apply sealant on wet concrete?
No, applying sealant on wet concrete can prevent proper adhesion. Make sure the surface is completely dry before starting your repair.
How do I know if a crack needs professional help?
If a crack is wider than 1/4 inch or shows signs of structural damage, it’s best to consult a professional. They can assess the situation accurately.
Is it necessary to widen cracks before sealing?
Yes, widening cracks helps the sealant bond better. A V-shape allows for deeper penetration, ensuring a more effective repair.
See Also
The Definitive Guide to Effective Cement Crack Sealing
Comprehensive Guide to Successfully Patching Concrete Cracks
Steps to Effectively Use Concrete Dust Sealer for Floors
Essential Guide to Choosing Cementitious Crack Sealers for Surfaces
BANDě’s Tips for Selecting the Ideal Cementitious Crack Sealer
