
Installing a moisture barrier for concrete floors is very important. It helps protect your home from water damage. Moisture barriers stop expensive problems like mold and structural damage. They also keep your concrete strong, especially in humid areas. When you install it correctly, you protect your investment and your health. A good moisture barrier lowers the chance of breathing issues from mold and mildew.
Key Takeaways
Putting in a moisture barrier keeps your home safe from water damage and mold. This helps create a healthier place to live.
Clean the concrete surface well before you install it. This helps the moisture barrier stick and work well.
Check the moisture levels in the concrete first. You want the moisture content to be 5% or less for the best results.
Carefully seal all seams and edges when you install it. This stops moisture from getting in and causing damage.
Regularly check the moisture barrier for gaps or damage. This helps keep it working well and protects your investment.
Tools and Materials
Required Tools
To put a moisture barrier on concrete floors, you need some tools. Here are the important ones:
Surface Membranes: These stop moisture from escaping. They come as one- or two-part epoxy products.
Epoxy Systems: These work with different moisture levels. They can be used on concrete with up to 98% humidity.
ICRI CSP Profiles: CSP-2 and CSP-3 are common surfaces for membrane systems.
Moisture Testing Methods: Use ASTM F2170 for humidity and ASTM F1869 for vapor rate. You need to measure several times.
Bonding Surface Preparation: Make the concrete ready to bond. Use bead-blasting or diamond grinding.
Manufacturer Certification: Certified workers must install it. Makers give training for correct use.
Tip: Have all your tools ready before you start. This helps avoid delays.
Necessary Materials
Picking the right materials is key for a good moisture barrier. BAND Wall & Floor Moisture Barrier is a great pick because of its special features:
Prevents Water Intrusion: It makes a strong block against water, stopping moisture.
Combat Rising Damp: It fights rising damp, keeping floors and walls dry.
Versatile Applications: Works well in places like basements, bathrooms, and kitchens.
Long-Lasting Protection: Made to last with strong materials for good moisture protection.
Resistant to Wear and Tear: Stands up to water damage, staying strong.
Cost-Effective Solution: Stops moisture damage, saving money on fixes.
Self-Healing Properties: Can fix small tears or leaks, making it last longer.
Lower Maintenance Costs: Less need for checks because of self-healing.
Fewer Repairs: Cuts down on repair needs by stopping small leaks.
Avoiding Major Expenses: Helps you avoid big costs from water damage.
Note: BAND Wall & Floor Moisture Barrier is safe for the environment, so it’s a good choice for your home.
By getting these tools and materials, you are ready for a successful vapor barrier setup. This ensures your concrete floors stay protected for a long time.
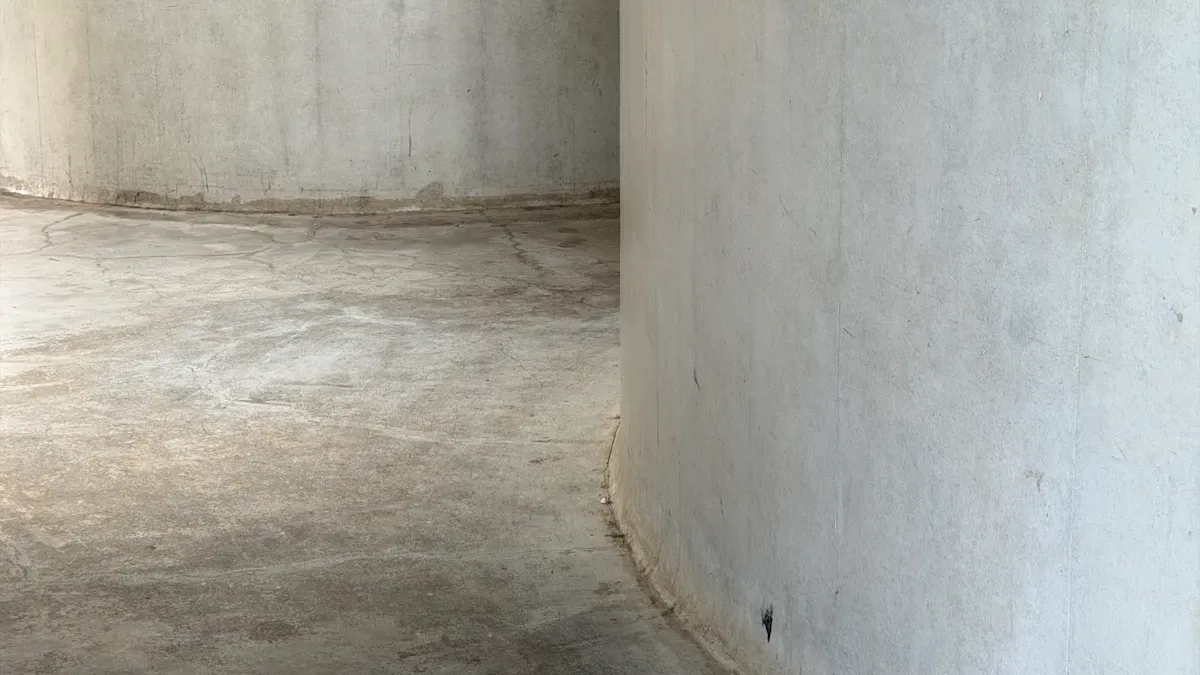
Preparing the Concrete Floor
Cleaning the Surface
Before you put on a moisture barrier, you need to clean the concrete surface well. This step is very important for the barrier to stick properly. Dust, oil, dirt, and loose bits can weaken the bond between the barrier and the concrete. If you skip this step, you might face some problems:
The moisture barrier may not stick well.
There could be air pockets that let moisture in.
Water vapor can harm your flooring materials.
To clean the surface well, do these steps:
Remove Loose Debris: Sweep or vacuum to get rid of dust and dirt.
Wash the Surface: Use mild soap and water to scrub the concrete. Rinse it well and let it dry completely.
Prepare for Bonding: If needed, use bead-blasting or diamond grinding to make a good surface for bonding.
Checking Moisture Levels
After cleaning, check the moisture levels in the concrete. This step makes sure the concrete is dry enough for the moisture barrier. The in situ relative humidity (RH) test is the best way to check moisture levels. This test follows ASTM F2170 standards and measures moisture inside the slab. It gives better results than surface tests.
Here are some important points to remember:
The moisture content of concrete should be 5% or less before applying a sealant or coating (ASTM F2170).
You can also measure moisture at 5 lbs/1000ft²/24hrs using the calcium chloride test (ASTM F1869).
A new concrete slab is ‘dry enough’ for flooring when moisture content is between 3.5% and 4.5%.
Once you check that the moisture levels are okay, you can apply the BAND Wall & Floor Moisture Barrier. This product gives great moisture vapor protection and is easy to use. Its strong water resistance makes it a good choice for stopping moisture problems.
Tip: Always make sure the surface is completely dry before putting on the moisture barrier. This helps you get the best results.
Installing the Moisture Barrier for Concrete Floor
Laying the Barrier
To put the moisture barrier on concrete floors, do these steps:
Surface Preparation: Clean the concrete slab very well. Fix any cracks or holes. Let the surface dry completely.
Laying the Vapor Barrier: Roll out the vapor barrier over the whole floor. Make sure seams overlap by at least six inches. Use seam tape to hold these seams together. This stops moisture from getting through.
Sealing Around Penetrations and Edges: Pull the barrier up the walls by 6 to 12 inches. Use tape or sealant around pipes or other openings. This step is very important to keep a strong moisture barrier.
Inspecting the Installation: Check everything for tears, gaps, or edges that are not sealed. Fix any problems before you cover the barrier with flooring or subflooring.
Tip: Always make sure seams overlap by at least 150 mm (6 inches) and seal them well. This helps stop moisture from coming in and makes your installation work better.
Sealing Edges and Joints
Sealing edges and joints is very important for a good moisture barrier installation. Here are some good sealants to think about:
Fluid-applied flashing: This type seals joints in moisture barriers well.
Sill plate sealer: This is needed to seal between concrete and wood to stop moisture from coming in.
Semi-rigid polyurea joint fillers: Great for control joints, giving support while allowing slab movement.
When picking sealants, think about where you will use them and the conditions. Make sure the sealant can handle moisture and temperature changes. Here are some products to consider:
TERM® Sill Plate Barrier: A good sill plate sealer for sealing between concrete and wood.
Polyguard Blue Barrier Gap Filler: A fluid-applied flashing that works for both inside and outside joints.
Note: Always choose waterproof caulking based on the material and how you plan to use it. Make sure the sealant works well with concrete to get the best results.
By following these steps and using the right materials, you can make sure your moisture barrier installation is strong and effective. This will keep your concrete floors safe from moisture damage for many years.
Addressing Penetrations and Seams
Sealing Around Fixtures
When you put in a moisture barrier, sealing around pipes and fixtures is very important. Good sealing stops moisture from getting into your home. Here are some common problems you might run into during this step:
Faulty installation: Bad installations can leave gaps for moisture.
Degradation of seals: Seals can wear out over time, making bigger openings for moisture.
Corrosion: Moisture can cause fixtures to rust, creating more gaps.
Physical damage: Damage from the environment can weaken the seal.
Local environmental factors: Some climates can speed up wear on seals.
To seal around fixtures well, use a strong sealant. Apply it thickly around the base of pipes and other openings. Make sure to smooth the sealant for a tight fit. This step is key for keeping a strong moisture barrier.
Ensuring Continuous Coverage
To make sure your moisture barrier covers everything, you can use different methods. Here’s a table that shows effective ways:
Technique | Description |
|---|---|
Individual Sealing | Each opening is sealed by cutting the barrier to fit snugly around it. |
Star/Cross Pattern | At pier bases, the barrier is cut in a star or cross shape and sealed to the pier. |
Snug Fit for Pipes | The barrier is cut to fit tightly around plumbing pipes and sealed to stop soil exposure. |
Also, think about these methods for a smooth installation:
Technique | Description |
|---|---|
Slit and Fit Patches | Patches fit closely around plumbing, wiring, posts, and ducts. |
Target-and-Cover Approach | A tight patch is stuck to the membrane, then a bigger patch covers it. |
Tape is used all around to close gaps and ensure a tight seal. |
By using these methods, you can create a strong moisture barrier installation. This will keep your concrete floors safe from moisture damage.
Final Inspection Checklist
Checking for Gaps
After you put in your moisture barrier, check for any gaps. Gaps can let moisture in, which can cause damage. Here’s a checklist to help you find common problems:
Inspect Seams: Make sure all seams overlap by at least 6 inches. Look for places where the seams might not be sealed well.
Look for Tears: Check the barrier for any tears or holes. Even tiny openings can let moisture through.
Check Edges: Ensure the edges of the barrier are firmly attached to the walls. Loose edges can let moisture enter.
Installation Error | Description |
|---|---|
Improper sealing of seams | Seams not sealed well can let moisture in. |
Using the wrong vapor barrier | Wrong vapor barrier may not protect against moisture. |
Lack of regular maintenance | Not maintaining can lead to hidden problems. |
Verifying Seals
Checking the seals around pipes and edges is very important for keeping your moisture barrier strong. Follow these steps to make sure everything is secure:
Seal All Penetrations: Check around pipes, drains, and other fixtures. Use a good sealant to ensure a tight fit.
Conduct Moisture Tests: Use tests like the calcium chloride test to check moisture levels. High levels mean there could be a problem.
Perform Visual Inspections: Regularly look at the barrier for signs of wear or damage. Watch for condensation or moisture buildup.
Testing Method | Description |
|---|---|
Calcium Chloride Testing | Measures how much moisture comes from the slab surface. High rates mean there could be a failure. |
Plastic Sheet Test | Tape plastic sheeting to the slab and check for condensation after 24-48 hours. |
Moisture Meters | Find high moisture levels but can’t tell if it’s surface or deep moisture issues. |
Regular checks will help you find small leaks before they become big problems. Keeping the barrier intact and sealed at all edges and seams is key for long-lasting performance.
Putting a moisture barrier on concrete floors is very important for keeping your home safe. A good moisture barrier stops damage from moisture and makes your concrete floors last longer. It also helps keep the air inside your home clean and cuts down on mold. To keep it working well, check for moisture often, use dehumidifiers, and put on sealants when needed.
By following the steps in this guide, you can control moisture effectively. This will protect your investment and help you have a healthier home.
FAQ
What is a moisture barrier?
A moisture barrier stops water vapor from going through concrete floors. It keeps your home safe from moisture damage, mold, and structural problems.
How do I know if I need a moisture barrier?
If your concrete floors feel wet or you see mold, you probably need a moisture barrier. Testing moisture levels can help confirm if you need to install one.
Can I install a moisture barrier myself?
Yes, you can put in a moisture barrier by yourself. Just follow the steps carefully and make sure you have the right tools and materials for a good installation.
How long does a moisture barrier last?
A properly installed moisture barrier can last for many years. Regular checks help keep it working well and catch any problems early.
What should I do if I find a gap in the barrier?
If you see a gap, seal it right away with a good sealant. This keeps moisture out and helps the barrier stay strong.
See Also
Selecting The Ideal Moisture Barrier For Walls And Floors
A Comprehensive Overview Of Home Moisture Barriers
Comparative Analysis Of Wall And Floor Moisture Barriers
Understanding Wall And Floor Moisture Barriers And Their Importance