
Moisture barriers play a crucial role in preventing water damage in your home. Installing a moisture barrier offers several benefits, such as lowering energy usage, improving indoor air quality, and reducing the risk of mold growth. To successfully complete the installation process, you will need to assess the area, clean the surface, and lay down the barrier effectively.
Key Takeaways
Installing a moisture barrier protects your home from water damage, mold growth, and improves energy efficiency.
Always clean the surface and seal any cracks before installation to ensure the barrier adheres properly and functions effectively.
Regularly inspect your moisture barrier for damage and repair it promptly to maintain its protective qualities.
Tools & Materials for Moisture Barrier
Essential Tools
To install a moisture barrier effectively, gather the following essential tools:
Utility Knife: Use this for cutting the barrier material to size.
Measuring Tape: Accurate measurements ensure a proper fit.
Stapler or Tacker: Secure the barrier in place, especially in crawl spaces.
Scissors: Handy for trimming smaller sections or making precise cuts.
Safety Gear: Wear gloves and goggles to protect yourself during installation.
Required Materials
Selecting the right materials is crucial for a successful moisture barrier installation. Here are some common types and their properties:
Material Type | |
|---|---|
Water Vapor Transmission Rate (WVTR) | Lower values indicate better moisture protection. |
Flexibility | Should conform without affecting performance. |
Mechanical Strength | Includes tensile strength and tear resistance. |
Chemical Resistance | Prevents degradation from aggressive substances. |
Gas and Aroma Protection | Essential for food and pharmaceutical applications. |
Common materials for moisture barriers include:
Plastic-Based Barriers: Such as polypropylene and polyethylene, which are effective in preventing moisture intrusion.
Metalized Films and Foils: Like PET and aluminum foil, these materials offer excellent protection against moisture.
Always follow local building codes when selecting materials. This ensures compliance and optimal results based on your area’s climate conditions. For crawl space vapor barriers, ensure you choose materials that provide adequate protection against moisture.
Preparing for Moisture Barrier Installation
Assessing the Area
Before you install a moisture barrier, take time to assess the area thoroughly. This step ensures optimal performance and longevity of the barrier. Here are key actions to consider:
Gather necessary tools: flashlight, moisture meter, screwdriver set, protective gloves, and eyewear.
Identify key areas to examine: seams, edges along foundation walls, and utility pipe penetrations.
Check for tears, holes, or punctures in the vapor barrier material.
Verify complete coverage and proper sealing of the vapor barrier.
Look for signs of standing water or excessive dampness.
Examine fastening methods and tape condition.
By conducting this assessment, you can prevent potential water seepage issues and ensure your moisture barrier functions effectively.
Cleaning the Surface
Cleaning the surface before installation is crucial. A clean area allows for better adhesion of the vapor barrier. Follow these steps to prepare the surface:
Clear out stored items for full access to the ground.
Remove standing water and wet insulation to ensure a dry environment.
Address any mold issues before installation.
Neglecting these steps can lead to serious consequences. For instance, moisture entrapment can occur if you install a barrier over wet surfaces. This can lead to structural damage and promote mold growth, especially in areas with high humidity levels.
Taking the time to prepare your space properly will help you avoid these issues and ensure a successful installation.
Step-by-Step Moisture Barrier Installation
Measuring & Cutting
Begin the installation process by measuring the area where you will place the moisture barrier. Accurate measurements are essential for a proper fit. Follow these steps:
Measure the Area: Use a measuring tape to determine the length and width of the space. Record these dimensions.
Calculate Material Needed: Multiply the length by the width to find the total square footage. Add an extra 10% to account for mistakes or miscalculations.
Cut the Barrier: Lay the moisture barrier flat on a clean surface. Use a utility knife or scissors to cut the material according to your measurements. Ensure you make straight cuts for a neat finish.
When cutting multiple sheets, remember to overlap each sheet by at least 6 to 12 inches. This overlap prevents gaps that could allow moisture to seep through.
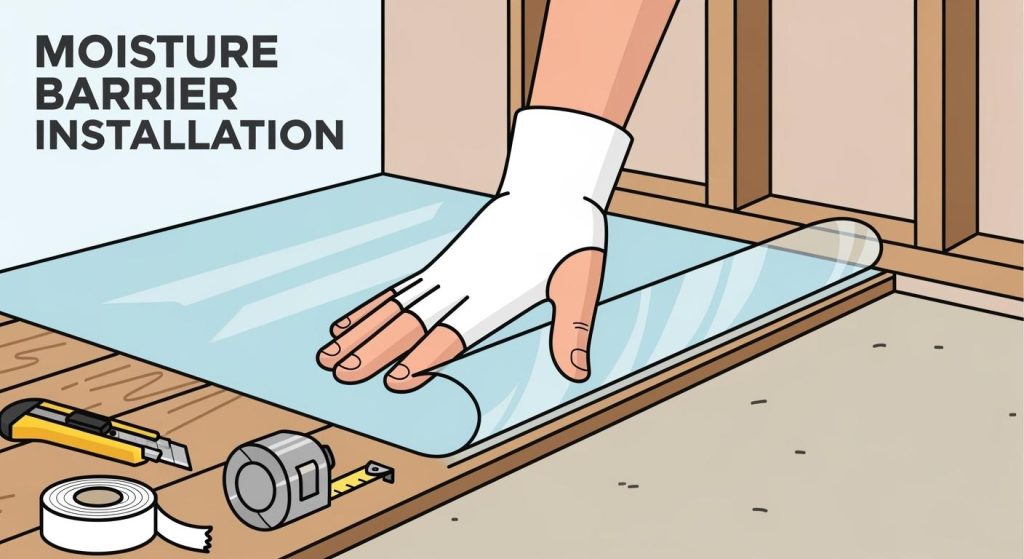
Laying the Barrier
Now that you have your pieces cut, it’s time to lay the moisture barrier. Follow these guidelines for effective installation:
Start at One Corner: Position the first sheet in one corner of the area. Ensure it lies flat against the ground.
Overlap Sheets: If using multiple sheets, overlap them by at least 6 to 12 inches. Seal the overlaps with high-quality tape to prevent moisture intrusion.
Extend Up Walls: Run the moisture barrier several inches up the base of the perimeter walls. This step helps prevent moisture from seeping around the edges.
Tom Silva, a general contractor, emphasizes the importance of placement: “Whether using loose fill or batts, put the vapor barrier closest to the warm side of your installation, where hot, moist air would get in.”
Sealing the Edges
Sealing the edges of your moisture barrier is crucial for ensuring its effectiveness. Follow these steps:
Choose the Right Sealant: Select a sealant that is compatible with your barrier material. Here’s a quick reference table for effective sealants:
Sealant Type | Grade | Class | Use |
|---|---|---|---|
Elastomeric | |||
Polyurethane | NS | 35 | NT, M, A, O |
Polyurethane | NS | 50 | NT, M, A, O |
Polyurethane | P | 25 | T, M, O |
Apply Sealant: Use a caulking gun to apply the sealant along the edges of the barrier. Ensure you cover all seams and overlaps thoroughly.
Check for Gaps: After sealing, inspect the entire installation for any gaps or unsealed areas. Address these immediately to maintain the integrity of your moisture barrier.
By following these steps, you can ensure a successful vapor barrier installation that protects your home from moisture damage.
Common Mistakes in Moisture Barrier Installation
Failing to Seal Penetrations
One of the most critical mistakes you can make during moisture barrier installation is failing to seal penetrations. These openings occur around pipes, ducts, and other fixtures. If you neglect to seal these areas, moisture can seep through, compromising the barrier’s effectiveness. Here are some potential consequences of unsealed penetrations:
Moisture can enter your home, leading to mold growth, which poses health risks.
Structural damage may occur, resulting in costly repairs.
You may face increased energy costs due to reduced insulation effectiveness.
Building inspectors frequently cite improper sealing of seams, edges, and penetrations as a leading cause of moisture problems. To avoid these issues, always ensure that you seal all penetrations thoroughly. Use high-quality sealants that are compatible with your moisture barrier material. This simple step can significantly enhance your moisture protection.
Using Adhesives
Another common mistake involves using the wrong type of adhesive during installation. Many people assume that any adhesive will work, but this is not the case. Using an inappropriate adhesive can lead to failure. For example, using a simple poly sheet for a glue-down application can lead to failure, as the adhesive has nothing to grab onto except a loose piece of plastic. This is a guaranteed recipe for failure.
Consider the following risks associated with using the wrong adhesive:
You may end up with a barrier that does not adhere properly, allowing moisture to penetrate.
Commercial property owners in North America spend about $2.4 billion annually addressing moisture-related problems in flooring and structures.
To ensure a successful installation, always choose adhesives specifically designed for moisture barriers. This choice will help you avoid many problems caused by moisture and ensure that your barrier performs as intended.
By being aware of these common mistakes, you can take proactive steps to ensure a successful moisture barrier installation. Proper sealing and the right adhesive are essential for protecting your home from moisture-related issues.
Maintenance for Moisture Barriers
Regular Inspections
To maintain the effectiveness of your moisture barrier, conduct regular inspections. Aim to inspect your moisture barriers annually and after significant weather events. During these inspections, look for common signs of damage, such as:
Visible Staining: Check for brown, yellow, or dark discoloration on walls and floors.
Efflorescence: Look for a white, chalky residue indicating moisture passage through foundation materials.
Peeling Paint: Bubbling or peeling paint suggests moisture exposure.
Musty Odors: Persistent musty smells indicate elevated humidity or hidden mold.
Visible Mold: Discoloration or growth patterns on walls and framing.
Rust and Corrosion: Rust on metal components points to high humidity.
Cracks: Foundation cracks and poorly sealed joints can be entry points for water.
By identifying these issues early, you can prevent more extensive damage and costly repairs.
Repairing Damage
If you discover damage during your inspections, take immediate action to repair it. Follow these best practices to restore your moisture barrier’s effectiveness:
Clean the affected area gently to remove any debris or contaminants.
Use a compatible sealant to fill in cracks or gaps.
Replace any damaged sections of the barrier with new material.
Ensure all seams and overlaps are properly sealed to prevent moisture intrusion.
Maintaining your moisture barrier not only protects your home but also enhances its value. A well-maintained barrier contributes to a controlled moisture environment, supporting better health and reducing future repair costs.
For optimal results, consider seasonal factors when performing maintenance. Inspect during dry weather to ensure effective repairs and avoid complications from humidity.
Installing a moisture barrier is essential for protecting your home from water damage. Follow these key steps:
Clean all basement walls and floors.
Seal any cracks or holes in the foundation.
Overlap seams by at least 6 inches and tape them securely.
Seal every penetration through the barrier.
By taking these actions, you can preserve your home’s integrity and avoid costly repairs. Remember, a high-quality moisture barrier not only prevents water intrusion but also enhances energy efficiency, leading to long-term savings. 🌟
FAQ
What is a moisture barrier?
A moisture barrier prevents water vapor from entering your home, protecting against mold and structural damage.
How often should I inspect my moisture barrier?
Inspect your moisture barrier annually and after heavy rain to ensure it remains effective.
Can I install a moisture barrier myself?
Yes, you can install a moisture barrier yourself with the right tools and materials, following the steps outlined in this guide.
See Also
A Complete Overview of Home Moisture Barriers for Walls and Floors
Selecting the Ideal Moisture Barrier for Your 2025 Home Project
An In-Depth Comparison of Wall and Floor Moisture Barriers
Understanding Wall and Floor Moisture Barriers and Their Importance
The Definitive Handbook for Effective Concrete Waterproofing Techniques