

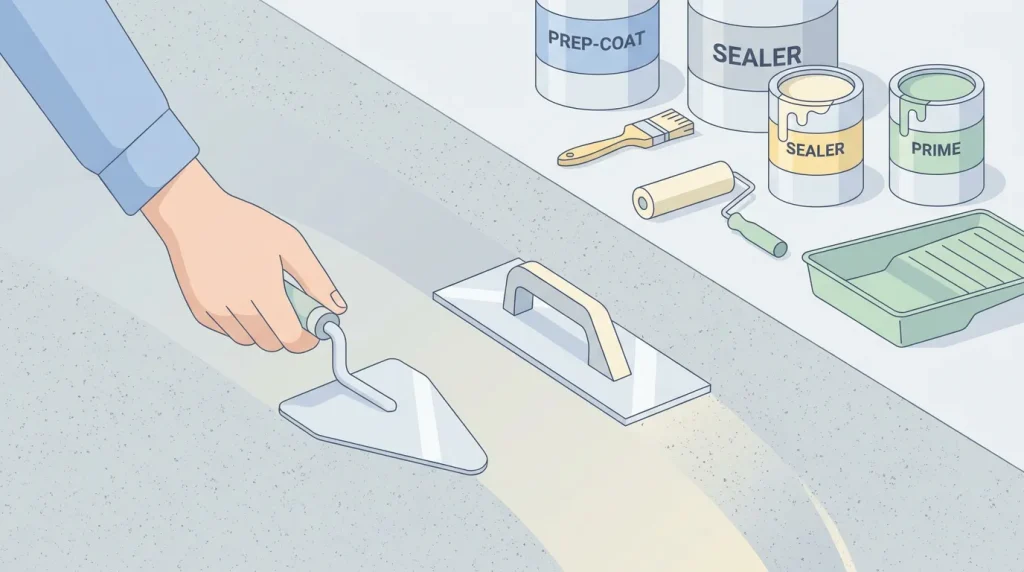
Proper preparation ensures concrete coating success. Improper preparation causes concrete coating failures.
A full 73% of coatings failures are due to poor surface prep and/or insufficient bond profile. This guide details 2026 steps to prepare concrete for coating application. Understand internal and surface conditions for durable concrete protection coating.
Key Takeaways
Clean all dirt, oil, and cracks thoroughly to ensure your concrete coating sticks smoothly.
Roughen the concrete surface using mechanical or chemical tools to prevent peeling and boost adhesion strength.
Test internal moisture levels with proper equipment to prevent bubbling and make your coating last twenty years.
Initial Assessment & Surface Prep for Concrete Coating
Inspecting and Cleaning the Concrete Surface
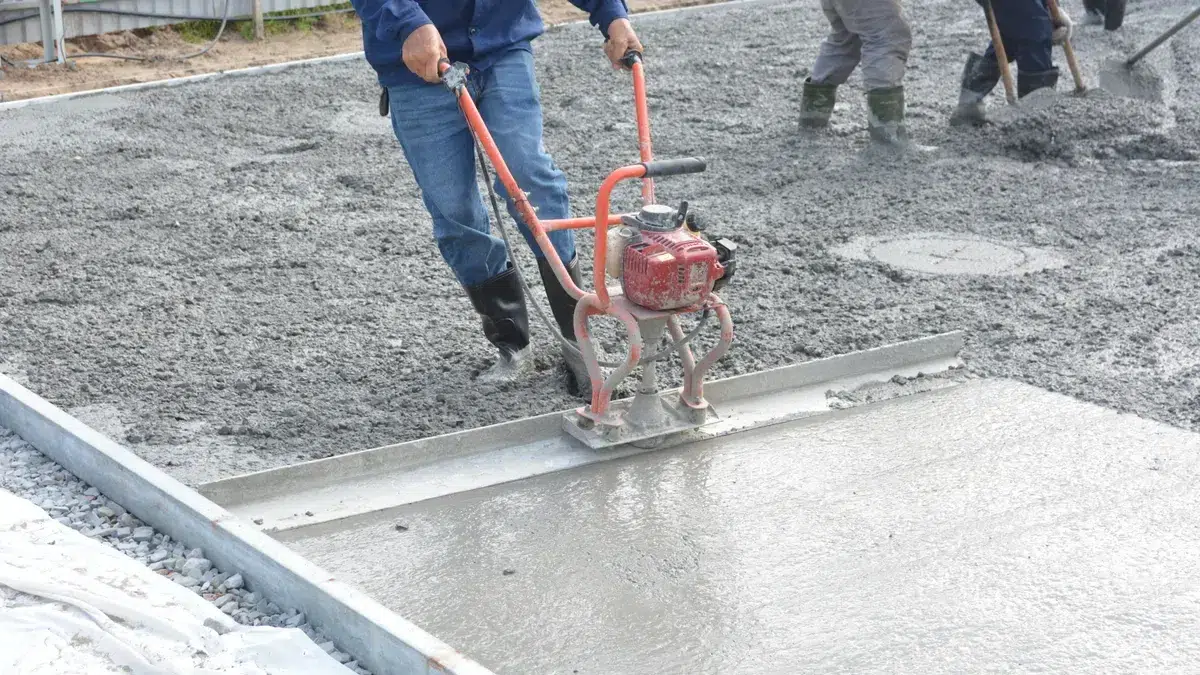
You must begin to prepare concrete for coating with a thorough initial assessment. Conduct a comprehensive visual survey of the concrete surface. Look for cracks, spalls, surface irregularities, oil stains, grease, chemical contamination, previous coatings, and laitance. Use a flashlight to detect subtle flaws and voids. Tap the surface systematically with a hammer; solid concrete rings clearly, while delaminated areas sound dull. For critical applications, conduct tensile pull-off testing to verify surface strength, aiming for a minimum of 218 psi. Verify compressive strength reaches at least 3,626 psi for most concrete coating applications.
Inspect for discoloration, which can indicate reactive aggregate or corrosion. Look for spalling, dusting (chalking), and pattern cracking. Run your finger over the surface to detect loose powder. Check for cracks and settlement indicators. Perform a ‘credit card test’ to measure crack width; cracks wider than 1/32″ need repair. Inspect for rust marks near cracks, indicating internal rebar corrosion.
Contamination checks are crucial. If water beads on the concrete during a water drop test, the floor is contaminated. Dark spots often indicate grease. You must remove loose concrete, laitance, loose materials, dirt, dust, and loose contaminants. Also remove concrete paste and traces of grease and oil, along with water-soluble and water-emulsifiable products. These substances impair concrete coating adhesion.
For routine dirt and dust, use air blasting, a stiff brush, hosing, or scrubbing. Heavily soiled surfaces require sandblasting, water blasting, or steam cleaning. For laitance and efflorescence, steel scraping, scarifying, acid etching, or shot blasting are effective. To remove grease and oil, use a 10% solution of caustic soda, trisodium phosphate, or specialized detergents. Steam cleaning also works well. Products like ReNew lift oils and environmental grime. Oil & Grease Stain Remover, a poultice, draws embedded oil out as it dries. Cleaner/Degreaser emulsifies oils. For routine maintenance, use pH-neutral cleaners like DailyKlean. Aggressive methods like a 15-degree pressure washing tip are for prep work, while a 40-degree tip is for decorative surfaces. Chemical cleaning is highly effective for stubborn stains, while pressure washing is a quick first step for general dirt. This thorough cleaning is essential preparation for any concrete coating.
Repairing Imperfections Before Coating
After cleaning, you must address any imperfections before applying an epoxy coating. Repairing cracks, spalling, and pitting ensures a smooth and stable surface. Assess the cracks to identify their type and depth. Clean the area thoroughly, removing debris, dust, and contaminants with a wire brush. For driveways and flatwork, polyurethane fillers like Surecrete Elastomeric Sealant are suitable. For epoxy floor prep, use epoxy fillers. NewLook Crack Filler works for decorative restoration. For vertical cracks, consider trowel-grade vinyl like Flex-C-Ment Vertical Overlay.
Prepare the epoxy filler by mixing the two components according to manufacturer instructions. Slightly overfill the cracks and level them with a putty knife. Allow adequate curing time; most sealants require 24 to 48 hours before you can apply coatings. Grind and smooth the repaired area for a level surface.
For spalls, pop-outs, and other defects, use appropriate materials. Poly-Strong PS 55 is a two-component polyurethane/polyurea hybrid filler for vertical or horizontal cracks, spalls, pop-outs, and defects in heavy-traffic industrial floors. It cures to a rigid structural polymer with high adhesion and tensile strength. For smaller imperfections like air holes, sand aggregate pops, pitting, gouges, and scratches, Poly-Strong PS 41, a 95% solids hybrid surface restoration grout, is effective for fine grouting and repairs smaller than 1/2 inch. Polymer-modified cement patching material is also recommended for surface spalls and pop-outs. Portland cement-based patching mortars are widely available for shallow to moderate-depth repairs. Polymer-modified mortars offer improved adhesion and flexibility. Feathered micro-topping or overlay systems are applicable for widespread defects. Filling all imperfections is a critical repair step to achieve a flawless finish for your concrete protection coating.
Achieving Optimal Concrete Surface Profile
Profiling Methods for Adhesion
Achieving an optimal concrete surface profile is crucial for the strong adhesion of any concrete protection coating. This process creates the necessary texture for the coating to bond effectively. You need to ensure complete surface wetting and even coating thickness. This provides mechanical anchoring for the coating; without sufficient roughness, the coating cannot grip the concrete. If the surface is too smooth, you will experience poor adhesion, peeling, and delamination. Conversely, if the surface is too rough, thin coatings may fail to fill voids, creating weak spots and reducing adhesion.
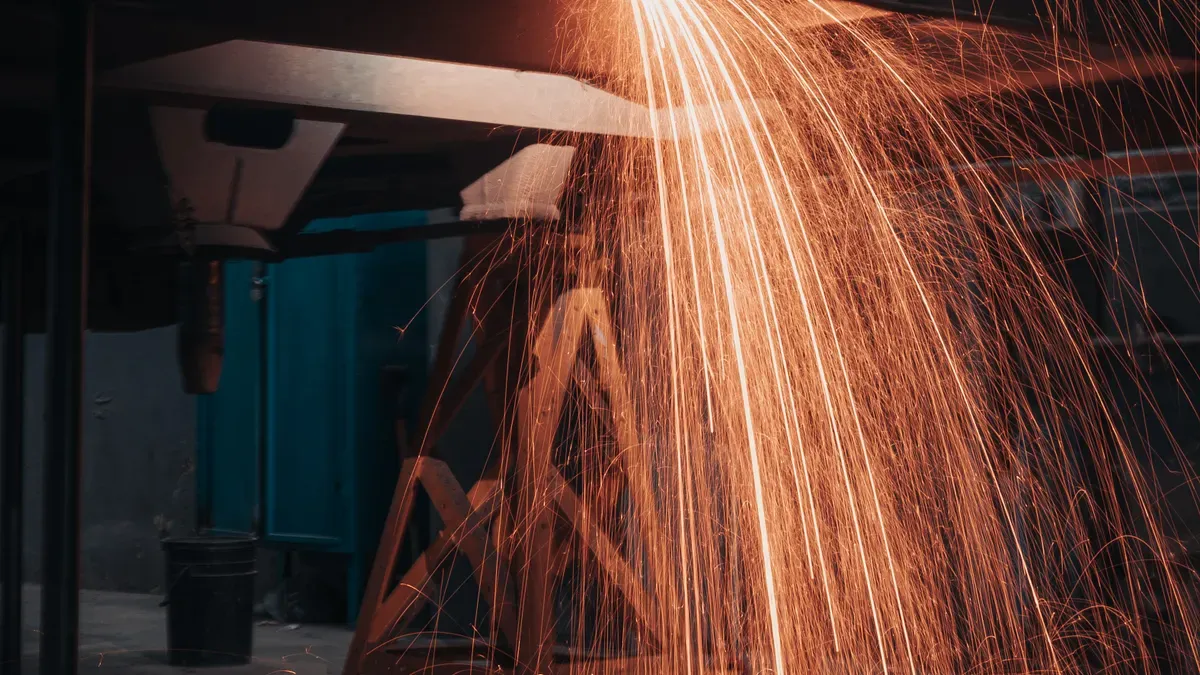
You can achieve the correct profile through various mechanical and chemical methods. Mechanical methods include dry or wet grinding, abrasive blasting, shot blasting, scarifying, needle scaling, scabbling, and rotomilling. These methods physically abrade the concrete surface to create a desired texture. For chemical methods, acid etching is an option. You dampen the concrete, then apply an acid solution (typically 3:1 water to acid) using a plastic watering can. Scrub the surface, let it sit for 2–15 minutes, then neutralize it. You can neutralize with a mixture of 4 cups baking soda per gallon of water or 4 oz household ammonia per gallon, applying it for 10 minutes before a final rinse. Always add acid to water, never water to acid, to prevent an explosive reaction. Wear appropriate personal protective equipment (PPE) during this process.
Verifying Surface Readiness for Protection Coating
After profiling, you must verify the surface readiness for your concrete protection coating. The ICRI Concrete Surface Profile (CSP) standards provide a scale from 1 to 10, quantifying concrete surface roughness. A higher number indicates a more aggressive profile. You must match the CSP to the specific coating system. For example, penetrating sealers and thin-film stains typically require CSP 1–2. Thin-film epoxy coatings need CSP 3, while 100% solids epoxy often requires CSP 4. For self-leveling epoxy, you will aim for CSP 5. Polyurethane cement systems typically demand CSP 5–7, and epoxy mortar requires CSP 7 or higher.
You can perform a water absorption test to check for porosity and ensure the surface is ready. The ASTM F3191-16 water drop test involves placing a single 0.05 mL drop of potable water on the prepared concrete surface. Observe the time it takes for the drop to be fully absorbed. If the absorption time is less than 1 minute, the surface is porous or absorptive. If it takes more than 1 minute, the surface is non-porous. Proper concrete surface profile, such as CSP 3-5 for epoxy, creates mechanical interlocking. This achieves bond strengths over 900 psi and coating lifespans of 15-20 years. Inadequate profiles, like a surface that is too smooth for an epoxy, result in bond strengths below 500 psi, leading to failures like delamination within 2-5 years.
Critical Moisture Management for Durable Concrete Coatings
Understanding Concrete Moisture Dynamics
You must manage moisture effectively to prevent concrete coating failures. Moisture vapor transmission occurs when water vapor moves upward through the concrete slab from the ground. When you apply coatings or finishes before the moisture level stabilizes, the vapor pressure beneath the surface can cause blistering or delamination. This happens because excess moisture reacts with the coating’s adhesive layer, forming bubbles or causing the finish to lose adhesion. Delamination or raised fluid-filled blisters are often direct results of moisture or vapor drive issues.
Bubbling and blistering, which can lead to delamination of a coating system, occurs when moisture vapor travels upward through the concrete floor, carrying with it various highly alkaline components, such as salts and chlorides, which raise the pH and attack the coating system at the bond line.
Moisture enters concrete slabs from several sources. Water vapor from the original concrete mix exits the slab as it dries, creating capillary networks. Moisture vapor also transmits from below the slab, either from water trapped in a blotter course over a vapor retarder or from earth moisture passing through the slab system. Other sources include hydraulic pressure (rare, only below-grade), leakage from rain or broken pipes, and capillary action where liquid water moves through small pores. Water vapor, driven by pressure differences, pulls moisture from the concrete 24/7, affected by temperature and humidity.
The internal relative humidity (RH) of a concrete slab changes with depth and over time. RH is significantly higher at deeper depths and lower at the surface when the slab remains uncovered. This depth gradient persists until you seal the slab with a floor covering. After sealing, the RH equilibrates across the entire thickness, becoming uniform. Surface RH fluctuates with ambient environmental changes, while deep RH remains more stable. An uncovered slab shows significantly higher RH at roughly 50% depth than at the surface. Surface RH closely reflects the ambient room RH, not the deep moisture content. Once you install a floor covering, the RH equilibrates throughout the slab thickness. This means a surface that appeared dry may become wet after covering due to the upward migration of deep moisture.
Advanced Moisture Testing with ASTM F2170
Accurate moisture testing is essential for a durable concrete coating. You need to measure moisture levels precisely to avoid costly failures. For Relative Humidity (ASTM F2170), concrete RH should be below 85%. For the Calcium Chloride test (ASTM F1869), the Moisture Vapor Emission Rate (MVER) should stay under 5 lb/1,000 sq ft per 24 hours. A concrete slab is considered dry enough for coating application if the MVER is ≤3 lb/1000 sq ft/24 hours, or the moisture content is ≤5%.
You have two primary standards for moisture testing: ASTM F1869 (Calcium Chloride Test) and ASTM F2170 (In-Situ Relative Humidity Test).
Feature | ASTM F1869 (Calcium Chloride Test) | ASTM F2170 (In-Situ Relative Humidity Test) |
|---|---|---|
What it measures | Moisture Vapor Emission Rate (MVER) from surface | Internal Relative Humidity (RH) |
Location of measurement | Surface of concrete | Internal (typically 40% of slab depth) |
Accuracy | Snapshot of surface conditions; influenced by ambient conditions | More accurate representation of internal moisture equilibrium; less affected by ambient |
Invasiveness | Destructive (leaves residue) | Minimally invasive (small holes) |
Cost | Lower initial cost for materials | Higher initial cost for equipment |
Time | 60-72 hours for a single test | Minimum 24 hours equilibration; can be continuous |
Predictive capability | Less predictive of long-term moisture behavior | More predictive of long-term behavior and flooring failure risk |
Manufacturer acceptance | Decreasingly accepted for warranty | Widely accepted and often required for warranty |
ASTM F2170 provides a more accurate and predictive measure of internal moisture. To perform this test, you first determine test locations, often using non-destructive impedance tests to find areas with the highest moisture content. You plan drill locations: three tests per 100 m² (1,000 ft²) and one per next 100 m². Drill holes dry, perpendicular to the surface, without water cooling. The depth should be 40% of the slab thickness if drying from the top only, or 20% if drying from both sides. Clean the hole with a brush and vacuum. Place a hole liner, seal it with a cap, and wait 24 hours for temperature equilibrium. Insert the RH probe, seal it again, and allow 30 minutes for the probe to reach temperature equilibrium. Read the RH readings, ensuring they do not drift more than 1% RH over five minutes.
You must place a specific number of probes based on the floor area.
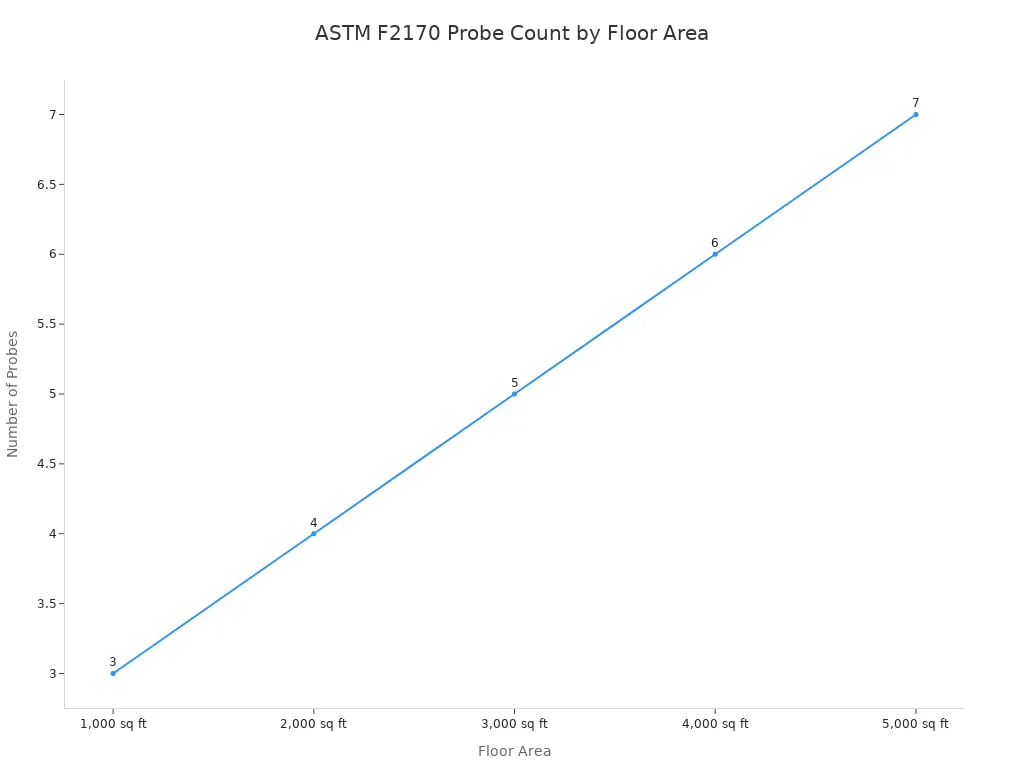
For the first 1,000 sq ft, you need three probes, including one within three feet (one meter) of each exterior wall. For each additional 1,000 sq ft, you add one more probe, distributing them across the entire floor, especially near potential high-moisture areas like joints or construction pores. This comprehensive moisture testing approach helps ensure the longevity of your epoxy or other concrete coating.
Meticulous concrete preparation is fundamental for successful concrete coating application. Comprehensive cleaning, diligent repair, correct surface profiling, and accurate moisture assessment (ASTM F2170) are critical. Investing time to prepare concrete for coating upfront prevents costly failures. This ensures your concrete protection coating lasts over 20 years, not just 6 months. Achieve confidence and durability.
FAQ
Why is surface preparation critical for coating success?
Proper preparation ensures strong adhesion and prevents failures like peeling or blistering. It is the most important step for any concrete coating application.
What is the best method for cleaning concrete before coating?
The best method depends on contamination. For general dirt, pressure washing works. For oil, use degreasers. Thorough cleaning is essential for optimal adhesion.
Can I apply an epoxy coating if my concrete is still damp?
No, you must ensure the concrete is dry. Moisture causes blistering and delamination. Always perform moisture tests before applying an epoxy coating.
See Also
How To Choose The Ideal Concrete Floor Hardener In 2025
The Ultimate 2025 Strategy For Selecting Concrete Densifiers And Sealers
Five Simple Strategies To Harden Your Concrete Floors This Year
Transform Your Surfaces With The Top Concrete Protective Sealers Today
