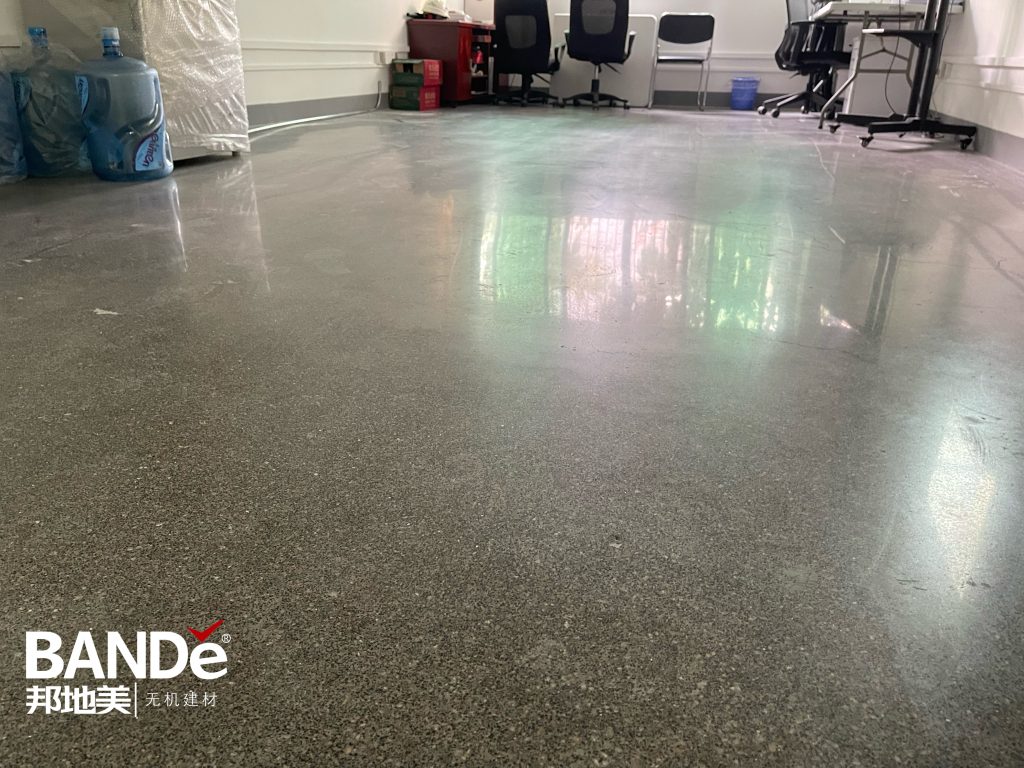
Achieving a high gloss finish on concrete floors with liquid polish transforms your space, making it more beautiful and durable. This polished concrete not only looks stunning but also resists stains effectively, making it ideal for high-traffic areas.
To learn how to achieve a high gloss finish on concrete floor with liquid polish, you will need to follow specific steps. These steps include preparing the floor, grinding it, and applying the liquid polish. Each step is crucial as they contribute to ensuring your concrete floor shines brightly and remains resilient.
Key Takeaways
Begin with a clean surface. Get rid of dirt and stains. This helps the polish stick well.
Pay attention to the grinding process. Use the correct grit order for a smooth and shiny finish.
Spread BANDě Floor polishing liquid evenly. This boosts the shine and strength of your concrete floor.
Seal your polished concrete. A good sealer protects against wear and water damage. It also makes cleaning easier.
Regular care is important. Dust mop often. Reapply sealer every 1 to 3 years. This keeps your floors looking great.
Surface Preparation for Polished Concrete
Cleaning the Floor
Before you start polishing your concrete floor, make sure it is clean. A clean surface helps the polish stick better and makes it shine more. Follow these steps to clean your floor well:
First, clean the concrete to get rid of dirt, debris, and grease.
For tough stains, use a chemical cleaner or degreaser to break them down.
Sweep or vacuum the floor to remove loose debris. This is important for good grinding.
Dust control is very important, especially in warehouses and construction sites. Using industrial floor sweepers with DustGuard™ technology helps keep dust down by spraying a light mist while sweeping. This method makes cleaning easier and reduces slip risks on dirty concrete.
Assessing and Repairing Damage
After cleaning, check your concrete floor for any damage. Common problems include cracks, chips, and stains. Fixing these issues before polishing is important for a smooth and shiny finish. Here are some common types of damage and how to repair them:
Type of Damage | Repair Method |
|---|---|
Color overspray, bleeds, or incorrect colors | Use bleach to remove color, then reapply dye from joint to joint. |
Scratches from grinding | Physically remove scratches by regrinding the affected area. |
Edge grinding issues | Restart the grinding process to work out the scratches. |
Carpet glue issues | Remove transition strip, scrape off glue, and lightly polish the area. |
Chips from lifts with screws or nails | Use color-matched grout fill products and then repolish the area. |
Existing fill-in spalls or low areas | Fill in spalls and level low areas before polishing. |
For small cracks, use a caulk-gun-applicable masonry crack filler. For bigger cracks, choose a vinyl concrete fix. Check the floor carefully to make sure it is ready for polishing. By doing these steps, you prepare for a beautiful high gloss finish.
Grinding Process for High Gloss Finish
Initial and Intermediate Grinding
Grinding is very important for getting a high gloss finish on your concrete floor. It has different stages, and each one has a special job. Here are the main steps:
Surface Preparation: First, remove all dirt, coatings, glue, and other stuff. This helps with grinding and sticking.
Initial Grinding: Use a rough 30–40 grit metal bond to open the concrete and fix bumps. This step gets the surface ready for more work.
Intermediate Grinding: Smooth the surface with an 80-grit metal bond. This step gets the floor ready for making it shiny.
Crack & Joint Repair: Fill any cracks and holes to make sure the final finish looks even.
Densification: Put on a concrete densifier to make the slab stronger and clearer.
Polishing Passes: Create shine by using finer grits, starting with 150–200 grit and going higher.
Sealing & Final Protection: Protect the finish with a good sealer to guard against wear and spills.
The time for each grinding step can change based on how big the area is and how the floor looks. Bigger areas take longer to grind, and floors with more damage need extra grinding.
Exposing Aggregate for Shine
Exposing the aggregate while grinding makes your polished concrete shine more. Here are some ways to do this:
Technique | Description |
|---|---|
Equipment Selection | Choosing the right grinding tools affects how deep you expose the aggregate. Planetary grinders give even pressure, while edge grinders work on the edges. |
Grinding Depth Requirements | How deep you grind controls how much aggregate you see. Cream finishes need light grinding, while full exposure needs deeper cuts. |
Diamond Grit Progression | Start with rough diamonds to quickly remove layers. Then use medium and resin-bond diamonds for smoothing and shine. |
Application of Densifiers | Use densifiers after getting the right exposure but before the final polish. This makes the surface harder and clearer. |
How much aggregate you expose affects how shiny and reflective your polished concrete is. More exposure gives a bright reflective look, while less exposure looks more subtle.
Using diamond polishing pads is key in this process. The grit size of these pads affects how shiny your concrete floor gets. Here’s a quick guide:
Polishing Level | Grit Size | Description |
|---|---|---|
Level 1 (flat) | Below 100 | Hazy look with little clarity or shine. |
Level 2 (satin) | 400 | Low shine with slight reflection. |
Level 3 (semi-polished) | 800 or higher | Higher shine with good light reflection. |
Level 4 (highly polished) | 3,000 or higher | Very shiny with clear reflections. |
By following these steps and using the right tools, you can get a beautiful high gloss finish on your concrete floor.
How to Achieve High Gloss Finish on Concrete Floor with Liquid Polish
Application Techniques
To get a high gloss finish on your concrete floor with BANDě Floor polishing liquid, use these application techniques:
Prepare the Surface: First, make sure your concrete is clean, dry, and free of dirt. This step is very important for the polish to stick well.
Use Appropriate Application Methods: You can apply the liquid polish with a sprayer or a mop. Make sure to cover the surface evenly without making puddles.
Follow Coverage Recommendations: Look at the recommended coverage rates for your concrete’s absorbency. This helps you avoid using too much or too little polish.
Avoid Common Mistakes: Take your time when applying. Rushing can cause uneven coverage or poor sticking.
By following these steps, you help the BANDě Floor polishing liquid soak in well. This makes the surface brighter and stronger.
Drying and Polishing Steps
After you apply the liquid polish, let it soak into the concrete for about 20 minutes. This soaking time is important for the polish to bond with the concrete. Once the time is up, do these steps:
Drying: Let the surface dry completely. Make sure there is no standing water left, as this can change the final look.
Polishing: After it dries, use a high-speed burnisher with fine polishing pads. Start with a grit of 400 and move up through 800, 1500, and if you want, 3000 grit pads for a super shiny finish. Each step makes your polished concrete more reflective.
Final Touches: Pay close attention to the edges. Use smaller pads to make sure the edges look like the rest of the floor.
By following this process, you will get a beautiful high gloss finish on your polished concrete floors. Regular care, like cleaning and re-sealing when needed, will keep your floors looking great for years.
Sealing Polished Concrete Floors
Sealing your polished concrete floors is very important. It helps keep them looking good and lasting longer. A good sealer adds a protective layer. This layer stops damage and keeps the floor looking new for a long time. Here are some main benefits of sealing:
Increased Durability: Sealing protects against wear and tear. This keeps your polished concrete safe.
Slip Resistance: A good sealer can make the floor less slippery. This makes it safer to walk on.
Water Resistance: Sealing stops water from getting in. This helps prevent cracks and water damage.
Easy Maintenance: A sealed surface is easier to clean. This helps you keep that high gloss finish without trouble.
Types of Sealers
When picking a sealer for your polished concrete, think about these options:
Type of Sealer | Description |
|---|---|
These create a layer on the surface. They are great for looks and protection. | |
Concrete Densifiers | These make the surface stronger and reduce dust, helping it last longer. |
You can also look at different densifiers, like lithium silicate and potassium silicate. Each type works differently and affects how the floor looks. For example, lithium silicate goes deep into the concrete and is very strong. Sodium silicate is cheaper but might make the surface look white.
Application Methods
To get the best protection when applying sealers, follow these steps:
Make sure your concrete is fully cured (at least 28 days) before applying sealers.
Clean the surfaces well to remove dust, oils, and other stuff.
Lightly prepare the surface for better sealer penetration.
Apply sealers when the temperature is between 50°F and 90°F (10°C and 32°C).
Make sure the surface is dry and no rain is expected for 24 hours after applying.
Usually, you should apply two coats of sealer for the best results. Start with a light coat using a roller or sprayer. Wait 2-4 hours before putting on the second coat. This way, your polished concrete floor stays protected and looks great for many years.
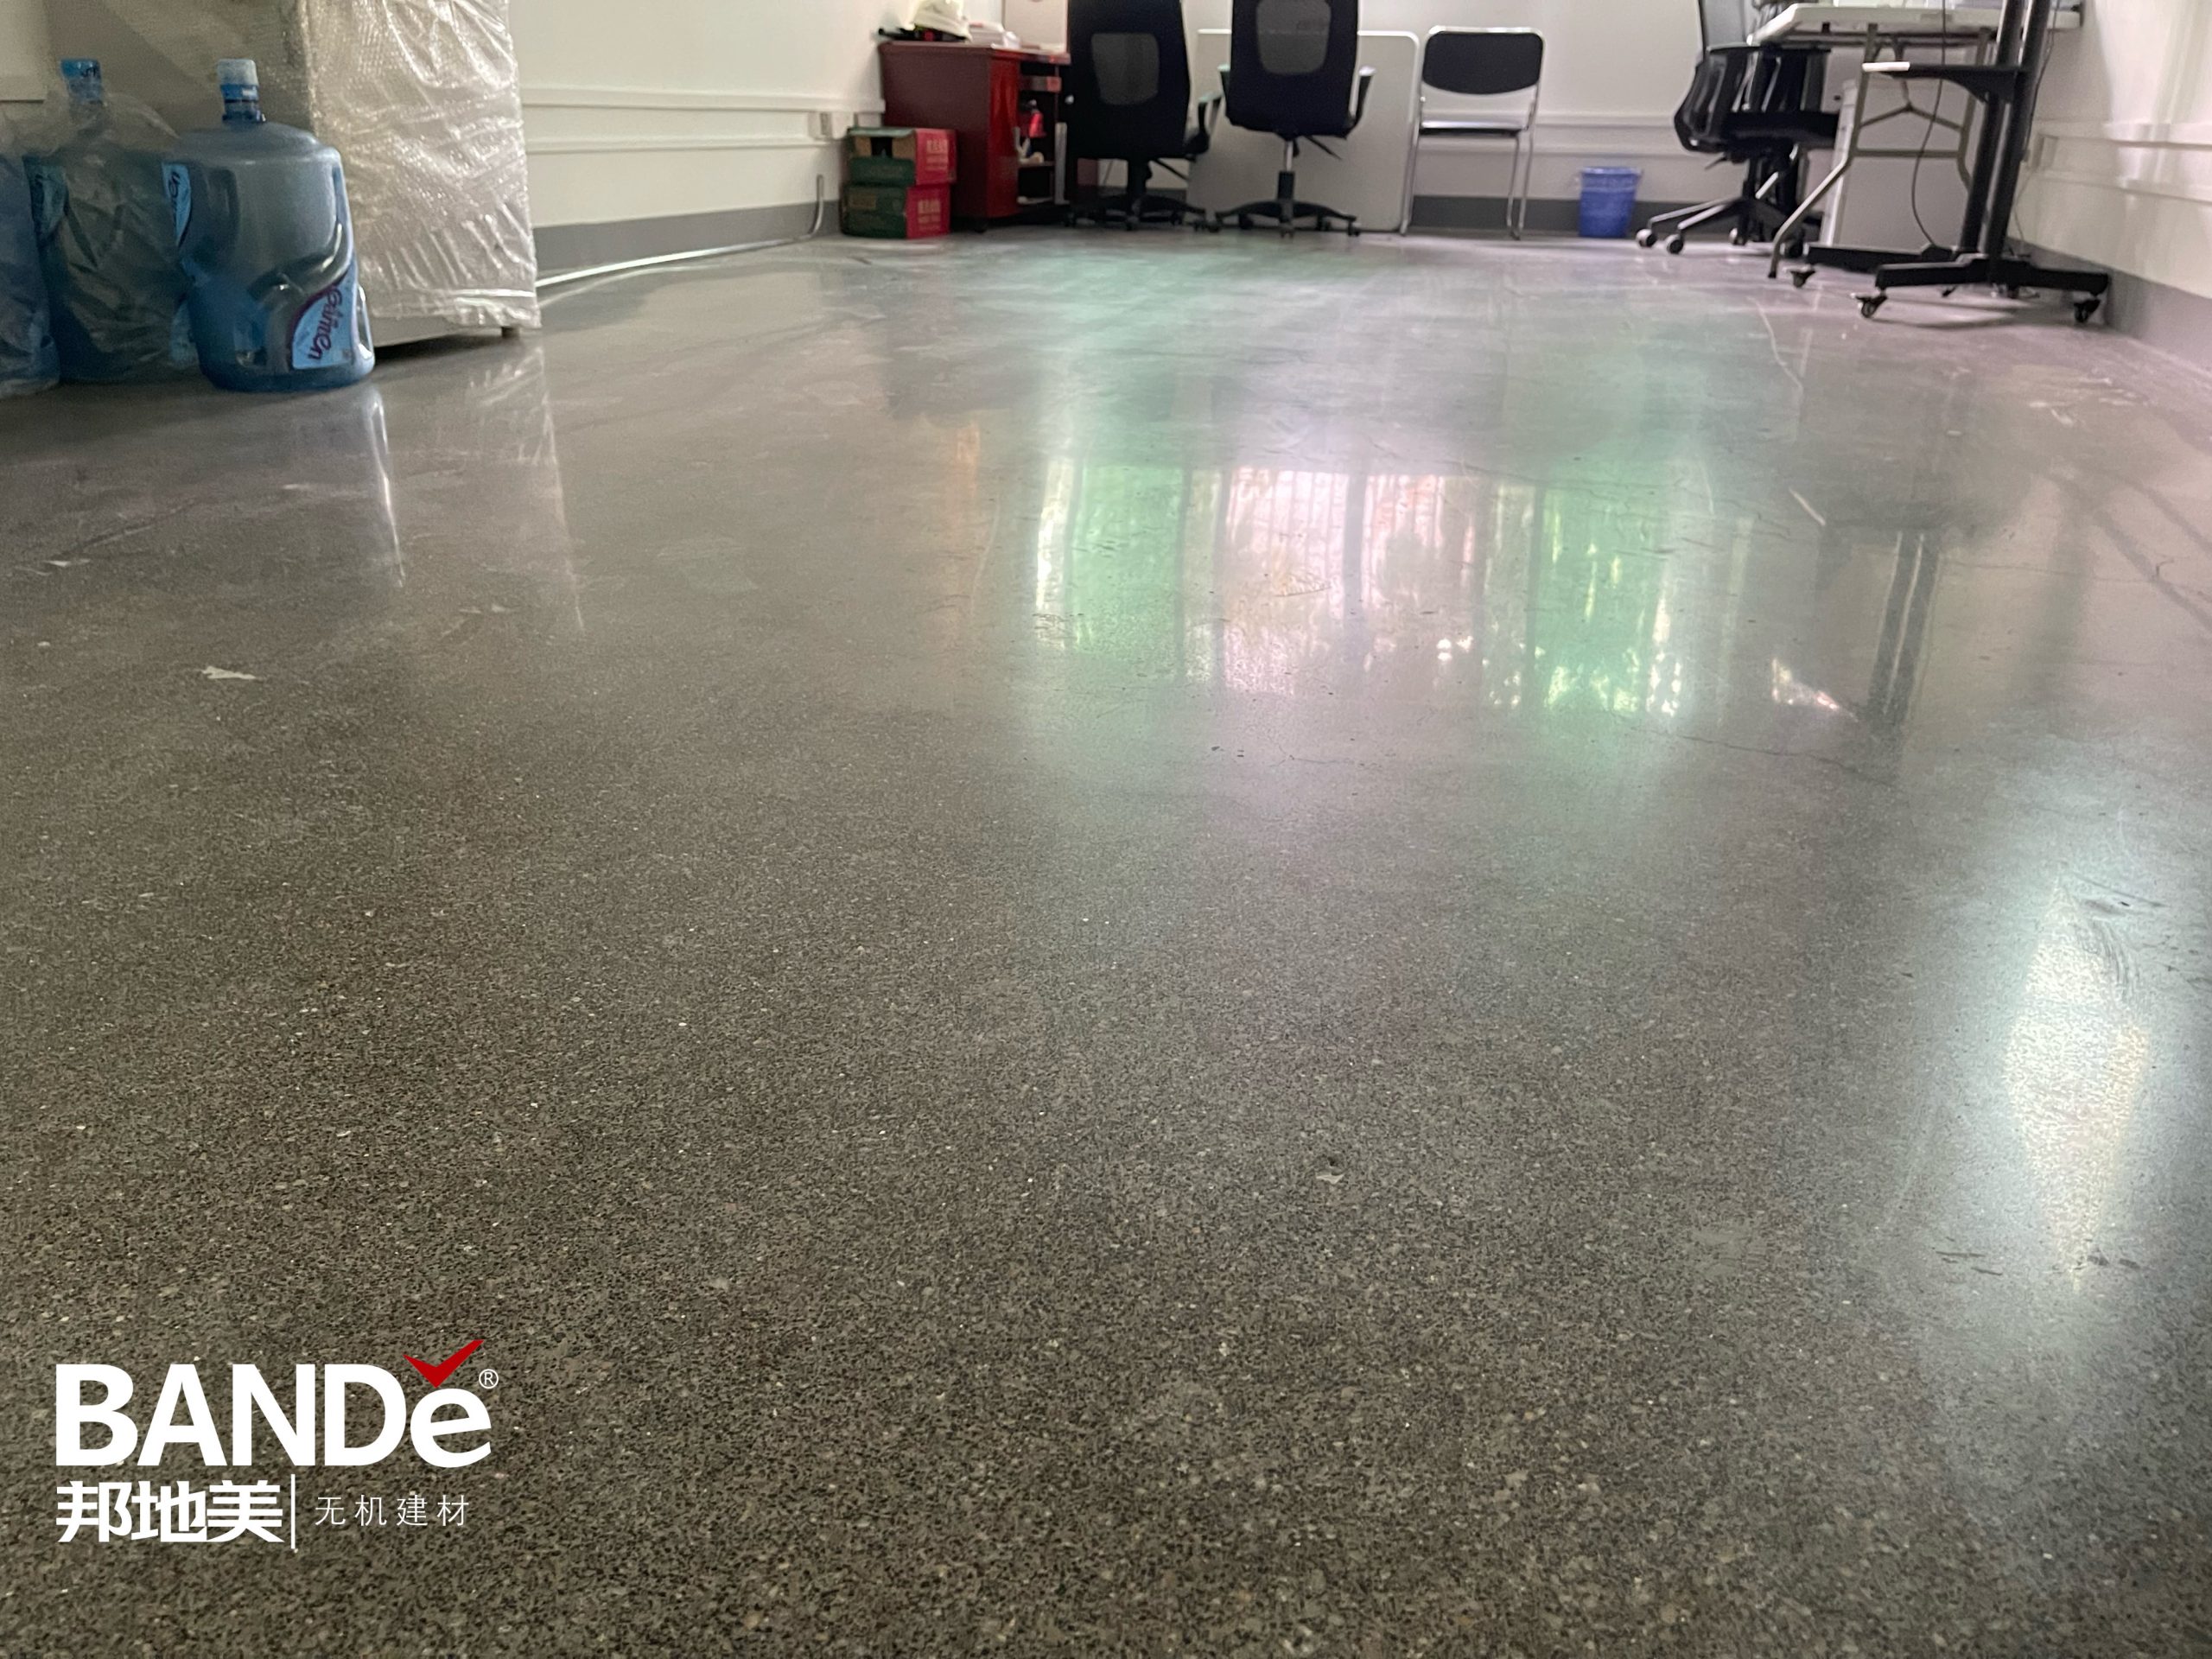
Getting a high gloss finish on your concrete floors is a fun project. Here are the main steps to follow:
Prepare the Surface: Clean it and fix any damage.
Grind the Concrete: Use the right grit order for a smooth look.
Apply BANDě Floor Polishing Liquid: Make sure to cover evenly for the best shine.
Seal the Surface: Protect your work so it lasts longer.
Using liquid polish like BANDě makes it stronger and shinier. Don’t forget to avoid mistakes, like skipping cleaning or rushing the polishing.
For regular care, dust mop often and use gentle cleaners. This will help your floors stay beautiful for years. Start your polishing project with confidence, and enjoy how great your concrete floors look! ✨
FAQ
What is the best way to clean my concrete floor before polishing?
First, sweep or vacuum the floor to get rid of dirt and debris. For tough stains, use a chemical cleaner or degreaser. Make sure the surface is completely dry before you start polishing.
How long does it take to achieve a high gloss finish?
The time it takes can change based on the size and condition of the floor. Usually, the whole process, including grinding and polishing, can take several hours to a couple of days.
Can I use BANDě Floor polishing liquid on any concrete surface?
Yes, BANDě Floor polishing liquid works well on many concrete surfaces. This includes polished, terrazzo, and diamond sand wear-resistant floors. Just make sure the surface is clean and dry for the best results.
How often should I reapply the sealer on my polished concrete floor?
You should reapply the sealer every 1 to 3 years. This depends on foot traffic and wear. Regular maintenance helps keep your floor shiny and protects it from damage.
Is it necessary to use a densifier before polishing?
Yes, using a densifier makes the concrete stronger and improves the shine. It fills in pores and makes the surface more durable, which leads to a better finish overall.
See Also
Transforming Dull Concrete Floors Into Stunning Polished Surfaces
Comprehensive Tips for Polishing Concrete Floors with BANDě
Steps to Use Concrete Dust Sealer for Clean Floors
Your 2025 Handbook for Selecting Top Concrete Densifiers
2025 Recommendations for Choosing Ideal Concrete Floor Hardener