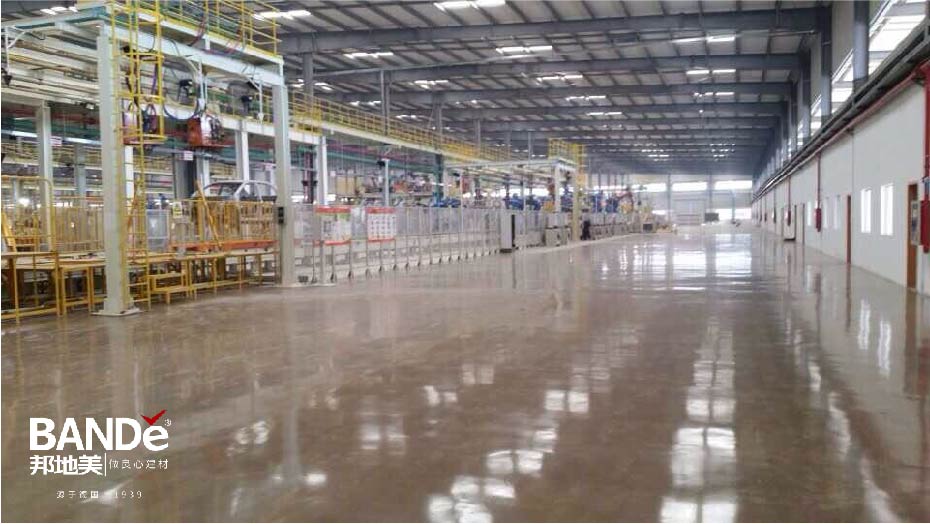
Fixing concrete floors that cannot be ground can be challenging. These floors may show various types of damage, such as cracks, spalling, and pitting, often caused by slab restraint or heavy traffic wear. Addressing these issues is crucial to maintaining the strength and durability of the floor. To fix concrete floors that cannot be ground, there are several effective methods and materials available that ensure long-lasting repairs and restore the floor’s integrity.
Key Takeaways
Check your concrete floor for cracks and holes. Measure how big they are to find the best way to fix them.
Pick the right repair materials for the damage. Use epoxy for cracks and self-leveling concrete for holes.
Get the area ready before you use the repair materials. Clean the surface and wet it to help the bond.
Give the repair materials enough time to cure. Quick-setting cement needs about 24 hours, while epoxy can take up to 48 hours.
Take care of your concrete floor by cleaning it often. Seal it every few years to stop future damage.
Damage Assessment
Finding Cracks and Pits
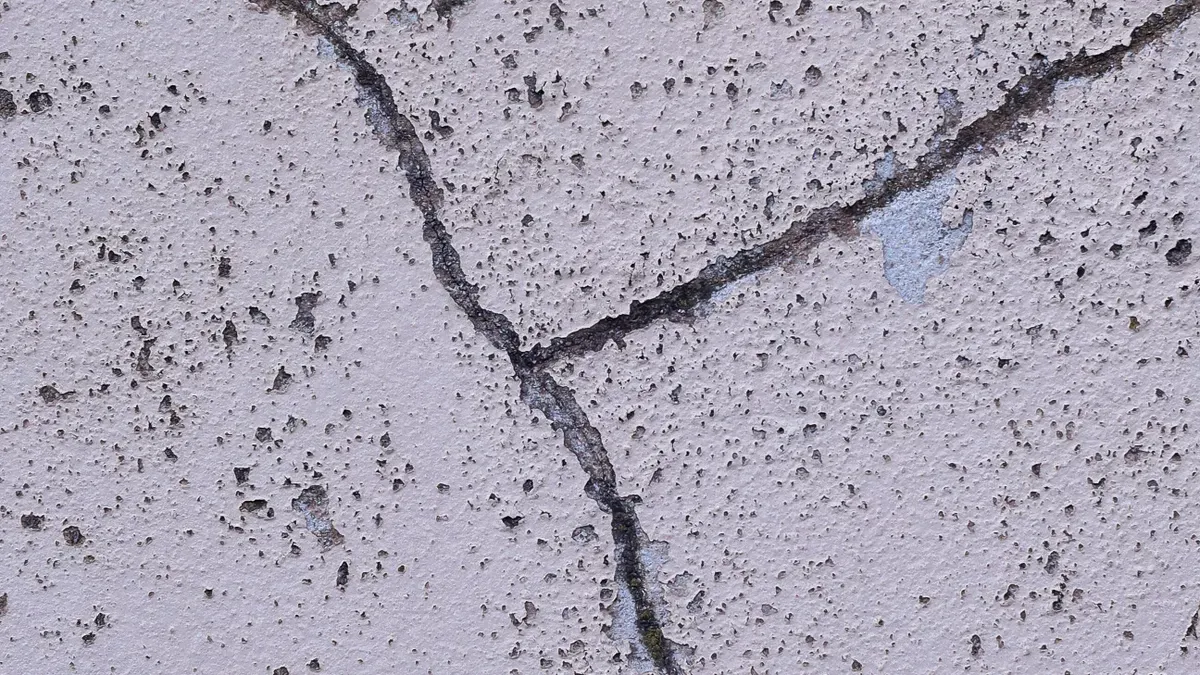
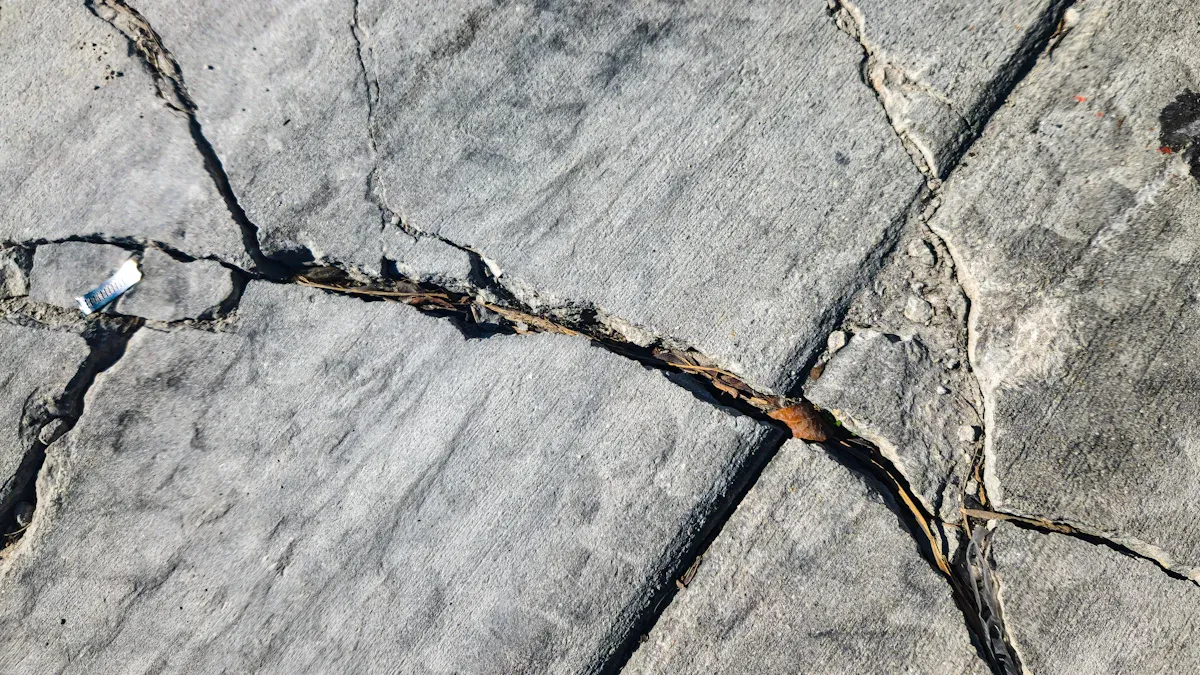
Before fixing a concrete floor, check for damage types. The most common problems are cracks and pits. Cracks can be tiny, like hairline lines, or big gaps over 2 inches wide. Small cracks often happen because of shrinkage or light stress. Bigger cracks might mean there are structural problems. Pits are holes or dents in the surface. Shallow pits are less than 2 inches deep, but deeper ones need more work to fix.
Start by carefully looking over the floor. Search for uneven spots, visible gaps, or crumbling areas. Use a measuring tool to check how wide and deep the cracks and pits are. This step is important because the size and depth of the damage will decide what repair method and material you need.
Tip: Cracks and pits can cause safety problems, like tripping or making rolling equipment unstable. Fixing them quickly makes the floor safer and easier to use.
Checking How Bad It Is
After spotting the damage, figure out how serious it is. Measure the cracks to see if they need fixing right away. Cracks wider than 2 inches or with uneven edges might need cutting and re-pouring. Smaller cracks that aren’t growing can be fixed with quick-setting cement or epoxy.
Pits also need to be checked carefully. Shallow pits can be filled with self-leveling concrete. Deeper pits might need extra steps, like shaping the edges and clearing loose pieces. Look for other problems, like uneven settling or moisture, which could mean bigger issues underneath.
By checking the damage closely, you can pick the best repair method and materials. For weak floors, try using a product like the BAND curing agent. It helps strengthen and stabilize the surface before you start repairs.
Fix Concrete Floor That Cannot Be Ground
Overview of Repair Products
If you need to fix concrete floors that cannot be ground, there are many repair products to help. Here are some common choices:
Epoxy Injections: These fill cracks well. They stick strongly and help keep the structure strong.
Polyurethane Injections: Like epoxy, these are flexible. They work great for moving cracks.
Patching Compounds: Use these for spalling or pitting damage. They make a smooth finish and match the surface.
Self-Leveling Concrete: This is good for filling pits and making the surface even.
BAND Curing Agent: This liquid makes weak concrete stronger. It stabilizes and supports the floor, which is great before using other repair products.
Choosing the right product depends on the damage you see.
Selecting Based on Damage Type
Picking materials based on the type and seriousness of damage is important for good repairs. Here are some steps to help you choose:
Assess the Damage: Use tools like moisture meters and core samples to check how bad the damage is. This helps you know what repairs and materials you need.
Identify the Damage Type:
For cracks, think about using epoxy or polyurethane injections to keep the structure strong.
For spalling or pitting, use patching compounds or overlays.
Evaluate Severity:
Check how the damage affects the floor’s safety and use.
Think about how much repair is needed based on what you found.
Choose Appropriate Materials:
Make sure the repair material can handle what caused the damage.
Match the sealant’s strength to the job.
Check exposure conditions to ensure it works well.
By following these steps, you can fix concrete floors that cannot be ground. Good assessment and material choice will lead to strong and lasting repairs.
Step-by-Step Crack Repair
Preparing the Area
Before you fix cracks, get the area ready. Follow these steps for a good repair:
Clean the Area: Take away any junk from the cracked surface. This means dirt, dust, and loose concrete.
Scrub with a Wire Brush: Use a wire brush to clean off any loose concrete. This makes a strong surface for the repair material to stick.
Dampen the Surface: Lightly wet the area with water. Make sure there is no standing water left. This moisture helps the repair material stick better.
Tip: Always wear safety gear while getting the area ready. This includes gloves, safety glasses, and strong shoes to avoid injuries.
Applying Repair Material
After preparing the area, you can put on the repair material. Here’s how to do it right:
Choose Your Material: Depending on how bad the crack is, use either epoxy or quick-setting cement. Epoxy is best for bigger cracks because it sticks well. Quick-setting cement is good for smaller cracks and dries fast.
Mix the Material: Follow the instructions on the package for mixing the repair material. For epoxy, mix it well to get a smooth texture.
Apply the Repair Material: Use a putty knife or trowel to put the repair material into the crack. Press it down to fill the crack completely. Smooth it out to match the area around it.
Curing Time: Let the repair material cure properly. Quick-setting cement usually cures in about 24 hours, while epoxy may take longer. For epoxy, wait 48 hours for a perfect finish before doing more work.
Material | Setting Time | Curing Time |
|---|---|---|
Quick-Setting Cement | 3 to 5 mins | 24 hours |
Epoxy | Varies | 24 hours or more |
By following these steps, you can fix cracks in your concrete floor well. Good preparation and applying the repair material will make sure it is strong and lasts a long time.
Step-by-Step Pit Repair
Cleaning the Pit
To fix pits well, start by cleaning them properly. Follow these steps to make sure the repair holds:
Expose the Pit: Shape the edges of the pit and take out loose pieces. This gives a strong base for the repair material.
Clean the Area: Wet the surface lightly and use a masonry cleaner. Follow the cleaner’s instructions and scrub with a stiff brush. This clears dirt and debris, helping the repair material stick better.
Tip: Wear gloves and goggles while cleaning the pit. This keeps you safe from dirt and chemicals.
Filling and Curing
After cleaning, fill the pit with the right material. Here are some good options for filling pits:
Polymer-modified Sand Mix: This is an affordable way to fill pits. Pour it over the damaged spot to make it smooth.
Top ‘N Bond: This is great for fixing concrete pits and works effectively.
Pro-Mix All-Purpose Cement Mix: Another dependable choice for repairing pits in concrete.
For uneven spots, self-leveling concrete is a good option. It fixes uneven surfaces quickly without needing major work. You can pour it over the floor, and it’s ready for walking in just a few hours. But make sure to fix any deeper problems, like soil erosion, before using it. This prevents future damage.
Once the pit is filled, let the material cure fully. Use curing compounds to keep the concrete moist. Let it cure for at least 28 days to make it strong. This step is very important for making the repair last longer.
By following these steps, you can fix pits in your concrete floor. This will make the floor safe and strong again.
To sum up, fixing concrete floors that cannot be ground is possible. You need to check the damage, pick the right materials, and use proper repair steps. Use epoxy injections for cracks and self-leveling concrete for pits. Keeping up with maintenance is also important to make repairs last longer.
Here are some tips to keep your concrete floors in good condition:
Clean them often to stop dirt from building up.
Fix cracks or spalling as soon as you see them.
Use a concrete sealer every few years to protect the surface.
By doing these things, your floor will stay strong and safe for a long time.
Tip: Always use good tools and learn the right repair methods. This helps you avoid mistakes and saves both time and money!
FAQ
What is the best way to repair small cracks in concrete?
For small cracks, use quick-setting cement or epoxy. First, clean the area well. Then, apply the repair material with a putty knife. Smooth it out so it matches the surface around it.
How long does it take for repair materials to cure?
Curing times depend on the material. Quick-setting cement cures in about 24 hours. Epoxy takes longer and often needs 48 hours to fully cure before more work.
Can I use BAND curing agent on all types of concrete?
Yes, BAND curing agent works on many concrete surfaces. It strengthens weak spots and gets them ready for repairs. This makes it useful for different kinds of projects.
How do I maintain my repaired concrete floor?
Clean your floor often to stop dirt from building up. Fix any new cracks or spalling as soon as you see them. Use a concrete sealer every few years to protect the surface.
What should I do if the damage is severe?
If the damage is very bad, call a professional. They can check the problem and suggest the best repairs. This might include cutting and re-pouring parts of the concrete.
See Also
Applying Concrete Dust Sealers For Cleaner, Dust-Free Floors
Choosing The Right Epoxy Patch For Concrete Repairs
Understanding BAND Concrete Hardener And Its Key Benefits