
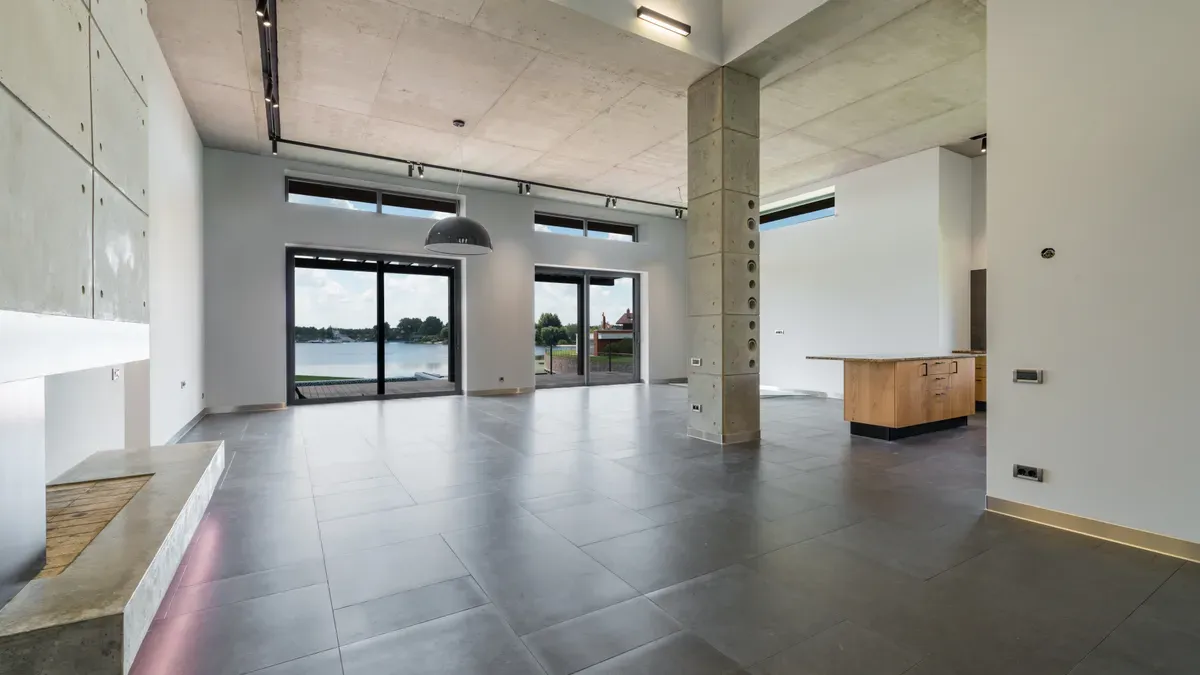
Preparing your concrete floor for polishing is crucial to achieving the best results. A well-prepared floor not only lasts longer but also maintains a superior appearance. Proper preparation, including treating the concrete floor before polishing, helps prevent issues like poor performance and costly repairs. Key steps include inspecting the concrete, thoroughly cleaning it, and ensuring it is treated before polishing. By following these steps, your polished concrete floor will be durable and retain its beauty for years to come.
Key Takeaways
Check your concrete floor for cracks and rough spots. This helps you find repairs needed before polishing.
Clean the concrete well to get rid of dust, dirt, grease, and stains. This will help you have a smooth finish.
Use a curing agent to make the concrete stronger. This gets it ready for polishing.
Pick the right polishing tools and pads. This depends on how hard the concrete is and what finish you want.
Finish preparing the surface by fixing any damage. Make sure the floor is clean and even.
Assessing Concrete Condition
Inspecting for Cracks
Before polishing your concrete floor, check for cracks. Cracks can change how the floor looks after polishing. You might find two main types of cracks:
Type of Crack | Description | Repair Method |
|---|---|---|
Static Cracks | Small cracks that only affect the surface. They can be left for decoration. | Usually do not need fixing; can be covered with tinted urethane skim coat if you want. |
Moving Cracks | Bigger cracks that must be fixed before polishing. | Need to be cleaned out with a V-grooved diamond blade, then filled with semi-rigid polyurea or the right repair material. |
Fixing these cracks is very important. If you ignore them, they can cause uneven surfaces and bad polishing results.
Evaluating Surface Texture
Next, check the surface texture of your concrete floor. A smooth surface is best for polishing. Rough or bumpy textures can make polishing harder. Here are some ways to check the texture:
Mohs test to check hardness
Visual inspection for cracks or problems
You should also look at moisture levels and pH balance. These things can affect how well the polishing works. For example, too much moisture can cause coating problems.
There are industry standards for checking concrete floors before polishing. These include moisture testing, acidity or alkalinity testing, and floor polish checks. Each method helps make sure your floor is ready for polishing.
By carefully checking the condition of your concrete floor, you prepare for a good polishing job. Remember, using a curing agent like BANDě can make the surface stronger and ready for the next steps.
Cleaning the Concrete Surface
Removing Contaminants
Cleaning your concrete floor is very important for polishing. You need to get rid of all contaminants for a smooth finish. Common things that can dirty concrete floors include:
Dirt
Oil
Grease
Old paint or sealants
These materials can mess up the polishing process. If you don’t clean them, the floor may look uneven. The shine might not be consistent, and the surface could wear out faster. This can lead to extra repairs and higher costs over time.
Choosing Cleaning Solutions
Picking the right cleaning products is key to removing stains. Follow these steps to clean your concrete floor:
Sweep and vacuum to clear loose dirt.
Pick a concrete degreaser that matches your floor and stains.
Mix the degreaser as the instructions say.
Spread the degreaser on the floor.
Scrub the floor with a stiff brush to remove grease.
Rinse the floor well to wash away leftover cleaner.
For tough stains, try a baking soda and water paste for oil spots. Use hydrogen peroxide for stains like coffee or wine. Cover the area with plastic wrap and leave it for 24 hours. If the stain doesn’t go away, ask a professional for help.
While cleaning, watch out for common problems:
Test for moisture to avoid future damage.
Make sure the surface is ground properly for a good shine.
Clean thoroughly to ensure the sealant works well.
Don’t rush, or the finish might not turn out right.
By cleaning your concrete floor carefully, you prepare it for great polishing results. Using a curing agent like BANDě can also make the surface stronger and ready for the next steps.
Treat Concrete Floor Before Polishing
Applying Curing Agent
Before polishing your concrete floor, you must use a curing agent. A curing agent makes the concrete stronger and ready for polishing. It helps create calcium hydroxide. This reacts with densifiers to make the surface harder. Here are some good ways to apply curing agents:
Spraying: Use a sprayer to put on the curing compound. This makes a protective layer that stops water from evaporating.
Timing: Apply the curing agent when the concrete looks matte. This helps keep the coating even and undamaged.
Avoiding Barriers: Pick curing compounds made for polished concrete. Some can create barriers that stop densifiers from working well.
Water curing is usually the best choice. It keeps moisture levels up and lowers the chance of surface barriers. Keeping the concrete wet for at least five days helps it hydrate well. This process helps the concrete get strong evenly, which is important for a good polish.
Repairing Cracks and Chips
Fixing cracks and chips is another important step before polishing your concrete floor. Taking care of these problems keeps the floor strong and stops more damage. If you ignore cracks, you may need bigger repairs later. Here are common types of damage and the best materials to fix them:
Damage Type | Recommended Material |
|---|---|
Small cracks and chips | Concrete patching compound |
Larger cracks and pits | Epoxy filler |
By fixing these damages, you help your polished concrete floor last longer. It also keeps the surface smooth, which is key for a great polish.
Preparing for the Polishing Process
Choosing Polishing Equipment
Picking the right polishing equipment is very important. It helps you get a great finish on your concrete floor. Here are some things to think about:
Concrete Mix Design: Know the mix design and how your concrete works. This includes the water/cement ratio and what kind of aggregate is used.
Surface Preparation Needs: Talk with contractors about what you want for the finish. This makes sure they understand your needs.
Polishing Pads: Select pads based on how hard the concrete is and the finish you want. Use rough pads for grinding and finer pads for polishing.
When choosing pads, think about these types:
Diamond Pads: Best for heavy grinding.
Resin Pads: Great for a smooth finish.
Metal Bond Pads: Good for preparing the surface.
Hybrid Pads: Useful for different finishing tasks.
Final Surface Preparation
Before you start polishing, finish the final surface preparation. Follow these important steps:
Evaluate the Area: Check the size, condition, and vapor levels of the concrete. This helps you make a good preparation plan.
Create a Preparation Plan: List the tools and equipment you need based on the surface type.
Choose the Right Method: Depending on your goals, use a walk-behind grinder or shot blaster for good surface prep.
Avoid common mistakes at this stage. Skipping proper surface prep can lead to an uneven finish. Always clean the floor well and fix any cracks. Using the wrong grit sequence can also cause problems. Start with coarse grits and move to finer ones for the best results.
By carefully choosing your polishing equipment and doing thorough surface prep, you prepare for a successful polishing process. Remember, using a curing agent like BANDě can make your concrete stronger and more ready for polishing.
Getting your concrete floor ready for polishing is very important for a great and strong finish. Here are the main steps to follow:
Check how your concrete looks.
Clean the surface really well.
Use a curing agent on the floor.
Pick the right tools for polishing.
Finish the last surface prep.
By doing these things, you can enjoy the long-lasting benefits of a polished concrete floor. These benefits include saving money, better strength, and a safer space. Don’t forget, regular care like daily cleaning and occasional buffing will keep your floor shiny. Start getting ready today and change your concrete into a nice, polished surface!
FAQ
What is the first step in preparing my concrete floor for polishing?
Begin by checking how your concrete floor looks. Look for cracks and check the surface texture. This helps you find any repairs you need to do before continuing.
How do I clean my concrete floor effectively?
To clean your concrete floor, start by sweeping and vacuuming. Next, use a good degreaser to get rid of stains. Rinse well to make sure no leftover cleaner stays, which can affect polishing.
Why is using a curing agent important?
A curing agent makes your concrete surface stronger and ready for polishing. It helps it last longer and creates a smoother finish, leading to better results when polishing.
How do I choose the right polishing equipment?
Pick polishing equipment based on how hard your concrete is and the finish you want. Talk to experts to find the best tools and pads for your needs.
Can I polish my concrete floor myself?
Yes, you can polish your concrete floor by yourself if you follow the right steps. Make sure you have the right tools and know-how to get a professional-looking finish.
See Also
Steps to Seal Concrete Floors for a Dust-Free Finish
Transforming Dull Concrete Floors Into Stunning Polished Surfaces
Your 2025 Handbook for Picking Top Polished Concrete Densifiers
Mastering Concrete Floor Polishing With BANDě: A Complete Guide
Choosing Premium Concrete Polishing Services With BANDě in 2025