
Sanding concrete floors is very important, and finding a solution for sanding of cement floors can significantly enhance their appearance and durability. In 2026, new tools and methods will make sanding easier than ever. Effective sanding not only improves the look of floors but also strengthens them. The global market for floor sanding discs is expected to hit $14.56 billion, indicating that more people are seeking innovative solutions for sanding of cement floors.
Key Takeaways
Get the concrete surface ready by looking for cracks and cleaning it well before sanding.
Pick the right grit levels for sanding: begin with 80 grit for rough surfaces, then move to 150 and 220 grit for a smooth finish.
Always wear safety gear like goggles and masks to stay safe while sanding.
Tools for Sanding Concrete
When sanding concrete, the right tools are very important. Let’s look at the different types of sanders, the benefits of diamond abrasives, and the good and bad sides of handheld and electric sanders.
Types of Sanders
There are many sanders made just for concrete floors. Here are some common sanders used in 2026:
Rotary Sanders: These sanders spin around in circles. They are great for removing a lot of material. They work well on big, flat areas but can be heavy and hard to move.
Planetary Sanders: These have several pads that grind and finish at the same time. They are lighter and easier to use than rotary sanders, but they can cost more.
Handheld Sanders: These are great for small jobs or tight spots. They are light and easy to control. However, they might not be as strong as bigger sanders.
Diamond Abrasives
Diamond abrasives change the game for concrete sanding. Here’s why they are a good choice:
Exceptional Hardness: Diamond abrasives are very tough. They are perfect for sanding hard materials like concrete.
Superior Finish: They remove material well and leave a smooth surface. This means fewer scratches and flaws.
Precision Grinding: The design of diamond discs allows for accurate grinding. This helps you get the finish you want.
If you want to know about the grit levels for diamond abrasives, here’s a quick list:
Coarse Grinding: 80 Grit – Smooths out deep scratches and makes a flat base.
Transitional Grinding: 100-150 Grit – Connects rough grinding and fine polishing.
Resin-Bond Polishing: 100-400 Grit – Removes leftover scratches and gets the surface ready for densification.
Fine Polishing: 800-1500 Grit – Creates shiny finishes.
Ultra-Fine Finishing: 3000 Grit & Beyond – Makes glass-like surfaces that reflect light well.
Handheld vs. Electric Sanders
Choosing between handheld and electric sanders depends on what you need. Here’s a quick comparison:
Feature | Handheld Sanders | Electric Sanders |
|---|---|---|
RPM | Usually higher RPMs | Generally lower RPMs |
Torque | Lower torque | Stronger torque |
Weight | Lighter and easier to handle | Heavier and may cause fatigue |
Heat Dissipation | Better at cooling | Not as good at cooling |
Maintenance | Usually needs less upkeep | Might need more upkeep |
When picking your sanding tools, think about performance, durability, ease of use, and safety. Look for sanders with adjustable speed and pressure controls to work with different types of concrete. Also, make sure the tools have designs that help reduce operator fatigue.
Sanding Techniques for Concrete

Preparing the Surface
Before you start sanding, get the concrete surface ready. This step is very important for good results. Here’s a simple checklist to follow:
Check the concrete for cracks, chips, or bumps. Fix these problems before sanding.
Clear the area by taking out all furniture and trash. Clean the floor with soap and water. Let it dry completely before you sand.
Start with an initial grind using 80 grit silicon carbide paper or a diamond grinding pad. This helps remove paint and rough spots. Go slowly to avoid damaging the surface.
Next, use 150 grit to smooth the texture and get rid of swirl marks. Vacuum often to keep dust from scratching the surface.
Finish with 220 grit for a smooth feel. This gets the concrete ready for sealers or epoxy without leaving shiny patches.
Clean up by vacuuming all dust and mopping with a damp cloth. Let the surface dry completely before adding any coating.
Grit Levels and Their Uses
Choosing the right grit level is very important when sanding. Each grit has a special job and changes how your concrete floor looks. Here’s a list of grit levels and what they do:
80 Grit: Great for taking off old paint, stains, or surface laitance. This grit is best for the first sanding step.
150 Grit: Smooths and levels the surface for an even texture. It helps get rid of any last imperfections.
220 Grit: Gives the final finish before putting on sealers or coatings. This grit makes a smooth surface that looks better.
Using the right grit order is key for getting the best look and strength of the concrete surface. Each grit must be used well before moving to the next finer grit. This way, you get a clean and sharp look at different levels of smoothness.
Techniques for Different Finishes
The sanding techniques you pick will change how your concrete floor looks in the end. Depending on how shiny you want it, you can change your method. Here’s a helpful table to guide you:
Gloss Level Name | Grit Finish Range | Typical Reflectivity (Gloss Units) | Best Application |
|---|---|---|---|
Matte (Low Sheen) | 200, 400 Grit | Below 25 GU | Industrial, minimalist residential, non-slip areas. |
Semi-Gloss | 800 Grit | 35, 50 GU | Retail, office spaces, high-traffic areas. |
High-Gloss (Mirror Finish) | 1500, 3000 Grit | Above 65 GU | Luxury residential, showrooms, aesthetic areas. |
For a matte finish, use coarser grits like 200 and 400. If you want a semi-gloss look, finish with 800 grit. For a high-gloss, mirror-like finish, you’ll need to go up to 1500 or even 3000 grit. Each technique affects how strong and nice your concrete floor looks, so choose carefully!
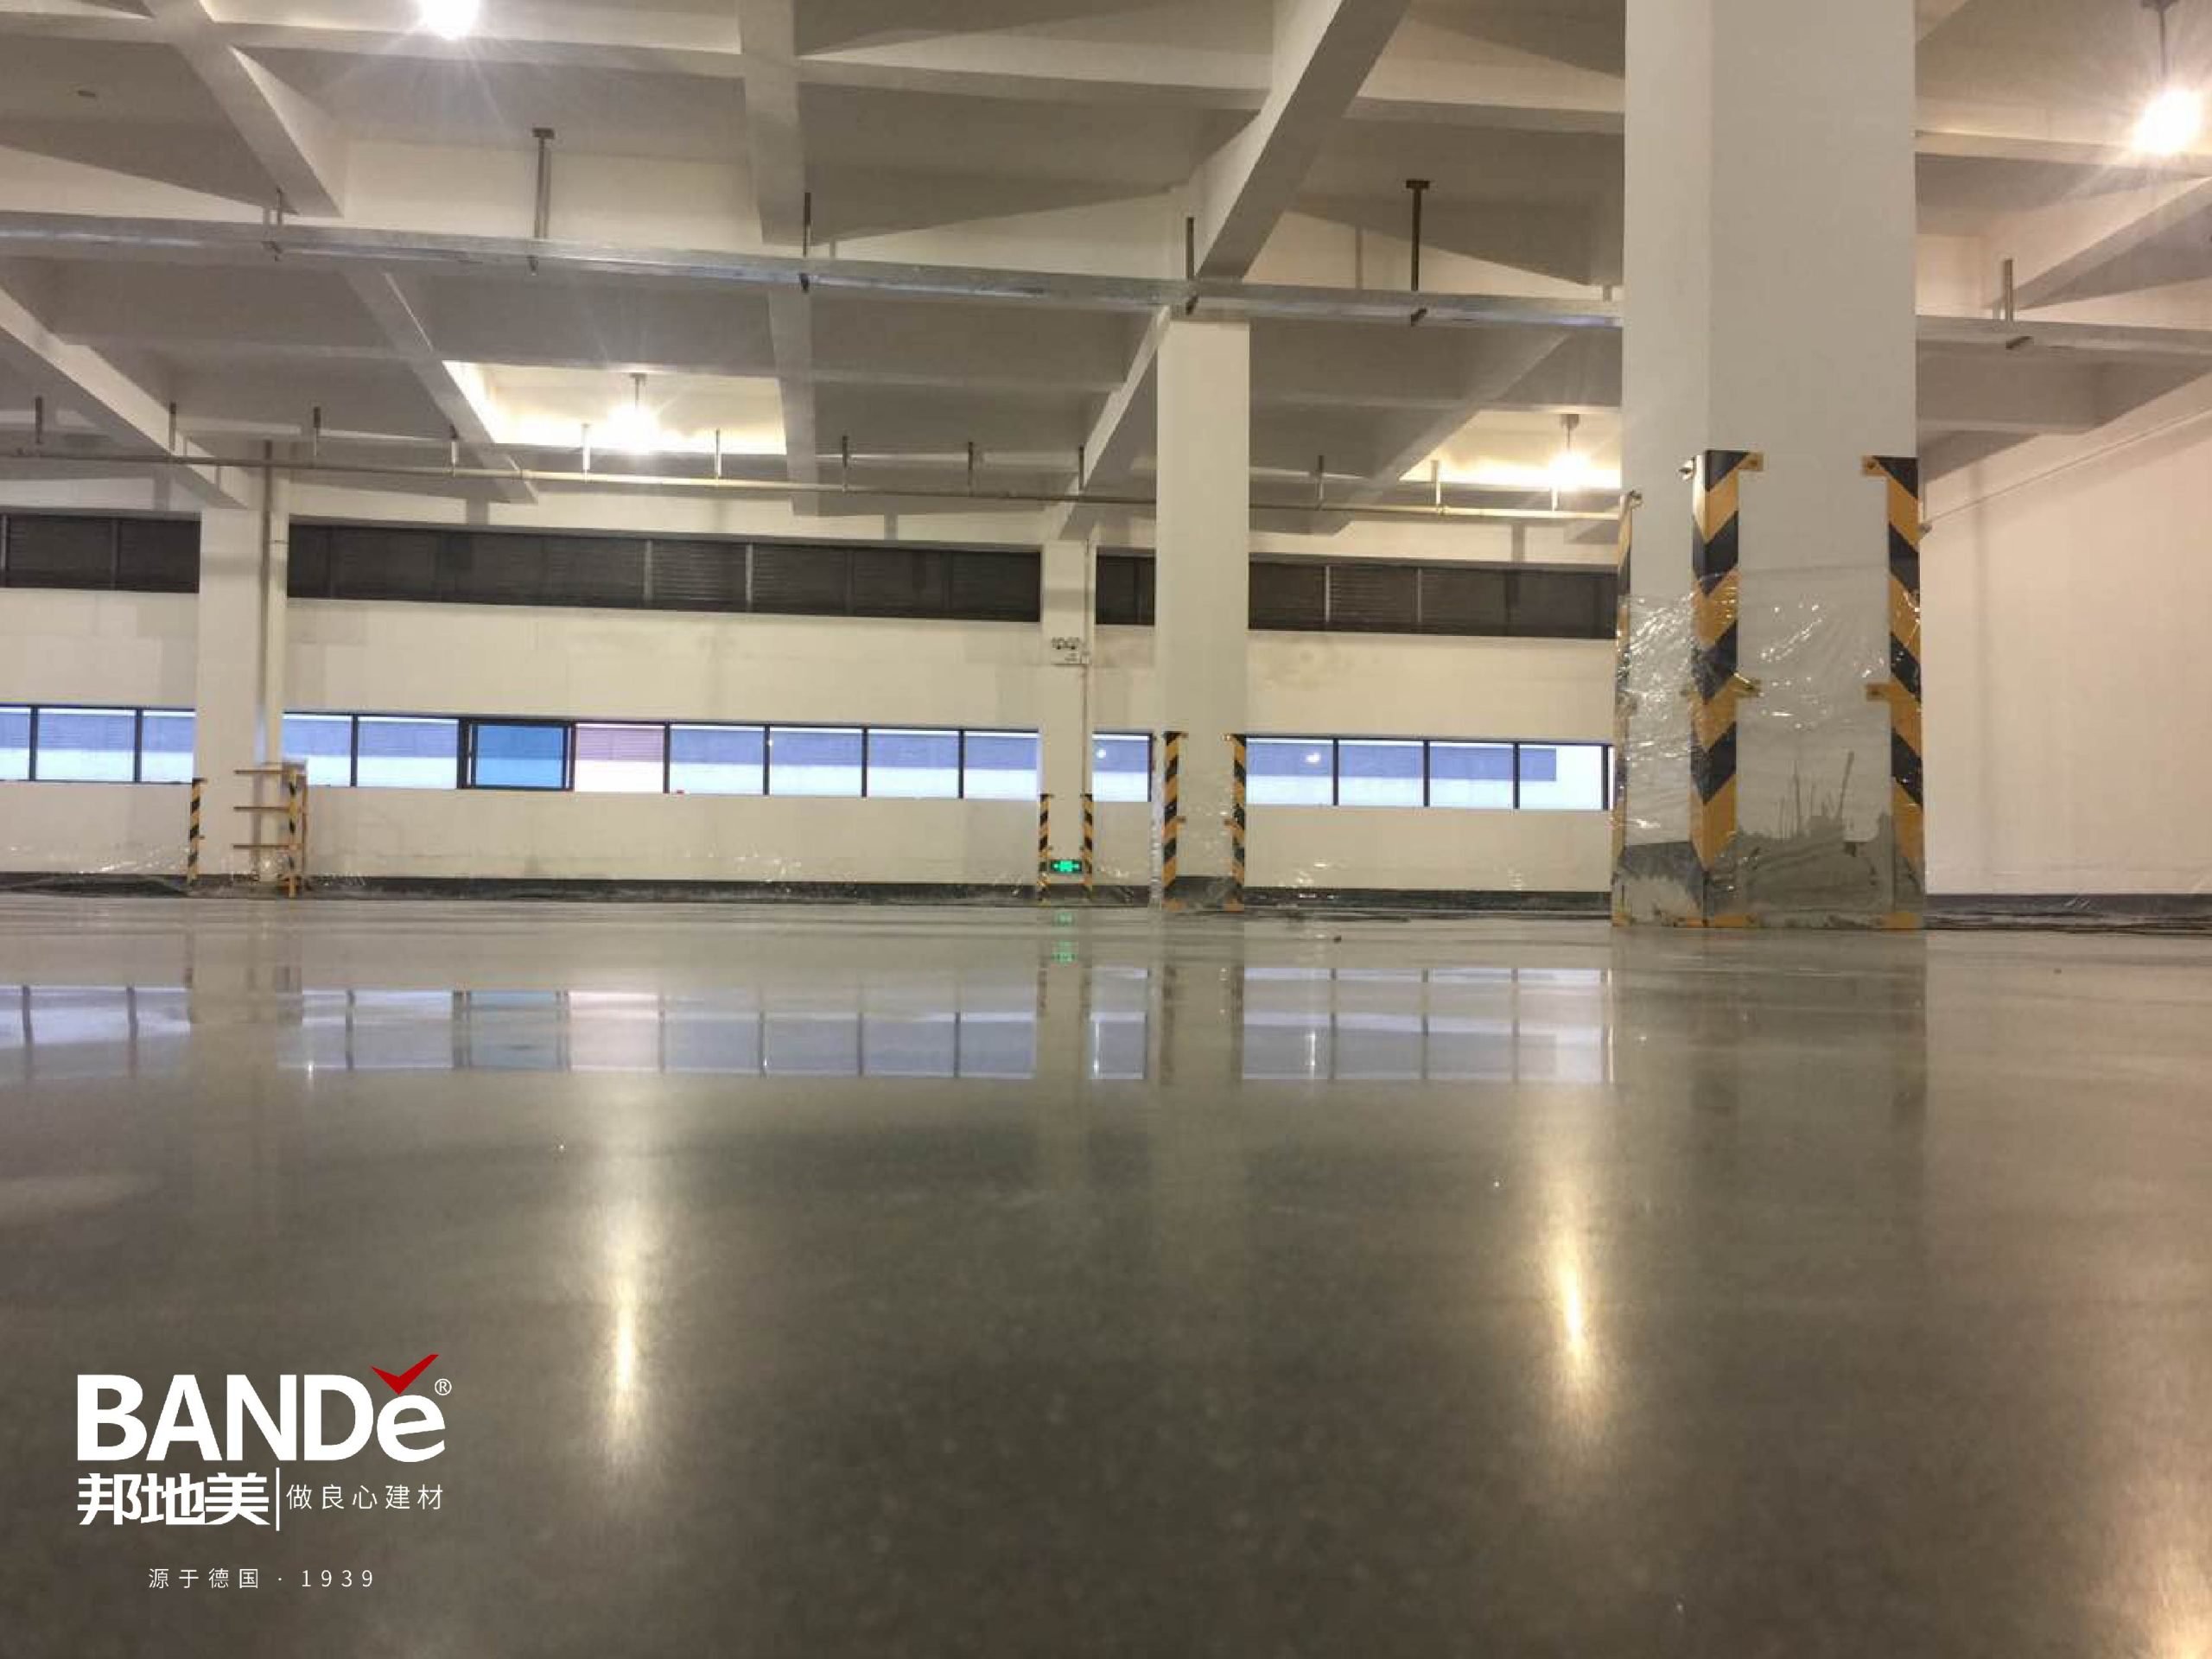
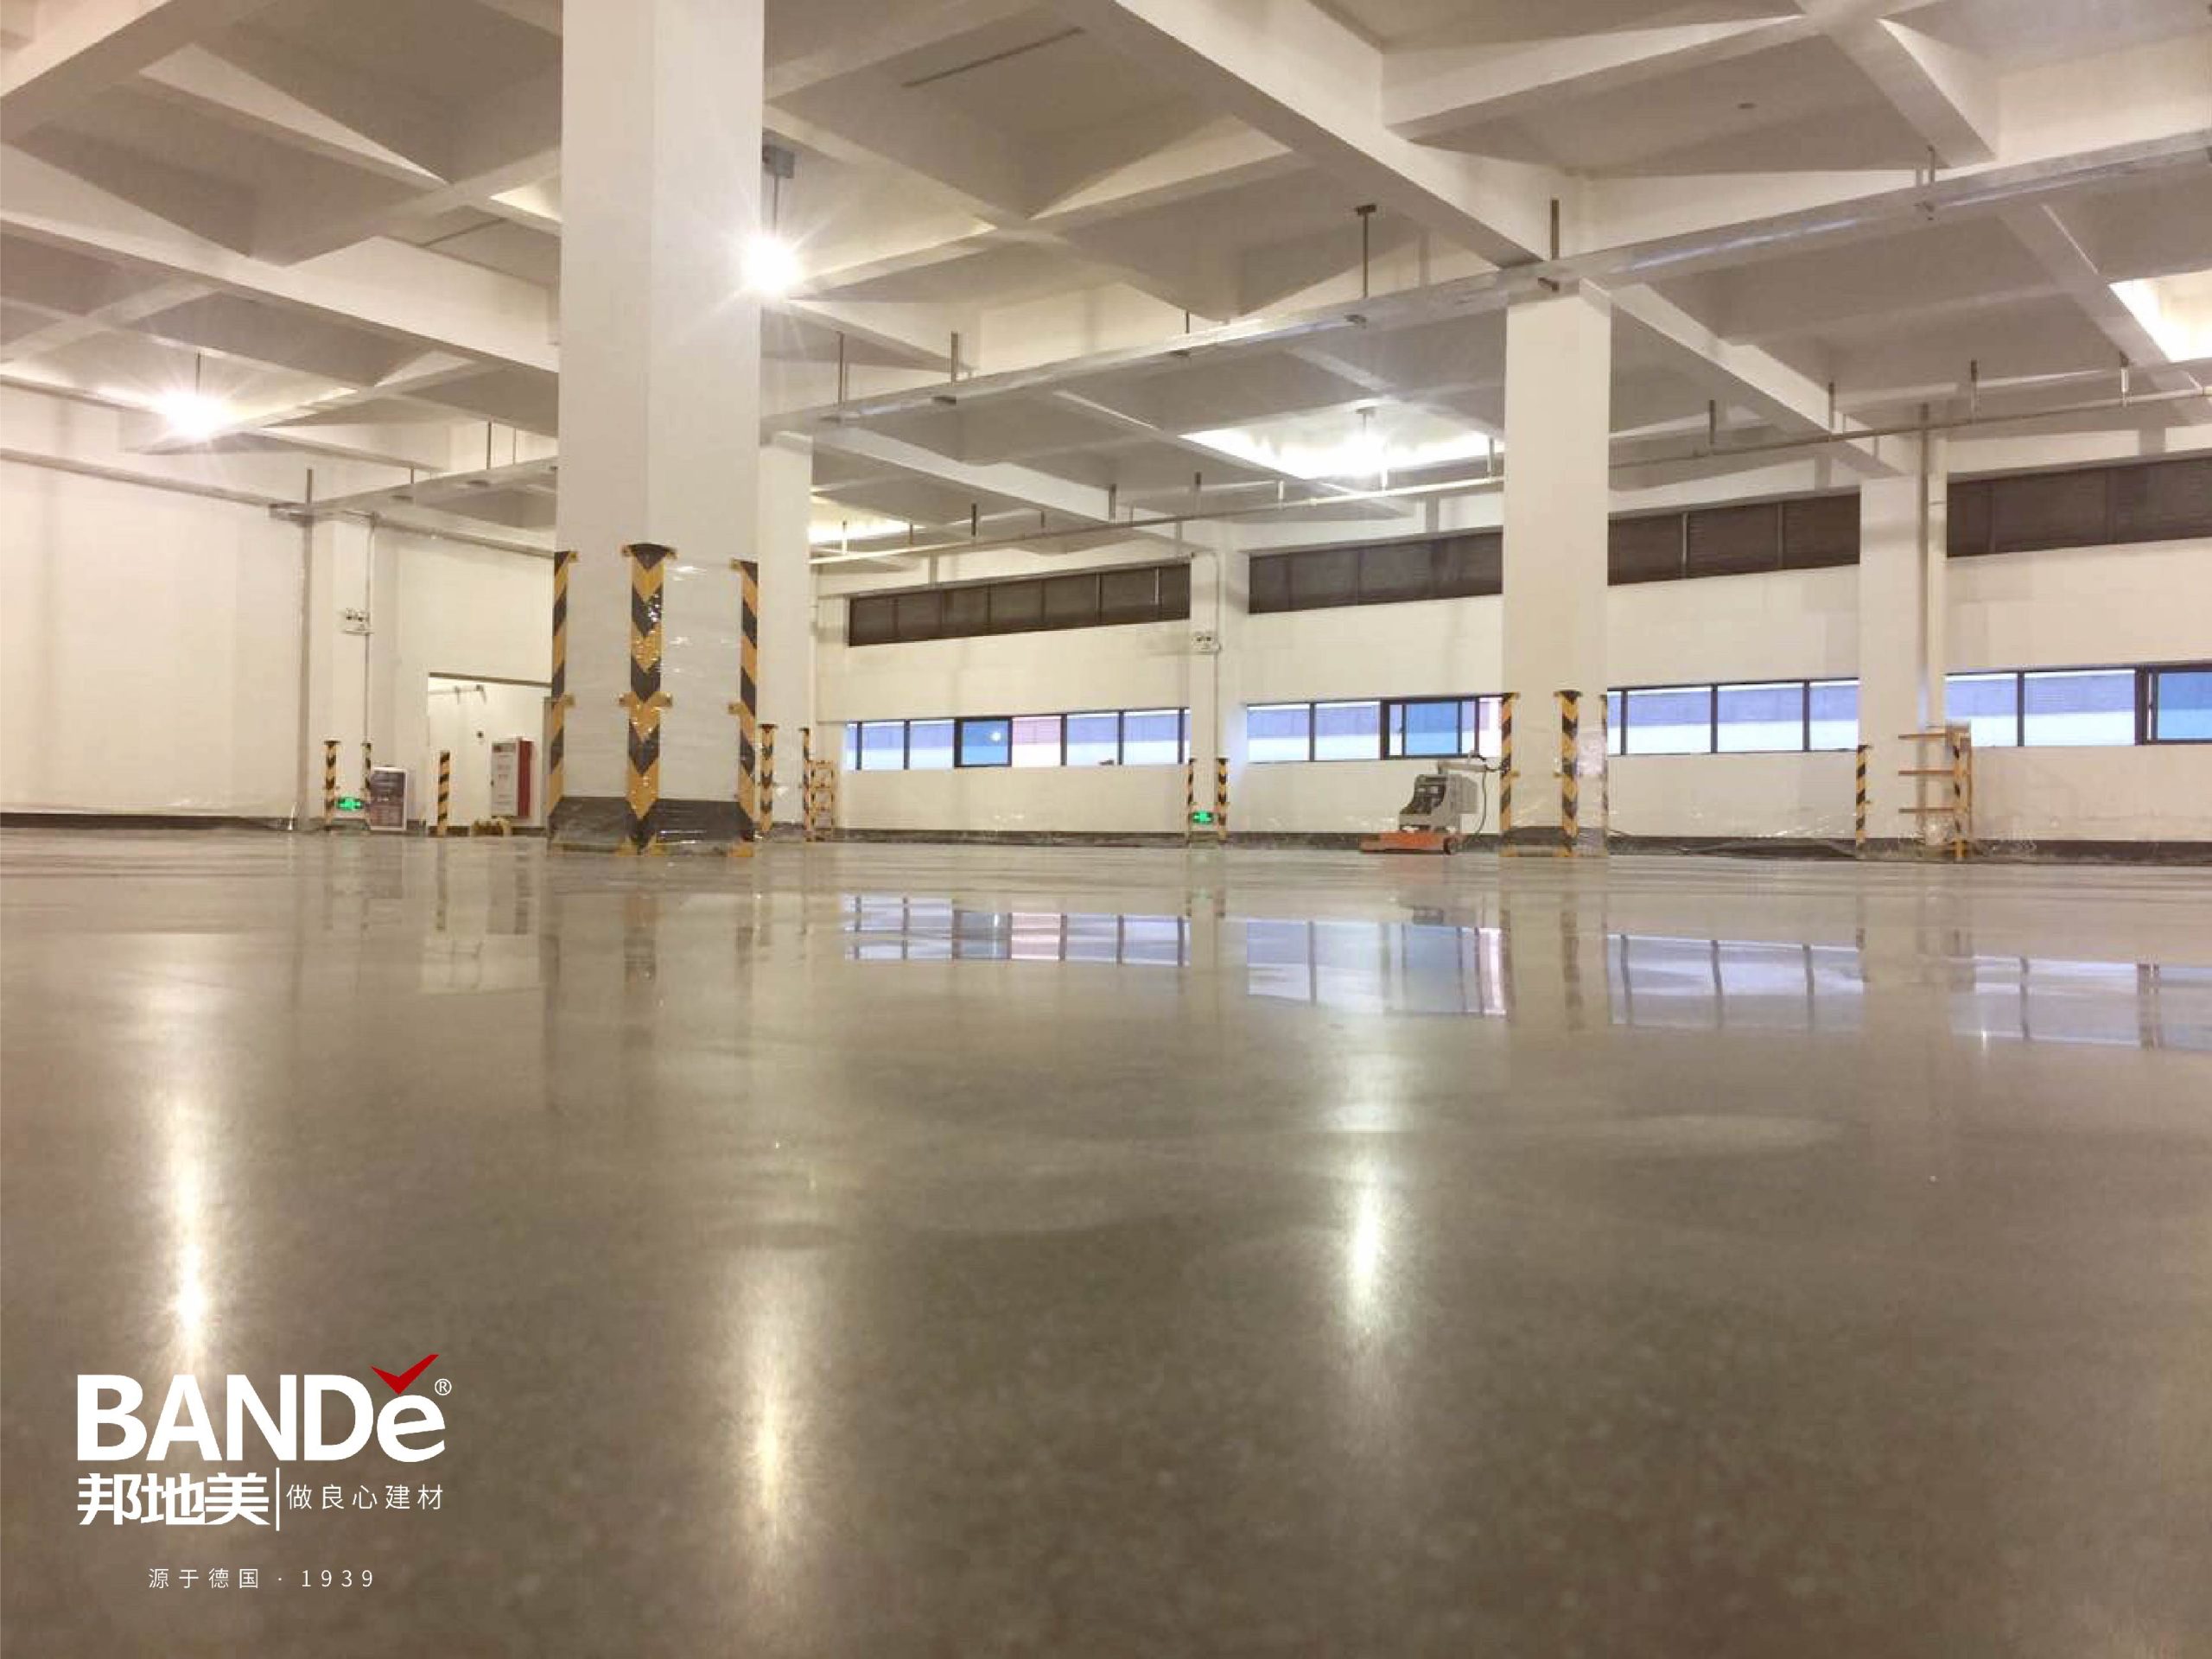
By following these sanding techniques, you can create a beautiful and strong concrete floor that fits your style.
Safety Solutions for Sanding of Cement Floors
When sanding concrete floors, safety is very important. Here are some key safety solutions to keep you safe.
Personal Protective Equipment (PPE)
Wearing the right PPE can help stop injuries and health problems. Here’s what you should think about:
Full-length Clothing: This helps prevent skin irritation and burns from concrete.
Safety Goggles: These protect your eyes from dust and chemicals.
Respirator: Use an APF 10 or higher respirator in dusty areas to avoid breathing harmful particles.
Boots and Gloves: These protect against skin irritation and chemical burns from cement.
Following standards like 1910.133 for eye safety and 1910.134 for breathing safety keeps you safe and compliant.
Ventilation and Dust Control
Good airflow is very important when sanding concrete. Here are some best practices:
Wet Cutting: Use water to cut down dust at the source.
Dust Collection Systems: HEPA vacuums catch airborne particles well.
Work Area Barriers: Use plastic sheets to keep dust contained and your work area clean.
Concrete dust can cause serious health problems, like lung disease. By controlling dust, you protect yourself and keep your work area cleaner.
Safe Equipment Handling
Handling sanding tools safely is very important. Here are some tips:
Select the Right Tool: Pick a sander that fits your project size.
Prepare the Work Area: Clear away obstacles and make sure there is good airflow.
Regular Equipment Checks: Check your tools for damage before using them.
By following these safety solutions, you can create a safer space while getting the best results in your sanding projects.
Maintenance After Concrete Sanding
Taking care of your sanded floors is very important. It helps them look good and last longer. Here are some key things to do:
Regular Cleaning Practices
To keep your polished concrete looking great, set up a cleaning routine. Here’s what you should do:
Routine Cleaning: Dust mop every day to get rid of dirt. Wet mop with a gentle cleaner every few weeks.
Preventative Measures: Use mats at doors to catch dirt. Put pads under furniture to stop scratches.
Periodic Deep Cleaning: Think about hiring experts or using a floor scrubber for tough dirt.
Addressing Repairs Promptly: Fix cracks and surface damage right away to avoid bigger problems.
For busy areas, clean every few weeks. In quiet spots, cleaning every three months is usually enough.
Sealing the Surface
Sealing your sanded concrete is very important for protection. It makes your floors last longer and look nice. Here’s how to do it:
Prepare the Area: Move furniture and clear debris. Clean the floor well and let it dry.
Choose the Right Sealant: Think about using acrylic sealers for low cost or penetrating sealers for long-lasting results. Check the table below for effectiveness and lifespan:
Sealant Type | Effectiveness | Typical Lifespan |
|---|---|---|
Acrylic Sealers | Low cost but wears down faster | 3-5 years |
Penetrating Sealers | Lasts longer by bonding below surface | 5-10 years or more |
Epoxy Coatings | Very durable, needs prep | 5-10 years or more |
Urethane Coatings | High durability, needs investment | 5-10 years or more |
Apply the Sealant: Follow the instructions from the maker for best results. Thin, even layers work best.
Repairing Minor Damage
Don’t ignore small damage! Catching it early can save you money later. Here’s how to fix it:
First, check the damaged area. Look for cracks or uneven spots. Clean the area to remove dirt, then use repair materials. Level the surface to match the rest. Curing is important for strength and durability.
By following these maintenance tips, your polished concrete floors will stay beautiful and useful for many years.
To sum up, sanding concrete floors well needs the right tools and methods. Here are some important points to keep in mind:
Get the surface ready before you start sanding.
Pick the right grit levels for a smooth look.
Stay safe by wearing protective gear like goggles and masks.
By using these methods, you can create nice, strong floors. So, begin and have fun! 🛠️
FAQ
What is the best grit for initial sanding?
Start with 80 grit for deep scratches and rough surfaces. This grit helps create a flat base for further sanding.
How often should I seal my concrete floor?
You should seal your concrete floor every 3 to 5 years. This keeps it protected and looking great.
Can I sand concrete myself?
Yes, you can sand concrete yourself! Just follow the right techniques and safety measures for the best results. 🛠️
See Also
Top 5 Simple Tips for Concrete Floor Hardening in 2025
The Ultimate Guide to 5 Best Concrete Floor Hardeners
Enhance Your Floors with the Best Concrete Sealers of 2025