
Selecting the right floor joint filler is very important. It helps your flooring project succeed. The right choice makes your floors last longer. It also affects how your floors look. A solid filler keeps your floors from failing early. It also helps them look nice. Flexible materials let your floors move. This reduces cracks and can look good if chosen carefully. Your choice will affect how well your space works and how it looks.
Key Takeaways
Picking the best floor joint filler is important for how long your floor lasts and how it looks.
Think about what type of filler you need for your project. Use epoxy for strength or polyurethane for flexibility.
Check how strong and water-resistant the fillers are. This helps stop moisture damage, especially in wet places.
Make sure the fillers are easy to use. Choose ones that fit your skills and project needs.
Look at and take care of your floor joint fillers often. This helps them last longer and keeps your floor looking good.
Types of Joint Fillers
Epoxy Fillers
Epoxy fillers are very strong and last a long time. They stick well to concrete and other surfaces. This makes them great for tough jobs. You usually see epoxy fillers in busy places like warehouses. Their strong bond helps stop damage from heavy things and impacts.
Here are some important features of epoxy fillers:
Property/Advantage | Epoxy Joint Fillers |
|---|---|
Strength and Durability | Very strong and long-lasting |
Adhesion | Sticks well to concrete and coatings |
Flexibility | Not very flexible; can crack when moved |
Cure Time | Takes longer (8–24 hours) |
Best Use | Tough jobs, busy areas |
You should think about using epoxy fillers for expansion joints and commercial spaces. They are a good choice for places that get a lot of wear and tear.
Polyurethane Fillers
Polyurethane fillers have different benefits. They are softer and more flexible than epoxy fillers. This flexibility helps stop cracks in concrete from getting worse. You can use polyurethane fillers in many places, like vertical and floor joints. They are great for protecting joint edges and helping load transfer between slabs.
Here are some key features of polyurethane fillers:
Great scratch resistance
UV resistance, which keeps colors stable
Best for expansion joints and outside wall joints
In industrial areas, polyurethane fillers are important for keeping water out. They help protect concrete and other materials from moisture damage. Their strength makes them good for both inside and outside use.
Self-Healing Fillers
Self-healing fillers are a new solution for flooring projects. These fillers can fix themselves after being damaged. This is important in busy places where wear and tear happen often. Self-healing materials can return to their original state, showing they can last a long time in tough conditions.
Recent studies show that adding thermoplastics to self-healing materials makes them work better. This technology allows for automatic repairs, which cuts down on maintenance and makes your flooring last longer.
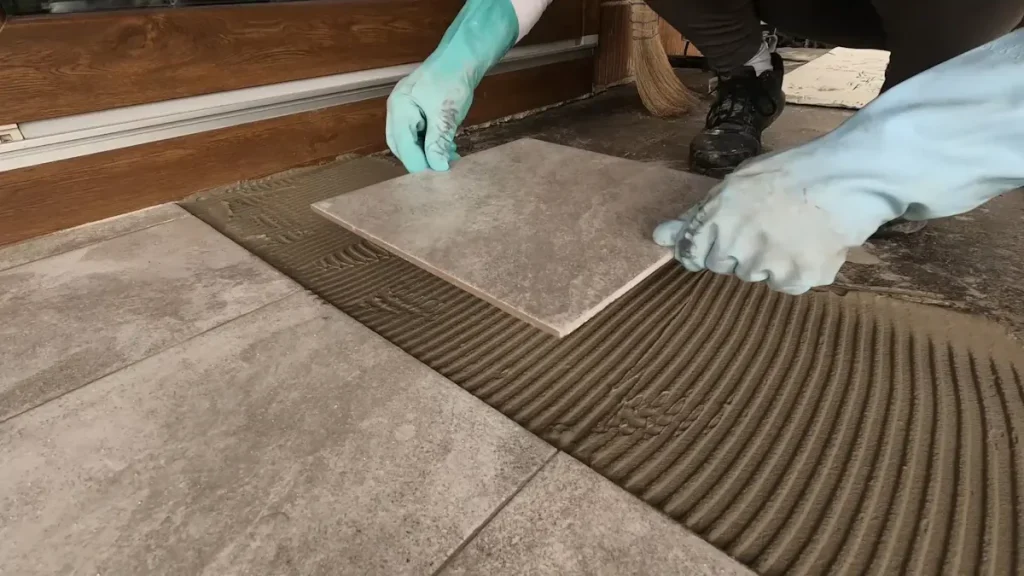
How to Choose the Right Tile Joint Filler
Choosing the right joint filler for your tiles is very important. It helps your tiles last longer and look good. You need to think about a few things to make a smart choice.
Tile Type and Location
The type of tile you use and where you put it really matter. Different tiles have special features that affect how well they work with fillers. For example, ceramic tiles might need a different filler than natural stone tiles.
When picking a tile joint filler, think about these points:
Tile Material: Make sure the filler matches the tile material. Some fillers stick better to certain tiles.
Installation Location: Decide if the tiles will be inside or outside. Outdoor tiles usually need fillers that can handle weather.
Anticipated Foot Traffic: Areas with a lot of foot traffic need strong fillers. Epoxy fillers are great for these spots because they are strong and resist stains.
By knowing the type of tiles and where they will go, you can choose the best joint filler. This will help your tiles last longer and keep your flooring looking nice.
Durability and Water Resistance
Durability is very important when picking a joint filler. You want a filler that can handle wear and tear over time. Water resistance is also key, especially in places that get wet, like kitchens and bathrooms.
Here are some things to think about:
Water Resistance: Look for fillers that are very water-resistant. This helps stop damage from moisture, which can cause mold and mildew.
Longevity: Good joint fillers should last for years without needing repairs. Polyurea fillers are known for being very durable and flexible. They are great for tiles that move.
Choosing a filler that is both durable and water-resistant will keep your tiles safe and looking good for a long time.
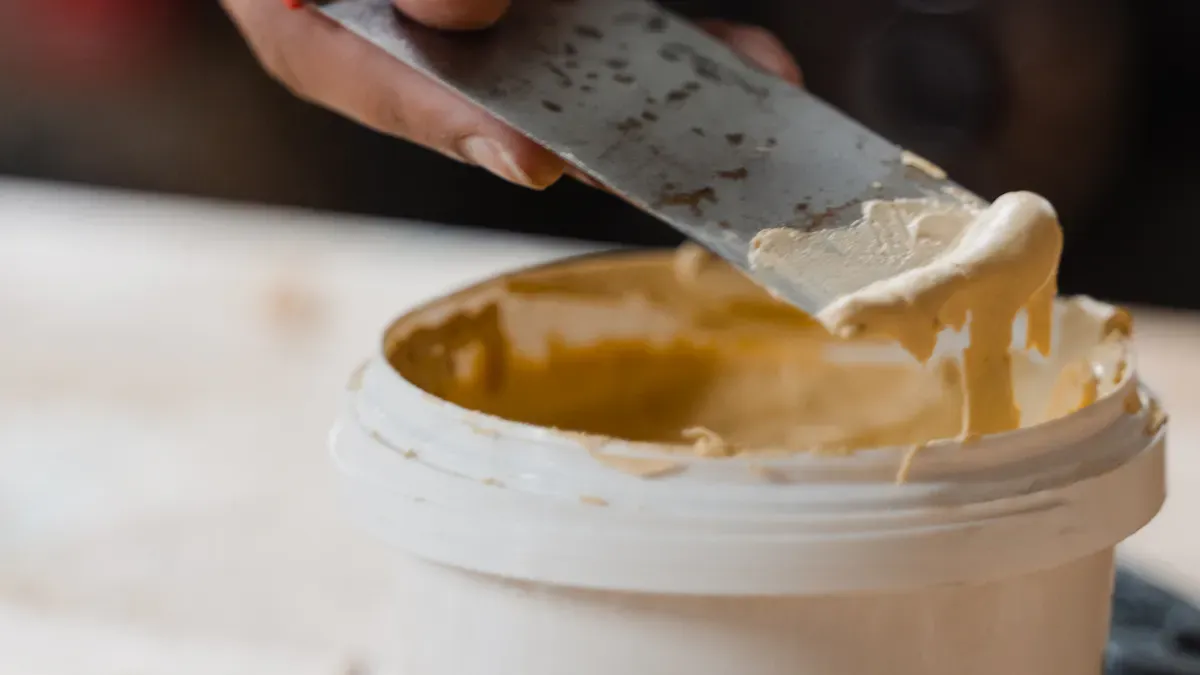
Application Ease
How easy it is to apply the filler can really change your project time and how happy you are with the results. You want a filler that is easy to use, especially if you plan to do it yourself.
Think about these things:
Mixing and Application: Some fillers need complicated mixing, while others are ready to use. Pick a filler that matches your skills and project needs.
Curing Time: Check how long the filler takes to cure. Faster curing times can help you finish your project quicker.
Color and Aesthetic: Make sure the filler matches your tile color. This will improve how your flooring looks overall.
By focusing on how easy it is to apply, you can make your project smoother and get a great finish.
Choosing the right tile joint filler means understanding how it works with your tile, checking durability and water resistance, and thinking about how easy it is to apply. By considering these factors, you can have a successful flooring project that fits your needs.
Application Tips for Concrete Joint Filler
Surface Preparation
Getting the surface ready is very important for your concrete joint filler to work well. Follow these steps to make sure it sticks properly:
Clean the Joints: Take away any dirt, dust, or junk from the joints. Don’t use sand because it can cause problems with sticking.
Dry the Concrete: Make sure the concrete is completely dry. If it’s wet, the filler won’t stick right.
Cure the Floor: Let the whole floor cure for 3-5 days after you apply the filler. This step is key for getting the best results.
If you skip these steps, you might have problems later. Dirt on the joint can make the filler fail, leading to cracks and less strength.
Mixing and Application Techniques
Mixing and putting on your concrete joint filler the right way will make it work better. Here are some good tips:
Use a Pump or Cartridge: Fill the joint with a pump or cartridge. This way, a chemical reaction happens when you apply it.
Plan Your Path: Before you start, think about where you will apply the filler. This helps you avoid stopping and keeps things smooth.
Overfill the Joint: Put a little extra filler in the joint, about ⅛ inch above the surface. This helps it stick better and fixes any surface bumps.
Cut Excess Filler: After the filler dries, use a razor to trim off any extra so it’s even with the surface.
Timing is important too. Trim the filler when it feels rubbery but not sticky, usually 5-15 minutes after you apply it. Working in the right temperature range of 40°F to 90°F (4°C–32°C) will also help you get the best results.
By following these application tips for strong tile joints, you can make sure your concrete joint filler works well and stays strong over time.
Maintenance of Floor Joint Fillers
Regular Inspections
Checking your floor joint filler often is very important. You should look at the joints regularly to find problems early. Here are some tips on how often to inspect based on how much traffic there is:
Traffic Level | Inspection Frequency |
|---|---|
Main traffic aisles | At least every three months |
Moderate traffic areas | Twice a year |
Low traffic zones | Once a year is enough |
After spill incidents | Check right away |
When you inspect, look for signs of damage. Check for cracks, chips, or uneven spots. You should do a detailed check at least once a year. This means measuring how wide the joints are and seeing how well the filler is working. Cleaning regularly also helps keep it waterproof. Use a stiff brush or pressure washer to get rid of dirt and debris.
Repairing Damaged Fillers
If you see any damage, fixing it quickly is very important. Here are common signs that your floor joint filler needs help:
Cracks or splits
Missing or loose parts
Dirt or moisture buildup
Color changes or softness
Noticeable vibrations from equipment
To fix damaged fillers properly, follow these steps:
Clean the joint well to remove dirt and old filler.
Check the joint condition and rebuild damaged edges with matching repair mortar.
For tiny cracks, widen the joint to make it even.
Put in a foam backer rod for deeper joints to keep the right shape.
Test for moisture to make sure conditions are good for the filler.
Use tape to mask nearby surfaces for a neat finish.
Prime if needed, especially on porous concrete.
By doing regular inspections and fixing problems quickly, you can make your floor joint filler last longer and stay strong.
Choosing the right floor joint filler is very important for your project. Think about the type of filler you need. Look at its flexibility, strength, and how it handles chemicals. Check how much traffic your area gets and what the weather is like. Also, consider how much maintenance it will need to work well.
There are different fillers like polyurea, epoxy, and polysulfide for specific uses. Keep in mind that changes in weather and temperature can change your choice. Good fillers help keep water out, which makes your concrete last longer. By using a clear selection process, you can make your project better and save money in the long run.
FAQ
What is a tile joint filler?
A tile joint filler is a material that fills spaces between tiles. It keeps tiles in place and stops water from getting underneath. Picking the right filler makes your tile installation last longer and look better.
How do I apply tile joint filler?
To apply tile joint filler, first clean the joints well. Mix the filler as the instructions say, then use a grout float to push it into the joints. Wipe off any extra filler with a damp sponge before it dries.
How long does tile joint filler take to cure?
Curing time can change based on the product. Usually, most tile joint fillers cure in 24 to 48 hours. Always check the manufacturer’s instructions for exact curing times to get the best results.
Can I use tile joint filler outdoors?
Yes, you can use tile joint filler outside. But make sure to choose a filler made for outdoor use. These fillers usually have better protection against moisture and temperature changes.
How do I maintain my tile joint filler?
Regular checks help keep your tile joint filler in good shape. Clean the joints from time to time and look for cracks or damage. Fix any problems quickly to make your tile installation last longer.
See Also
Selecting The Ideal BANDě Concrete Patching Compound For Your Needs
Finding The Right Concrete Densifier For Your Warehouse Flooring
BANDě’s Tips For Choosing The Best Cementitious Crack Sealer
Selecting The Optimal Wall And Floor Moisture Barrier For 2025
A Comprehensive Guide To Choosing The Right Concrete Floor Hardener