


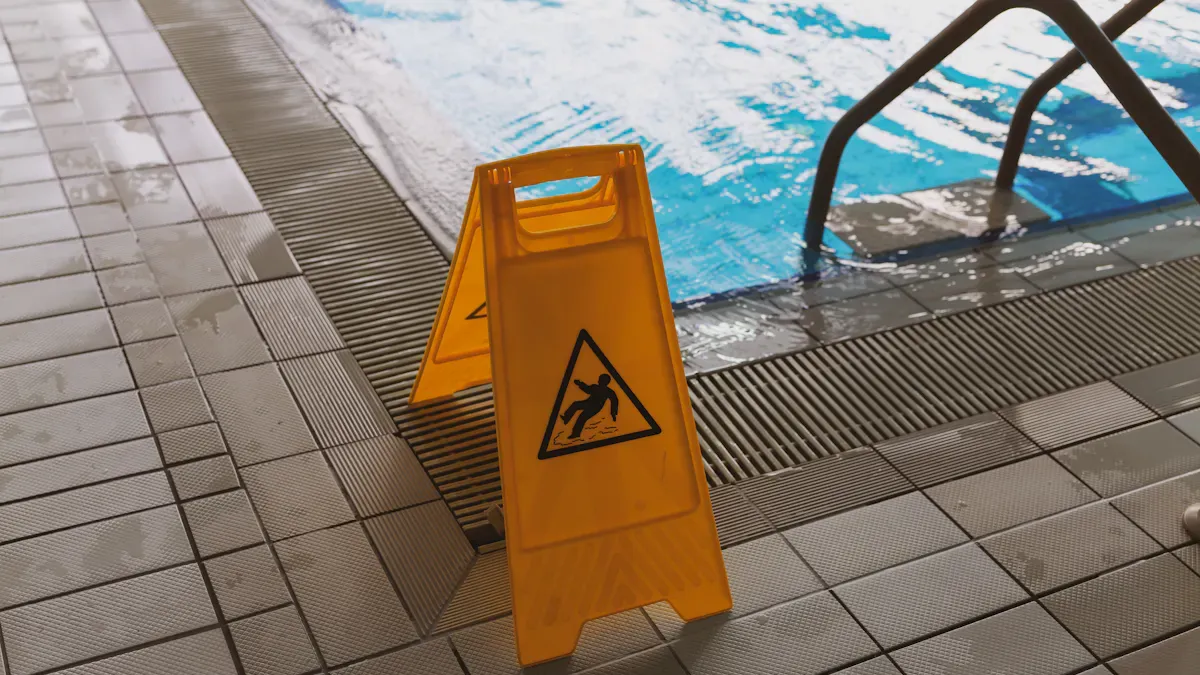
Applying anti-slip treatments on ceramic tiles makes them safer, and you can learn how to apply anti slip treatment on ceramic tile without changing appearance. It is essential to choose the right products to maintain the aesthetic of your tiles while enhancing their safety. Following the correct steps is crucial for achieving optimal results.
Key Takeaways
Pick the best anti-slip products to keep safe. They should not change how your ceramic tiles look.
Clean the tile surface well before using the treatment. This helps it stick better.
Check and clean your tiles often. This will keep them safe and looking good for a long time.
What Are Anti-Slip Treatments?
Anti-slip treatments are special solutions that help ceramic tiles grip better. These treatments soak into the tile surface and make tiny treads. This helps increase traction, making it safer to walk on tiles, especially when they are wet.
The benefits of using anti-slip treatments are important:
Enhanced Safety: These treatments make tile surfaces stickier. This lowers the chance of slips and falls.
Durability: Anti-slip treatments can last for several years. They usually last between two to four years, depending on how you clean them and how much foot traffic they get.
Minimal Impact on Appearance: In 95% of cases, people see no visible change in tile look after using anti-slip treatments. This means you can make your tiles safer without changing how they look.
The treatments create tiny channels that improve the dynamic coefficient of friction (DCOF). This change moves the surface from a risky level to a safer one. You can enjoy the beauty of your ceramic tiles while keeping everyone safe.
For example, a biodegradable liquid solution can boost the coefficient of friction on different surfaces, including ceramic tiles. It makes those tiny treads that help prevent slips and falls.
How to Apply Anti Slip Treatment on Ceramic Tile
Preparing the Surface
Before applying anti-slip treatment, you need to get the ceramic tile surface ready. This step is very important. It helps the treatment stick well and work properly. Follow these steps:
Thorough Cleaning: First, clean the whole tile surface and grout well. Get rid of dirt, grime, oil, grease, soap scum, and other unwanted stuff. Use a good cleaner for this job.
Grout Cleaning: Make sure the grout is cleaned well. If needed, use a grout cleaner to remove tough stains.
Rinsing and Drying: Rinse the surface with clean water to wash away any cleaner leftovers. Let the tiles dry completely. You can use special tools to help speed up this process.
Dust Removal: Check that no dust or debris is left on the surface. A clean surface is key for the treatment to stick well.
Purpose/Effectiveness | |
|---|---|
Maintenance/daily | Cuts through residue from soap and shampoo to keep tiles cleaner longer. |
Grout | Targets tough stains in grout and porous surfaces. |
Hard water | Removes lime stains, mineral deposits, and rust. |
Mildew/mold | Contains ingredients that kill fungi commonly found in moisture-rich areas. |
Natural/Organic | Made with organic materials like citrus oils and baking soda, less harmful to the environment. |
Chemical | Synthetic materials designed for effective stain removal but can irritate skin and lungs. |
Choosing Clear Anti-Slip Products
When picking anti-slip products, make sure they keep the original look of your ceramic tiles. Here are some important things to think about:
Think about if the floor is for inside or outside use.
Check how much traffic the floor will get.
Decide if the floor needs stain protection or waterproofing.
Know what look you want for the surface.
Some good treatments are clear anti-slip coatings and chemical treatments. These options improve grip without changing how your tiles look. They work by making tiny changes to the tile surface, creating a safer area to walk while keeping the original look.
Application Steps Without Changing Appearance
Now that you have prepared the surface and picked the right product, it’s time to apply the anti-slip treatment. Follow these steps for a successful application:
Thorough Cleaning: Make sure the tile surface and grout are clean and free from dirt.
Grout Cleaning: Check that the grout is clean and treated if needed.
Rinsing and Drying: Rinse the surface and let it dry completely.
Dust Removal: Get rid of any dust or debris before applying.
Testing (if applicable): Test a small area to check for adhesion and appearance.
Application Method: Use rollers or sprayers to apply the treatment evenly. Work in small 3-foot by 3-foot sections to keep control.
Drying and Curing: Let the coating cure for 10 to 12 hours for the best results.
Foot Traffic Restrictions: Limit heavy foot traffic for at least 24 hours after applying.
Safety Precautions:
Clean the tile surface to remove grease and dirt.
Rinse the floor and let it dry fully.
Shake the non-slip spray well before using.
Apply the spray evenly in small sections.
Wait for the recommended time before rinsing off any extra spray.
Let the floor dry completely before walking on it.
By following these steps, you can learn how to apply anti slip treatment on ceramic tile without changing appearance. This process makes your tiles safer while keeping them beautiful.
Curing and Maintenance Tips
After you put on the anti-slip treatment, let it cure well. Curing times can change, but usually, wait at least 10 to 12 hours. The best temperature for curing is between 50°F and 95°F. Do not apply the treatment when it is very wet. This helps the adhesive stick well to the tile surface.
To keep the anti-slip effect and make your tiles look nice, follow these maintenance tips:
Description | |
|---|---|
Monthly Inspections | Look for signs of wear, cracks, or loose parts that could cause slips. |
Daily Cleaning | Remove dirt buildup to keep the surface’s anti-slip properties. |
Application of Stone Grip Treatments | Use in busy areas as needed to improve slip resistance. |
Quarterly Deep Cleaning | Plan sessions to keep the anti-slip coatings working well. |
Regular Checks on Non-Slip Products | Check bathroom products and mats for damage to keep everyone safe. |
When cleaning your tiles, avoid some products to protect the anti-slip treatment. Stay away from wax-based products, strong acids, oils, or waxes. These can make surfaces slippery or react badly with grout or tile sealants. Instead, use pH-neutral cleaners to prevent residue buildup.
Reapply the anti-slip treatment every 3 to 5 years, based on foot traffic and care. Regular maintenance will help keep your ceramic tiles safe and looking good.
Tip: Regular checks and good cleaning habits will help you keep your tiles beautiful and safe for many years.
FAQ
What is the best way to maintain anti-slip treatments?
To keep anti-slip treatments working well, clean them often with pH-neutral cleaners. Stay away from strong chemicals. Check for wear every month.
Can I apply anti-slip treatment myself?
Yes, you can put on anti-slip treatment by following the steps for preparation and application in this guide.
See Also
Simple Steps For Safer Floors With Anti-Slip Treatments
Selecting The Ideal Anti-Slip Tile Treatment For 2025
Comparing Acrylic And Epoxy Anti-Slip Coatings In 2025
2025 Comparison Of Chemical Treatments And Anti-Slip Coatings
