
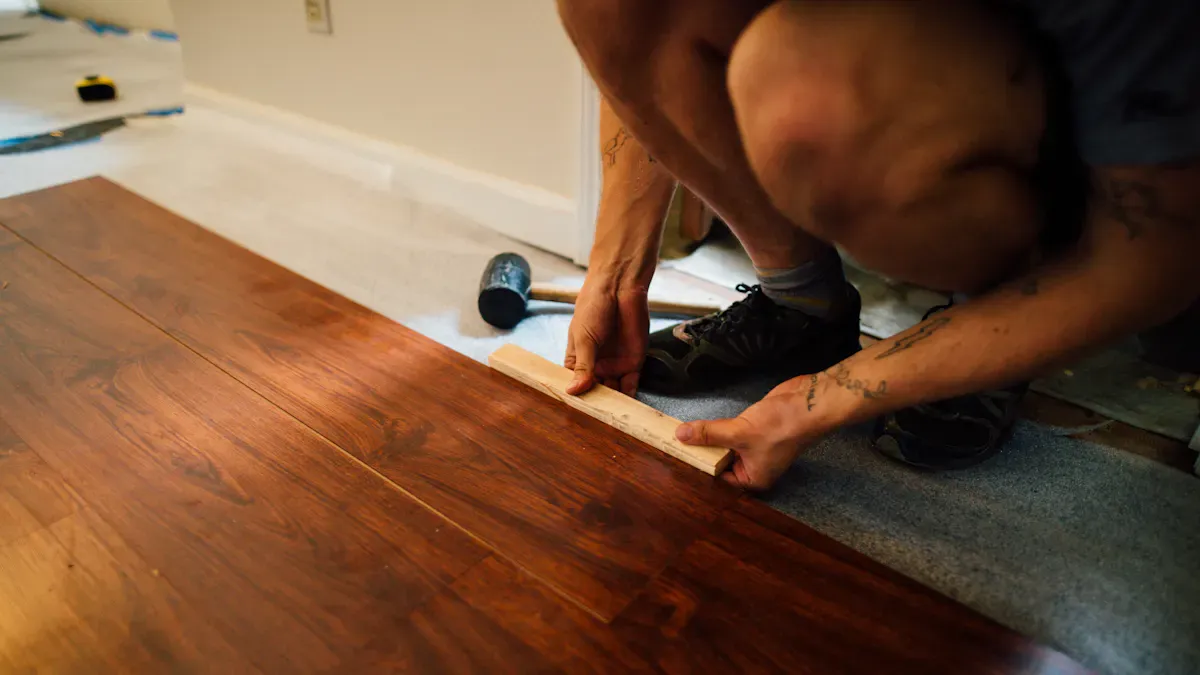
Scratch-resistant floor hardeners are important for protecting your floors. These products make your floors stronger. They help your floors last longer and look nice. You will save money on maintenance. They also make places like kitchens and hospitals safer. This guide will give you easy steps to apply these hardeners. By following these steps, you can get a nice, long-lasting finish on your floors.
Key Takeaways
First, clean the floor well before using the hardener. This helps it stick better and makes a stronger finish.
Mix the hardener as the instructions say. Mixing it right gives the best results.
Use a sprayer or squeegee to apply the hardener evenly. This makes the surface smooth and even.
Let the hardener cure properly. The curing time is very important for the floor’s strength and how long it lasts.
Take care of your floors by cleaning them often and fixing spills quickly. This keeps them looking nice for many years.
Prep the Surface
Clean the Floor
Before you put on a scratch-resistant floor hardener, make sure the surface is clean. A clean surface helps the hardener stick better. This leads to a stronger finish. Follow these steps to get the concrete surface ready:
Remove Debris: First, sweep or vacuum the floor. This gets rid of dust, dirt, and debris.
Use a Cleaner/Degreaser: For tough stains like oil or grease, use a cleaner that is safe for the environment. This strong liquid removes dirt well. Mix it with water based on how dirty it is. Use a brush or low-pressure sprayer to apply it, then rinse with water to clean well.
Check for Residues: Make sure there are no leftovers on the surface. Any dirt left can stop the concrete floor hardener from sticking.
Remember, the surface must be clean to get the best results. Dust, oil, or debris can really affect how well the hardener sticks.
Step | Description |
|---|---|
Cleaning the surface | |
Removing dust | Key for making sure it sticks |
Repairing cracks | Needed for a smooth application |
Repair Imperfections
After cleaning, check the concrete for any problems. Cracks and bumps can make the scratch-resistant floor hardener less effective. Here’s how to fix these issues:
Identify Types of Cracks: Look for hairline cracks, surface cracks, expansion joint cracks, and structural cracks. Each type needs a different way to fix it.
Type of Crack | Description | Repair Method |
|---|---|---|
Hairline Cracks | Small cracks from shrinkage while drying. | Needs filling to stop epoxy failure. |
Surface Cracks (Minor Structural) | Slightly wider (1/16″–1/8″), from wear or small movement. | Needs cleaning, opening, and filling. |
Expansion Joint Cracks | Planned cracks, should not be filled with hard materials. | Needs flexible joint material. |
Structural Cracks (Active Movement) | Wide cracks that change over time, may need a pro to check. | May need injection or stabilization. |
Repair Methods: For small flaws no deeper than 1/8 inch, use a regular skim-coat material. For deeper flaws (1/4 inch or more), think about using anchoring or hydraulic cement as a patch. It’s important to know if cracks are still or moving. Static cracks may need little fixing, while moving cracks need more work.
By taking time to prepare the concrete surface well, you help ensure a good application of the scratch-resistant floor hardener. This preparation leads to a long-lasting and nice-looking finish.
Apply the Hardener
Mix the Hardener
Mixing the concrete floor hardener the right way is very important. It helps you get the best results. Here are the steps to mix it properly:
Read the Manufacturer’s Instructions: Always check the instructions from the manufacturer first. Different brands have different mixing rules.
Gather Your Materials: You need a clean container, a stirring tool, and the hardener. Make sure your tools are clean.
Measure the Components: For example, if you use MAS Table Top Pro, mix 1 part resin with 1 part hardener (1A:1B) by volume. You can also say this as 100 parts resin to 83 parts hardener (100A:83B) by weight.
Combine the Ingredients: Pour the measured resin and hardener into the container. Use the stirring tool to mix well until it looks even. This usually takes about 2-3 minutes.
Check for Consistency: The mixture should be smooth and lump-free. If you see lumps, keep mixing until it’s the right texture.
Tip: Always mix only what you can use in the time given by the manufacturer. This helps avoid waste and makes sure it works well.
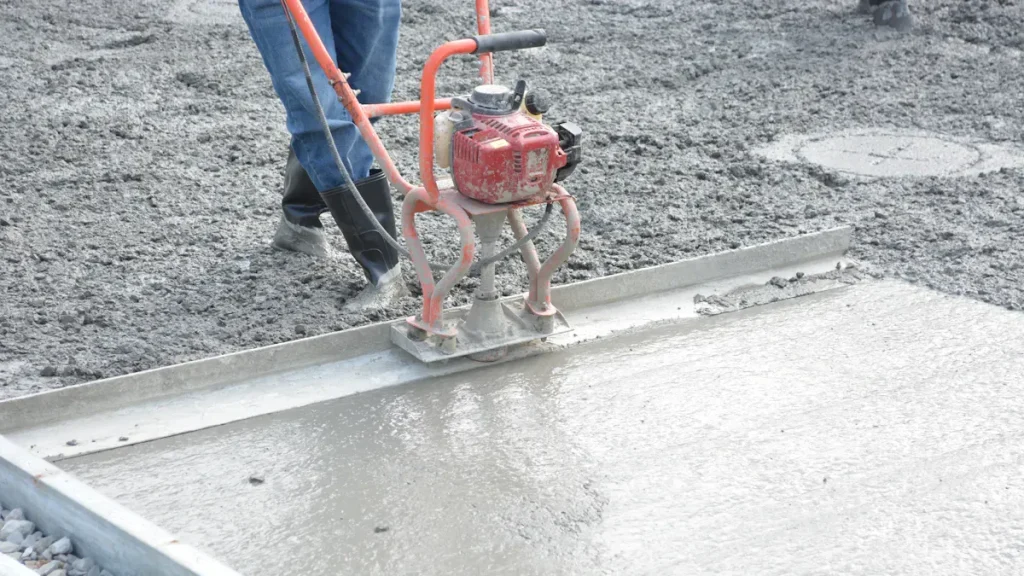
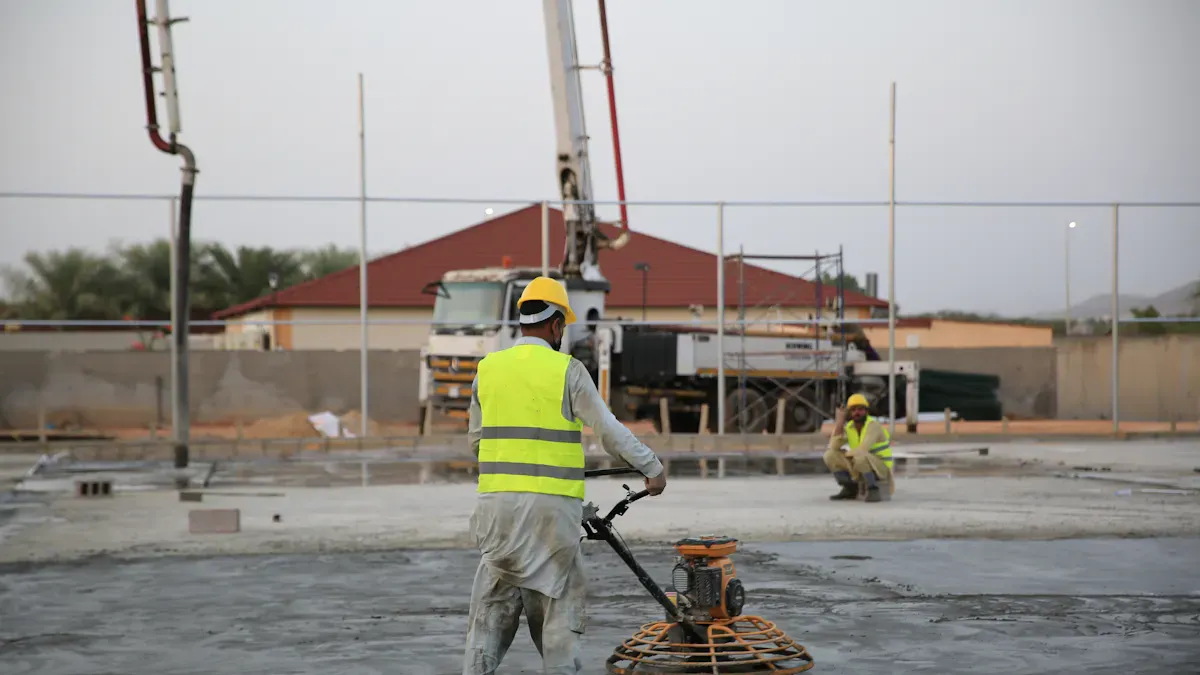
Application Techniques
After mixing the scratch-resistant floor hardener, it’s time to apply it. Here are some good ways to apply it:
Choose Your Application Method: You can use a low-pressure sprayer or a squeegee. A sprayer spreads it evenly, while a squeegee helps push it into the surface.
Prepare the Surface: Make sure the concrete is clean and dry before applying the hardener. This is very important for it to stick well.
Start Applying: Begin in one corner and move across the area. If using a sprayer, hold it at a steady distance from the surface for even coverage. If using a squeegee, move it back and forth to spread it out evenly.
Follow the Recommended Application Rates: For example, liquid hardeners usually cover 200 to 400 square feet per gallon. Change your application based on the product you are using.
Avoid Common Mistakes:
Don’t apply too much hardener at once. This can cause uneven curing.
Don’t apply the hardener in very hot or humid weather, as this can change how it cures.
Keep the surface moist during the curing time, which usually lasts 7-14 days.
By following these mixing and application steps, you can apply the floor hardener well and get a strong, scratch-resistant finish on your floors.
Crystal Floor Construction
Pour and Brush
To apply the scratch-resistant floor hardener successfully, you must pour and brush it correctly. Here are the steps for the best results:
Seal Porous Surfaces: If your concrete is porous, start with a seal coat. Pour the epoxy in a zigzag shape. Use a clean rubber squeegee or foam brush to spread it thin. Let it sit for 4-6 hours before the next coat.
Apply Coating: Pour the mixture directly onto the surface. Use a squeegee or brush to spread it evenly until it’s the right thickness. Let the mixture flow over the edges and sand off any drips after it cures.
Tip: Always wait 4 to 10 hours before adding more coats. This waiting time helps with sticking and gives a smooth finish.
Soaking and Polishing
After putting on the concrete floor hardener, soaking and polishing are key for a shiny finish. Follow these steps:
Soaking Time: Keep the surface soaked for about 40-60 minutes. This soaking helps the hardener go deep into the concrete, making it stronger and more wear-resistant.
Polishing: After soaking, start polishing the surface. Use a polishing machine with diamond resin abrasive discs. Begin with a lower grit and move to a higher grit for a smooth, shiny look. This process improves the look and boosts the floor’s scratch resistance.
Note: Make sure the concrete is dry before you start polishing. This step is very important for the best results.
By following these steps for pouring, brushing, soaking, and polishing, you will create a beautiful and strong floor that lasts a long time.
Finishing Touches
Curing Time
After you put on the scratch-resistant floor hardener, you need to let it cure. This time helps the floor become very hard and strong. Here’s a typical timeline for curing in different conditions:
Stage | Description | Typical Timeline |
|---|---|---|
Dry (touch-dry) | Surface feels hard and is not sticky anymore | |
Light traffic | You can walk on it carefully | 24-48 hours |
Full cure | It reaches its strongest and most chemical-resistant state | 5-7 days |
Don’t rush the curing process. If it doesn’t harden completely, it can be weaker. Problems like blushing and bubbles can happen if the curing isn’t done right. Knowing how curing works helps you avoid mistakes that can hurt the floor’s performance.
Maintenance Tips
To make your scratch-resistant floor hardener last longer, follow these maintenance tips:
Regular Cleaning: Set up a cleaning schedule. Sweep or vacuum every day to get rid of dirt and debris. Mop once a week with a gentle, pH-neutral cleaner.
Protect High-Traffic Areas: Use mats or rugs at doorways. Put protective pads under furniture to reduce wear.
Promptly Address Spills and Stains: Clean spills right away. Use the right cleaners to stop long-term damage.
When cleaning, don’t use harsh chemicals that can harm the surface. Instead, use warm or hot water, mild soap, or diluted ammonia. Here’s a quick reference for cleaning agents:
Recommended Cleaning Agents | Agents to Avoid |
|---|---|
Warm or hot water | Harsh chemicals |
Mild soap or diluted ammonia | Citrus cleaners |
Diluted Simple Green Epoxy Cleaner | Vinegar |
Windex (1 part Windex to 3 parts water) | Soap-based cleaners |
By following these curing and maintenance tips, you can keep your floors looking great and strong for many years.
Using scratch-resistant floor hardeners can make your floors stronger and look better. Here are some important steps to apply them successfully:
Prep the Surface: Clean the floor and fix any problems.
Mix the Hardener: Carefully follow the instructions from the manufacturer.
Apply the Hardener: Use the right methods to cover evenly.
Crystal Floor Construction: Pour, brush, soak, and polish for a shiny finish.
Finishing Touches: Let it cure properly and take care of your floor.
By following these steps, you can have a beautiful and long-lasting floor. Remember, using scratch-resistant hardeners helps you save money on repairs and makes your concrete surfaces last longer. Start today and enjoy a great floor!
FAQ
What is a scratch-resistant floor hardener?
A scratch-resistant floor hardener is a product that makes concrete stronger. It helps floors last longer and resist scratches, stains, and water. This hardener keeps the floor looking good over time.
How long does it take for the hardener to cure?
Curing time can change based on conditions. Usually, the surface feels dry to the touch in 12-24 hours. You can walk on it gently after 24-48 hours, but it may take 5-7 days to fully cure.
Can I apply the hardener outdoors?
You should not apply the hardener outside on rainy days. Moisture can change how it cures. Always check the weather before starting your project.
How do I maintain my floors after applying the hardener?
To keep your floors in good shape, sweep or vacuum often. Mop once a week with a gentle cleaner. Clean up spills right away to stop stains. Avoid strong chemicals that can hurt the surface.
Is the hardener safe for indoor use?
Yes, most scratch-resistant floor hardeners are safe for indoor use. They are usually non-toxic and water-based. Always read the product label for safety details.
See Also
Essential Tips for Choosing BANDě Floor Hardeners in 2025
A Comprehensive 2025 Handbook for Concrete Floor Hardener Choices
Understanding Floor Hardeners: Their Purpose and Functionality
Exploring Concrete Floor Hardeners: Definitions and Operational Insights
Key Insights on BANDě Concrete Floor Hardeners You Should Know