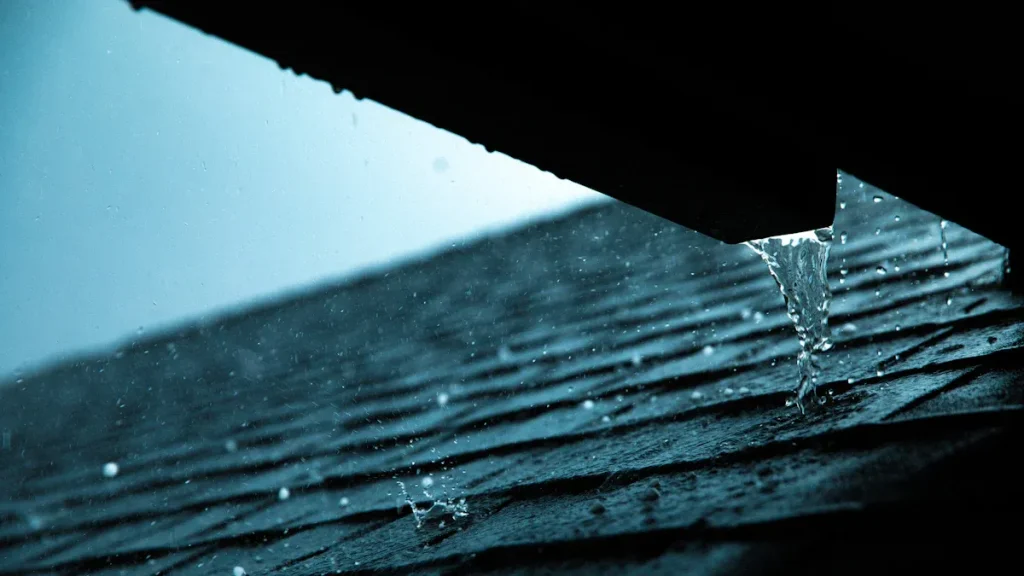

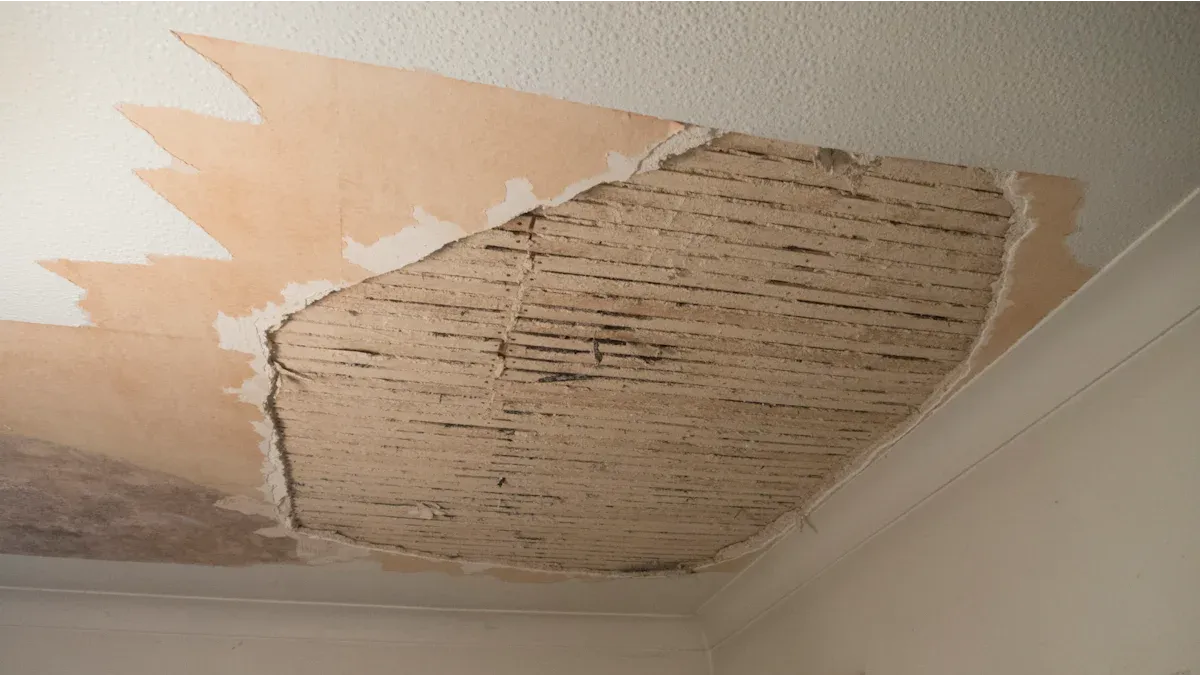
Dealing with a leaking concrete roof can be very annoying. You may feel stressed, but fixing it quickly is important. If you ignore leaks, it can cost more later. This is because it can damage insulation and framing. Also, acting fast helps keep your home and money safe. Let’s look at how to fix leaking concrete roof problems easily!
Key Takeaways
Check your concrete roof often for cracks and damage. This stops bigger problems from happening later.
Clean the roof well before putting on a waterproofing sealer. A clean surface helps it stick better and work well.
Use a waterproofing sealer like BANDě to make a protective layer. This keeps water out and makes your roof last longer.
Causes of Leaks
Cracks and Damage
Cracks and damage are common reasons for a leaking concrete roof. Many things can cause these problems over time. Here are some main reasons why cracks happen:
Structural Movement: Your home settles, which can create big cracks in the concrete.
Thermal Expansion and Contraction: Changes in temperature make the concrete expand and contract. If this stress is not handled well, it can cause cracks.
Weathering Effects: Freeze-thaw cycles and UV damage can wear down concrete over time, leading to cracks and problems.
These cracks let water seep in, causing leaks that can harm your home.
Poor Drainage
Another big reason for leaks is poor drainage. When water cannot flow off your roof, it can collect in low spots or around obstacles. This standing water can cause several problems:
Cracked Flashing: If the flashing around vents or chimneys is broken, water can leak through weak spots.
Ice Dams: In cold areas, melted snow can freeze at the roof’s edge. This stops proper drainage and causes leaks.
Deteriorated Areas: Parts of your roof that are worn out or damaged are more likely to let water in.
Heavy rain can show these weak spots, leading to serious damage inside if not fixed. Regular maintenance is important to get your roof ready for bad weather and stop leaks.
By knowing these causes, you can take steps to fix your leaking concrete roof and keep your home safe from more damage.
How to Fix Leaking Concrete Roof
Inspecting the Roof
Before you start fixing, check your roof carefully. This helps you find where the leaks are and any damage. Here are some good ways to inspect your concrete roof:
Electronic Leak Detection (ELD): This method uses a probe to send an electrical current through the roof. If there is a break, the circuit completes. This helps you find leaks.
Infrared Moisture Detection (IR): This technique looks for wet spots by checking temperature differences. Wet materials hold heat longer than dry ones, making it easier to spot leaks.
Using both methods gives you a full picture of the roof’s condition. ELD shows exact leak spots, while IR moisture detection shows how bad the damage is.
Safety Tip: Always wear safety gear like non-slip shoes, gloves, and eye protection. Don’t work on the roof during rain, strong winds, or extreme heat.
Cleaning and Preparing the Surface
After inspecting the roof, clean and prepare the surface for repairs. Good preparation is key for your waterproofing treatments to work well. Here’s how to do it:
Clear Debris: Take away any leaves, dirt, or other junk from the roof.
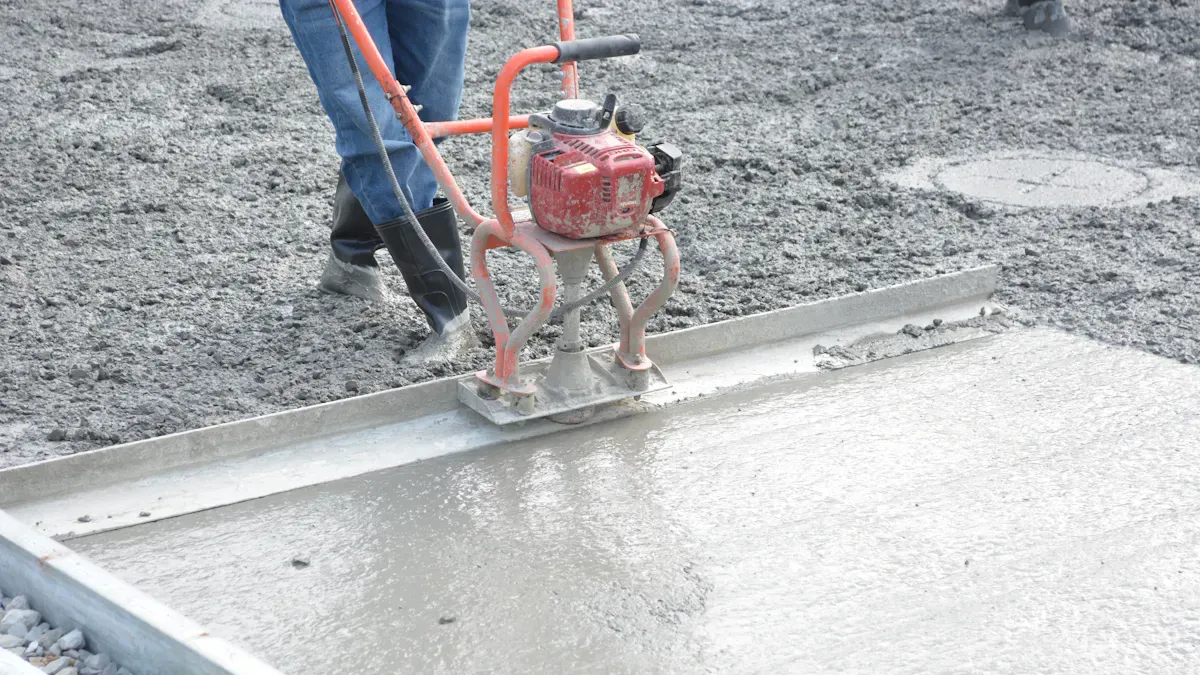
Pressure Wash: Use a pressure washer with a mild, pH-neutral detergent to clean the surface. This helps remove dirt and gets the concrete ready for sealing.
Etching: If needed, use a diluted hydrochloric acid solution to take off surface cream and open pores. This step helps the waterproofing materials stick better.
Cleaning Method | Description |
|---|---|
Pressure Washing | Use a mild, pH-neutral detergent and water with a power washer to clean the surface and remove debris. |
Etching | Apply diluted hydrochloric acid or Brickform E-Etch to remove surface cream and open pores. |
Alkaline Degreasers | Good for breaking down oils and grease. |
Proper surface preparation helps waterproofing materials stick well and shows any problems that need fixing before sealing.
Applying Waterproofing Sealer
Now that your roof is clean and ready, it’s time to put on a waterproofing sealer. I suggest using BANDě Flexible Waterproof Sealer. This product goes deep into the concrete, creating a flexible, waterproof layer that keeps out moisture.
Here’s how to apply it:
Prime the Surface: Start by putting on a primer to help the waterproof coating stick.
Apply the First Coat: Use a paintbrush or roller to put on the first coat of BANDě. Make sure to cover all areas evenly.
Embed Reinforcement Fabric: For extra strength, place a reinforcement fabric into the first coat while it’s still wet.
Apply a Second Coat: After the first coat dries, put on a second coat for full protection.
Seal Penetrations and Corners: Pay close attention to areas around pipes and corners, making sure they are sealed well.
Final Inspection: After everything dries, do a final check to make sure no areas are missed.
By following these steps, you can fix a concrete roof and stop future leaks. Remember, regular maintenance is important to keep your roof in good shape!
Repair Process Steps
Filling Cracks
To fix your concrete roof leak, start by filling any cracks you see. You can use hydraulic cement or epoxy fillers based on what you need. Hydraulic cement is best for leaks because it sets fast, even in water. This helps you stop the leak right away. Epoxy fillers are good for structural cracks since they stick really well.
Here’s how to fill the cracks:
Clean the Area: Get rid of any loose dirt around the crack.
Apply the Filler: Use a putty knife to push the hydraulic cement or epoxy filler into the crack. Make sure it’s filled all the way.
Smooth the Surface: Even out the filler with the surrounding concrete for a clean look.
Let It Cure: Wait for the filler to set according to the instructions.
Applying the Waterproofing System
After filling the cracks, it’s time to put on a waterproofing system. Using multiple layers usually works best. Here’s a simple step-by-step guide:
Clean the Surface: Pressure wash the roof to get rid of dirt and debris. This helps the waterproofing materials stick well.
Prime the Surface: Put on a primer to help with adhesion and stop oils from coming through.
Apply the First Coat: Use a roller or brush to put on the first coat of your waterproofing material, like an elastomeric or polyurethane membrane.
Embed Reinforcement Fabric: While the first coat is still wet, place a reinforcement fabric over any cracks and joints for extra strength.
Apply a Second Coat: After the first coat dries, put on a second coat to make sure everything is covered.
Inspect and Maintain: Check your roof every few years to keep it waterproof.
By following these steps, you can fix any concrete roof leak and protect your home from more damage.
To fix your leaking concrete roof, follow some important steps. Begin with regular checks to find cracks early. Clean the roof and use a waterproofing sealer like BANDě. Don’t forget to take care of your roof by:
Checking often for damage.
Removing debris to help water flow.
Looking at flashing and sealants to keep water out.
If you see big cracks or serious problems, think about getting a professional. They can give you a lasting fix and help keep your home safe and dry. 🏠✨
FAQ
What should I do if I find a large crack in my concrete roof?
If you see a big crack, fill it right away with hydraulic cement or epoxy filler. This will help stop leaks.
How often should I inspect my concrete roof?
Check your concrete roof at least two times a year. Also, look at it after heavy storms to find any problems early.
Can I apply waterproofing sealer in cold weather?
It’s better not to use waterproofing sealer when it’s cold. Wait until it gets warmer for the best results.
See Also
Comprehensive Strategies for Effective Concrete Waterproofing Solutions
Expert Techniques for Repairing Cracks in Concrete Surfaces
DIY Strategies for Effectively Waterproofing Your Basement
Selecting the Ideal Concrete Sealer to Meet Your Requirements