
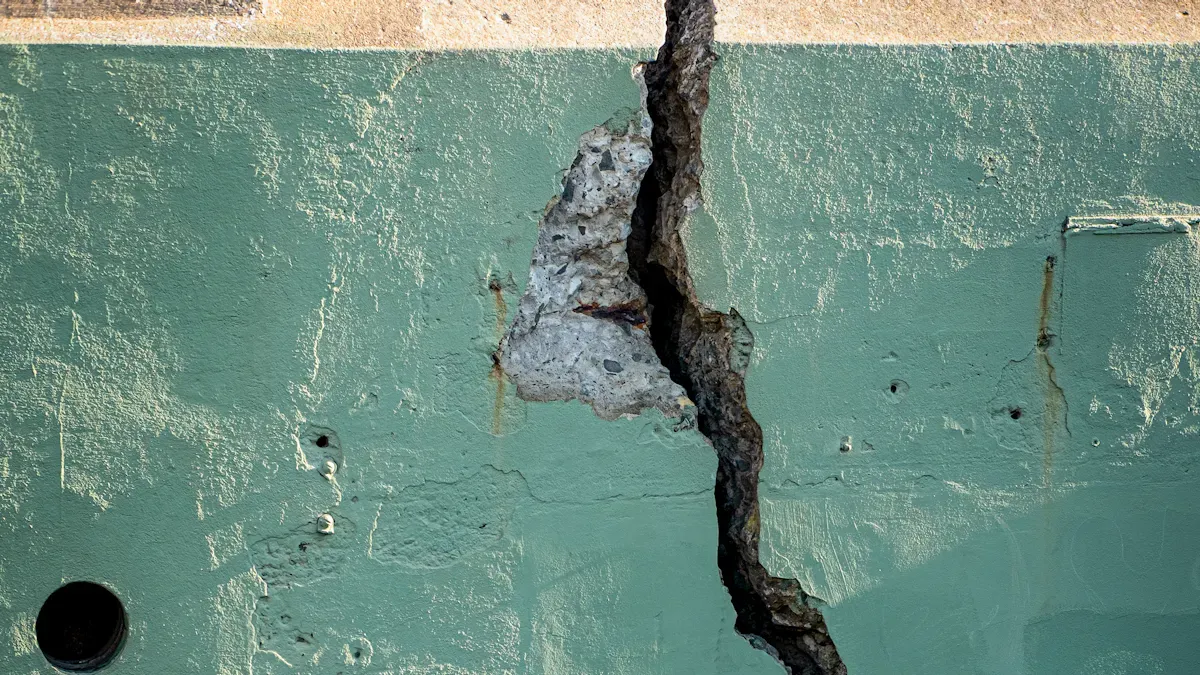
Concrete structures often have problems that need fixing. Did you know that 55% of fixed concrete structures get damaged in the first ten years? Common reasons for this damage are chemical breakdown, rusting of steel, and physical harm like freezing and thawing. These problems show why using a cement repair compound is important. These compounds help solve these issues well, making sure your concrete surfaces last longer.
Key Takeaways
Clean the surface well before using cement repair compounds. This helps them stick better and stops problems like peeling or chipping.
Look at the damage closely to find the best repair method. Use simple tools to find loose concrete and see if you need a patch or a bigger repair.
Pick the right type of cement repair compound for your project. Think about using pre-mixed for ease or dry mix for saving money.
Use the right methods for both small and big repairs. Use the correct tools and techniques to make sure it sticks well and looks smooth.
Taking care of your repairs and curing them properly can make them last longer. Check for small problems often to stop them from getting worse.
Surface Preparation
Cleaning the Area
Before you put on any cement patch, clean the area well. A clean surface is very important for the cement repair compounds to stick. Here are some things to remember:
Get rid of all dirt like oil, grease, and old paint.
Use a wire brush or pressure washer to remove dirt and junk.
Make sure the surface is dry before you apply the patch.
Cleaning the area stops problems like peeling, bubbling, or chipping from happening. A good surface helps the patch stick well, making the repair last longer.
Assessing Damage
After cleaning, check how bad the damage is. This step is important to decide how to fix it. Here are some ways to check your concrete:
Use simple tools like a hammer and spray paint to find loose concrete.
You might use special tests, like ultrasonic pulse velocity, for a better check.
Do rebound hammer tests to see how hard the surface is.
Use half-cell potential testing to check for rust in the rebar.
By checking the damage, you can tell if a simple patch will work or if you need bigger repairs. This careful check helps you use the right amount of cement repair compound for a strong and lasting fix.
Types of Cement Repair Compounds
When you need to pick a cement repair compound, you have many choices. Knowing the differences helps you choose the best one for your job.
Pre-Mixed vs. Dry Mix
Pre-Mixed Cement Repair Compounds are easy to use. You can take them right from the container, which saves time. Here are some good and bad points:
Advantages:
They dry and harden quickly, so you finish faster.
They don’t expire, so you can store them long-term.
Many brands and colors are available, making it easy to find what you need.
Disadvantages:
Mixing ratios might be wrong, which can weaken the results.
You need to know how much to use for each job.
Dry Mix Cement Repair Compounds need water mixed in before you can use them. This choice can save you money. Here are the good and bad points:
Advantages:
They are cost-effective and give you more time to work for perfect finishes.
They dry clear, which is good for indoor use.
Disadvantages:
They take more time and effort to prepare and apply.
They might not be easy to find in some places and can cost more.
Specialty Compounds
Specialty compounds meet specific needs, especially in busy or industrial areas. Here are some recommended products:
Product Name | Description | Application Time |
|---|---|---|
UNIQUE® High Performance Fast Set Mortar | A mix of hydraulic cement, graded silica sand, and special additives. | Foot traffic in 1 hour, vehicle traffic in 3 hours. |
Devcon® Deep Pour Grout™ | A repair product using epoxy chemistry for construction. | N/A |
Devcon® Epoxy Coat™ 7000 AR | A protective epoxy coating for concrete surfaces. | N/A |
Devcon® Floor Patch™ | A quick-setting patch for fixing concrete floors. | N/A |
Choosing the right cement repair compound can really affect how strong and effective your repairs are. Always think about what your project needs before you decide.
Application Techniques for Concrete Patches

Minor Repairs
For small cracks in concrete, follow these steps for good results. Here’s how to do it:
Put a backer rod into the crack. This helps hold the filler. If the crack is too small, fill it with sand until it is even.
Use a plastic putty knife to push the cement repair compound into the crack.
Take off any extra compound by sliding the putty knife over the top of the crack.
To make the patch blend in, use a dry paintbrush to smooth the edges.
After it dries, sand the patch with 60 grit sandpaper to make it smooth.
For small repairs, having the right tools is very important. You will need a graduated bucket, margin trowel, and a paintbrush for finishing. These tools help make a strong bond and a flat finish.
Major Repairs
Big repairs need more work and care. Follow these steps for the best results:
Clean: Use a wire or masonry brush to clear away loose dirt, dust, or debris. This helps the repair material stick well to the concrete.
Undercut: For bigger cracks or holes, use a chisel and hammer to take out loose concrete. This makes a stable edge. This step, called undercutting, helps the repair material hold better.
Vacuum: Use a vacuum or compressed air to get rid of any leftover debris. This makes sure the surface is ready for the repair material.
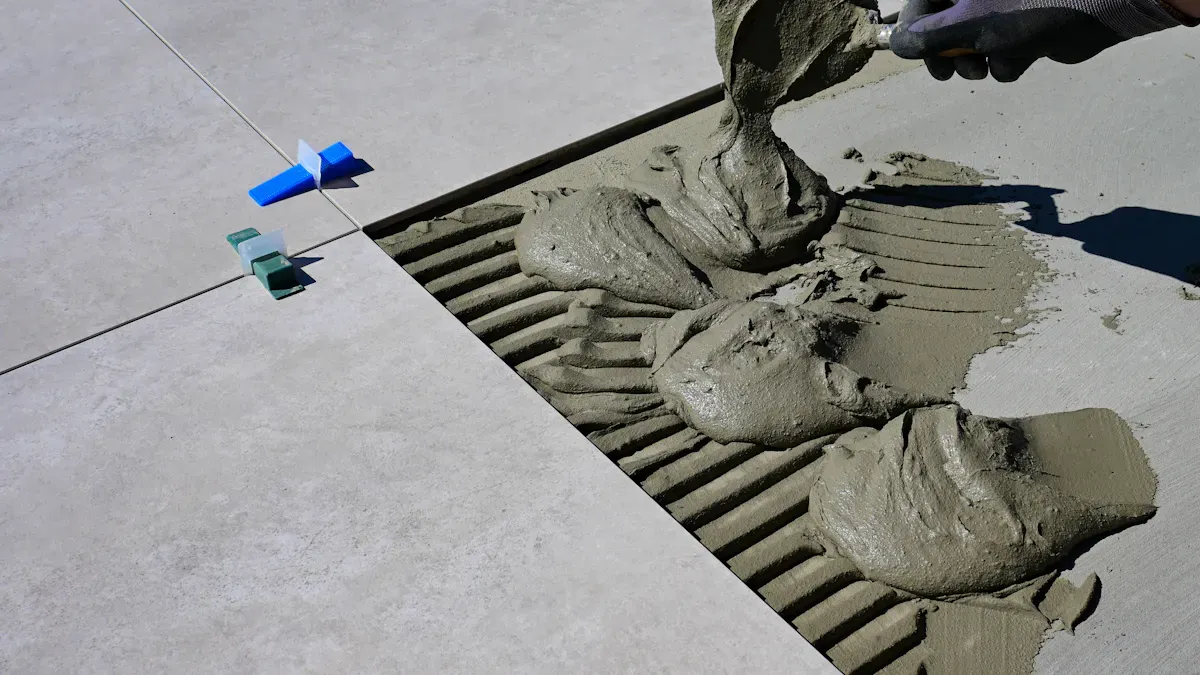
Apply a Bonding Agent (if needed): If the damage is deep or the surrounding concrete is smooth, use a bonding agent to help it stick better.
When putting on the mix, use a margin trowel for small spots and a flat trowel for larger areas. Rod the material to get rid of air bubbles and ensure a strong bond. Use a flat trowel to smooth the patch, making two or three passes. Don’t overwork the material. To make a smooth transition from the patch to the good concrete, spread the material to a feather edge.
Tip: Be careful with the water-to-cement ratio. Start with a 4:1 mix ratio and change it slowly. Don’t go over a 3:1 ratio to keep the mix strong.
Things like moisture and de-icing chemicals can change how well cement repair compounds work. Keep the repair area safe from rain, wind, and direct sunlight while it cures. Use plastic polyethylene film if bad weather is coming.
Safety is very important. Always wear gloves, goggles, and long-sleeve shirts to protect yourself from harmful substances and cuts. Think about using a dust mask to avoid breathing in concrete dust.
Troubleshooting Cracked Concrete Issues
Cracking and Shrinkage
Cracks and shrinkage often happen in fixed concrete. You can find out why these problems occur. Here are some common reasons:
Too much water in the mix can cause more shrinkage when it dries.
Not curing well can make the surface dry too fast, leading to cracks.
No control joints can cause cracks from temperature changes and drying.
To stop shrinkage cracks after using cement repair compounds, try these solutions:
Pick materials that keep water, like HPMC/MHEC, for better workability.
Add RDP for more flexibility and sticking power.
Use fine fillers to make it stable.
Put in defoamers to cut down air holes.
Use fiber reinforcement to stop cracks.
Cure right by keeping away from sunlight, wind, and keeping it moist.
Curing is key in fixing concrete. Stay out of direct sunlight and reduce wind to stop early drying, which can cause cracks.
Adhesion Problems
Sticking problems can also happen with cement repair compounds. Know the main reasons for sticking failure:
Dust, dirt, grease, or oil can stop it from sticking well.
Very porous surfaces can soak up water fast, stopping good cement setting.
Not enough cement or bad sand grading can weaken the mix.
Sun or wind can make the mortar dry too fast.
To fix these issues, prepare the surface right. Clean it well and don’t use materials that don’t match. If you see deep cracks or big damage, you might need to apply repair compounds more than once. This way, repairs last longer and work better.
Tip: Regular care can make repaired concrete last longer. Proper curing, using protective sealants, and checking often can help find and fix small problems before they get worse.
In conclusion, learning how to use cement repair compounds can help your concrete last longer. You can make good repairs by preparing the surface well, picking the right compound, and applying it properly. Don’t forget to check for maintenance regularly to stop small problems from getting worse.
Here are some important points:
Use new methods like polyurethane foam and epoxy resin for better repairs.
Pick eco-friendly materials to help the environment and make repairs last.
Get help from experts to find the best ways for your projects.
By keeping safety in mind during application and focusing on quality, you can make sure your concrete repairs last a long time.
FAQ
What is the best way to prepare a surface for cement repair?
You need to clean the area very well. Get rid of dirt, grease, and loose concrete. Use a wire brush or pressure washer. Make sure the surface is dry before you put on the repair compound.
How long does it take for cement repair compounds to set?
Setting times can change based on the product. Usually, most compounds set in a few hours. Always read the manufacturer’s instructions for exact timing.
Can I use cement repair compounds outdoors?
Yes, you can use them outside. But don’t apply them on rainy days. Keep the area dry until the compound is fully cured.
How do I know if I need a specialty compound?
If you have special challenges, like heavy traffic or bad weather, think about using a specialty compound. These products work better for certain conditions.
What should I do if my repair cracks again?
If cracks come back, check the main cause. You might need to add more layers of repair compound or fix moisture problems. Regular maintenance can also help stop future issues.
See Also
The Definitive Guide to Effective Cement Crack Sealing
A Comprehensive Approach to Concrete Patching and Repairs
Selecting the Ideal Cementitious Repair Mortar for 2025