
Achieving a durable finish for your concrete floors is essential. Floor hardeners play a crucial role in this process. They not only enhance surface strength but also help make it dust-proof. However, some common concerns arise during application. For instance, contractors often struggle with achieving full application rates due to environmental conditions or surface preparation issues. Addressing these factors can lead to a successful outcome.
Key Takeaways
Choose the right type of floor hardener based on your needs. Chemical hardeners are good for medium-duty areas, while mechanical hardeners are best for heavy traffic.
Prepare the concrete surface thoroughly before applying hardeners. Clean the area and ensure it is dry to achieve the best results.
Monitor environmental conditions like temperature and humidity during application. Ideal conditions help ensure a strong and durable finish.
Types of Floor Hardeners
Chemical Hardeners
Chemical hardeners are a popular choice for enhancing concrete floors. They penetrate the surface and react chemically to form a denser, more durable layer. One of the most common types is the liquid floor hardener, which you can apply easily. These hardeners are great for medium-duty areas, providing good durability. They increase surface hardness but may not be as strong as dry-shake hardeners.
Here are some benefits of using chemical hardeners:
They protect against dusting and wear.
They improve chemical resistance, making them ideal for manufacturing facilities.
They create a sealed surface that simplifies cleanup after spills.
Mechanical Hardeners
Mechanical hardeners, often referred to as dry-shake hardeners, are applied directly to freshly poured concrete. They offer superior abrasion resistance, making them perfect for heavy traffic and industrial environments. When you use dry-shake hardeners, you can expect:
High durability, ideal for areas with heavy machinery.
Superior surface hardness, which is essential for industrial use.
A textured surface that enhances slip resistance, crucial for safety in workplaces.
To give you a clearer comparison, here’s a quick look at how these two types stack up:
Aspect | Dry Shake Hardener | Liquid Hardener |
|---|---|---|
Durability | High durability, excellent for heavy traffic areas | Good durability, suitable for medium-duty areas |
Surface Strength | Superior surface hardness, ideal for industrial use | Increases surface hardness, but not as strong as dry shake |
Choosing the right type of floor hardener depends on your specific needs and the environment where you plan to apply it.
Choosing the Right Floor Hardener
When selecting a floor hardener, you need to consider several factors to ensure you achieve the best results. Let’s break down the key aspects you should focus on.
Surface Preparation
Proper surface preparation is crucial for the effectiveness of your floor hardener. Before applying any hardener, make sure the concrete surface is clean and bare. Here are some essential steps to follow:
Remove all curing agents, dirt, paints, coatings, bondbreakers, oil spills, and other contaminants completely.
Ensure the surface is dry. High moisture levels can hinder the hardener’s ability to penetrate and react with the concrete. Allow the concrete to dry for about 6 to 7 days after placement to improve penetration.
By preparing the surface correctly, you set the stage for a durable finish that lasts.
Environmental Conditions
Environmental factors play a significant role in the application of floor hardeners. Here are some conditions to keep in mind:
Temperature: The ideal temperature for applying floor hardener is between 60°F and 85°F. This range ensures even curing and maximum strength of the coatings.
Humidity: High humidity can slow down the curing process. In coastal areas, for example, humidity levels between 70-90% can extend curing times significantly.
Ventilation: Good ventilation is essential. Poor airflow can trap solvents, leading to slower curing and potential defects.
Monitoring these conditions will help you achieve the best results with your floor hardener.
Desired Finish
The finish you want to achieve also influences your choice of floor hardener. Different products offer various finishes, so consider what suits your needs best. Here’s a quick overview:
Finish Type | Description | Key Features |
|---|---|---|
Staining | Deeply penetrates concrete for a sleek look. | Available in acid-based and water-based options, customizable patterns. |
Painting | Quick application with a wide range of colors. | Less durable, may require frequent reapplications. |
Sealing | Polishes concrete to a desired sheen. | Low cost, easy maintenance, available in various finishes. |
Epoxy | Thick, durable coating ideal for high-traffic areas. | Fills cracks, hardens through a chemical reaction, customizable with additives. |
Choosing the right finish not only enhances the aesthetic appeal but also impacts the durability of your concrete surface.
In high-traffic industrial environments, consider these factors when selecting a floor hardener:
Surface Traffic: High-traffic areas need harder floor hardeners for durability.
Chemical Resistance: Select a hardener that can withstand chemical exposure to maintain floor condition.
Installation Method: Choose a hardener with an installation method that minimizes disruption to operations.
Maintenance Requirements: Opt for a hardener that fits your maintenance schedule and budget.
Aesthetics: Consider the appearance; select a hardener available in various colors and finishes.
By keeping these factors in mind, you can confidently choose the right floor hardener that meets your specific needs.
How to Apply Concrete Floor Hardener
Applying a floor hardener correctly is essential for achieving a durable finish on your concrete surface. Follow these steps to ensure a successful application.
Surface Cleaning
Before you apply concrete floor hardener, you need to prepare the surface. A clean surface is crucial for proper adhesion. Here’s how to clean your concrete effectively:
Initial Cleaning: Start by sweeping the area to remove loose dirt and debris. For stubborn residues, use an industrial vacuum cleaner or a brush. If there are tough stains, a pressure washer can help eliminate them.
Surface Inspection: Check the concrete surface for cracks, spalling, or other damage. Address any issues before applying the hardener.
Final Cleaning: Ensure the surface is completely dry. Moisture can hinder the bonding process, so allow adequate drying time.
Tip: Using a product like PROSOCO Cleaner/Degreaser can effectively remove oil, grease, and other residues, making it a great choice for preparing surfaces before applying floor hardeners.
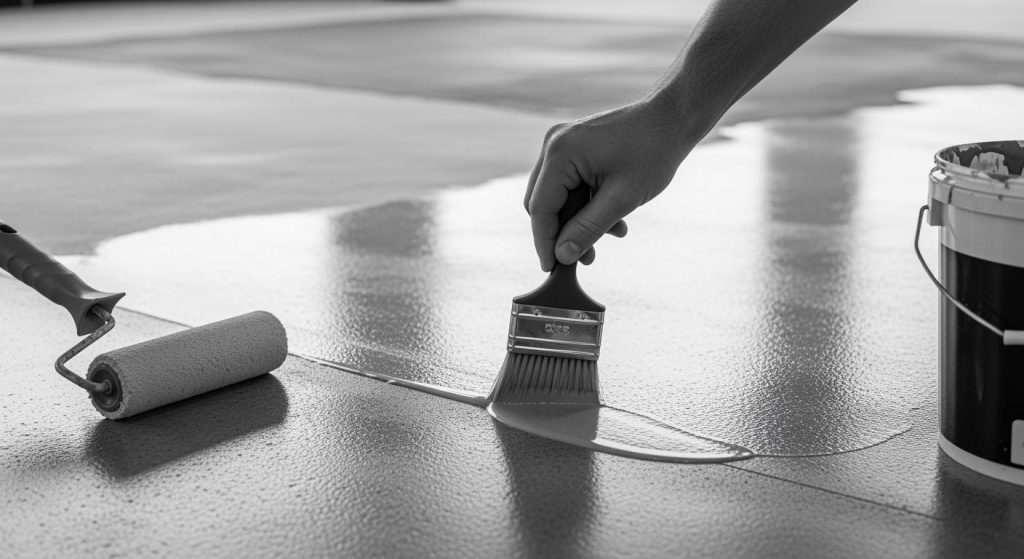
Application Techniques
Once your concrete surface is clean, you can proceed with the application of the floor hardener. Here’s a step-by-step guide to the application procedures:
Prepare the Concrete Surface: Ensure the concrete is freshly poured and leveled. Allow it to reach the ‘plastic’ stage, where it can be slightly indented but is still workable.
First Application: Evenly distribute approximately two-thirds of the recommended amount of dry-shake hardener over the concrete surface.
Floating: Use a bull float or a power trowel to work the hardener into the concrete surface.
Second Application: Apply the remaining one-third of the hardener evenly.
Floating (Repeat): Float the surface again to incorporate the second application of hardener.
Troweling: Use a power trowel with finish blades to smooth and compact the surface.
Safety Reminder: Always wear appropriate eye protection and ensure good ventilation when working with epoxy to avoid inhaling vapors.
Curing Process
After applying the hardener on concrete, the curing process is vital for maximizing performance. Here are some recommended curing methods:
Liquid Membrane-Forming Curing Compound: This method creates a seal on the surface, helping retain moisture.
Wet Curing: Keep the surface continuously moist to ensure proper hydration.
Effective curing is crucial for the strength of your floor. Aim to cure the concrete for at least 7 days, ideally up to 28 days, to develop full strength. Studies show that properly cured concrete gains significant strength over time.
By following these steps, you can confidently apply concrete floor hardener and achieve a durable finish that stands the test of time.
Achieving a durable finish with floor hardeners is all about the right techniques. Proper surface preparation and application ensure your concrete lasts longer. Remember, using floor hardeners not only boosts durability but also cuts down on costly repairs.
Here are some maintenance tips to keep your floors in top shape:
Sweep weekly to prevent dirt buildup.
Wash monthly with a neutral cleaner.
Inspect annually for any damage.
By following these steps, you can enjoy a strong, long-lasting concrete surface!
FAQ
What is the best time to apply floor hardener?
You should apply floor hardener when the concrete is still in its plastic state, typically within 24 hours of pouring.
How long does it take for the hardener to cure?
Curing usually takes about 7 days, but for optimal strength, aim for up to 28 days.
Can I use floor hardener on existing concrete?
Yes, you can apply floor hardener on existing concrete, but ensure proper surface preparation for the best results.
See Also
Understanding Floor Hardeners: Their Function and Benefits
Essential Tips for Choosing BANDě Floor Hardeners in 2025
Key Insights on BANDě Concrete Floor Hardeners You Should Know
A Comprehensive Overview of Concrete Floor Hardeners
Choosing the Ideal Concrete Floor Hardener for 2025 Projects